MoodleはPHPで書かれた無料のオープンソースの学習管理システムです。チューターとインストラクターが学生や学習者向けのコースを作成する方法を提供します。 Moodleは堅牢で安全な統合システムを提供し、ユーザーが現在、過去、または将来のコースにアクセスしたり、保留中の作業を確認したりするのに役立つカスタムダッシュボードが付属しています。これは、世界中の多くの学校、大学、および組織で使用されており、より良い学習体験を提供します。 Wiki、採点、課題の提出、オンラインクイズ、ディスカッション掲示板などの豊富な機能セットを提供します。
このチュートリアルでは、NginxWebサーバーを使用してMoodleをインストールする方法とUbuntu20.04にSSLを暗号化する方法を示します。
- Ubuntu20.04を実行しているサーバー。
- サーバーIPで指定された有効なドメイン名。
- ルートパスワードがサーバーに設定されます。
開始する前に、システムパッケージを最新バージョンに更新する必要があります。次のコマンドを使用して更新できます:
apt-get update -y
サーバーが更新されたら、次のステップに進むことができます。
まず、Apache、MariaDB、PHP、およびその他のPHPライブラリをシステムにインストールする必要があります。次のコマンドを使用して、それらすべてをインストールできます。
apt-get install nginx mariadb-server php-fpm php-common php-mysql php-gmp php-curl php-intl php-mbstring php-soap php-xmlrpc php-gd php-xml php-cli php-zip unzip git curl -yを解凍します
すべてのパッケージがインストールされたら、php.iniファイルを編集し、いくつかの設定を変更します。
nano /etc/php/7.4/fpm/php.ini
次の行を変更します:
memory_limit = 256M
cgi.fix_pathinfo = 0
upload_max_filesize = 100M
max_execution_time = 360
date.timezone = America/Chicago
ファイルを保存して閉じてから、PHP-FPMサービスを再起動して変更を適用します。
systemctl restart php7.4-fpm
終了したら、次のステップに進むことができます。
MoodleはデータベースバックエンドとしてMySQLまたはMariaDBを使用するため、Moodleのデータベースとユーザーを作成する必要があります。
まず、次のコマンドを使用してMySQLシェルに接続します。
mysql
ログインしたら、次のコマンドを使用してデータベースとユーザーを作成します。
CREATE DATABASE moodledb;
CREATE USER 'moodle'@'localhost' IDENTIFIED BY 'password';
次に、次のコマンドを使用して、Moodleデータベースにすべての権限を付与します。
GRANT ALL ON moodledb.* TO 'moodle'@'localhost' WITH GRANT OPTION;
次に、特権をフラッシュし、次のコマンドを使用してMySQLを終了します。
FLUSH PRIVILEGES;
EXIT;
次に、MariaDBのデフォルト構成ファイルを編集し、innodb_file_formatを定義します。
nano /etc/mysql/mariadb.conf.d/50-server.cnf
[mysqld]セクション内に次の行を追加します。
[mysqld]
innodb_file_format = Barracuda
innodb_file_per_table = 1
innodb_large_prefix = ON
ファイルを保存してから、MariaDBサービスを再起動して、変更を適用します。
systemctl restart mariadb
まず、ディレクトリをApacheルートディレクトリに変更し、次のコマンドを使用して最新バージョンのMoodleをダウンロードします。
cd /var/www/html
git clone -b MOODLE_38_STABLE git://git.moodle.org/moodle.git moodle
ダウンロードが完了したら、Moodle config.phpを編集し、データベースタイプを定義します:
nano /var/www/html/moodle/config.php
次の行を見つけます:
$CFG->dbtype = 'mysqli';
そして、それを次の行に置き換えました:
$CFG->dbtype = 'mariadb';
ファイルを保存して閉じ、次のコマンドで適切な所有権と権限を設定するMoodleデータディレクトリを作成します:
mkdir -p /var/www/html/moodledata
chown -R www-data:www-data /var/www/html/moodle
chmod -R 755 /var/www/html/*
chown www-data:www-data /var/www/html/moodledata
終了したら、次のステップに進むことができます。
次に、MoodleをホストするためのNginx仮想ホスト構成ファイルを作成する必要があります:
nano /etc/nginx/conf.d/moodle.conf
次の行を追加します:
server {
    listen 80;
    root /var/www/html/moodle;
    index  index.php index.html index.htm;
    server_name  moodle.example.com;

    client_max_body_size 100M;
    autoindex off;
    location / {
        try_files $uri $uri/ =404;
    }

    location /dataroot/ {
      internal;
      alias /var/www/html/moodledata/;
    }

    location ~ [^/].php(/|$) {
        include snippets/fastcgi-php.conf;
        fastcgi_pass unix:/run/php/php7.4-fpm.sock;
        fastcgi_param SCRIPT_FILENAME $document_root$fastcgi_script_name;
        include fastcgi_params;
    }
}
ファイルを保存して閉じ、次のコマンドを使用して構文エラーがないかNginxを確認します。
nginx -t
次の出力が得られるはずです:
nginx: the configuration file /etc/nginx/nginx.conf syntax is ok
nginx: configuration file /etc/nginx/nginx.conf test is successful
最後に、Nginxサービスを再起動して、変更を適用します。
systemctl restart nginx
この時点で、NginxはMoodleをホストするように設定されています。これで、次のステップに進むことができます。
次に、Webブラウザーを開き、URL http://moodle.example.comを使用してMoodleWebインターフェースにアクセスします。 。 Moodleのインストールページが表示されます:
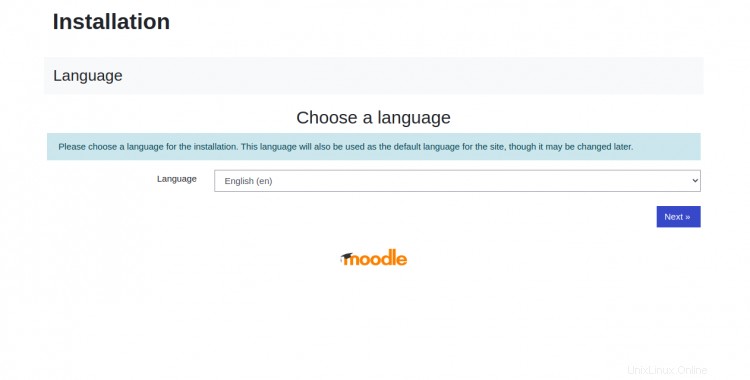
言語を選択して、次へをクリックします 。次のページが表示されます:
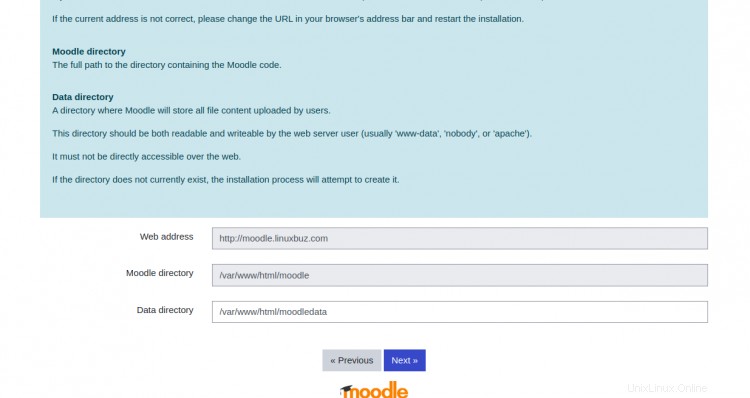
Moodleウェブアドレス、ディレクトリパス、データディレクトリパスを入力し、次へをクリックします 。次のページが表示されます:
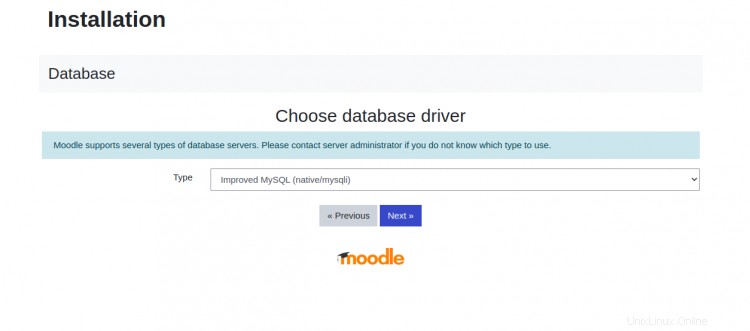
データベースドライバの種類を選択し、次へをクリックします 。次のページが表示されます:
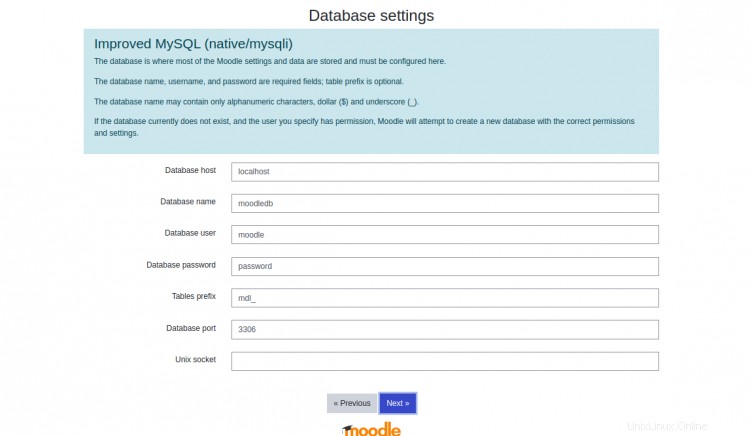
データベースホスト、データベース名、ユーザー名、パスワードを入力し、次へをクリックします 。次のページが表示されます:
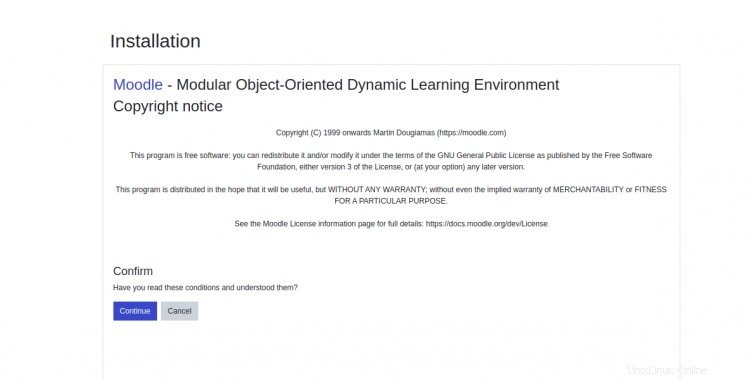
続行をクリックします すべての条件を確認します。次のページが表示されます:
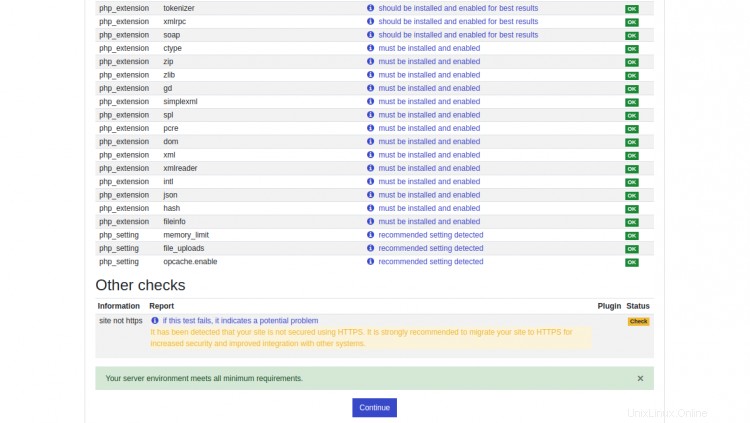
必要なPHP拡張機能がすべてインストールされていることを確認してから、続行をクリックします。 。次のページが表示されます:
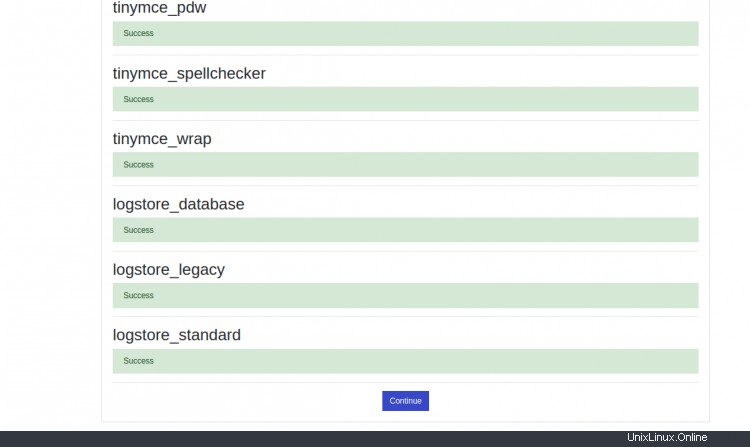
続行をクリックします 。次のページが表示されます:
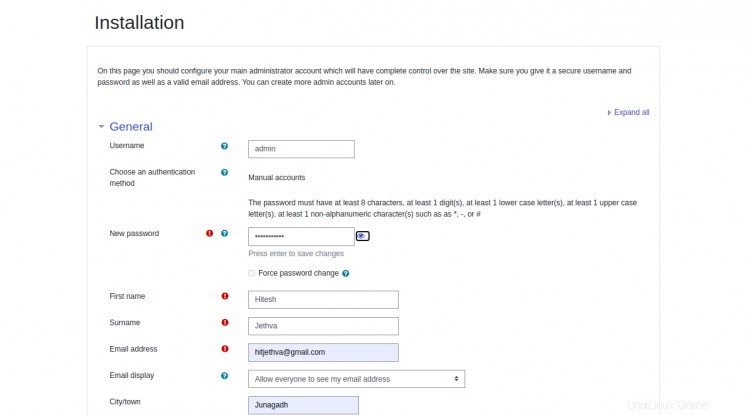
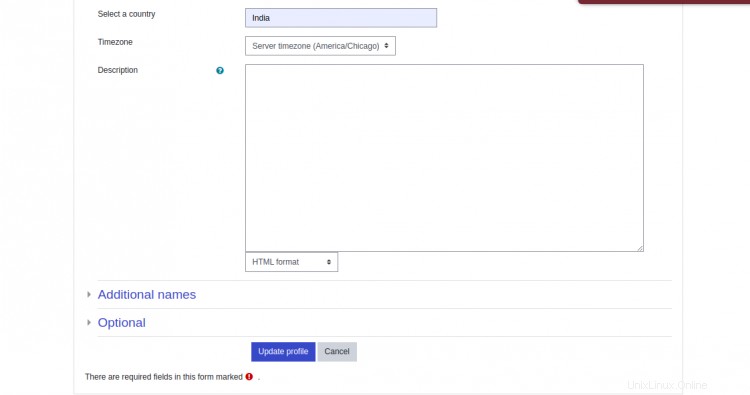
管理者のユーザー名、パスワード、メールアドレス、国、タイムゾーンを入力し、更新をクリックします プロフィール。次のページが表示されます:
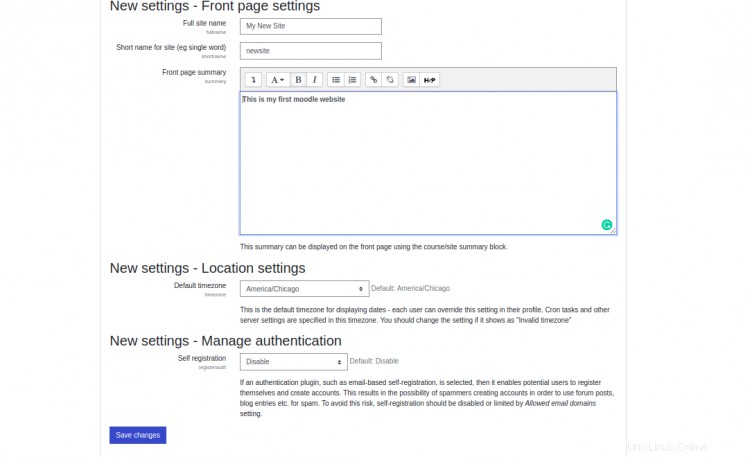
フロントページの設定を入力し、保存をクリックします 変更 ボタンをクリックして変更を保存します。
次に、CertbotツールをインストールしてLet's Encrypt SSLをダウンロードし、このSSLを使用するようにNginxを構成する必要があります。
まず、次のコマンドを使用してCertbotをインストールします。
apt-get install python3-certbot-nginx -y
インストールしたら、次のコマンドを実行してすべてのSSLをダウンロードし、それを使用するようにNginxを構成します。
certbot --nginx -d moodle.example.com
以下に示すように、有効なメールアドレスを入力し、利用規約に同意するよう求められます。
Saving debug log to /var/log/letsencrypt/letsencrypt.log
Plugins selected: Authenticator nginx, Installer nginx
Enter email address (used for urgent renewal and security notices) (Enter 'c' to
cancel): [email protected]

- - - - - - - - - - - - - - - - - - - - - - - - - - - - - - - - - - - - - - - -
Please read the Terms of Service at
https://letsencrypt.org/documents/LE-SA-v1.2-November-15-2017.pdf. You must
agree in order to register with the ACME server at
https://acme-v02.api.letsencrypt.org/directory
- - - - - - - - - - - - - - - - - - - - - - - - - - - - - - - - - - - - - - - -
(A)gree/(C)ancel: A

- - - - - - - - - - - - - - - - - - - - - - - - - - - - - - - - - - - - - - - -
Would you be willing to share your email address with the Electronic Frontier
Foundation, a founding partner of the Let's Encrypt project and the non-profit
organization that develops Certbot? We'd like to send you email about our work
encrypting the web, EFF news, campaigns, and ways to support digital freedom.
- - - - - - - - - - - - - - - - - - - - - - - - - - - - - - - - - - - - - - - -
(Y)es/(N)o: Y
Obtaining a new certificate
Performing the following challenges:
http-01 challenge for moodle.example.com
Waiting for verification...
Cleaning up challenges
Deploying Certificate to VirtualHost /etc/nginx/conf.d/moodle.conf
次に、以下に示すように、HTTPトラフィックをHTTPSにリダイレクトするかどうかを選択します。
Please choose whether or not to redirect HTTP traffic to HTTPS, removing HTTP access.
- - - - - - - - - - - - - - - - - - - - - - - - - - - - - - - - - - - - - - - -
1: No redirect - Make no further changes to the webserver configuration.
2: Redirect - Make all requests redirect to secure HTTPS access. Choose this for
new sites, or if you're confident your site works on HTTPS. You can undo this
change by editing your web server's configuration.
- - - - - - - - - - - - - - - - - - - - - - - - - - - - - - - - - - - - - - - -
Select the appropriate number [1-2] then [enter] (press 'c' to cancel): 2
2と入力し、Enterキーを押して続行します。次の出力が表示されます。
Redirecting all traffic on port 80 to ssl in /etc/nginx/conf.d/moodle.conf

- - - - - - - - - - - - - - - - - - - - - - - - - - - - - - - - - - - - - - - -
Congratulations! You have successfully enabled https://moodle.example.com

You should test your configuration at:
https://www.ssllabs.com/ssltest/analyze.html?d=moodle.example.com
- - - - - - - - - - - - - - - - - - - - - - - - - - - - - - - - - - - - - - - -

IMPORTANT NOTES:
 - Congratulations! Your certificate and chain have been saved at:
   /etc/letsencrypt/live/moodle.example.com/fullchain.pem
   Your key file has been saved at:
   /etc/letsencrypt/live/moodle.example.com/privkey.pem
   Your cert will expire on 2021-05-23. To obtain a new or tweaked
   version of this certificate in the future, simply run certbot again
   with the "certonly" option. To non-interactively renew *all* of
   your certificates, run "certbot renew"
 - Your account credentials have been saved in your Certbot
   configuration directory at /etc/letsencrypt. You should make a
   secure backup of this folder now. This configuration directory will
   also contain certificates and private keys obtained by Certbot so
   making regular backups of this folder is ideal.
 - If you like Certbot, please consider supporting our work by:

   Donating to ISRG / Let's Encrypt:   https://letsencrypt.org/donate
   Donating to EFF:                    https://eff.org/donate-le

 - We were unable to subscribe you the EFF mailing list because your
   e-mail address appears to be invalid. You can try again later by
   visiting https://act.eff.org.
これで、URL http://moodle.example.comを使用してMoodleウェブサイトにアクセスできます。
おめでとう!これで、Ubuntu20.04にNginxとLet'sEncryptSSLを使用してMoodleが正常にインストールされました。これで、Moodleを使用して独自の学習管理システムを簡単に作成できます。