Joomlaは、オンラインアプリケーションやWebサイトの公開に使用されるオープンソースのコンテンツ管理システムです。これはPHPで記述されており、データベースのバックエンドとしてMySQL/MariaDBを使用します。これはシンプルでユーザーフレンドリーで、モバイル対応のモデル-ビュー-コントローラーWebアプリケーションフレームワークに基づいて構築されています。 Joomlaには、プロフェッショナルなサイトを構築するための優れた機能とデザインが豊富に用意されています。
このチュートリアルでは、Apacheを使用してJoomla CMSをインストールし、Ubuntu20.04でLet'sEncryptSSLを使用して保護する方法を示します。
- 2GBのRAMを搭載したUbuntu20.04を実行しているサーバー。
- サーバーで指定された有効なドメイン名。
- ルートパスワードはサーバーで構成されています。
LAMPサーバーをインストールする
まず、Apache Webサーバー、MariaDB、PHP、およびその他のPHP拡張機能をシステムにインストールする必要があります。次のコマンドを使用してインストールできます:
apt-get install apache2 mariadb-server php7.4 libapache2-mod-php7.4 php7.4-cli php7.4-mysql php7.4-json php7.4-opcache php7.4-mbstring php7.4-intl php7.4-xml php7.4-gd php7.4-zip php7.4-curl php7.4-xmlrpc unzip -y
すべてのパッケージがインストールされたら、php.iniファイルを編集し、いくつかの設定を変更します。
nano /etc/php/7.4/apache2/php.ini
次の値を変更します。
memory_limit = 512M
upload_max_filesize = 256M
post_max_size = 256M
output_buffering = Off
max_execution_time = 300
date.timezone = Asia/Kolkata
終了したら、ファイルを保存して閉じます。
まず、MariaDBのインストールを保護し、次のコマンドを使用してMariaDBのrootパスワードを設定します。
mysql_secure_installation
以下に示すように、すべての質問に答えてください。
Enter current password for root (enter for none):
Set root password? [Y/n] Y
New password:
Re-enter new password:
Remove anonymous users? [Y/n] Y
Disallow root login remotely? [Y/n] Y
Remove test database and access to it? [Y/n] Y
Reload privilege tables now? [Y/n] Y
次に、次のコマンドを使用してMariaDBシェルにログインします。
mysql -u root -p
プロンプトが表示されたらMariaDBrootパスワードを入力し、次のコマンドを使用してJoomlaのデータベースとユーザーを作成します。
MariaDB [(none)]> CREATE DATABASE joomladb CHARACTER SET utf8mb4 COLLATE utf8mb4_general_ci;
MariaDB [(none)]> GRANT ALL ON joomladb.* TO 'joomla'@'localhost' IDENTIFIED BY 'password';
次に、特権をフラッシュし、次のコマンドを使用してMariaDBシェルを終了します。
MariaDB [(none)]> FLUSH PRIVILEGES;
MariaDB [(none)]> EXIT;
Joomlaをダウンロードしてインストールする
まず、次のコマンドを使用して、公式WebサイトからJoomlaの最新バージョンをダウンロードします。
wget https://downloads.joomla.org/cms/joomla3/3-9-18/Joomla_3-9-18-Stable-Full_Package.zip
ダウンロードが完了したら、次のコマンドを使用して、ダウンロードしたファイルをApacheWebルートディレクトリに解凍します。
unzip Joomla_3-9-18-Stable-Full_Package.zip -d /var/www/html/joomla
次に、次のコマンドを使用して、joomlaディレクトリの所有権をwww-dataに変更します。
chown -R www-data:www-data /var/www/html/joomla
終了したら、次のステップに進むことができます。
Joomla用にApacheを設定
次に、Joomlaにサービスを提供するための新しいApache仮想ホスト構成ファイルを作成します。
nano /etc/apache2/sites-available/joomla.conf
次のコンテンツを追加します:
<VirtualHost *:80>
  ServerName joomla.linuxbuz.com
  DirectoryIndex index.html index.php
  DocumentRoot /var/www/html/joomla

  ErrorLog ${APACHE_LOG_DIR}/joomla-error.log
  CustomLog ${APACHE_LOG_DIR}/joomla-access.log combined

  <Directory /var/www/html/joomla>
      Options FollowSymLinks
      AllowOverride All
      Require all granted
  </Directory>

</VirtualHost>
ファイルを保存して閉じてから、Apache仮想ホストを有効にし、次のコマンドを使用してApacheサービスを再起動します。
a2ensite joomla
systemctl restart apache2
終了したら、次のステップに進むことができます。
まず、Let's Encrypt SSLをインストールして管理するために、Certbotクライアントをインストールする必要があります。次のコマンドでインストールできます:
apt-get install certbot python3-certbot-apache -y
Certbotがインストールされたら、次のコマンドを実行して、Webサイト用のLet'sEncryptSSLをダウンロードしてインストールします。
certbot --apache -d joomla.linuxbuz.com
以下に示すように、メールアドレスを入力し、利用規約に同意するよう求められます。
Saving debug log to /var/log/letsencrypt/letsencrypt.log
Plugins selected: Authenticator apache, Installer apache
Enter email address (used for urgent renewal and security notices) (Enter 'c' to
cancel): [email protected]

- - - - - - - - - - - - - - - - - - - - - - - - - - - - - - - - - - - - - - - -
Please read the Terms of Service at
https://letsencrypt.org/documents/LE-SA-v1.2-November-15-2017.pdf. You must
agree in order to register with the ACME server at
https://acme-v02.api.letsencrypt.org/directory
- - - - - - - - - - - - - - - - - - - - - - - - - - - - - - - - - - - - - - - -
(A)gree/(C)ancel: A

- - - - - - - - - - - - - - - - - - - - - - - - - - - - - - - - - - - - - - - -
Would you be willing to share your email address with the Electronic Frontier
Foundation, a founding partner of the Let's Encrypt project and the non-profit
organization that develops Certbot? We'd like to send you email about our work
encrypting the web, EFF news, campaigns, and ways to support digital freedom.
- - - - - - - - - - - - - - - - - - - - - - - - - - - - - - - - - - - - - - - -
(Y)es/(N)o: Y

Obtaining a new certificate
Performing the following challenges:
http-01 challenge for joomla.linuxbuz.com
Enabled Apache rewrite module
Waiting for verification...
Cleaning up challenges
Created an SSL vhost at /etc/apache2/sites-available/joomla-le-ssl.conf
Enabled Apache socache_shmcb module
Enabled Apache ssl module
Deploying Certificate to VirtualHost /etc/apache2/sites-available/joomla-le-ssl.conf
Enabling available site: /etc/apache2/sites-available/joomla-le-ssl.conf
次に、以下に示すように、HTTPトラフィックをHTTPSにリダイレクトするかどうかを選択します。
Please choose whether or not to redirect HTTP traffic to HTTPS, removing HTTP access.
- - - - - - - - - - - - - - - - - - - - - - - - - - - - - - - - - - - - - - - -
1: No redirect - Make no further changes to the webserver configuration.
2: Redirect - Make all requests redirect to secure HTTPS access. Choose this for
new sites, or if you're confident your site works on HTTPS. You can undo this
change by editing your web server's configuration.
- - - - - - - - - - - - - - - - - - - - - - - - - - - - - - - - - - - - - - - -
Select the appropriate number [1-2] then [enter] (press 'c' to cancel): 2
2と入力します Enterを押します 以下に示すようにインストールを完了します。
Redirecting vhost in /etc/apache2/sites-enabled/joomla.conf to ssl vhost in /etc/apache2/sites-available/joomla-le-ssl.conf

- - - - - - - - - - - - - - - - - - - - - - - - - - - - - - - - - - - - - - - -
Congratulations! You have successfully enabled https://joomla.linuxbuz.com

You should test your configuration at:
https://www.ssllabs.com/ssltest/analyze.html?d=joomla.linuxbuz.com
- - - - - - - - - - - - - - - - - - - - - - - - - - - - - - - - - - - - - - - -

IMPORTANT NOTES:
 - Congratulations! Your certificate and chain have been saved at:
   /etc/letsencrypt/live/joomla.linuxbuz.com/fullchain.pem
   Your key file has been saved at:
   /etc/letsencrypt/live/joomla.linuxbuz.com/privkey.pem
   Your cert will expire on 2020-08-19. To obtain a new or tweaked
   version of this certificate in the future, simply run certbot again
   with the "certonly" option. To non-interactively renew *all* of
   your certificates, run "certbot renew"
 - Your account credentials have been saved in your Certbot
   configuration directory at /etc/letsencrypt. You should make a
   secure backup of this folder now. This configuration directory will
   also contain certificates and private keys obtained by Certbot so
   making regular backups of this folder is ideal.
 - If you like Certbot, please consider supporting our work by:

   Donating to ISRG / Let's Encrypt:   https://letsencrypt.org/donate
   Donating to EFF:                    https://eff.org/donate-le

 - We were unable to subscribe you the EFF mailing list because your
   e-mail address appears to be invalid. You can try again later by
   visiting https://act.eff.org.
この時点で、JoomlaWebサイトはLet'sEncryptSSLで保護されています。これで、次のステップに進むことができます。
JoomlaCMSにアクセス
次に、Webブラウザーを開き、URLhttps://joomla.linuxbuz.comを入力します。 JoomlaのWebベースのインストールウィザードにリダイレクトされます:
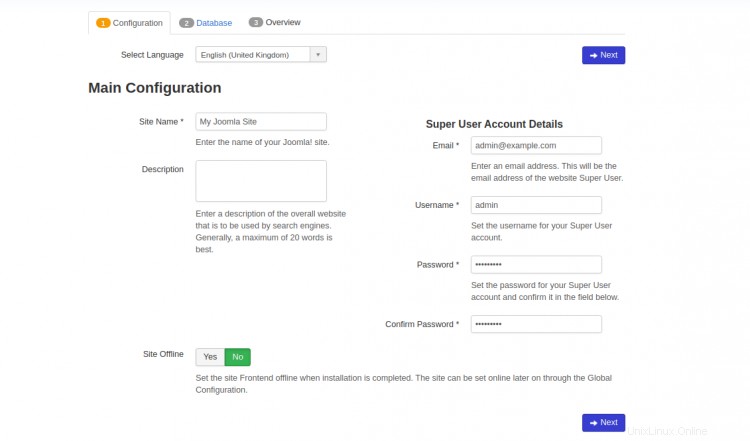
サイト名、管理者の電子メール、パスワードを入力し、次へをクリックします ボタン。データベース構成ウィザードが表示されます:
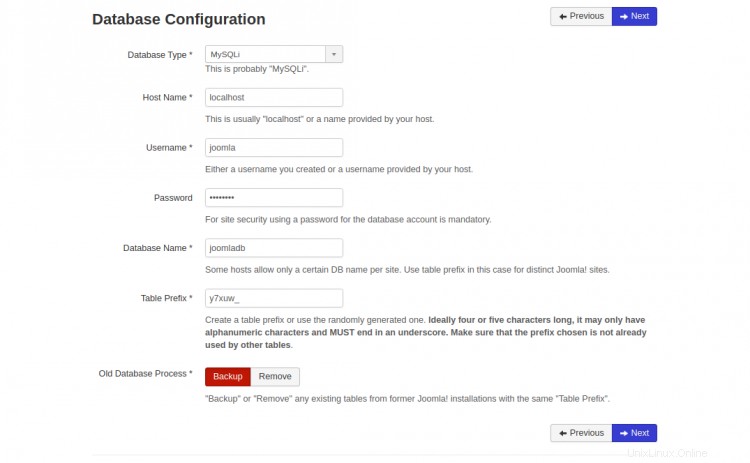
Joomlaデータベース名、データベースユーザー名、パスワードを入力し、次へをクリックします ボタン。 Joomlaのファイナライズページが表示されます:
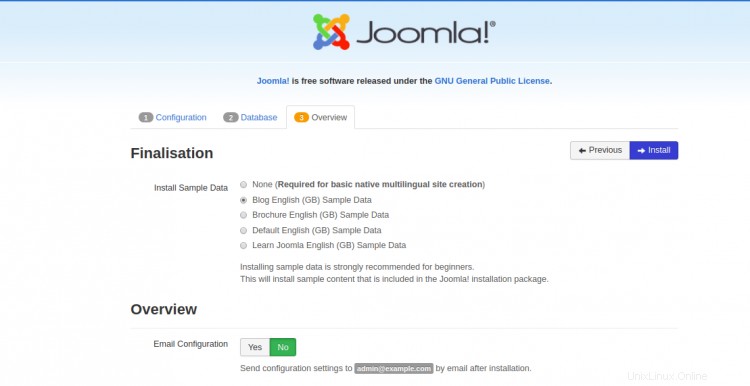
目的のオプションを選択し、インストールをクリックします ボタン。次のページが表示されます:
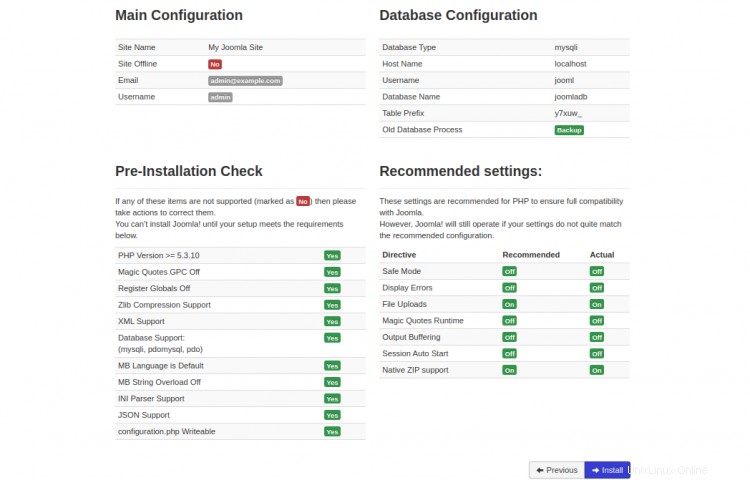
すべての構成を確認し、[インストール]ボタンをクリックします。 Joomlaをインストールすると、次の画面が表示されます。
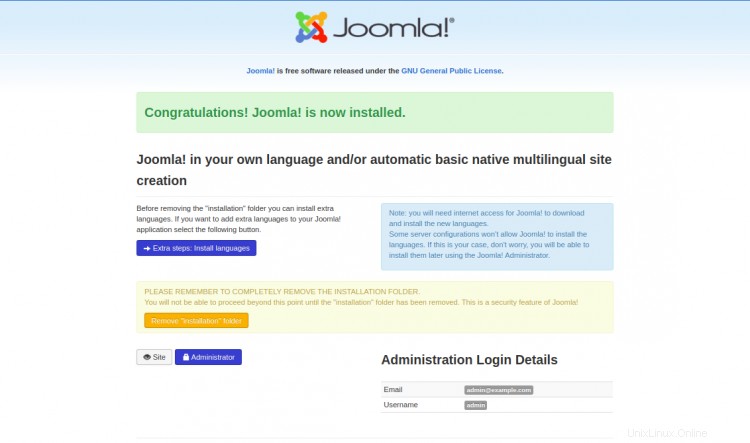
次に、インストールディレクトリを削除し、管理者をクリックします。 ボタン。 Joomlaのログインページが表示されます:
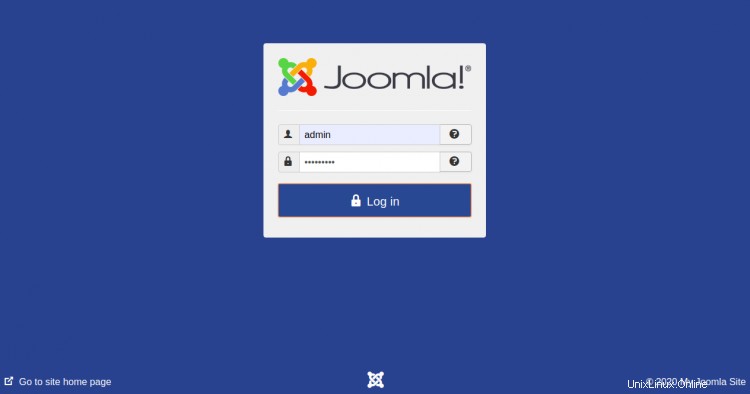
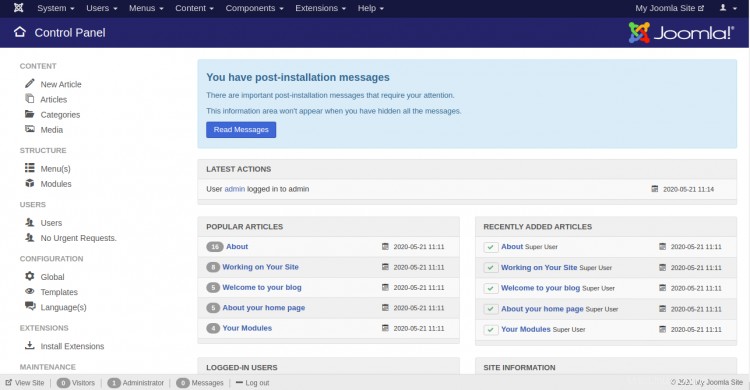
Joomlaのユーザー名とパスワードを入力し、ログをクリックします で ボタン。次のページにJoomlaダッシュボードが表示されます。
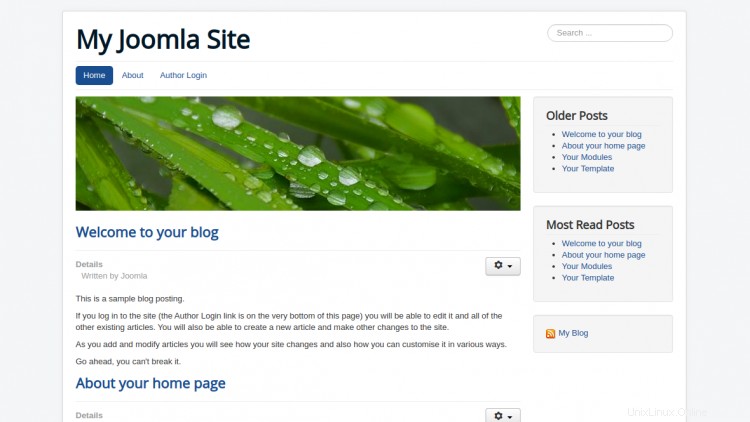
URL https://joomla.linuxbuz.comにアクセスして、JoomlaWebサイトにアクセスすることもできます。次のページにJoomlaのWebサイトが表示されます。
おめでとう!これで、Ubuntu20.04にLet'sEncryptを使用してJoomlaを正常にインストールして保護できました。これで、eコマースストア、個人のWebサイト、ソーシャルサイト、またはブログを簡単に構築できます。ご不明な点がございましたら、お気軽にお問い合わせください。