Hugoは、小規模なプロジェクトや有益なサイト向けに設計されたオープンソースの静的Webサイトジェネレーターです。 Go言語で記述されているため、非常に安全で非常に高速です。 Hugoは優れたライティング体験を提供し、Webサイトの表示用に最適化されています。 Hugoサイトを実行するために、PHP、Python、データベースなどの依存関係をインストールする必要はありません。
このチュートリアルでは、Ubuntu20.04にHugoサイトジェネレーターをインストールして使用する方法を示します。
前提条件
- Atlantic.Netクラウドプラットフォーム上の新しいUbuntu20.04VPS
- サーバーで構成されているrootパスワード
ステップ1-Atlantic.Netクラウドサーバーを作成する
まず、Atlantic.Netクラウドサーバーにログインします。少なくとも1GBのRAMを搭載したオペレーティングシステムとしてUbuntu20.04を選択して、新しいサーバーを作成します。 SSH経由でクラウドサーバーに接続し、ページの上部で強調表示されているクレデンシャルを使用してログインします。
Ubuntu 20.04サーバーにログインしたら、次のコマンドを実行して、ベースシステムを最新の利用可能なパッケージで更新します。
apt-get update -y
ステップ2–Hugoをインストールする
wget https://github.com/gohugoio/hugo/releases/download/v0.79.0/hugo_0.79.0_Linux-64bit.deb
パッケージがダウンロードされたら、次のコマンドでインストールできます。
dpkg -i hugo_0.79.0_Linux-64bit.deb
依存関係エラーが表示された場合は、次のコマンドで解決できます。
apt-get install -f
Hugoをインストールした後、次のコマンドを使用して、インストールされているHugoのバージョンを確認します。
hugo version
次の出力が得られるはずです:
Hugo Static Site Generator v0.79.0-1415EFDC linux/amd64 BuildDate: 2020-11-27T09:09:02Z
ステップ3–Hugoを使用してWebサイトを作成する
まず、以下に示すように、hugoコマンドを使用してweb1.doamin.comという名前の新しいWebサイトを作成します。
hugo new site web1.domain.com
次の出力が得られるはずです:
Congratulations! Your new Hugo site is created in /root/web1.domain.com.

Just a few more steps and you're ready to go:

1.Download a theme into the same-named folder.
Choose a theme from https://themes.gohugo.io/ or
create your own with the "hugo new theme <THEMENAME>" command.
2. Perhaps you want to add some content. You can add single files
with "hugo new <SECTIONNAME>/<FILENAME>.<FORMAT>".
3. Start the built-in live server via "hugo server".
Visit https://gohugo.io/ for quickstart guide and full documentation.
次のコマンドを使用して、Hugoによって生成されたすべてのファイルとディレクトリのリストを表示できます。
ls web1.domain.com
出力:
archetypes config.toml content data layouts static themes
ステップ4–最初のページを作成する
次に、ディレクトリをWebサイトに変更し、次のコマンドを使用してmain.mdという名前の新しいページを作成します。
cd web1.domain.com
hugo new main.md
次の出力が得られるはずです:
/root/web1.domain.com/content/main.md created
次に、main.mdページを編集して、コンテンツを追加します。
nano content/main.md
ファイルの最後に次の行を追加します。
# Test Page
This is my first test page.
終了したら、ファイルを保存して閉じます。
ステップ5–テーマをダウンロードしてインストールする
まず、ディレクトリをテーマに変更し、次のコマンドを使用してHugoテーマをダウンロードします。
cd web1.domain.com/themes
wget https://github.com/digitalcraftsman/hugo-strata-theme/archive/master.zip
ダウンロードしたら、次のコマンドでダウンロードしたファイルを解凍します。
unzip master.zip
次に、次のコマンドを使用して、抽出したディレクトリの名前を変更します。
mv hugo-strata-theme-master hugo-strata-theme
次に、themesディレクトリ内にあるconfig.tomlファイルからデフォルトのconfig.tomlファイルにサンプルコンテンツをコピーします。
cat hugo-strata-theme/exampleSite/config.toml > ../config.toml
次に、次のコマンドを使用してconfig.tomlファイルを編集します。
nano ../config.toml
ベースURLを変更し、以下に示すようにページ名を定義します。
baseurl = "/"
[[menu.main]]
name = "main"
url  = "main"
weight = 5
ファイルを保存して閉じ、次のコマンドを使用してランディングページレイアウトファイルを作成します。
nano /root/web1.domain.com/layouts/index.html
次の行を追加します:
{{ define "main" }}
{{ if not .Site.Params.about.hide }}
{{ partial "about" . }}
{{ end }}

{{ if not .Site.Params.portfolio.hide }}
{{ partial "portfolio" . }}
{{ end }}

{{ if not .Site.Params.recentposts.hide }}
{{ partial "recent-posts" . }}
{{ end }}

{{ if not .Site.Params.contact.hide }}
{{ partial "contact" . }}
{{ end }}
{{ end }}
ファイルを保存して閉じます。
ステップ6–ウェブサイトを構築する
次に、ディレクトリをWebサイトに変更し、次のコマンドを使用してHugoWebサイトを構築します。
cd /root/web1.domain.com
hugo
次の出力が得られるはずです:
Start building sites …
WARN 2020/12/06 09:21:44 Page.Hugo is deprecated and will be removed in a future release.
Use the global hugo function.
WARN 2020/12/06 09:21:44 Page.RSSLink is deprecated and will be removed in a future release.
Use the Output Format's link, e.g. something like:
{{ with .OutputFormats.Get "RSS" }}{{ .RelPermalink }}{{ end }}

| EN
-------------------+-----
Pages            |  7
Paginator pages  |  0
Non-page files   |  0
Static files     | 26
Processed images |  0
Aliases          |  2
Sitemaps         |  1
Cleaned          |  0
次に、以下に示すようにサーバーIPを指定して、Hugoサーバーを起動します。
hugo server --bind=0.0.0.0 --baseUrl=http://your-server-ip -D -F
次の出力が得られるはずです:
Start building sites …
WARN 2020/12/06 09:22:02 Page.Hugo is deprecated and will be removed in a future release.
Use the global hugo function.
WARN 2020/12/06 09:22:02 Page.RSSLink is deprecated and will be removed in a future release.
Use the Output Format's link, e.g. something like:
{{ with .OutputFormats.Get "RSS" }}{{ .RelPermalink }}{{ end }}
| EN
-------------------+-----
Pages | 11
Paginator pages | 0
Non-page files | 0
Static files | 26
Processed images | 0
Aliases | 3
Sitemaps | 1
Cleaned | 0
Built in 35 ms
Watching for changes in /root/web1.domain.com/{archetypes,content,data,layouts,static,themes}
Watching for config changes in /root/web1.domain.com/config.toml
Environment: "development"
Serving pages from memory
Running in Fast Render Mode. For full rebuilds on change: hugo server --disableFastRender
Web Server is available at http://69.87.216.179:1313/ (bind address 0.0.0.0)
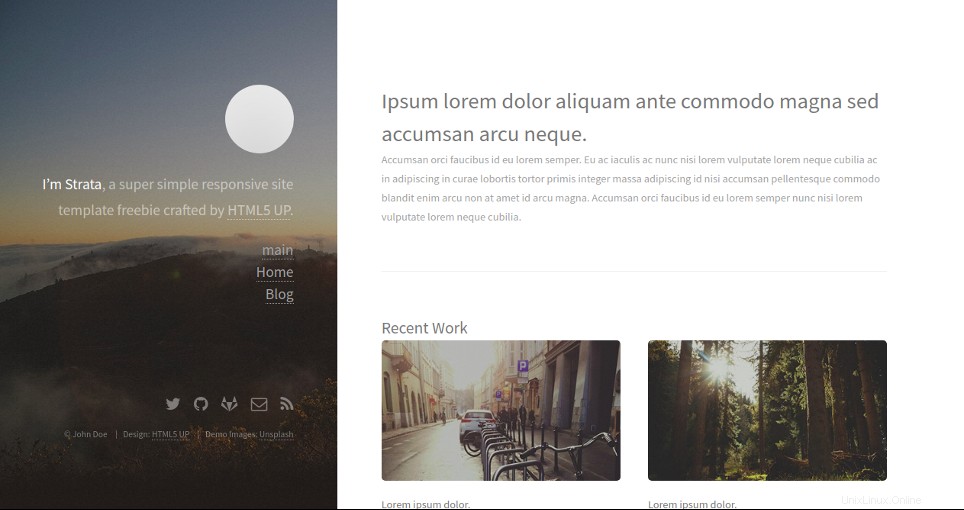
Press Ctrl+C to stop ステップ7– HugoWebUIにアクセスする
次に、Webブラウザーを開き、URL http:// your-server-ip:1313を入力します。 。次の画面にHugoダッシュボードが表示されます。
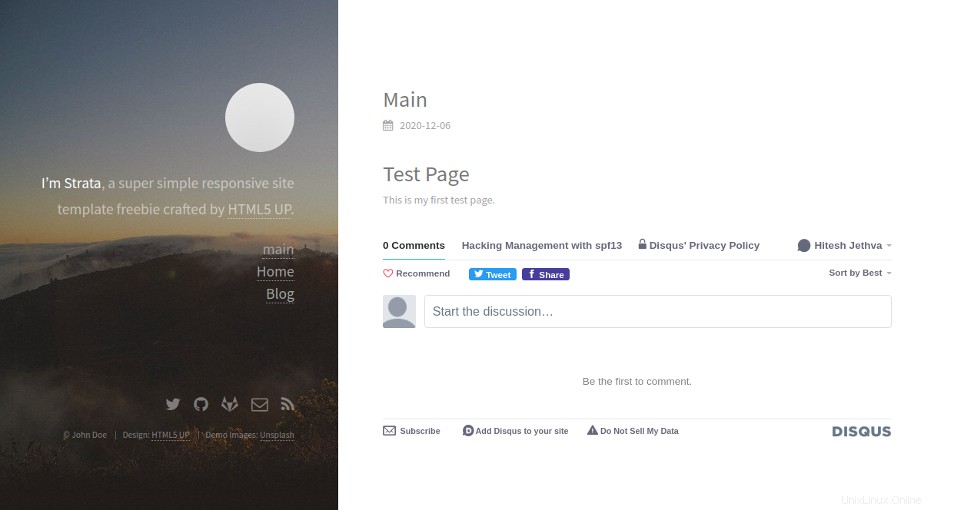
メインをクリックします 左ペインにあります。次の画面にページが表示されます:
結論
上記のガイドでは、HugoをインストールしてUbuntu20.04で静的Webサイトを生成する方法を学びました。これで、Hugoを使用して独自の静的Webサイトを簡単に構築するための十分な知識が得られます。 Atlantic.NetのVPSホスティングで今すぐお試しください!