Seafileは、Linux用の無料のオープンソースのセルフホストファイル共有ソリューションです。これは、中央サーバーにファイルを保存し、それらをパーソナルコンピューターまたはモバイルデバイスと同期するために使用できるクロスプラットフォームのファイルホスティングソフトウェアです。 SeafileはPythonDjangoフレームワークで記述されており、機能的にはDropboxやGoogleドライブと非常によく似ています。ファイルの暗号化、バージョン管理、2要素認証、オンライン編集、ファイルロックなど、多くの機能があります。
このチュートリアルでは、CentOS8にリバースプロキシとしてNginxを使用してSeafileをインストールする方法を示します。
前提条件
- Atlantic.Netクラウドプラットフォーム上の新しいCentOS8VPS
- サーバーIPを指す有効なドメイン名
- サーバーにルートパスワードが設定されています
ステップ1–Atlantic.Netクラウドサーバーを作成する
まず、Atlantic.Netクラウドサーバーにログインします。 2 GB以上のRAMを搭載したオペレーティングシステムとしてCentOS8を選択して、新しいサーバーを作成します。 SSH経由でクラウドサーバーに接続し、ページの上部で強調表示されているクレデンシャルを使用してログインします。
CentOS 8サーバーにログインしたら、次のコマンドを実行して、ベースシステムを最新の利用可能なパッケージで更新します。
yum update -y
ステップ2–必要な依存関係をインストールする
まず、システムにEPELリポジトリをインストールする必要があります。次のコマンドでインストールできます:
yum install epel-release -y
EPELリポジトリがインストールされたら、次のコマンドを使用して他の依存関係をインストールします。
yum install python3 python3-devel python3-setuptools gcc gcc-c++ freetype-devel python3-pip
python3-ldap memcached java-1.8.0-openjdk libmemcached libreoffice-headless libreoffice-pyuno
libffi-devel pwgen curl tar -y
すべての依存関係がインストールされたら、pipコマンドを使用して他の依存関係をインストールします。
pip3 install Pillow pylibmc captcha jinja2 sqlalchemy psd-tools django-pylibmc django-simple-
captcha
すべてのパッケージがインストールされたら、システムの再起動時にMemcachedサービスを開始できるようにします。
systemctl enable --now memcached
ステップ3–NginxとMariaDBをインストールする
次に、システムにNginxサーバーとMariaDBサーバーをインストールする必要があります。次のコマンドで両方のパッケージをインストールできます:
yum install nginx mariadb-server -y
インストールしたら、NginxおよびMariaDBサービスを開始し、システムの再起動時に開始できるようにします。
systemctl start nginx
systemctl start mariadb
systemctl enable nginx
systemctl enable mariadb
ステップ4–Seafile用のデータベースを作成する
まず、MariaDBルートパスワードを設定し、MariaDBインストールを保護する必要があります。次のスクリプトを使用して実行できます:
mysql_secure_installation
以下に示すように、すべての質問に答えてください。
Enter current password for root (enter for none):
Set root password? [Y/n] Y
New password:
Re-enter new password:
Remove anonymous users? [Y/n] Y
Disallow root login remotely? [Y/n] Y
Remove test database and access to it? [Y/n] Y
Reload privilege tables now? [Y/n] Y
次に、次のコマンドを使用してMariaDBシェルにログインします。
mysql -u root -p
ログインしたら、次のコマンドを使用してSeafileのデータベースを作成します。
create database `ccnetdb` character set = 'utf8';
create database `seafiledb` character set = 'utf8';
create database `seahubdb` character set = 'utf8';
次に、次のコマンドを使用してSeafileのユーザーを作成します。
create user 'seafile'@'localhost' identified by 'yourpassword';
次に、次のコマンドを使用して、ccnetdb、seafiledb、およびseahubdbにすべての特権を付与します。
GRANT ALL PRIVILEGES ON `ccnetdb`.* to `seafile`@localhost;
GRANT ALL PRIVILEGES ON `seafiledb`.* to `seafile`@localhost;
GRANT ALL PRIVILEGES ON `seahubdb`.* to `seafile`@localhost;
次に、特権をフラッシュし、次のコマンドを使用してMariaDBシェルを終了します。
FLUSH PRIVILEGES;
EXIT;
ステップ5–Seafileをインストールする
まず、次のコマンドを使用して最新バージョンのSeafileをダウンロードします。
wget https://s3.eu-central-1.amazonaws.com/download.seadrive.org/seafile-server_7.1.5_x86-
64.tar.gz
ダウンロードしたら、次のコマンドを使用してダウンロードしたファイルを抽出します。
tar -xvzf seafile-server_7.1.5_x86-64.tar.gz
次に、次のコマンドを使用して、抽出したディレクトリを/optに移動します。
mv seafile-server-* /opt/seafile
cd /opt/seafile
次に、ディレクトリを/ opt / seafileに変更し、次のスクリプトを実行してSeafileサーバーをセットアップします。
./setup-seafile-mysql.sh
以下に示すように、サーバー名、有効なドメイン名、およびデータベースの詳細を入力するように求められます。
Checking python on this machine ...

-----------------------------------------------------------------
This script will guide you to setup your seafile server using MySQL.
Make sure you have read seafile server manual at

https://download.seafile.com/published/seafile-manual/home.md

Press ENTER to continue
-----------------------------------------------------------------

What is the name of the server? It will be displayed on the client.
3 - 15 letters or digits
[ server name ] seafile

What is the ip or domain of the server?
For example: www.mycompany.com, 192.168.1.101
[ This server's ip or domain ] seafile.example.com

Which port do you want to use for the seafile fileserver?
[ default "8082" ]

-------------------------------------------------------
Please choose a way to initialize seafile databases:
-------------------------------------------------------

[1] Create new ccnet/seafile/seahub databases
[2] Use existing ccnet/seafile/seahub databases

[ 1 or 2 ] 2

What is the host of mysql server?
[ default "localhost" ]

What is the port of mysql server?
[ default "3306" ]

Which mysql user to use for seafile?
[ mysql user for seafile ] seafile

What is the password for mysql user "seafile"?
[ password for seafile ]

verifying password of user seafile ... done

Enter the existing database name for ccnet:
[ ccnet database ] ccnetdb

verifying user "seafile" access to database ccnetdb ... done

Enter the existing database name for seafile:
[ seafile database ] seafiledb

verifying user "seafile" access to database seafiledb ... done

Enter the existing database name for seahub:
[ seahub database ] seahubdb

verifying user "seafile" access to database seahubdb ... done
それぞれの詳細を注意深く提供してください。インストールが完了すると、次の出力が表示されます。
---------------------------------
This is your configuration
---------------------------------

server name: seafile
server ip/domain: seafile.example.com

seafile data dir: /opt/seafile-data
fileserver port: 8082

database: use existing
ccnet database: ccnetdb
seafile database: seafiledb
seahub database: seahubdb
database user: seafile

---------------------------------
Press ENTER to continue, or Ctrl-C to abort

-----------------------------------------------------------------
Your seafile server configuration has been finished successfully.
-----------------------------------------------------------------

run seafile server: ./seafile.sh { start | stop | restart }
run seahub server: ./seahub.sh { start <port> | stop | restart <port> }

-----------------------------------------------------------------
If you are behind a firewall, remember to allow input/output of these tcp ports:
-----------------------------------------------------------------

port of seafile fileserver: 8082
port of seahub: 8000

When problems occur, Refer to

https://download.seafile.com/published/seafile-manual/home.md

for information.
ステップ6–管理者アカウントを設定する
次に、Seafileにアクセスするための管理者アカウントを設定する必要があります。まず、次のコマンドでSeafileサービスを開始します。
/opt/seafile/seafile.sh start
次に、Seahubサービスを開始して、管理者パスワードを設定します。
/opt/seafile/seahub.sh start
以下に示すように、管理者のユーザー名とパスワードを設定するように求められます。
LC_ALL is not set in ENV, set to en_US.UTF-8
Starting seahub at port 8000 ...

----------------------------------------
It's the first time you start the seafile server. Now let's create the admin account
----------------------------------------

What is the email for the admin account?
[ admin email ] example@unixlinux.online

What is the password for the admin account?
[ admin password ]

Enter the password again:
[ admin password again ]

----------------------------------------
Successfully created seafile admin
----------------------------------------
次に、次のコマンドを使用してSeafileおよびSeahubサービスを停止します。
/opt/seafile/seafile.sh stop
/opt/seafile/seahub.sh stop
ステップ7–SeafileのSystemdサービスファイルを作成する
次に、サービスを管理するためにSeafileとSeahubのsystemdサービスファイルを作成する必要があります。まず、次のコマンドを使用してSeafileのサービスファイルを作成します。
nano /etc/systemd/system/seafile.service
次の行を追加します:
[Unit]
Description=Seafile
After= mysql.service
After=network.target

[Service]
Type=forking
ExecStart=/opt/seafile-server-latest/seafile.sh start
ExecStop=/opt/seafile-server-latest/seafile.sh stop

[Install]
WantedBy=multi-user.target
ファイルを保存して閉じ、次のコマンドを使用してSeahubのサービスファイルを作成します。
nano /etc/systemd/system/seahub.service
次の行を追加します:
[Unit]
Description=Seafile
After= mysql.service
After=network.target

[Service]
Type=forking
ExecStart=/opt/seafile-server-latest/seahub.sh start
ExecStop=/opt/seafile-server-latest/seahub.sh stop

[Install]
WantedBy=multi-user.target
ファイルを保存して閉じてから、次のコマンドを使用してsystemdデーモンをリロードします。
systemctl daemon-reload
次に、SeafileおよびSeahubサービスを開始し、次のコマンドを使用してシステムの再起動時に開始できるようにします。
systemctl start seafile
systemctl enable seafile
systemctl start seahub
systemctl enable seahub
この時点で、Seafileサーバーが起動し、ポート8000でリッスンしています。次のコマンドで確認できます。
ss -tunelp | grep 8000
次の出力が得られるはずです:
tcp LISTEN 0 128 127.0.0.1:8000 0.0.0.0:*
users:(("python3",pid=44925,fd=8),("python3",pid=44924,fd=8),("pyt
hon3",pid=44923,fd=8),("python3",pid=44922,fd=8),("python3",pid=44921,fd=8),("python3",pid=44916,fd=8)) ino:77620 sk:9
<->
ステップ8–Seafile用にNginxを構成する
次に、ポート80を使用してSeafileにアクセスするには、Nginxをリバースプロキシとして構成する必要があります。次のコマンドで構成できます。
nano /etc/nginx/conf.d/seafile.conf
次の行を追加します:
server {
listen 80;
listen [::]:80;
server_name seafile.example.com;
autoindex off;
client_max_body_size 100M;
access_log /var/log/nginx/seafile.com.access.log;
error_log /var/log/nginx/seafile.com.error.log;

location / {
proxy_pass http://127.0.0.1:8000;
proxy_set_header Host $host;
proxy_set_header X-Real-IP $remote_addr;
proxy_set_header X-Forwarded-For $proxy_add_x_forwarded_for;
proxy_set_header X-Forwarded-Host $server_name;
proxy_read_timeout 1200s;
}

location /seafhttp {
rewrite ^/seafhttp(.*)$ $1 break;
proxy_pass http://127.0.0.1:8082;
proxy_set_header X-Forwarded-For $proxy_add_x_forwarded_for;
proxy_connect_timeout 36000s;
proxy_read_timeout 36000s;
proxy_send_timeout 36000s;
send_timeout 36000s;
}

location /media {
root /opt/seafile-server-latest/seahub;
}
}
ファイルを保存して閉じてから、次のコマンドでNginxサービスを再起動します。
systemctl restart nginx
エラーが発生した場合は、Nginx.confファイルを編集します。
nano /etc/nginx/nginx.conf
http {:
の下に次の行を追加しますserver_names_hash_bucket_size 64;
ファイルを保存して閉じてから、Nginxサービスを再起動します:
systemctl restart nginx
ステップ9–SeafileWebインターフェースにアクセスする
この時点で、NginxはSeafileを提供するように構成されています。次に、Webブラウザーを開き、URL http://seafile.example.comを使用してSeafileWebインターフェースにアクセスします。 。 Seafileログインページにリダイレクトされます:
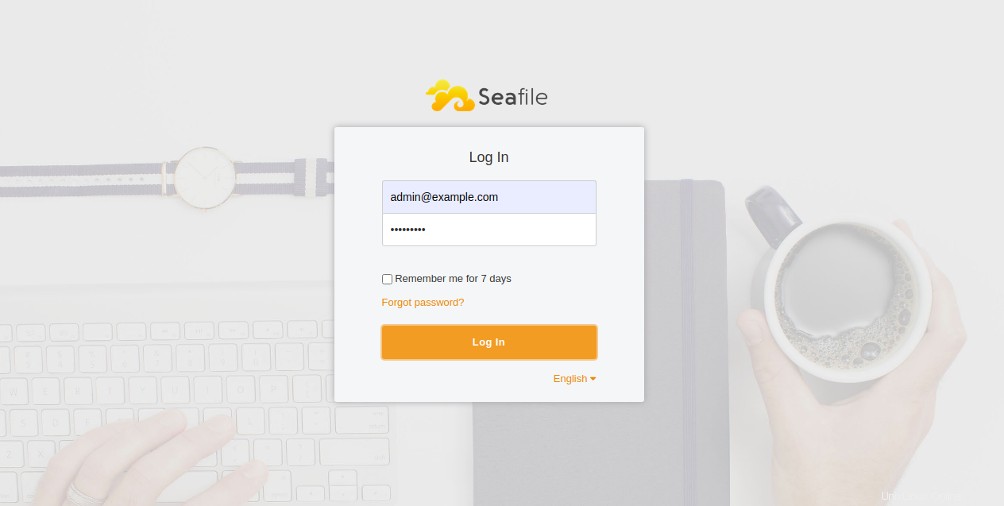
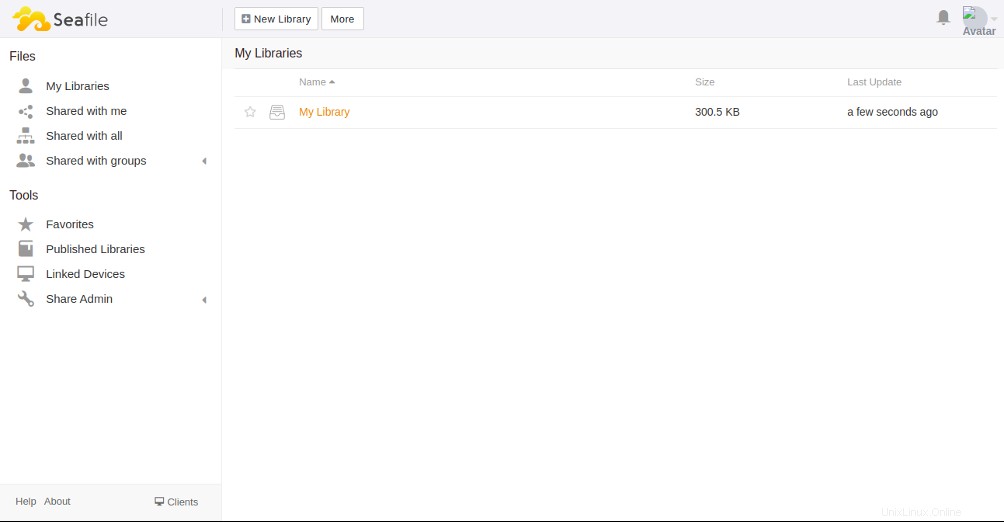
管理者のユーザー名とパスワードを入力し、ログインをクリックします ボタン。次のページにSeafileダッシュボードが表示されます。
結論
上記のチュートリアルでは、CentOS 8でリバースプロキシとしてNginxを使用してSeafileサーバーをインストールする方法を学習しました。これで、ファイルと個人の写真をSeafileサーバーにアップロードし、友達と共有して、コンピューターまたはモバイル機器。上記のチュートリアルを使用して、Atlantic.NetからVPSホスティングでSeafileを試してください!