Nmap、ネットワークマッパーとも呼ばれます は、ネットワーク管理者がネットワーク内の脆弱性とネットワーク検出をスキャンするために使用する無料のオープンソースツールです。
Nmapを使用すると、ネットワーク上で実行されているデバイスを検出し、開いているポートやサービスを検出できます。これらは、セキュリティで保護されていないか強化されていない場合、潜在的なハッカーが既知の脆弱性のセキュリティリスクを悪用する可能性があります。
次のチュートリアルでは、 Debian11BullseyeにNmapをインストールして基本的に使用する方法を学習します。
Nmapのインストール
デフォルトでは、NMAPはDebian11のリポジトリで利用できます。インストールを開始するには、次のコマンドを実行します。
sudo apt install nmap出力例:
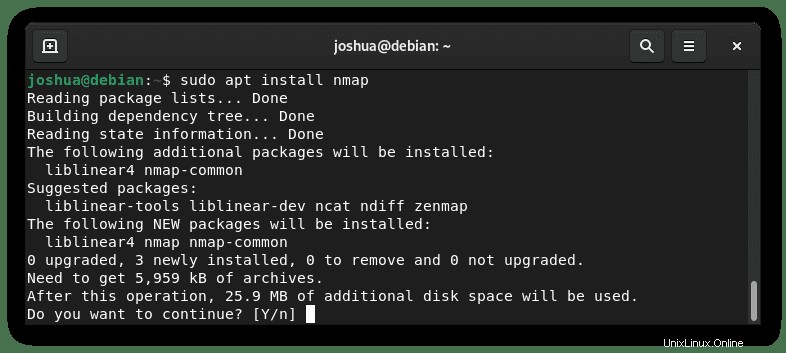
タイプY 、次にENTERキーを押します インストールを続行します。
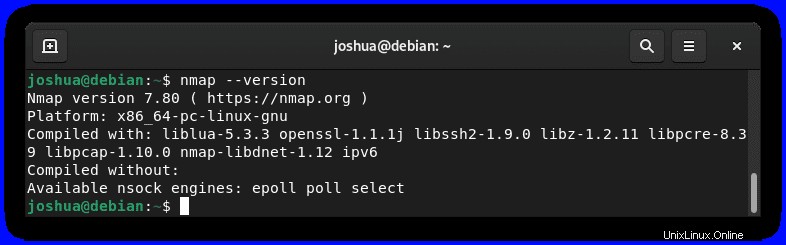
次に、バージョンとビルドを確認して、インストールを確認します。
nmap --version出力例:
Nmapスキャナーの使用方法
Nmapスキャナーの使用の概要では、最も一般的に使用されるアクションのいくつかについて説明します。 Nmapの仕組みは、nmapとターゲットIPアドレスまたはドメインアドレスをさまざまな追加フラグとともに使用することです。
警告!ホストの許可なしにスキャンを開始しないでください。問題がない場合でも、国の法律によっては結果に直面する可能性があり、場合によっては、ISPが悪意のあるアクティビティやIPアドレスを使用してアカウントをキャンセルする可能性があります。さらなる問題を引き起こす可能性のあるブラックリストに登録されています。
これは、ハッキングではなく、独自のプロパティとサービスのセキュリティテスト用に設計されています。
Nmapポート状態の定義
まず、始める前に、Nmapポートスキャナーを使用するときにポートの端末が何を示すかを知っておく必要があります。
- 閉鎖– ターゲットポートに到達できますが、リッスンまたは受け入れているアプリケーションはありません。
- オープン– ターゲットポートはTCP、UDP、またはSCTPのいずれかを受け入れています。
- フィルタリング– パケットフィルタリングが原因で、nmapがターゲットポートを開いているか閉じているかを正しく判断できません。
- フィルタリングされていない– ポートは到達可能ですが、nmapによって開いているか閉じているかを判断することはできません。
- クローズ|フィルタリング– nmapはターゲットに到達し、nmapはポートが開いているか閉じているかを判別できません。
- open | filtered – nmapは、ポートが開いているかフィルタリングされているかを判別できません。
スキャンホスト
ホストをスキャンします。これは内部または外部のどちらでもかまいません。これは、サーバーにインストールして、システムのセキュリティをさらに強化するためにロックダウンが必要な開いているローカルポートをスイープするのに適したオプションです。
最初の例は、IPアドレスを使用しています。
例:
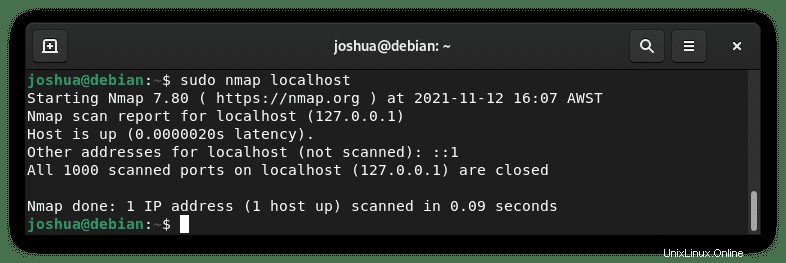
sudo nmap [IP address] or [website address]または、内部でスキャンするには、以下を使用します。
例:
sudo nmap localhost出力例:
スキャンをすばやく実行するには、 -Fを使用できます フラグ。
例:
sudo nmap -F [IP address] or [website address]スキャンするときに、特定のホストをスキャンする場合は、指定できます。
例:
sudo nmap [IP address],[IP address],[IP address]または、既知の場合はサブネット全体をスキャンすることもできます。
例:
sudo nmap [IP address]/24オペレーティングシステムスキャン
Nmapに、ターゲットシステムで実行されているオペレーティングシステムを特定するように指示するオペレーティングシステムスキャンを開始します。ターゲットアドレスがロックダウンされ、ポートがフィルタリングまたは閉じられている場合、結果は信頼性が低く、まったく役に立たない(良好な結果)。
例:
sudo nmap -O --osscan-guess [IP address] or [website address]カスタムポートスキャンを開始します。これは、各プロトコルの上位1000の共通ポートでカバーされていない特定のポートをチェックする場合に役立ちます。これは、 -pを追加することによって行われます。 国旗。
例:
sudo nmap –p 80,443,8080,9090 [IP address] or [website address]サービススキャン
開いているポートを調査することにより、ターゲットで実行されているサービスを確認するようにNmapに指示するサービススキャンを開始します。一般的に使用されるポートの中には、多くの情報を取得しないものもありますが、特定のまれに共有されるポートを使用することがわかっているポートは、開いているとはるかに良い結果を示します。
例:
sudo nmap -sV [IP address] or [website address]TCPSYNスキャン
TCP SYNスキャンを開始します(SYN / Connect()/ ACK / Window / Maimon) 。このタイプのスキャンは、ハーフオープン接続スキャンと呼ばれることが多く、完全に完了することはありません。この方法はDDoSに使用されますが、ボットネットを使用する場合は大規模です。
例:
sudo nmap -sS [IP address] or [website address]Nmapヘルプ
全体として、Nmapには多くの機能と組み合わせがあります。理想的には、これらの詳細については、次のコマンドを使用して、スキャンで使用できるコマンドとオプションのフラグのリストを表示してください。
sudo nmap --help出力例:
Nmap 7.80 ( https://nmap.org )
Usage: nmap [Scan Type(s)] [Options] {target specification}
TARGET SPECIFICATION:
  Can pass hostnames, IP addresses, networks, etc.
  Ex: scanme.nmap.org, microsoft.com/24, 192.168.0.1; 10.0.0-255.1-254
  -iL <inputfilename>: Input from list of hosts/networks
  -iR <num hosts>: Choose random targets
  --exclude <host1[,host2][,host3],...>: Exclude hosts/networks
  --excludefile <exclude_file>: Exclude list from file
HOST DISCOVERY:
  -sL: List Scan - simply list targets to scan
  -sn: Ping Scan - disable port scan
  -Pn: Treat all hosts as online -- skip host discovery
  -PS/PA/PU/PY[portlist]: TCP SYN/ACK, UDP or SCTP discovery to given ports
  -PE/PP/PM: ICMP echo, timestamp, and netmask request discovery probes
  -PO[protocol list]: IP Protocol Ping
  -n/-R: Never do DNS resolution/Always resolve [default: sometimes]
  --dns-servers <serv1[,serv2],...>: Specify custom DNS servers
  --system-dns: Use OS's DNS resolver
  --traceroute: Trace hop path to each host
SCAN TECHNIQUES:
  -sS/sT/sA/sW/sM: TCP SYN/Connect()/ACK/Window/Maimon scans
  -sU: UDP Scan
  -sN/sF/sX: TCP Null, FIN, and Xmas scans
  --scanflags <flags>: Customize TCP scan flags
  -sI <zombie host[:probeport]>: Idle scan
  -sY/sZ: SCTP INIT/COOKIE-ECHO scans
  -sO: IP protocol scan
  -b <FTP relay host>: FTP bounce scan
PORT SPECIFICATION AND SCAN ORDER:
  -p <port ranges>: Only scan specified ports
    Ex: -p22; -p1-65535; -p U:53,111,137,T:21-25,80,139,8080,S:9
  --exclude-ports <port ranges>: Exclude the specified ports from scanning
  -F: Fast mode - Scan fewer ports than the default scan
  -r: Scan ports consecutively - don't randomize
  --top-ports <number>: Scan <number> most common ports
  --port-ratio <ratio>: Scan ports more common than <ratio>
SERVICE/VERSION DETECTION:
  -sV: Probe open ports to determine service/version info
  --version-intensity <level>: Set from 0 (light) to 9 (try all probes)
  --version-light: Limit to most likely probes (intensity 2)
  --version-all: Try every single probe (intensity 9)
  --version-trace: Show detailed version scan activity (for debugging)
SCRIPT SCAN:
  -sC: equivalent to --script=default
  --script=<Lua scripts>: <Lua scripts> is a comma separated list of
           directories, script-files or script-categories
  --script-args=<n1=v1,[n2=v2,...]>: provide arguments to scripts
  --script-args-file=filename: provide NSE script args in a file
  --script-trace: Show all data sent and received
  --script-updatedb: Update the script database.
  --script-help=<Lua scripts>: Show help about scripts.
           <Lua scripts> is a comma-separated list of script-files or
           script-categories.
OS DETECTION:
  -O: Enable OS detection
  --osscan-limit: Limit OS detection to promising targets
  --osscan-guess: Guess OS more aggressively
TIMING AND PERFORMANCE:
  Options which take <time> are in seconds, or append 'ms' (milliseconds),
  's' (seconds), 'm' (minutes), or 'h' (hours) to the value (e.g. 30m).
  -T<0-5>: Set timing template (higher is faster)
  --min-hostgroup/max-hostgroup <size>: Parallel host scan group sizes
  --min-parallelism/max-parallelism <numprobes>: Probe parallelization
  --min-rtt-timeout/max-rtt-timeout/initial-rtt-timeout <time>: Specifies
      probe round trip time.
  --max-retries <tries>: Caps number of port scan probe retransmissions.
  --host-timeout <time>: Give up on target after this long
  --scan-delay/--max-scan-delay <time>: Adjust delay between probes
  --min-rate <number>: Send packets no slower than <number> per second
  --max-rate <number>: Send packets no faster than <number> per second
FIREWALL/IDS EVASION AND SPOOFING:
  -f; --mtu <val>: fragment packets (optionally w/given MTU)
  -D <decoy1,decoy2[,ME],...>: Cloak a scan with decoys
  -S <IP_Address>: Spoof source address
  -e <iface>: Use specified interface
  -g/--source-port <portnum>: Use given port number
  --proxies <url1,[url2],...>: Relay connections through HTTP/SOCKS4 proxies
  --data <hex string>: Append a custom payload to sent packets
  --data-string <string>: Append a custom ASCII string to sent packets
  --data-length <num>: Append random data to sent packets
  --ip-options <options>: Send packets with specified ip options
  --ttl <val>: Set IP time-to-live field
  --spoof-mac <mac address/prefix/vendor name>: Spoof your MAC address
  --badsum: Send packets with a bogus TCP/UDP/SCTP checksum
OUTPUT:
  -oN/-oX/-oS/-oG <file>: Output scan in normal, XML, s|<rIpt kIddi3,
     and Grepable format, respectively, to the given filename.
  -oA <basename>: Output in the three major formats at once
  -v: Increase verbosity level (use -vv or more for greater effect)
  -d: Increase debugging level (use -dd or more for greater effect)
  --reason: Display the reason a port is in a particular state
  --open: Only show open (or possibly open) ports
  --packet-trace: Show all packets sent and received
  --iflist: Print host interfaces and routes (for debugging)
  --append-output: Append to rather than clobber specified output files
  --resume <filename>: Resume an aborted scan
  --stylesheet <path/URL>: XSL stylesheet to transform XML output to HTML
  --webxml: Reference stylesheet from Nmap.Org for more portable XML
  --no-stylesheet: Prevent associating of XSL stylesheet w/XML output
MISC:
  -6: Enable IPv6 scanning
  -A: Enable OS detection, version detection, script scanning, and traceroute
  --datadir <dirname>: Specify custom Nmap data file location
  --send-eth/--send-ip: Send using raw ethernet frames or IP packets
  --privileged: Assume that the user is fully privileged
  --unprivileged: Assume the user lacks raw socket privileges
  -V: Print version number
  -h: Print this help summary page.
EXAMPLES:
  nmap -v -A scanme.nmap.org
  nmap -v -sn 192.168.0.0/16 10.0.0.0/8
  nmap -v -iR 10000 -Pn -p 80
SEE THE MAN PAGE (https://nmap.org/book/man.html) FOR MORE OPTIONS AND EXAMPLES
Nmapを削除(アンインストール)する方法
Debian 11システムからNmapを削除するには、次のコマンドを使用してアプリケーションを削除します。
sudo apt autoremove nmap --purge出力例:
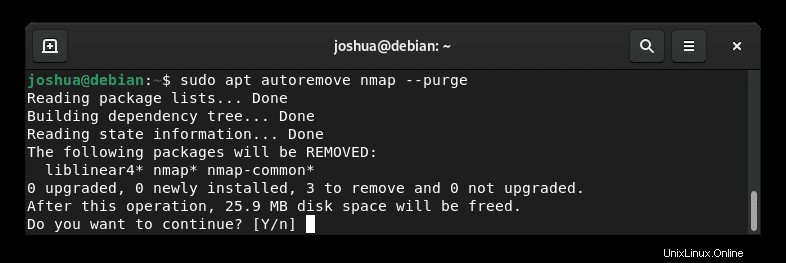
タイプY 、次にENTERキーを押します Nmapの削除を続行します。
これにより、Nmapの初期インストール中にもインストールされた未使用の依存関係が削除されることに注意してください。