はじめに
Ajentiは、システム(Webmin、cPanelなど)を管理するためのWebベースのコントロールパネルです。それに加えて、それは非常に美しく、ユーザーフレンドリーなインターフェースを備えています。個人的な使用のために、AjentiはAGPLv3の下で自由に利用できます。商用利用の場合、定期的に少額の料金を支払う必要があります。
インストール
自動インストール
curl https://raw.githubusercontent.com/ajenti/ajenti/master/scripts/install.sh | sudo bash -s -

output:

[root@unixcop ~]# curl https://raw.githubusercontent.com/ajenti/ajenti/master/scripts/install.sh | sudo bash -s -
  % Total    % Received % Xferd  Average Speed   Time    Time     Time  Current
                                 Dload  Upload   Total   Spent    Left  Speed
100  4854  100  4854    0     0   5657      0 --:--:-- --:--:-- --:--:--  5657
:: OS: rhel
:: Distro: centos
:: Installing prerequisites
Last metadata expiration check: 16:51:20 ago on Mon 26 Jul 2021 04:53:07 PM EET.
Package epel-release-8-11.el8.noarch is already installed.
Dependencies resolved.
Nothing to do.
Complete!
Last metadata expiration check: 16:51:22 ago on Mon 26 Jul 2021 04:53:07 PM EET.
Package gcc-8.4.1-1.el8.x86_64 is already installed.
Package python36-devel-3.6.8-2.module_el8.4.0+790+083e3d81.x86_64 is already installed.
Package python3-pip-9.0.3-19.el8.noarch is already installed.
Package python3-pillow-5.1.1-12.el8_2.x86_64 is already installed.
Package python3-augeas-0.5.0-12.el8.noarch is already installed.
Package python3-dbus-1.2.4-15.el8.x86_64 is already installed.
Package openssl-devel-1:1.1.1g-15.el8_3.x86_64 is already installed.
Package chrony-3.5-2.el8.x86_64 is already installed.
Package redhat-lsb-core-4.1-47.el8.x86_64 is already installed.
Dependencies resolved.
Nothing to do.
Complete!
:: Upgrading PIP
手動インストール
ネイティブの依存関係:Debian / Ubuntu
したがって、ユニバースリポジトリを有効にします(Ubuntuのみ):
sudo add-apt-repository universesudo apt-get install build-essential python3-pip python3-dev python3-lxml libssl-dev python3-dbus python3-augeas python3-apt ntpdateネイティブの依存関係:RHEL / CentOS
EPELリポジトリを有効にする:
sudo dnf install epel-releasesudo dnf install -y gcc python3-devel python3-pip python3-pillow python3-augeas python3-dbus chrony openssl-devel redhat-lsb-coreAjenti2をインストール
PIPのアップグレード:
sudo pip3 install setuptools pip wheel -U最小限のインストール:
sudo pip3 install ajenti-panel ajenti.plugin.core ajenti.plugin.dashboard ajenti.plugin.settings ajenti.plugin.pluginsすべてのプラグインで:
sudo pip3 install ajenti-panel ajenti.plugin.ace ajenti.plugin.augeas ajenti.plugin.auth-users ajenti.plugin.core ajenti.plugin.dashboard ajenti.plugin.datetime ajenti.plugin.filemanager ajenti.plugin.filesystem ajenti.plugin.network ajenti.plugin.notepad ajenti.plugin.packages ajenti.plugin.passwd ajenti.plugin.plugins ajenti.plugin.power ajenti.plugin.services ajenti.plugin.settings ajenti.plugin.terminalしたがって、パッケージをインストールした後、AjentiWebコントロールパネルへのアクセスに使用されるIletのポート8000を開きます。次のコマンドを使用して、ポートへのアクセスを許可します。
firewall-cmd --permanent --zone=public --add-port=8000/tcp
firewall-cmd --reload
Ajentiコントロールパネルにアクセス
さらに、Ajentiのデフォルトは、セキュアHTTP(HTTPS)を使用するポート8000で機能します。したがって、ポート8080でサーバーIP(http:// ip:8000)またはドメイン名(http://domainname.com:8000)を使用してサーバーにアクセスします。また、次のような警告メッセージが表示される可能性があります。サーバーの証明書に関する問題。 Ajentiは自己署名証明書を使用しているため、問題はありません。それを受け入れて続行する必要があります。
  http://your_ip:8000/

  Username: root
  Password: adminPassword
Ajentiログイン画面

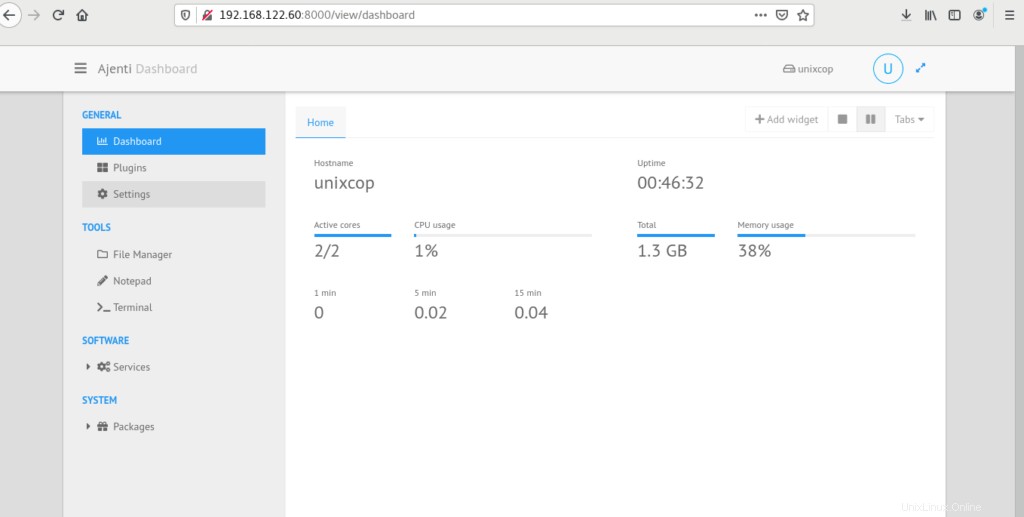
アジェンティダッシュボード
結論
そのため、この記事では、CentOS8、Redhat、およびFedoraシステムにAjentiコントロールパネルをインストールするのに役立ちました。この記事は、CentOS8でのみテストされています。