WordPress は、phpおよび MySQLで記述された最も広く使用されているオープンソースのWebブログおよびコンテンツ管理ソフトウェアです。 。 ITzGeekでさえWordPressを使用しています 。
これは、 Nginxを使用してWordPressのインストールを設定するための小さなチュートリアルです。 CentOS 7 。
前提条件
先に進む前に、以下を確認することをお勧めします。
1 : CentOS 7 / RHEL 7にEMPスタック(Nginx、MariaDB、およびPHP)をインストールします
2 : CentOS 7 /RHEL7にNginxを使用してphpMyAdminをインストールする
3 : CentOS 7 /RHEL7でSELinuxを無効にする
Nginx仮想ホストを構成する
WordPressインストール用の仮想ホストを作成しましょう。仮想ホスト構成ファイルは/etc/nginx/conf.dにあります。 ディレクトリ。通常、仮想ホストファイルには、ドメイン名、ポート番号、ドキュメントルート、ログの場所、高速CGIなどが含まれています。ファイルを作成する前に、これらの点に注意する必要があります。
次のように仮定します
ドメイン名: wordpress.itzgeek.local
ポート番号: 80
ドキュメントルート: /usr/share/nginx/wordpress.itzgeek.local
ログ: /usr/share/nginx/wordpress.itzgeek.local/logs
仮想ホストを作成します。
vi /etc/nginx/conf.d/wordpress.conf
次のコンテンツを配置します。
server {
        listen 80;
        server_name wordpress.itzgeek.local;

        access_log /usr/share/nginx/wordpress.itzgeek.local/logs/access.log;
        error_log /usr/share/nginx/wordpress.itzgeek.local/logs/error.log;

location / {
        root /usr/share/nginx/wordpress.itzgeek.local;
        index index.php index.html index.htm;

if (-f $request_filename) {
        expires 30d;
        break;
}

if (!-e $request_filename) {
        rewrite ^(.+)$ /index.php?q=$1 last;
        }
}

location ~ .php$ {
        fastcgi_pass   localhost:9000;  # port where FastCGI processes were spawned
        fastcgi_index  index.php;
        fastcgi_param  SCRIPT_FILENAME   /usr/share/nginx/wordpress.itzgeek.local$fastcgi_script_name;  # same path as above
        fastcgi_param PATH_INFO               $fastcgi_script_name;
        include /etc/nginx/fastcgi_params;
        }
}
ドキュメントルートとログディレクトリを作成します。
mkdir /usr/share/nginx/wordpress.itzgeek.local
mkdir /usr/share/nginx/wordpress.itzgeek.local/logs
構成ファイルを確認します。
nginx -t
次の場合は、仮想ホストのエントリが正しいことを意味します。
nginx: the configuration file /etc/nginx/nginx.conf syntax is ok
nginx: configuration file /etc/nginx/nginx.conf test is successful
サービスを再開します。
systemctl restart nginx
systemctl restart php-fpm
Nginxサービスの再起動中にエラーが発生した場合は、SELinuxを無効にする マシン上で。
setenforce 0
データベースの作成
MariaDBにログインします 。
mysql -u root -p
WordPressのインストールに必要なデータベースを作成します。
CREATE DATABASE wordpress;
ユーザーを作成します。
CREATE USER 'wpuser'@'localhost' IDENTIFIED BY 'wppassword';
作成したユーザーに、新しく作成したWordPressデータベースにアクセスする権限を付与します。
GRANT ALL PRIVILEGES ON wordpress.* TO 'wpuser'@'localhost';
MariaDBシェルを終了します。
exit
WordPressの設定
最新のWordPressをダウンロードしてください。
wget http://wordpress.org/latest.tar.gz
抽出します。
tar -zxvf latest.tar.gz
ドキュメントルートに移動します。
mv wordpress/* /usr/share/nginx/wordpress.itzgeek.local
wp-sample-config.phpファイルをコピーして、wp-config.phpファイルにします。
cp /usr/share/nginx/wordpress.itzgeek.local/wp-config-sample.php /usr/share/nginx/wordpress.itzgeek.local/wp-config.php
構成ファイルを編集し、データベース情報を記述します。
vi /usr/share/nginx/wordpress.itzgeek.local/wp-config.php
デフォルトの構成は次のようになります。
// ** MySQL settings - You can get this info from your web host ** //
/** The name of the database for WordPress */
define('DB_NAME', 'database_name_here');
/** MySQL database username */
define('DB_USER', 'username_here');
/** MySQL database password */
define('DB_PASSWORD', 'password_here');
/** MySQL hostname */
define('DB_HOST', 'localhost');
作成されたデータベースユーザーとデータベースに応じて変更されたエントリは次のようになります。
// ** MySQL settings - You can get this info from your web host ** //
/** The name of the database for WordPress */
define('DB_NAME', 'wordpress');
/** MySQL database username */
define('DB_USER', 'wpuser');
/** MySQL database password */
define('DB_PASSWORD', 'wppassword');
/** MySQL hostname */
define('DB_HOST', 'localhost');
nginxユーザーをWordPressディレクトリの所有者にします。
chown -R nginx:nginx /usr/share/nginx/wordpress.itzgeek.local/
WordPressのインストール
ブラウザを開いてアクセス
http:// fqdnまたは
http://wordpress.itzgeek.localサイト情報を入力し、[WordPressのインストール]をクリックします。
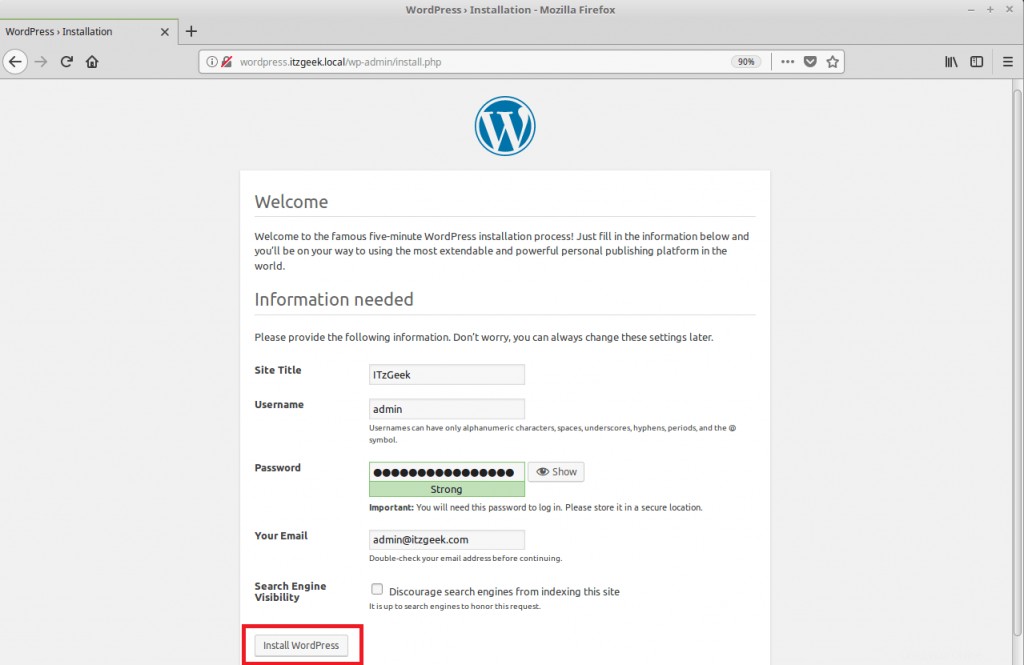
次のページが表示されます。
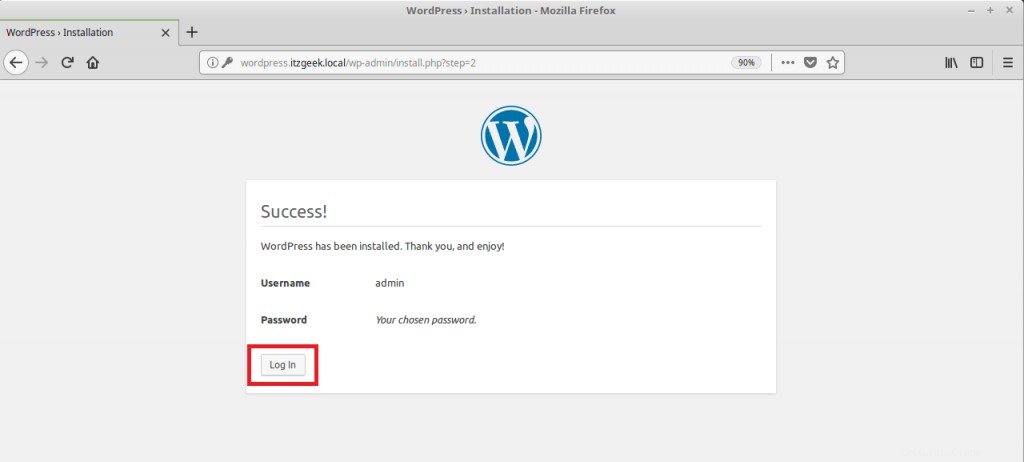
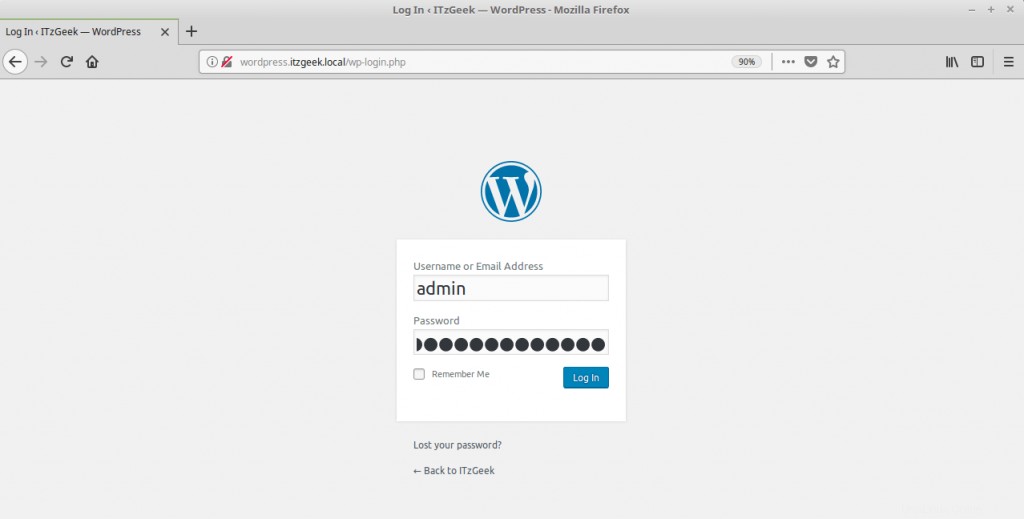
[続行]をクリックすると、WordPress管理セクションにアクセスするためのパスワードの入力を求められます。
WordPress管理ダッシュボード:
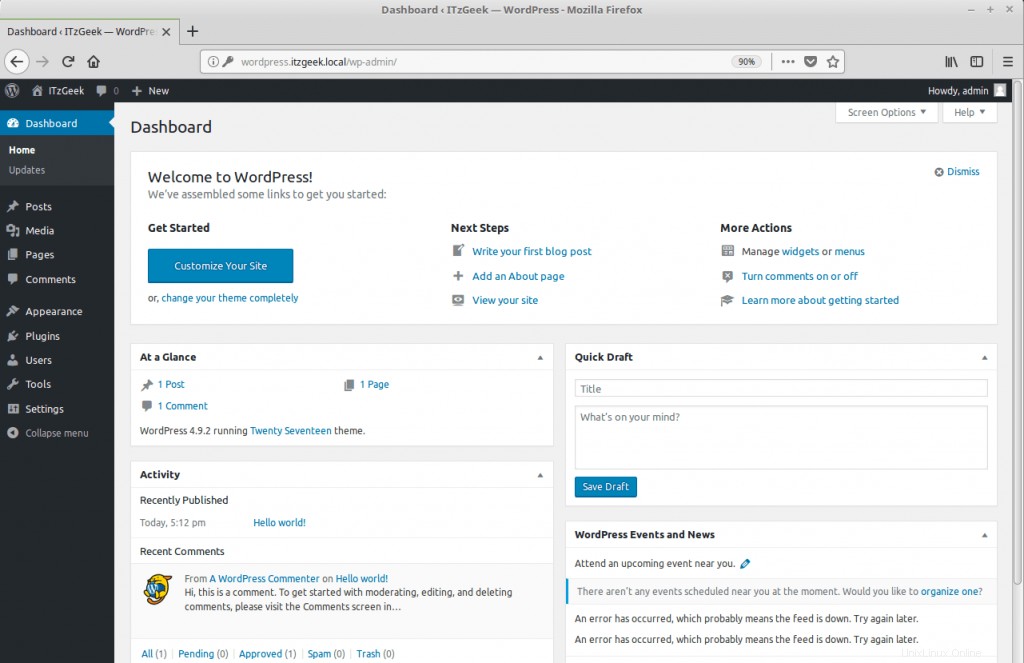
以上です。