今日は、Ubuntu20.04にFileRunをインストールする方法を学びます
FileRun セルフホストのGoogleドライブの代替手段です。これは、使いやすいユーザーインターフェイスを備えたフル機能のWebベースのファイルマネージャーです。写真、映画、オーディオコレクションを管理したり、家族や友人とファイルを共有したりするのに最適です。
FileRun 信頼性が高くパフォーマンスの高いファイル管理デスクトップ同期とファイル共有
ホスティングアカウントや、どこからでもファイルにアクセスできるRaspberry PiAccessなどの小さなデバイス(デスクトップ、モバイルアプリ、ブラウザ)など、どのサーバーでも問題なく動作します。
インストール
fileRunを開始するには、以下の手順に従ってください
- システムパッケージを更新およびアップグレードする
sudo apt update && sudo apt upgrade- LAMPサーバー(LAMPスタック)をインストールします。
- 次のようにphpモジュールをインストールします:
sudo apt install php-gd php-json php-mbstring php-mysqli php-xmlrpc php libapache2-mod-php php-common php-mbstring php-xmlrpc php-soap php-gd php-xml php-intl php libapache2-mod-php php-mysql php-mysql wget unzip php-cli php-zip php-curl -y- また、 ionCubeをインストールする必要があります PHP用のローダーモジュール。以下のガイドの手順に従ってインストールできます
UbuntuにionCubeLoaderをインストールする方法
- 以下に示すように、ApacheWebサーバーとMariaデータベースをインストールします。
sudo apt install apache2 mariadb-server-10.3 -y- apacheとmariadbを起動して有効にします。
systemctl start apache2 mariadb
systemctl enable apache2 mariadb
systemctl status apache2 mariadb- 次のようにMariaDBを構成して保護します。
mysql_secure_installation

NOTE: RUNNING ALL PARTS OF THIS SCRIPT IS RECOMMENDED FOR ALL MariaDB
      SERVERS IN PRODUCTION USE!  PLEASE READ EACH STEP CAREFULLY!

In order to log into MariaDB to secure it, we'll need the current
password for the root user.  If you've just installed MariaDB, and
you haven't set the root password yet, the password will be blank,
so you should just press enter here.

Enter current password for root (enter for none):
OK, successfully used password, moving on...

Setting the root password ensures that nobody can log into the MariaDB
root user without the proper authorisation.

Set root password? [Y/n] y
New password:
Re-enter new password:
Password updated successfully!
Reloading privilege tables..
 ... Success!


By default, a MariaDB installation has an anonymous user, allowing anyone
to log into MariaDB without having to have a user account created for
them.  This is intended only for testing, and to make the installation
go a bit smoother.  You should remove them before moving into a
production environment.

Remove anonymous users? [Y/n] y
 ... Success!

Normally, root should only be allowed to connect from 'localhost'.  This
ensures that someone cannot guess at the root password from the network.

Disallow root login remotely? [Y/n] y
 ... Success!

By default, MariaDB comes with a database named 'test' that anyone can
access.  This is also intended only for testing, and should be removed
before moving into a production environment.

Remove test database and access to it? [Y/n] y
 - Dropping test database...
 ... Success!
 - Removing privileges on test database...
 ... Success!

Reloading the privilege tables will ensure that all changes made so far
will take effect immediately.

Reload privilege tables now? [Y/n] y
 ... Success!

Cleaning up...

All done!  If you've completed all of the above steps, your MariaDB
installation should now be secure.

Thanks for using MariaDB!- MariaDBシェルにログインします:
mysql -u root -pCREATE DATABASE filerun_db;
CREATE USER 'filerun_user'@'localhost' IDENTIFIED BY 'your_password';
GRANT ALL PRIVILEGES ON `filerun_db`.* TO 'filerun_user'@'localhost';
FLUSH PRIVILEGES;- 最新バージョンのfilerunをダウンロードします 次のコマンドを使用します:
wget -O FileRun.zip https://filerun.com/download-latest- 次のコマンドを使用して、ダウンロードしたファイルを解凍します。
unzip FileRun.zip -d /var/www/html/filerun/- いくつかのフォルダの権限を次のように変更します:
chown -R www-data:www-data /var/www/html/filerun
chmod -R 755 /var/www/html/filerun- FileRun用のPHP構成ファイルを作成します
vim /etc/php/7.4/apache2/conf.d/filerun.ini次に、次の構成を追加します。
expose_php = Off
error_reporting = E_ALL & ~E_NOTICE
display_errors = Off
display_startup_errors = Off
log_errors = On
ignore_repeated_errors = Off
allow_url_fopen = On
allow_url_include = Off
variables_order = "GPCS"
allow_webdav_methods = On
memory_limit = 128M
max_execution_time = 300
output_buffering = Off
output_handler = ""
zlib.output_compression = Off
zlib.output_handler = ""
safe_mode = Off
register_globals = Off
magic_quotes_gpc = Off
upload_max_filesize = 20M
post_max_size = 20M
enable_dl = Off
disable_functions = ""
disable_classes = ""
session.save_handler = files
session.use_cookies = 1
session.use_only_cookies = 1
session.auto_start = 0
session.cookie_lifetime = 0
session.cookie_httponly = 1
date.timezone = "UTC"- ファイルを保存して閉じます。
- Apacheを再起動します。
sudo systemctl reload apache2また、 FileRun用のApache仮想ホスト構成ファイルを作成します 。
vim /etc/apache2/sites-available/filerun.conf次に、次の仮想ホストを次のように追加します
<VirtualHost *:80>
        ServerName filerun.unixcop.com.com

        DocumentRoot /var/www/html/filerun

        <Directory "/var/www/html/filerun">
                Options Indexes FollowSymLinks
                AllowOverride All
                Require all granted
        </Directory>

        ErrorLog ${APACHE_LOG_DIR}/filerun.error.log
        CustomLog ${APACHE_LOG_DIR}/filerun.access.log combined
</VirtualHost>- ファイルを保存して閉じ、次のコマンドを使用してApacheを再起動します。
sudo a2ensite filerun.conf
sudo a2enmod rewrite
sudo systemctl restart apache2- ファイアウォールのポート80と443を開いて、HTTPおよびHTTPSトラフィックを許可します。
sudo ufw allow 80/tcp
sudo ufw allow 443/tcp
sudo ufw reload- アクセスFileRun Webブラウザを開き、URL https://filerun.unixcop.comを使用してアクセスすることによるWebインターフェイス
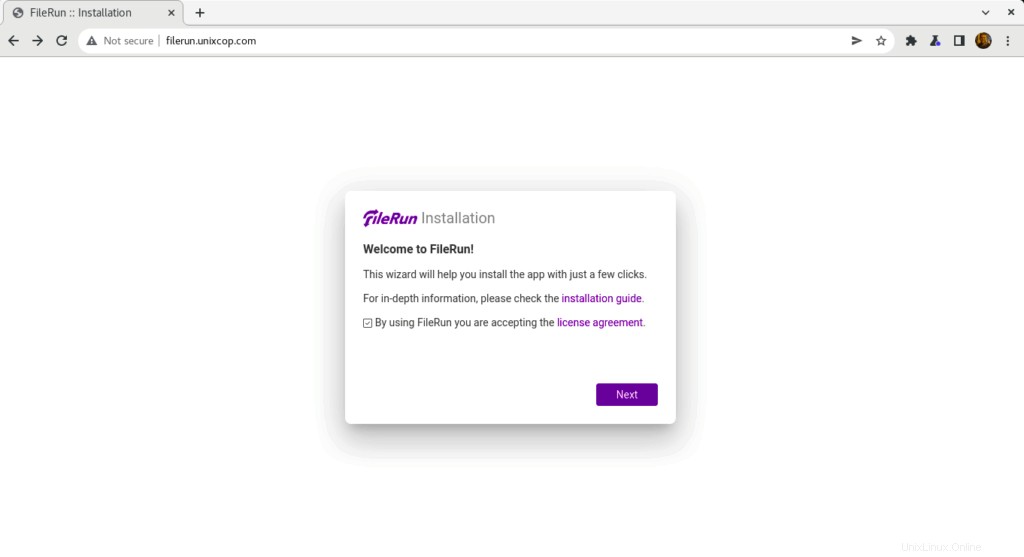
- 以下が表示されます。次へをクリックします FileRunの使用を開始するには インストール
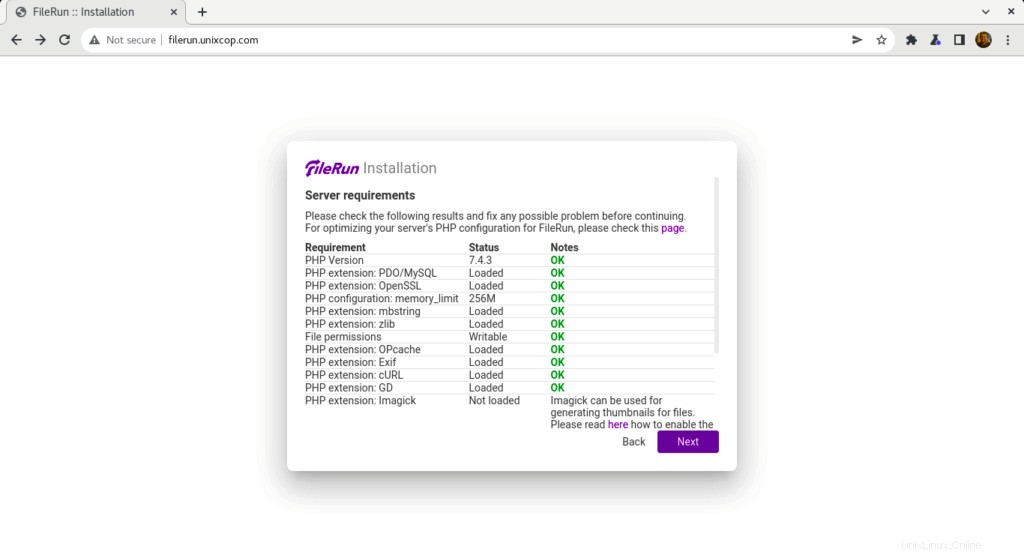
- FileRunは、以下に示すように、インストールを続行するためのサーバー要件を確認します
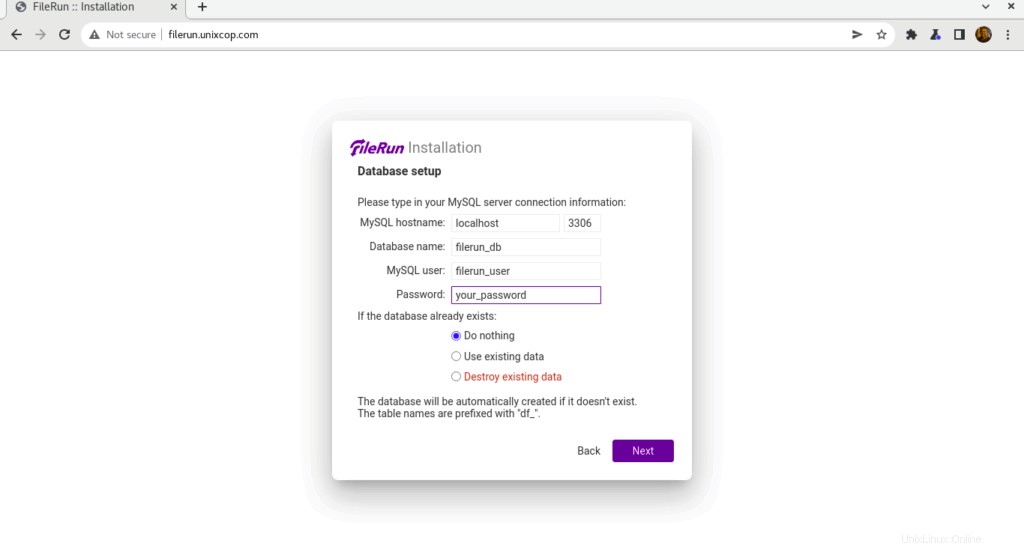
- 前に作成したデータベース接続情報を入力し、[次へ]をクリックします 。
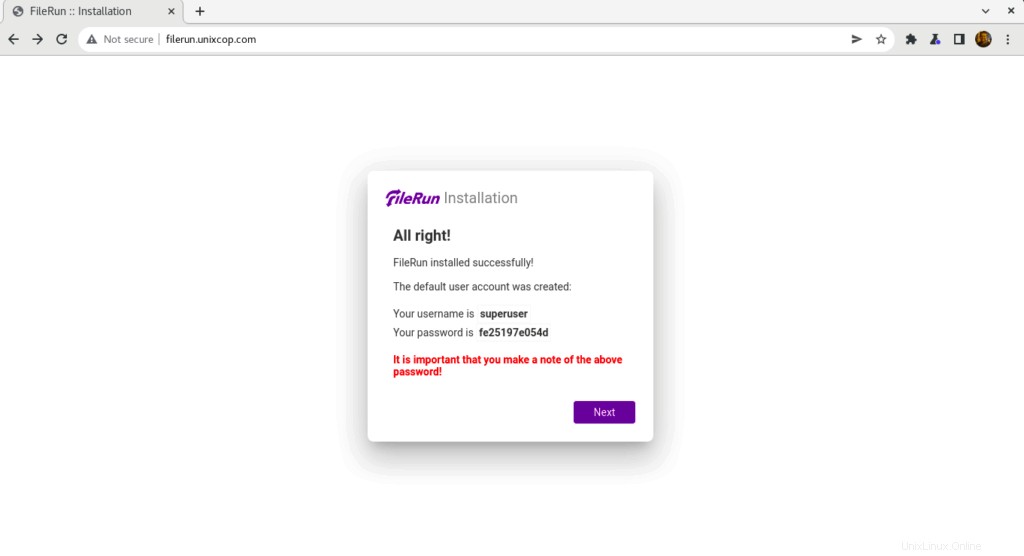
- FileRunのデフォルトユーザーが作成されました。filerunにログインするには、これらの資格情報を書き留めておく必要があります。
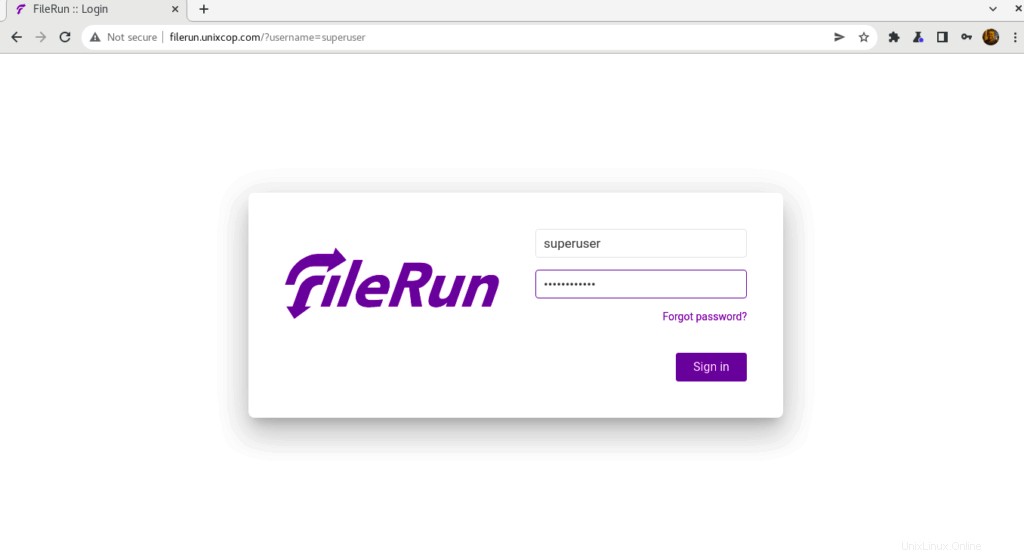
- 上記のスクリーンショットに示されている資格情報を使用して、 Filerunにログインします 以下に示すように
- FileRunのダッシュボードに移動します
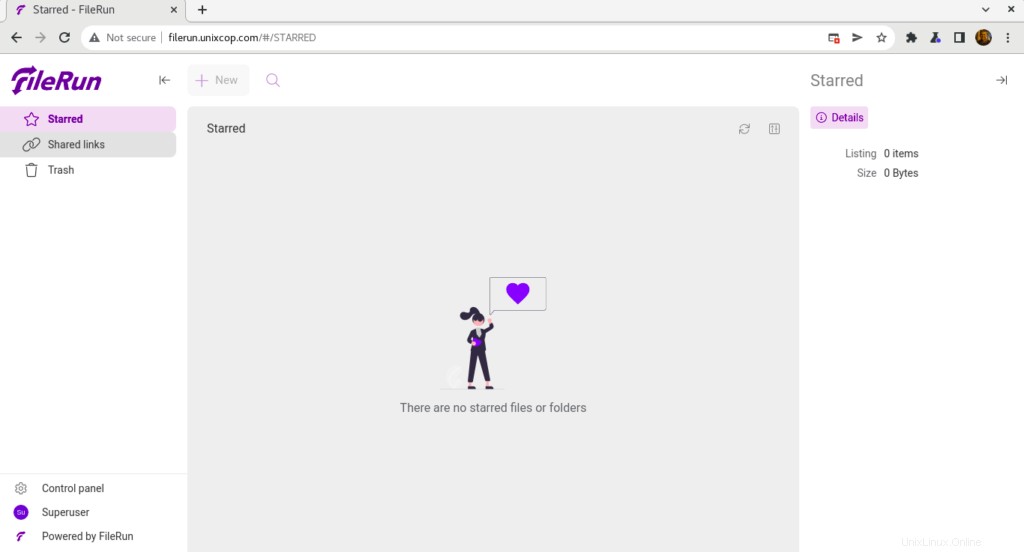
おめでとう! FileRunが正常にインストールされました。
結論
以上です
このガイドでは、 FileRunをインストールする方法を説明しました Ubuntu20.04で
ありがとう