JFrog Artifactoryは、継続的インテグレーションおよびデリバリーツールと統合できるオープンソースのリポジトリ管理アプリケーションです。これは、DevOpsが複数のパッケージリポジトリを管理できるようにするクロスプラットフォームツールです。高可用性とマルチサイトレプリケーションを提供して、パイプラインを自動化し、より高速なリリースを可能にします。
このチュートリアルでは、Ubuntu20.04にJFrogArtifactoryをインストールする方法を紹介します。
- Ubuntu20.04を実行しているサーバー。
- サーバーで指定された有効なドメイン名。
- ルートパスワードはサーバーで構成されています。
JFrogArtifactoryをインストールします
デフォルトでは、JFrogArtifactoryはUbuntu20.04のデフォルトリポジトリでは使用できません。そのため、JFrogArtifactoryリポジトリをシステムに追加する必要があります。
まず、次のコマンドを使用してGnupg2パッケージをインストールします。
apt-get install gnupg2 -y
次に、次のコマンドを使用してGPGキーをダウンロードして追加します。
wget -qO - https://api.bintray.com/orgs/jfrog/keys/gpg/public.key | apt-key add -
次に、次のコマンドを使用してJFrogArtifactoryリポジトリを追加します。
echo "deb https://jfrog.bintray.com/artifactory-debs bionic main" | tee /etc/apt/sources.list.d/jfrog.list
リポジトリが追加されたら、リポジトリを更新し、次のコマンドを使用してJFrogArtifactoryをインストールします。
apt-get update -y
apt-get install jfrog-artifactory-oss -y
インストールが正常に完了すると、次の出力が表示されます。
************ SUCCESS ****************
The Installation of Artifactory has completed successfully.

NOTE: It is highly recommended to use Artifactory with an external database (MySQL, Oracle, Microsoft SQL Server, PostgreSQL, MariaDB).
      For details about how to configure the database, refer to https://service.jfrog.org/installer/Configuring+the+Database

Start Artifactory with:
> systemctl start artifactory.service

Check Artifactory status with:
> systemctl status artifactory.service


Installation directory was set to /opt/jfrog/artifactory
You can find more information in the log directory /opt/jfrog/artifactory/var/log
System configuration templates can be found under /opt/jfrog/artifactory/var/etc
Copy any configuration you want to modify from the template to /opt/jfrog/artifactory/var/etc/system.yaml

Triggering migration script, this will migrate if needed ...
Processing triggers for man-db (2.9.1-1) ...
Processing triggers for systemd (245.4-4ubuntu3) ...
次に、Artifactoryサービスを開始し、次のコマンドを使用してシステムの再起動時に開始できるようにします。
systemctl start artifactory
systemctl enable artifactory
次に、次のコマンドを使用してArtifactoryサービスのステータスを確認します。
systemctl status artifactory
次の出力が得られるはずです:
? artifactory.service - Artifactory service
     Loaded: loaded (/lib/systemd/system/artifactory.service; enabled; vendor preset: enabled)
     Active: active (running) since Sun 2020-06-07 12:42:39 UTC; 40s ago
    Process: 15671 ExecStart=/opt/jfrog/artifactory/app/bin/artifactoryManage.sh start (code=exited, status=0/SUCCESS)
   Main PID: 17974 (java)
      Tasks: 0 (limit: 9522)
     Memory: 2.4M
     CGroup: /system.slice/artifactory.service
             ? 17974 /opt/jfrog/artifactory/app/third-party/java/bin/java -Djava.util.logging.config.file=/opt/jfrog/artifactory/app/artifacto>

Jun 07 12:42:38 ubuntu2004 su[18380]: (to artifactory) root on none
Jun 07 12:42:38 ubuntu2004 su[18380]: pam_unix(su:session): session opened for user artifactory by (uid=0)
Jun 07 12:42:38 ubuntu2004 su[18380]: pam_unix(su:session): session closed for user artifactory
Jun 07 12:42:38 ubuntu2004 su[18534]: (to artifactory) root on none
Jun 07 12:42:38 ubuntu2004 su[18534]: pam_unix(su:session): session opened for user artifactory by (uid=0)
Jun 07 12:42:39 ubuntu2004 su[18534]: pam_unix(su:session): session closed for user artifactory
Jun 07 12:42:39 ubuntu2004 su[18655]: (to artifactory) root on none
Jun 07 12:42:39 ubuntu2004 su[18655]: pam_unix(su:session): session opened for user artifactory by (uid=0)
Jun 07 12:42:39 ubuntu2004 su[18655]: pam_unix(su:session): session closed for user artifactory
Jun 07 12:42:39 ubuntu2004 systemd[1]: Started Artifactory service.
この時点で、Artifactoryがインストールされ、ポート8082でリッスンしています。これで次のステップに進むことができます。
Nginxをリバースプロキシとして構成する
次に、NginxをJFrogのリバースプロキシとして構成する必要があります。まず、次のコマンドを使用してNginxWebサーバーをインストールします。
apt-get install nginx -y
Nginxをインストールした後、次のコマンドを使用して新しいNginx仮想ホスト構成ファイルを作成します。
nano /etc/nginx/sites-available/jfrog.conf
次の行を追加します:
upstream jfrog {
  server 127.0.0.1:8082 weight=100 max_fails=5 fail_timeout=5;
}

server {
  listen          80;
  server_name     jfrog.linuxbuz.com;

  location / {
        proxy_set_header X-Forwarded-Host $host;
        proxy_set_header X-Forwarded-Server $host;
        proxy_set_header X-Forwarded-For $proxy_add_x_forwarded_for;
        proxy_pass http://jfrog/;
  }
}
ファイルを保存して閉じてから、次のコマンドでNginx仮想ホストをアクティブ化します。
ln -s /etc/nginx/sites-available/jfrog.conf /etc/nginx/sites-enabled/
次に、次のコマンドを使用して、構文エラーがないかNginxを確認します。
nginx -t
次の出力が表示されます。
nginx: the configuration file /etc/nginx/nginx.conf syntax is ok
nginx: configuration file /etc/nginx/nginx.conf test is successful
最後に、Nginxサービスを再起動して、変更を実装します。
systemctl restart nginx
この時点で、NginxはJFrogサイトにサービスを提供するように構成されています。これで、次のステップに進むことができます。
Let'sEncryptSSLを使用してJFrogを保護することをお勧めします。まず、次のコマンドを使用してCertbotリポジトリを追加します。
apt-get install software-properties-common -y
add-apt-repository ppa:ahasenack/certbot-tlssni01-1875471
次に、リポジトリを更新し、次のコマンドを使用してCertbotクライアントをインストールします。
apt-get update -y
apt-get install certbot python3-certbot-nginx -y
Certbotクライアントがインストールされたら、次のコマンドを実行して、Webサイト用のLet'sEncryptSSLをダウンロードしてインストールします。
certbot --nginx -d jfrog.linuxbuz.com
以下に示すように、有効なメールアドレスを提供し、利用規約に同意するよう求められます。
Saving debug log to /var/log/letsencrypt/letsencrypt.log
Plugins selected: Authenticator nginx, Installer nginx
Enter email address (used for urgent renewal and security notices) (Enter 'c' to
cancel): [email protected]

- - - - - - - - - - - - - - - - - - - - - - - - - - - - - - - - - - - - - - - -
Please read the Terms of Service at
https://letsencrypt.org/documents/LE-SA-v1.2-November-15-2017.pdf. You must
agree in order to register with the ACME server at
https://acme-v02.api.letsencrypt.org/directory
- - - - - - - - - - - - - - - - - - - - - - - - - - - - - - - - - - - - - - - -
(A)gree/(C)ancel: A

- - - - - - - - - - - - - - - - - - - - - - - - - - - - - - - - - - - - - - - -
Would you be willing to share your email address with the Electronic Frontier
Foundation, a founding partner of the Let's Encrypt project and the non-profit
organization that develops Certbot? We'd like to send you email about our work
encrypting the web, EFF news, campaigns, and ways to support digital freedom.
- - - - - - - - - - - - - - - - - - - - - - - - - - - - - - - - - - - - - - - -
(Y)es/(N)o: Y
Obtaining a new certificate
Performing the following challenges:
http-01 challenge for jfrog.linuxbuz.com
Waiting for verification...
Cleaning up challenges
Deploying Certificate to VirtualHost /etc/nginx/sites-enabled/jfrog.conf
次に、HTTPトラフィックをHTTPSにリダイレクトするかどうかを選択します。
Please choose whether or not to redirect HTTP traffic to HTTPS, removing HTTP access.
- - - - - - - - - - - - - - - - - - - - - - - - - - - - - - - - - - - - - - - -
1: No redirect - Make no further changes to the webserver configuration.
2: Redirect - Make all requests redirect to secure HTTPS access. Choose this for
new sites, or if you're confident your site works on HTTPS. You can undo this
change by editing your web server's configuration.
- - - - - - - - - - - - - - - - - - - - - - - - - - - - - - - - - - - - - - - -
Select the appropriate number [1-2] then [enter] (press 'c' to cancel): 2
2と入力します Enterキーを押して、プロセスを開始します。証明書がインストールされると、次の出力が表示されます。
Redirecting all traffic on port 80 to ssl in /etc/nginx/sites-enabled/jfrog.conf

- - - - - - - - - - - - - - - - - - - - - - - - - - - - - - - - - - - - - - - -
Congratulations! You have successfully enabled https://jfrog.linuxbuz.com

You should test your configuration at:
https://www.ssllabs.com/ssltest/analyze.html?d=jfrog.linuxbuz.com
- - - - - - - - - - - - - - - - - - - - - - - - - - - - - - - - - - - - - - - -

IMPORTANT NOTES:
 - Congratulations! Your certificate and chain have been saved at:
   /etc/letsencrypt/live/jfrog.linuxbuz.com/fullchain.pem
   Your key file has been saved at:
   /etc/letsencrypt/live/jfrog.linuxbuz.com/privkey.pem
   Your cert will expire on 2020-09-07. To obtain a new or tweaked
   version of this certificate in the future, simply run certbot again
   with the "certonly" option. To non-interactively renew *all* of
   your certificates, run "certbot renew"
 - Your account credentials have been saved in your Certbot
   configuration directory at /etc/letsencrypt. You should make a
   secure backup of this folder now. This configuration directory will
   also contain certificates and private keys obtained by Certbot so
   making regular backups of this folder is ideal.
 - If you like Certbot, please consider supporting our work by:

   Donating to ISRG / Let's Encrypt:   https://letsencrypt.org/donate
   Donating to EFF:                    https://eff.org/donate-le

 - We were unable to subscribe you the EFF mailing list because your
   e-mail address appears to be invalid. You can try again later by
   visiting https://act.eff.org.
ArtifactoryWebUIにアクセス
次に、Webブラウザーを開き、URLhttps://jfrog.linuxbuz.comを入力します。次のページにリダイレクトされます:
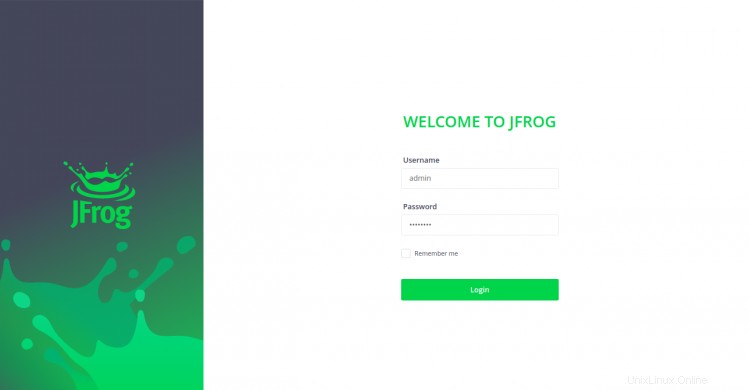
デフォルトのユーザー名を「admin」、パスワードを「password」として指定し、ログインをクリックします。 ボタン。次のページが表示されます:
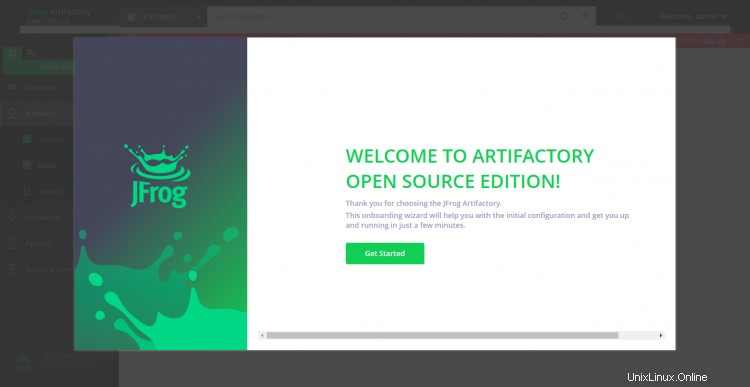
次に、入手をクリックします 開始 ボタン。パスワードリセット画面が表示されます:
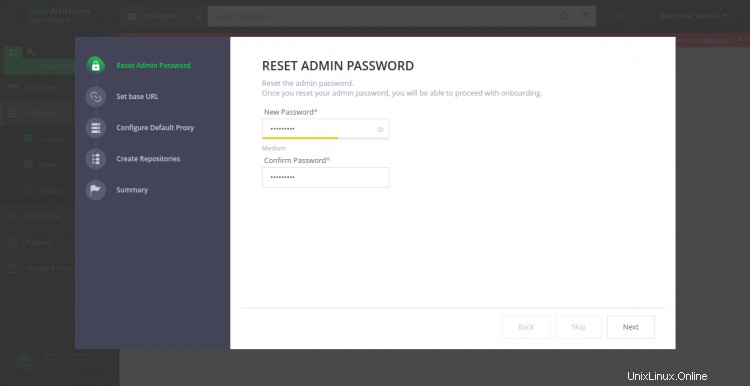
新しい管理者パスワードを設定し、次へをクリックします ボタン。次の画面が表示されます。
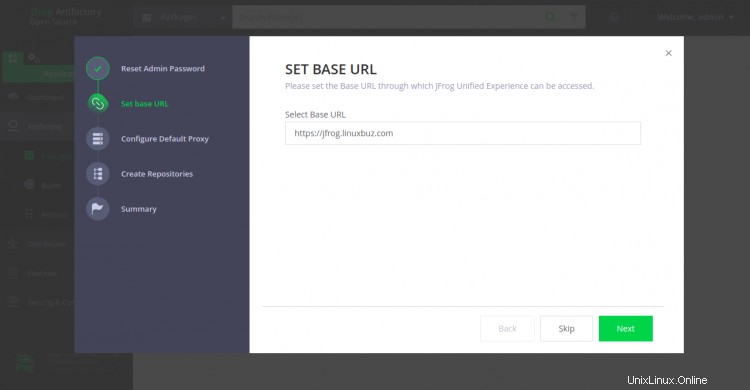
ベースURLを設定し、次へをクリックします ボタン。次の画面が表示されます。
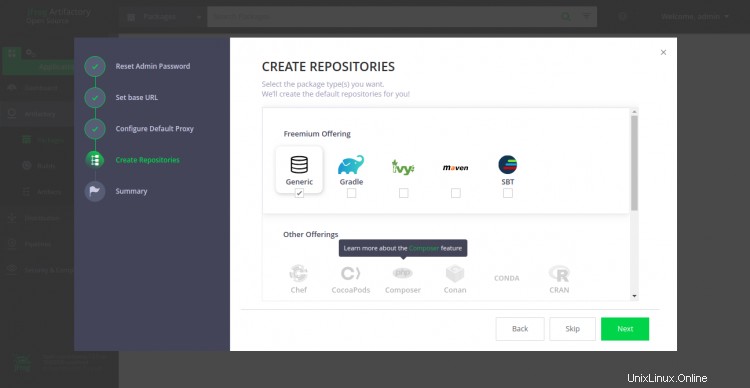
目的のリポジトリを選択し、次へをクリックします ボタン。次のページが表示されます:
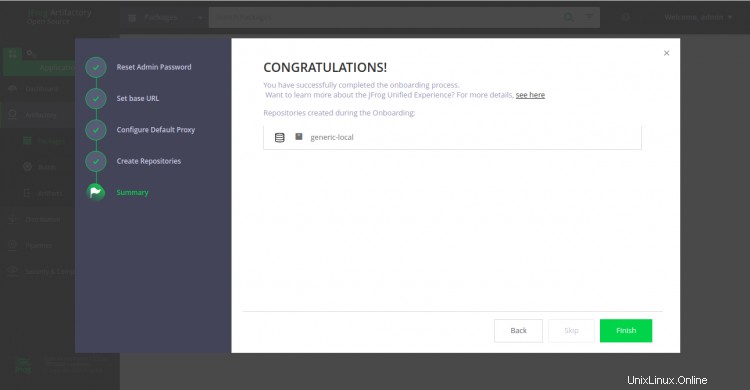
次に、[完了]ボタンをクリックします。次の画面にArtifactoryダッシュボードが表示されます。

上記のガイドでは、Ubuntu20.04にJFrogArtifactoryをインストールする方法を学びました。また、Let'sEncryptSSLを使用してJFrogを保護する方法も学びました。これで、JFrogを実稼働環境に簡単にインストールできるようになることを願っています。ご不明な点がございましたら、お気軽にお問い合わせください。