Socioboardは、中央のダッシュボードから複数のソーシャルメディアチャネルを管理するために使用される無料のオープンソースソーシャルメディア管理ツールです。これは、リード生成、マーケティング、カスタマーサポート、および自動化されたエンゲージメントのために中小企業によって使用されます。高度なスケジューリングおよび公開ツール、ソーシャルCRMツール、カスタマイズ性、スケーラビリティ、カスタマーサポート、ヘルプデスク統合などの豊富な機能セットが付属しています。
この投稿では、Ubuntu20.04にApacheを使用してSocioboardをインストールする方法を紹介します。
前提条件
- Atlantic.Netクラウドプラットフォーム上の新しいUbuntu20.04サーバー
- サーバーで指定された有効なドメイン名
- サーバーで構成されているrootパスワード
ステップ1-Atlantic.Netクラウドサーバーを作成する
まず、Atlantic.Netクラウドサーバーにログインします。 2GB以上のRAMを搭載したオペレーティングシステムとしてUbuntu20.04を選択して、新しいサーバーを作成します。 SSH経由でクラウドサーバーに接続し、ページの上部で強調表示されているクレデンシャルを使用してログインします。
Ubuntu 20.04サーバーにログインしたら、次のコマンドを実行して、ベースシステムを最新の利用可能なパッケージで更新します。
apt-get update -y
ステップ2– Apache、PHP、MariaDBをインストールする
まず、次のコマンドを実行して、Apache、PHP、MariaDB、およびその他の必要なパッケージを実行します。
apt-get install apache2 mariadb-server php libapache2-mod-php7.4 php7.4-cli php7.4-mysql php7.4-common php7.4-json php7.4-opcache php7.4-readline php7.4-curl php7.4-gd php7.4-xml git curl gnupg2 -y
すべてのパッケージをインストールしたら、次のステップに進むことができます。
ステップ3–MariaDBデータベースを作成する
次に、Socioboardのデータベースとユーザーを作成する必要があります。まず、次のコマンドを使用してMariaDBに接続します。
mysql
接続したら、次のコマンドを使用してデータベースとユーザーを作成します。
create database socioboarddb;
create user example@unixlinux.online identified by 'password';
次に、次のコマンドを使用してすべての権限を付与します。
grant all privileges on socioboarddb.* to example@unixlinux.online;
次に、特権をフラッシュし、次のコマンドでMariaDBを終了します。
flush privileges;
exit;
ステップ4–MongoDBのインストールと構成
次に、MongoDBをインストールし、Socioboardのデータベースを作成する必要があります。
まず、次のコマンドを使用してMongoDBリポジトリを追加します。
wget -qO - https://www.mongodb.org/static/pgp/server-4.4.asc | apt-key add -
echo "deb [ arch=amd64,arm64 ] https://repo.mongodb.org/apt/ubuntu focal/mongodb-org/4.4 multiverse" | tee /etc/apt/sources.list.d/mongodb-org-4.4.list
次に、リポジトリを更新し、次のコマンドを使用してMongoDBをインストールします。
apt-get update -y
apt-get install mongodb-org -y
次に、次のコマンドを使用してMongoDBサービスを開始します。
systemctl start mongod
次に、MongoDBに接続し、次のコマンドを使用してデータベースとユーザーを作成します。
mongo
use socioboarddb
db.new_collection.insert({ some_key: "some_value" })
db.createUser(
  {
    user: "socioboarduser",
    pwd: "password",
    roles: [ { role: "readWrite", db: "socioboarddb" } ]
  }
)
次に、次のコマンドを使用してMongoシェルを終了します。
exit
ステップ5–Node.jsをインストールする
まず、次のコマンドを使用してNode.jsリポジトリを追加します。
curl -sL https://deb.nodesource.com/setup_12.x | bash -
次に、次のコマンドを使用してNode.jsバージョン12をインストールします。
apt-get install nodejs -y
Node.jsをインストールしたら、次のコマンドを使用して他の依存関係をインストールします。
npm install nodemon sequelize-cli sequelize mysql2 -g
ステップ6–Socioboardをインストールする
まず、最新バージョンのSocioboardをダウンロードし、ApacheWebルートディレクトリにコピーします。
git clone https://github.com/socioboard/Socioboard-4.0.git
mv Socioboard-4.0 /var/www/html/socioboard
次に、socioboardディレクトリの所有権をwww-dataに変更します:
chown -R www-data:www-data /var/www/html/socioboard
次に、config.jsonファイルを編集し、MariaDBデータベース設定を定義します。
nano /var/www/html/socioboard/socioboard-api/library/sequelize-cli/config/config.json
次の行を変更します:
{
  "development": {
    "username": "socioboarduser",
    "password": "password",
    "database": "socioboarddb",
    "host": "127.0.0.1",
    "dialect": "mysql",
    "operatorsAliases": false,
    "pool": {
      "max": 100,
      "min": 0,
      "acquire": 1000000,
      "idle": 200000
    },
ファイルを保存して閉じてから、ディレクトリをフィード、ライブラリ、通知、公開ディレクトリに変更し、それぞれのすべての依存関係をインストールします。
cd /var/www/html/socioboard/socioboard-api/feeds
npm install
npm audit fix
cd /var/www/html/socioboard/socioboard-api/library
npm install
cd /var/www/html/socioboard/socioboard-api/notification
npm install
cd /var/www/html/socioboard/socioboard-api/publish
npm install
cd /var/www/html/socioboard/socioboard-api/user
npm install
次に、次のコマンドを使用してデータベースを初期化します。
cd /var/www/html/socioboard/socioboard-api/library/sequelize-cli/
NODE_ENV=development sequelize db:migrate
次に、seedersディレクトリ内のすべてのファイルを一覧表示します:
ls /var/www/html/socioboard/socioboard-api/library/sequelize-cli/seeders/
出力:
20190213051930-initialize_application_info.js
20190507065043-initialize_dummy_users.js
20190507122417-initialize_socialaccounts.js
20190509121650-unauthorized_unittest_accounts.js
次に、initialize_application_info.jsで終わるファイルを選択し、次のコマンドを実行します。
NODE_ENV=development sequelize db:seed --seed 20190213051930-initialize_application_info.js
次に、development.jsonを編集し、MongoDBデータベースを定義します。
nano /var/www/html/socioboard/socioboard-api/user/config/development.json
次の行を変更します:
    "mongo": {
        "username": "socioboarduser",
        "password": "password",
        "host": "localhost",
        "db_name": "socioboarddb"
    },
ファイルを保存して閉じてから、次の各ファイルを編集して、MongoDBデータベース設定を定義します。
nano /var/www/html/socioboard/socioboard-api/feeds/config/development.json
nano /var/www/html/socioboard/socioboard-api/notification/config/development.json
nano /var/www/html/socioboard/socioboard-api/publish/config/development.json
ステップ7–Socioboard用のsystemdサービスファイルを作成する
まず、次のコマンドを使用して、Socioboardユーザー用のsystemdサービスファイルを作成します。
nano /etc/systemd/system/socioboard-user.service
次の行を追加します:
[Unit]
Description=SocioBoard User Microservice
After=multi-user.target

[Service]
Type=simple
User=www-data
WorkingDirectory=/var/www/html/socioboard/socioboard-api/user/
Environment=NODE_ENV=development
ExecStart=/usr/bin/nodemon app.js
Restart=on-failure
RestartSec=5

[Install]
WantedBy=multi-user.target
ファイルを保存して閉じ、次のコマンドを使用してSocioboardpublish用のsystemdサービスファイルを作成します。
nano /etc/systemd/system/socioboard-publish.service
次の行を追加します:
[Unit]
Description=SocioBoard Publish Microservice
After=multi-user.target

[Service]
Type=simple
User=www-data
WorkingDirectory=/var/www/html/socioboard/socioboard-api/publish/
Environment=NODE_ENV=development
ExecStart=/usr/bin/nodemon app.js
Restart=on-failure
RestartSec=5

[Install]
WantedBy=multi-user.target
ファイルを保存して閉じ、次のコマンドを使用してSocioboardフィード用のsystemdサービスファイルを作成します。
nano /etc/systemd/system/socioboard-feeds.service
次の行を追加します:
[Unit]
Description=SocioBoard Feeds Microservice
After=multi-user.target

[Service]
Type=simple
User=www-data
WorkingDirectory=/var/www/html/socioboard/socioboard-api/feeds/
Environment=NODE_ENV=development
ExecStart=/usr/bin/nodemon app.js
Restart=on-failure
RestartSec=5

[Install]
WantedBy=multi-user.target
ファイルを保存して閉じてから、Socioboard通知用のsystemdサービスファイルを作成します。
nano /etc/systemd/system/socioboard-notification.service
次の行を追加します:
[Unit]
Description=SocioBoard Notification Microservice
After=multi-user.target

[Service]
Type=simple
User=www-data
WorkingDirectory=/var/www/html/socioboard/socioboard-api/notification/
Environment=NODE_ENV=development
ExecStart=/usr/bin/nodemon app.js
Restart=on-failure
RestartSec=5

[Install]
WantedBy=multi-user.target
ファイルを保存して閉じてから、次のコマンドを使用してsystemdデーモンをリロードします。
systemctl daemon-reload
次に、すべてのサービスを開始し、システムの再起動時に開始できるようにします。
systemctl start socioboard-user socioboard-publish socioboard-feeds socioboard-notification
systemctl enable socioboard-user socioboard-publish socioboard-feeds socioboard-notification
次に、次のコマンドを使用してすべてのサービスのステータスを確認します。
systemctl status socioboard-user socioboard-publish socioboard-feeds socioboard-notification
ステップ8–Socioboard-web-phpを構成する
次に、次のコマンドを使用して、ディレクトリをsocioboard-web-phpに変更します。
cd /var/www/html/socioboard/socioboard-web-php/
注:以下で問題が発生した場合は、IPV6を無効にしてから再試行してください
sysctl -w net.ipv6.conf.all.disable_ipv6=1
次に、次のコマンドを使用してComposerをインストールします。
apt-get install composer -y
次に、次のコマンドを使用してLaravelコンポーネントをインストールします。
composer global require laravel/installer
次に、次のコマンドを使用して環境変数ファイルの名前を変更します。
mv environmentfile.env .env
次に、.envファイルを編集します:
nano .env
次の行を変更します:
APP_URL=http://socioboard.linuxbuz.com/
API_URL=http://localhost:3000/
API_URL_PUBLISH=http://localhost:3001/
API_URL_FEEDs=http://localhost:3002/
API_URL_NOTIFY=http://localhost:3003/
ファイルを保存して閉じてから、次のコマンドでコンポーザーを更新します。
composer update
次に、次のコマンドを使用してLaravelアプリキーを生成します:
php artisan key:generate
ステップ9–Socioboard用にApacheを構成する
次に、Socioboard用のApache仮想ホスト構成ファイルを作成します。
nano /etc/apache2/sites-available/socioboard.conf
次の行を追加します:
<VirtualHost *:80>
    ServerName socioboard.linuxbuz.com
    DocumentRoot /var/www/html/socioboard/socioboard-web-php/public/

     <Directory /var/www/html/socioboard/socioboard-web-php/public/>
       DirectoryIndex index.php
       Options +FollowSymLinks
       AllowOverride All
       Require all granted
     </Directory>

    ErrorLog ${APACHE_LOG_DIR}/socioboard.error.log
    CustomLog ${APACHE_LOG_DIR}/socioboard.access.log combined
</VirtualHost>
ファイルを保存して閉じ、Apache仮想ホストを有効にして、次のコマンドでモジュールを書き換えます。
a2ensite socioboard.conf
a2enmod rewrite
次に、次のコマンドを使用してApacheおよびSocioboardサービスを再起動します。
systemctl restart apache2
systemctl restart socioboard-user socioboard-publish socioboard-feeds socioboard-notification
ステップ10–Socioboardにアクセスする
次に、Webブラウザーを開き、URL http://socioboard.linuxbuz.comを使用してSocioboarにアクセスします。 。次のページが表示されます:
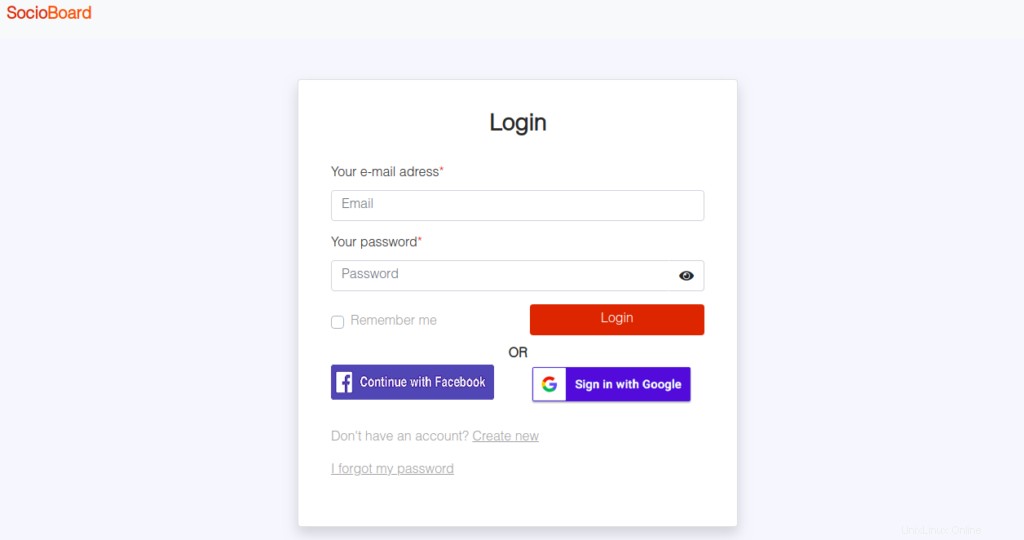
作成をクリックします 新規 ボタンをクリックして、新しいアカウントを作成します。次のページが表示されます:
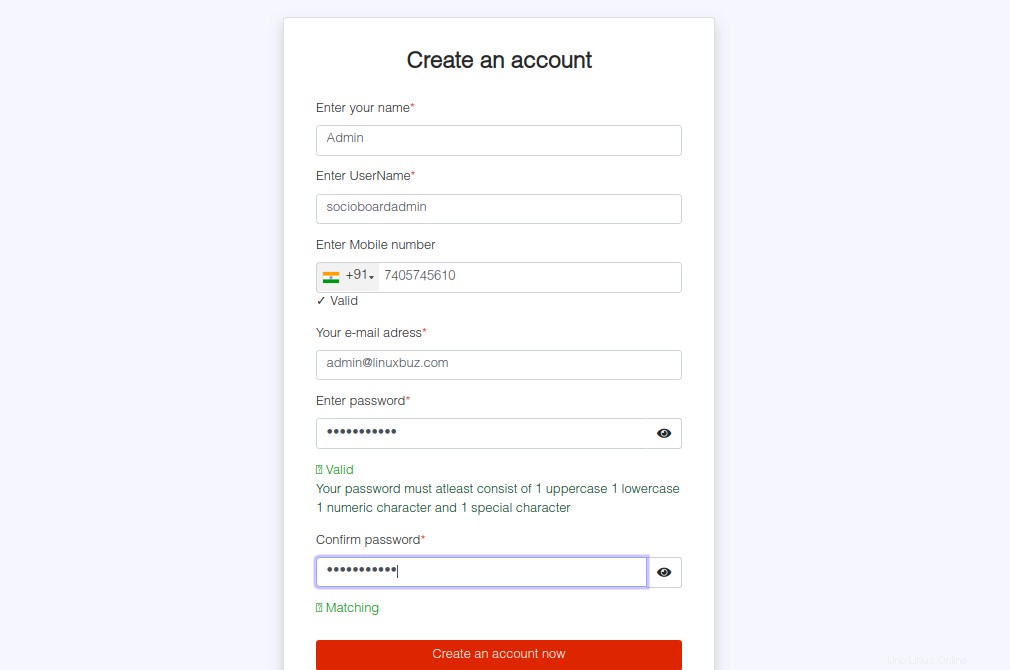
すべての詳細を入力し、今すぐアカウントを作成をクリックします ボタン。
Socioboardは確認メールを送信しようとしますが、メールを送信できません。 MariaDBコンソールからアカウントをアクティブ化する必要があります。
次のコマンドでMariaDBに接続します:
mysql
接続したら、データベースをsocioboarddbに変更し、次のコマンドでアカウントをアクティブ化します。
use socioboarddb;
update user_activations set activation_status = 1;
次に、次のコマンドを使用してアカウントをプラチナプランに変更します。
update user_activations set user_plan = 7;
次に、次のコマンドを使用してMariaDBを終了します。
exit;
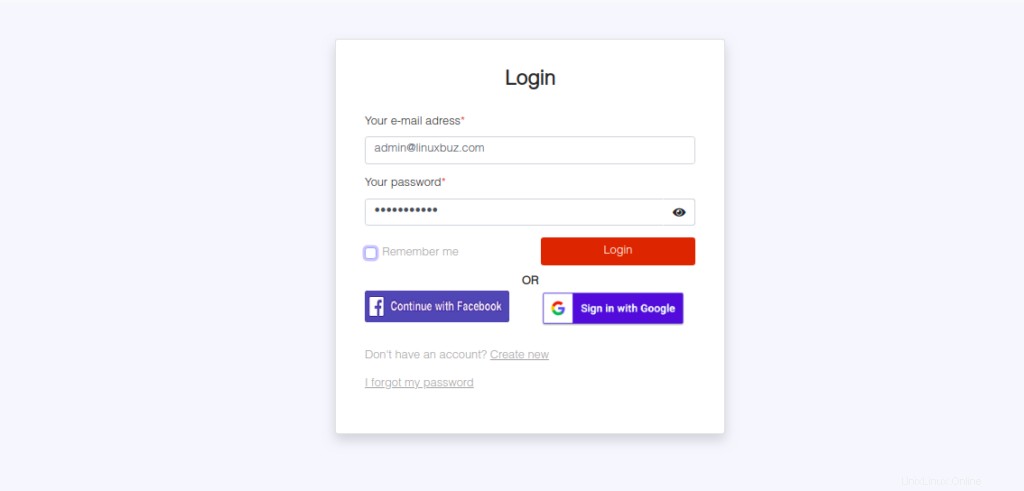
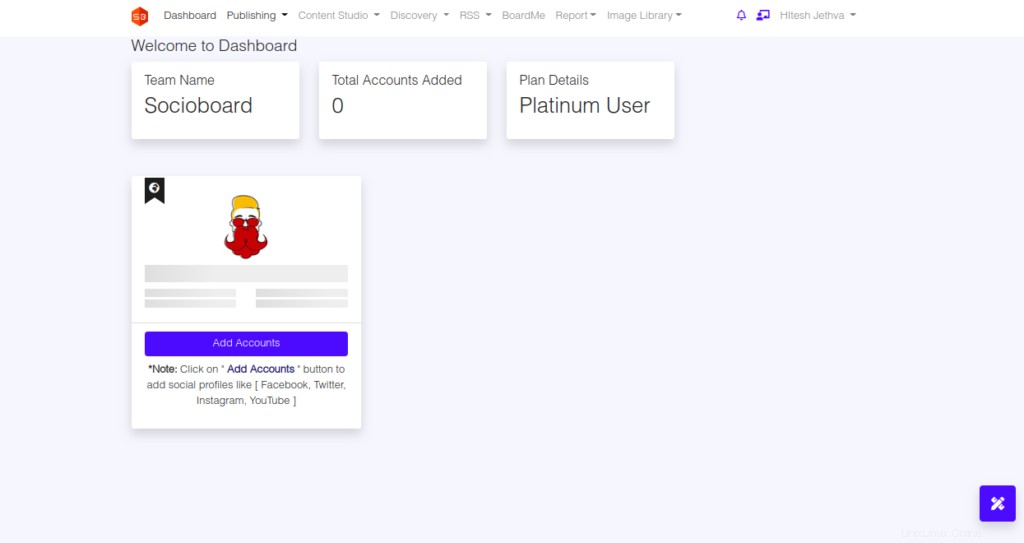
次に、Webインターフェイスに戻り、登録プロセスをクリックし、[ログイン]ボタンをクリックします。次のページにSocioboardダッシュボードが表示されます。
結論
上記のガイドでは、Ubuntu20.04にSocioboardをインストールする方法を学びました。組織に実装し、Atlantic.NetのVPSホスティングアカウントの中央ダッシュボードからすべてのソーシャルメディアチャネルを管理できます!