AWS Simple Queue Service(SQS)は、マイクロサービス、サーバーレスアプリケーション、分散システムを分離して拡張できる、フルマネージドのメッセージキューサービスです。 SQSを使用すると、ソフトウェアコンポーネント間でメッセージを失うことなく送受信できます。 AWS SQSは、標準キューとFIFOキューの2種類のメッセージキューを提供します。 SQSキューの詳細については、「AWSでSQSキューを作成する方法」を検索してください。記事。
AWS CloudFormationを使用すると、プログラミング言語(yaml / json)または単純なテキストファイルを使用して、アプリケーションに必要なすべてのリソースをモデル化およびプロビジョニングできます。これにより、AWSリソースの信頼できる唯一の情報源が得られます。
この記事では、CloudformationStackを使用して標準キューとFIFOキューを作成する手順を説明します。
- AWSアカウント(アカウントがない場合は作成します)。
- CloudformationStackの基本的な理解。
- SQSキューの基本的な理解。
何をしますか?
- AWSにログインします。
- Cloudformationスタックを使用して標準キューを作成する
- Cloudformationスタックを使用してFIFOキューを作成する
AWSにログイン
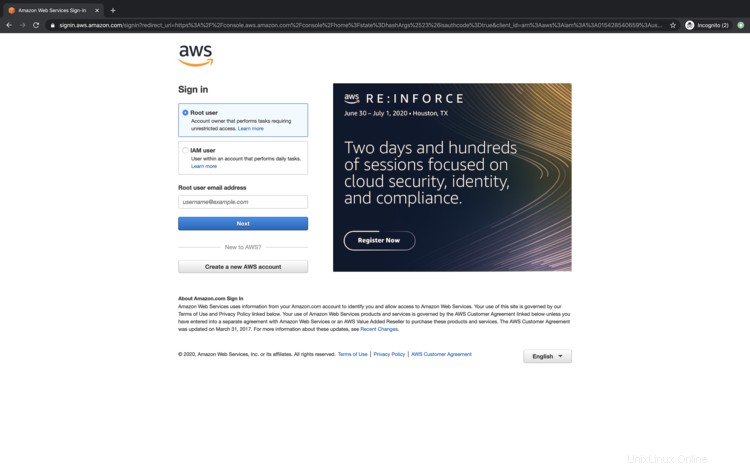
- AWSログインページに移動するには、ここをクリックしてください。
上記のリンクをクリックすると、ログイン情報を使用してログインする必要がある次のWebページが表示されます。
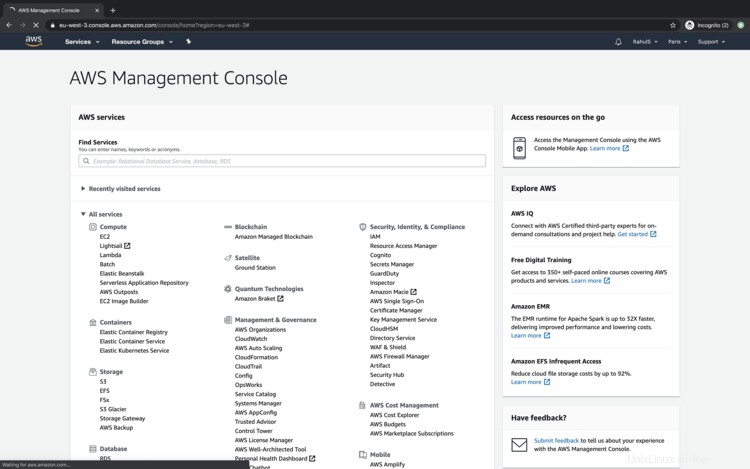
AWSに正常にログインすると、すべてのサービスが一覧表示されたメインコンソールが表示されます。
Cloudformationスタックを使用して標準キューを作成する
標準キューの作成に進む前に、次のブロックからコードをコピーするか、ここからテンプレートをダウンロードして、ローカルマシンに保存します。このテンプレートは、Cloudformationスタックを作成するときに必要になります。
---
AWSTemplateFormatVersion: '2010-09-09'
Description: This stack creates a Standard Queue
Parameters:
DelaySeconds:
Description: "The time in seconds that the delivery of all messages in the queue is delayed"
Type: Number
Default: '5'
MaximumMessageSize:
Type: Number
Description: "The limit of how many bytes that a message can contain before Amazon SQS rejects it"
Default: '262144'
MessageRetentionPeriod:
Description: "The number of seconds that Amazon SQS retains a message."
Type: Number
Default: '345600'
ReceiveMessageWaitTimeSeconds:
Description: "Specifies the duration, in seconds, that the ReceiveMessage action call waits until a message is in the queue in order to include it in the response"
Type: Number
Default: '0'
UsedeadletterQueue:
Description: "A dead-letter queue is a queue that other (source) queues can target for messages that can't be processed (consumed) successfully."
Type: String
AllowedValues:
- 'true'
- 'false'
Default: 'false'
VisibilityTimeout:
Description: "This should be longer than the time it would take to process and delete a message"
Type: Number
Default: '5'
Mappings: {}
Conditions:
CreateDeadLetterQueue:
Fn::Equals:
- Ref: UsedeadletterQueue
- 'true'
Resources:
SQSQueue:
Type: AWS::SQS::Queue
Properties:
DelaySeconds:
Ref: DelaySeconds
MaximumMessageSize:
Ref: MaximumMessageSize
MessageRetentionPeriod:
Ref: MessageRetentionPeriod
ReceiveMessageWaitTimeSeconds:
Ref: ReceiveMessageWaitTimeSeconds
RedrivePolicy:
Fn::If:
- CreateDeadLetterQueue
- deadLetterTargetArn:
Fn::GetAtt:
- MyDeadLetterQueue
- Arn
maxReceiveCount: 5
- Ref: AWS::NoValue
VisibilityTimeout:
Ref: VisibilityTimeout
MyDeadLetterQueue:
Condition: CreateDeadLetterQueue
Type: AWS::SQS::Queue
Outputs:
QueueURL:
Description: URL of the created SQS
Value:
Ref: SQSQueue
QueueARN:
Description: ARN of the created SQS
Value:
Fn::GetAtt:
- SQSQueue
- Arn
QueueName:
Description: Name of the created SQS
Value:
Fn::GetAtt:
- SQSQueue
- QueueName
DeadLetterQueueURL:
Condition: CreateDeadLetterQueue
Description: URL of the dead letter queue
Value:
Ref: MyDeadLetterQueue
DeadLetterQueueARN:
Condition: CreateDeadLetterQueue
Description: ARN of the dead letter queue
Value:
Fn::GetAtt:
- MyDeadLetterQueue
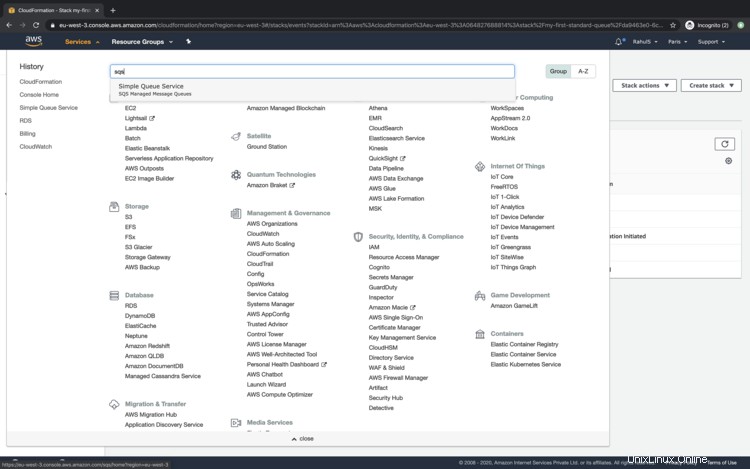
- Arn Cloudformationスタックを使用して標準キューを作成するには、上部のメニューバーから[サービス]をクリックして、[Cloudformation]を検索します。
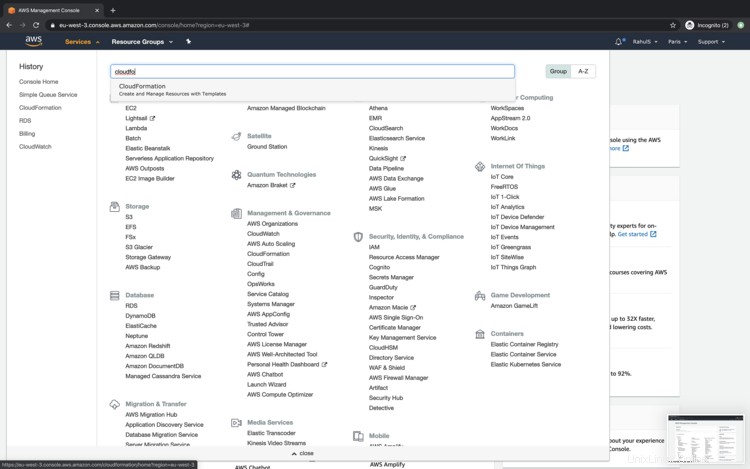
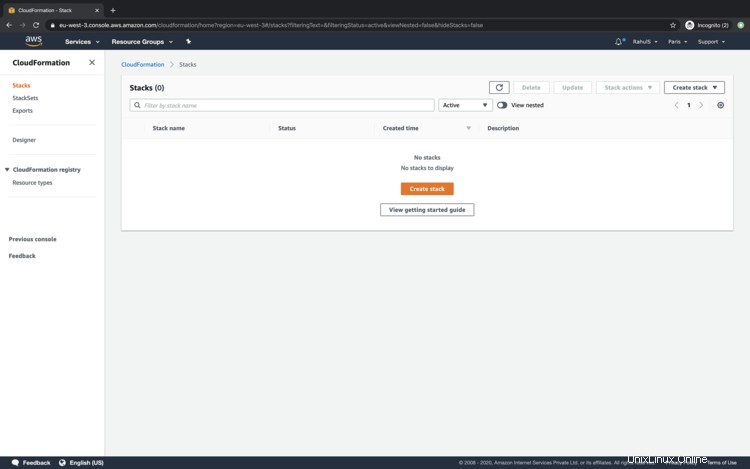
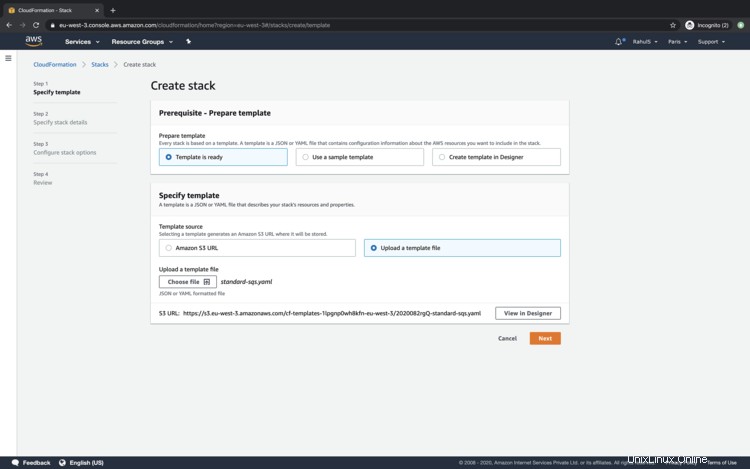
Cloudformationのメインダッシュボードで、[スタックの作成]をクリックしてスタックを作成します。
ローカルマシンからテンプレートをアップロードするには、[テンプレートファイルのアップロード]ラジオボタンをクリックし、[次へ]をクリックします。
作成するスタックに名前を指定して必要な詳細を入力するか、デフォルト値に進んで[次へ]をクリックします。

SQSの作成時に適用できるタグを指定し、[次へ]をクリックします。
ページを下にスクロールし、[スタックの作成]ボタンをクリックして、標準キューを作成するスタックを作成します。

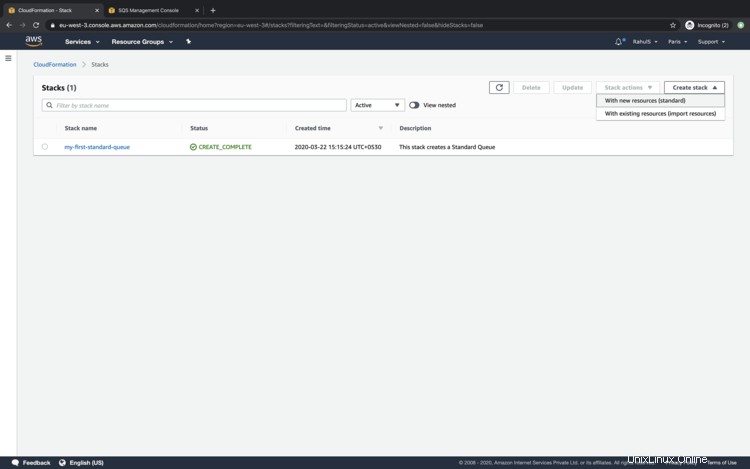
[イベント]でステータスを確認できます。ステータスがスタックの「CREATE_COMPLETE」に変わると、これはキューが作成されたことを意味します。

[サービス]をクリックして[SQS]を検索し、キューが作成されているかどうかを確認します。
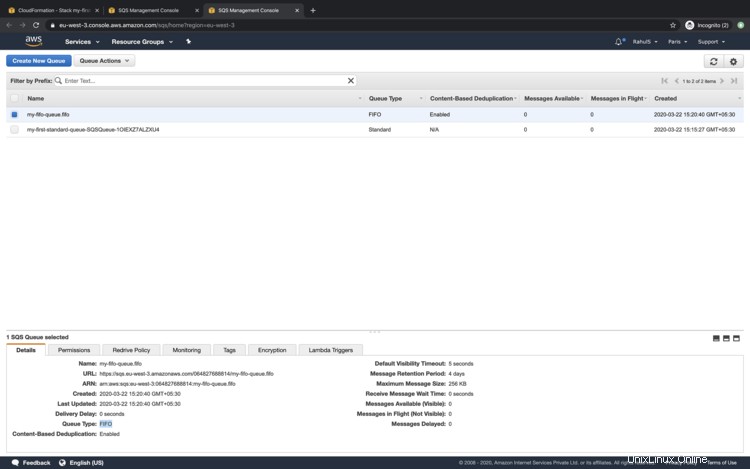
SQSのメインダッシュボードで、キューが作成され、キューに付けられた名前がCloudformation Stack名であり、それにランダムなサフィックス文字列が付いていることがわかります。これは、スタックにキュー名を指定しなかったためです。

Cloudformationスタックを使用してFIFOキューを作成する
FIFOキューの作成に進む前に、次のブロックからコードをコピーするか、ここからテンプレートをダウンロードして、ローカルシステムに保存してください。
---
AWSTemplateFormatVersion: '2010-09-09'
Description: This stack creates a FIFO Queue
Parameters:
  ContentBasedDeduplication:
    Description: Specifie whether to enable content-based deduplication
    Type: String
    AllowedValues:
    - 'true'
    - 'false'
    Default: 'true'
  QueueName:
    Description: This stack will append .fifo to the end of the Queue name.
    Type: String
  DelaySeconds:
    Description: "The time in seconds that the delivery of all messages in the queue"
    Type: Number
    Default: '5'
  MaximumMessageSize:
    Type: Number
    Description: "The limit of how many bytes that a message can contain before Amazon"
    Default: '262144'
  MessageRetentionPeriod:
    Description: "The number of seconds that Amazon SQS retains a message."
    Type: Number
    Default: '345600'
  ReceiveMessageWaitTimeSeconds:
    Description: "Specifies the duration, in seconds, that the ReceiveMessage action
      call waits until a message is in the queue in order to include it in the response"
    Type: Number
    Default: '0'
  UsedeadletterQueue:
    Description: "A dead-letter queue is a queue that other (source) queues can target
      for messages that can't be processed (consumed) successfully."
    Type: String
    AllowedValues:
    - 'true'
    - 'false'
    Default: 'false'
  VisibilityTimeout:
    Description: "This should be longer than the time it would take to process and
      delete a message"
    Type: Number
    Default: '5'
Mappings: {}
Conditions:
  CreateDeadLetterQueue:
    Fn::Equals:
    - Ref: UsedeadletterQueue
    - 'true'
Resources:
  SQSQueue:
    Type: AWS::SQS::Queue
    Properties:
      ContentBasedDeduplication:
        Ref: ContentBasedDeduplication
      FifoQueue: 'true'
      QueueName:
        Fn::Join:
        - ''
        - - Ref: QueueName
          - ".fifo"
      MaximumMessageSize:
        Ref: MaximumMessageSize
      MessageRetentionPeriod:
        Ref: MessageRetentionPeriod
      ReceiveMessageWaitTimeSeconds:
        Ref: ReceiveMessageWaitTimeSeconds
      RedrivePolicy:
        Fn::If:
        - CreateDeadLetterQueue
        - deadLetterTargetArn:
            Fn::GetAtt:
            - MyDeadLetterQueue
            - Arn
          maxReceiveCount: 5
        - Ref: AWS::NoValue
      VisibilityTimeout:
        Ref: VisibilityTimeout
  MyDeadLetterQueue:
    Condition: CreateDeadLetterQueue
    Type: AWS::SQS::Queue
    Properties:
      FifoQueue: 'true'
      QueueName:
        Fn::Join:
        - ''
        - - Ref: QueueName
          - Deadletter
          - ".fifo"
Outputs:
  QueueURL:
    Description: URL of the created SQS
    Value:
      Ref: SQSQueue
  QueueARN:
    Description: ARN of the created SQS
    Value:
      Fn::GetAtt:
      - SQSQueue
      - Arn
  QueueName:
    Description: Name of the created SQS
    Value:
      Fn::GetAtt:
      - SQSQueue
      - QueueName
Cloudformationのメインダッシュボードに戻り、標準キューを作成するために行ったのと同じ手順に従います。
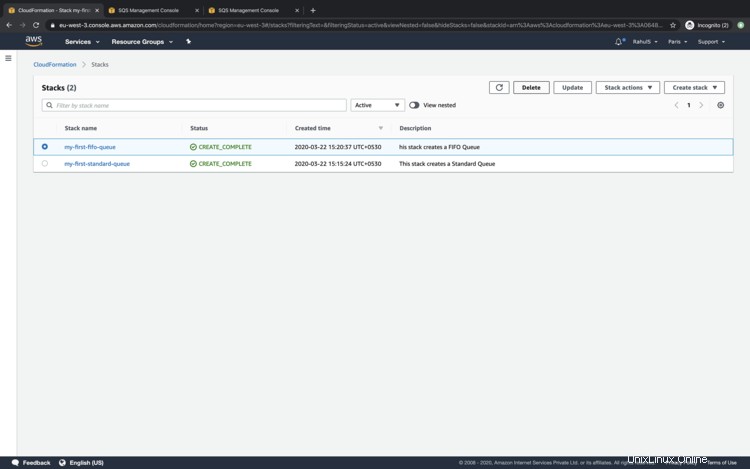
スタックが作成されると、FIFOキューを使用する準備ができていることがわかります。ここでは、FIFOキューにランダムな文字列がないことがわかります。これは、Cloudformationテンプレートに、作成するキューの名前を指定できるオプションがあるためです。
キューが不要になった場合は、メインダッシュボードからCloudformationStackを削除することでキューを削除できます。
この記事では、CloudformationStackを使用して標準キューとFIFOキューを作成する手順について説明しました。