Mattermostは、ツールやチーム間でのコミュニケーション、コラボレーション、ワークフローのオーケストレーションのための無料のオープンソースで安全なプラットフォームです。これは、組織や企業が内部チャットサービスを実装するために設計されたセルフホストチャットサービスです。 1対1のメッセージング、無制限の検索履歴、ファイル共有、2要素認証、通知など、いくつかの便利な機能を提供します。 Slackの代替ソリューションをお探しの場合は、Mattermostが最適です。
このチュートリアルでは、MattermostwithNginxをAlmaLinux8にインストールする方法を紹介します。
- AlmaLinux8を実行しているサーバー。
- サーバーIPで指定された有効なドメイン名。
- ルートパスワードはサーバーで構成されています。
MySQLサーバーをインストールする
MattermostはMySQLをデータベースバックエンドとして使用します。したがって、MySQLをサーバーにインストールする必要があります。次のコマンドを実行してインストールできます:
dnf install mysql-server -y
MySQLサーバーがインストールされたら、次のコマンドを使用してMySQLサービスを開始して有効にします。
systemctl start mysqld
systemctl enable mysqld
これで、次のスクリプトを実行してMySQLのインストールを保護できます。
mysql_secure_installation
以下に示すようにすべての質問に答えて、MySQLルートパスワードを設定し、インストールを保護します。
Press y|Y for Yes, any other key for No: N
Please set the password for root here.
New password:
Re-enter new password:
Remove anonymous users? (Press y|Y for Yes, any other key for No) : Y
Disallow root login remotely? (Press y|Y for Yes, any other key for No) : Y
Remove test database and access to it? (Press y|Y for Yes, any other key for No) : Y
Reload privilege tables now? (Press y|Y for Yes, any other key for No) : Y
次に、Mattermostのデータベースとユーザーを作成する必要があります。まず、次のコマンドを使用してMySQLにログインします。
mysql -u root -p
ログインしたら、次のコマンドを使用してデータベースとユーザーを作成します。
mysql> CREATE DATABASE matterdb;
mysql> CREATE USER 'matteruser'@'localhost' IDENTIFIED BY 'password';
次に、Mattermostデータベースにすべての権限を付与します。
mysql> GRANT ALL PRIVILEGES ON matterdb.* TO [email protected];
次に、特権をフラッシュし、次のコマンドを使用してMySQLを終了します。
mysql> FLUSH PRIVILEGES;
mysql> EXIT;
終了したら、次のステップに進むことができます。
AlmaLinux8にMattermostをインストールする
まず、次のコマンドを使用してMattermostを実行する専用ユーザーを作成します。
useradd --system --user-group mattermost
次に、次のコマンドを使用してMattermostの最新バージョンをダウンロードします。
wget https://releases.mattermost.com/6.0.2/mattermost-6.0.2-linux-amd64.tar.gz
ダウンロードが完了したら、次のコマンドを使用してダウンロードしたファイルを抽出します。
tar -xf mattermost-6.0.2-linux-amd64.tar.gz
次に、抽出したディレクトリを/ opt:
に移動します。mv mattermost /opt
次に、Mattermostのデータディレクトリを作成し、Mattermostの所有権と権限を変更します。
mkdir /opt/mattermost/data
chown -R mattermost:mattermost /opt/mattermost
chmod -R g+w /opt/mattermost
次に、Mattermost構成ファイルを編集します:
nano /opt/mattermost/config/config.json
以下に示すように、MattermostWebサイトのURLを定義します。
"SiteURL": "http://mattermost.example.com",
次に、次の行を見つけます。
    "DriverName": "postgres",
    "DataSource": "postgres://mmuser:[email protected]/mattermost_test?sslmode=disable\u0026connect_timeout=10",
そして、それらを次の行に置き換えました:
    "DriverName": "mysql",
    "DataSource": "matteruser:[email protected](localhost:3306)/matterdb?charset=utf8mb4,utf8\u0026readTimeout=30s\u0026writeTimeout=30s",
終了したら、ファイルを保存して閉じます。
MattermostのSystemdサービスファイルを作成する
次に、Mattermostサービスを管理するためのsystemdサービスファイルを作成する必要があります。次のコマンドを実行して作成できます:
nano /etc/systemd/system/mattermost.service
次の行を追加します:
[Unit]
Description=Mattermost
After=syslog.target network.target mysqld.service

[Service]
Type=notify
WorkingDirectory=/opt/mattermost
User=mattermost
ExecStart=/opt/mattermost/bin/mattermost
PIDFile=/var/spool/mattermost/pid/master.pid
TimeoutStartSec=3600
LimitNOFILE=49152

[Install]
WantedBy=multi-user.target
ファイルを保存して閉じてから、次のコマンドを使用してsystemdデーモンをリロードします。
systemctl daemon-reload
次に、Mattermostサービスを開始し、システムの再起動時に開始できるようにします。
systemctl start mattermost
systemctl enable mattermost
次のコマンドを使用して、Mattermostサービスのステータスを確認できるようになりました。
systemctl status mattermost
次の出力が得られます:
? mattermost.service - Mattermost
   Loaded: loaded (/etc/systemd/system/mattermost.service; disabled; vendor preset: disabled)
   Active: active (running) since Sat 2022-01-15 14:12:29 UTC; 7s ago
 Main PID: 15201 (mattermost)
    Tasks: 32 (limit: 11411)
   Memory: 265.2M
   CGroup: /system.slice/mattermost.service
           ??15201 /opt/mattermost/bin/mattermost
           ??15298 plugins/com.mattermost.plugin-channel-export/server/dist/plugin-linux-amd64
           ??15299 plugins/com.mattermost.nps/server/dist/plugin-linux-amd64
           ??15308 plugins/playbooks/server/dist/plugin-linux-amd64
           ??15313 plugins/focalboard/server/dist/plugin-linux-amd64

Jan 15 14:12:26 almalinux8 mattermost[15201]: {"timestamp":"2022-01-15 14:12:26.344 Z","level":"info","msg":"Sent notification of next survey>
Jan 15 14:12:26 almalinux8 mattermost[15201]: {"timestamp":"2022-01-15 14:12:26.402 Z","level":"info","msg":"Post.Message has size restrictio>
Jan 15 14:12:26 almalinux8 mattermost[15201]: {"timestamp":"2022-01-15 14:12:26.499 Z","level":"info","msg":"info [2022-01-15 14:12:26.497 Z]>
Jan 15 14:12:26 almalinux8 mattermost[15201]: {"timestamp":"2022-01-15 14:12:26.537 Z","level":"info","msg":"\n    -- collation of mattermost>
Jan 15 14:12:28 almalinux8 mattermost[15201]: {"timestamp":"2022-01-15 14:12:28.297 Z","level":"info","msg":"debug [2022-01-15 14:12:28.295 Z>
Jan 15 14:12:28 almalinux8 mattermost[15201]: {"timestamp":"2022-01-15 14:12:28.804 Z","level":"info","msg":"info [2022-01-15 14:12:28.803 Z]>
Jan 15 14:12:29 almalinux8 systemd[1]: Started Mattermost.
Jan 15 14:12:29 almalinux8 mattermost[15201]: {"timestamp":"2022-01-15 14:12:29.149 Z","level":"info","msg":"Starting Server...","caller":"ap>
Jan 15 14:12:29 almalinux8 mattermost[15201]: {"timestamp":"2022-01-15 14:12:29.150 Z","level":"info","msg":"Server is listening on [::]:8065>
Jan 15 14:12:29 almalinux8 mattermost[15201]: {"timestamp":"2022-01-15 14:12:29.150 Z","level":"info","msg":"Sending systemd READY notificati>
この時点で、Mattermostが起動し、ポート8065で実行されています。次のコマンドで確認できます。
ss -antpl | grep 8065
次の出力が得られます:
LISTEN 0 128 *:8065 *:* users:(("mattermost",pid=15201,fd=35))
終了したら、次のステップに進むことができます。
NginxをMattermostのリバースプロキシとして構成する
NginxをMattermostのリバースプロキシとしてインストールして構成することをお勧めします。そのためには、Nginxサーバーをサーバーにインストールする必要があります。次のコマンドを実行してインストールできます:
dnf install nginx -y
Nginxがインストールされたら、次のコマンドを使用してNginx仮想ホスト構成ファイルを作成します。
nano /etc/nginx/conf.d/mattermost.conf
次の行を追加します:
 server {
        listen       80;
        server_name  mattermost.example.com;

        # Load configuration files for the default server block.
        include /etc/nginx/default.d/*.conf;

        location / {
	proxy_pass http://localhost:8065/;
            index  index.html index.htm;
        }

        error_page 404 /404.html;
            location = /40x.html {
        }

        error_page 500 502 503 504 /50x.html;
            location = /50x.html {
        }
    }
ファイルを保存して閉じ、Nginxに構成エラーがないか確認します:
nginx -t
すべてが正常であれば、次の出力が得られます:
nginx: the configuration file /etc/nginx/nginx.conf syntax is ok
nginx: configuration file /etc/nginx/nginx.conf test is successful
次に、システムの再起動時にNginxサービスを開始して有効にします。
systemctl start nginx
systemctl enable nginx
次のコマンドを使用して、Nginxのステータスを確認できます。
systemctl status nginx
次の出力が得られます:
? nginx.service - The nginx HTTP and reverse proxy server
   Loaded: loaded (/usr/lib/systemd/system/nginx.service; disabled; vendor preset: disabled)
   Active: active (running) since Sat 2022-01-15 14:14:05 UTC; 7s ago
  Process: 15356 ExecStart=/usr/sbin/nginx (code=exited, status=0/SUCCESS)
  Process: 15354 ExecStartPre=/usr/sbin/nginx -t (code=exited, status=0/SUCCESS)
  Process: 15351 ExecStartPre=/usr/bin/rm -f /run/nginx.pid (code=exited, status=0/SUCCESS)
 Main PID: 15358 (nginx)
    Tasks: 2 (limit: 11411)
   Memory: 3.8M
   CGroup: /system.slice/nginx.service
           ??15358 nginx: master process /usr/sbin/nginx
           ??15359 nginx: worker process

Jan 15 14:14:05 almalinux8 systemd[1]: nginx.service: Succeeded.
Jan 15 14:14:05 almalinux8 systemd[1]: Stopped The nginx HTTP and reverse proxy server.
Jan 15 14:14:05 almalinux8 systemd[1]: Starting The nginx HTTP and reverse proxy server...
Jan 15 14:14:05 almalinux8 nginx[15354]: nginx: the configuration file /etc/nginx/nginx.conf syntax is ok
Jan 15 14:14:05 almalinux8 nginx[15354]: nginx: configuration file /etc/nginx/nginx.conf test is successful
Jan 15 14:14:05 almalinux8 systemd[1]: nginx.service: Failed to parse PID from file /run/nginx.pid: Invalid argument
Jan 15 14:14:05 almalinux8 systemd[1]: Started The nginx HTTP and reverse proxy server.
この時点で、Nginxがインストールされ、Mattermostにサービスを提供するように構成されています。これで、次のステップに進むことができます。
次に、ポート80がファイアウォールを通過できるようにする必要があります。次のコマンドを実行して許可できます:
firewall-cmd --add-service=http --permanent
次に、ファイアウォールをリロードして変更を適用します。
firewall-cmd --reload
終了したら、次のステップに進むことができます。
MattermostWebUIにアクセス
次に、Webブラウザーを開き、URL http://mattermost.example.comを使用してMattermostWebインターフェースにアクセスします。 。次の画面にリダイレクトされます:
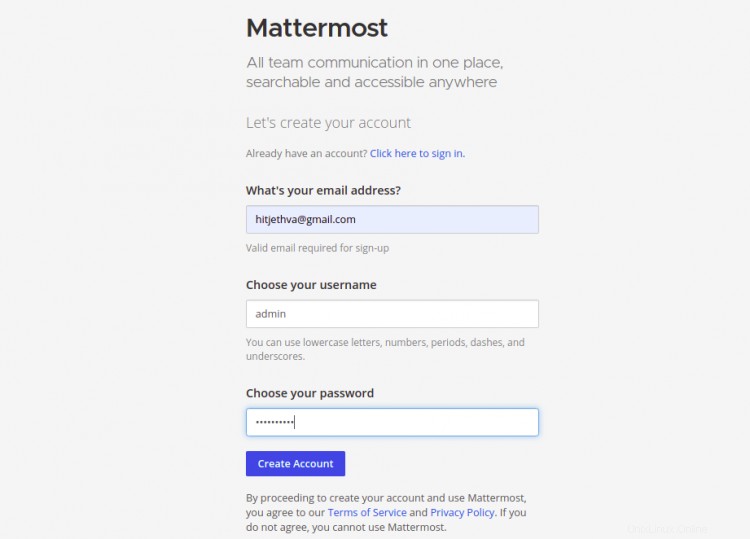
メールアドレス、管理者のユーザー名、パスワードを入力し、作成をクリックします アカウント ボタン。次の画面が表示されます:
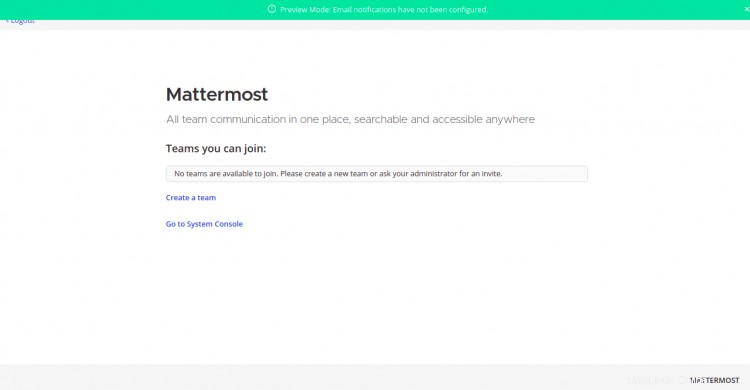
作成をクリックします a チーム 。次の画面が表示されます:

チーム名を入力して、次へをクリックします ボタン。次の画面が表示されます:
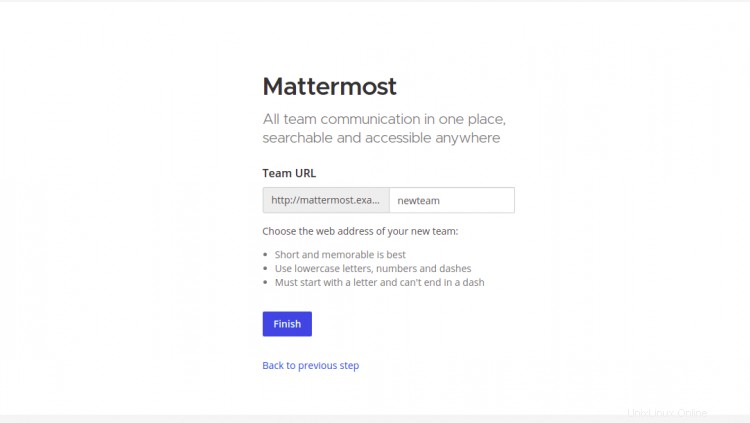
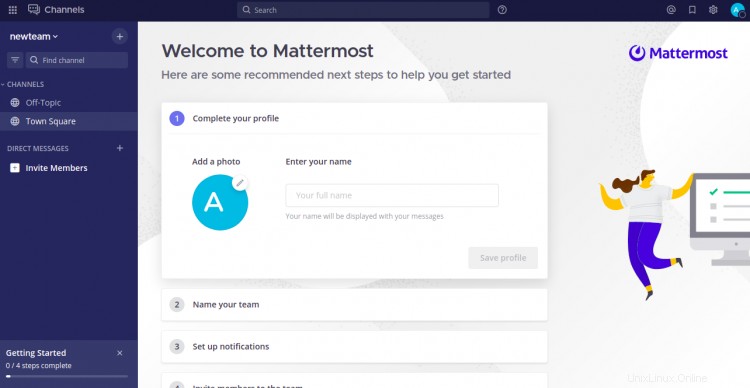
MattermostチームのURLを提供します 完了をクリックします ボタン。次の画面にMattermostダッシュボードが表示されます:
上記のガイドでは、Alma Linux 8にNginxを使用してMattermostチャットサービスをインストールする方法を学習しました。これで、組織にMattermostを実装し、内部チャットとして使用できるようになりました。ご不明な点がございましたら、お気軽にお問い合わせください。