WordPress は、PHP プログラミング言語で書かれた人気のあるコンテンツ管理ソフトウェア (CMS) です。人気のおかげで、WordPress はすべての Web サイトの少なくとも 43% の市場シェアを獲得しています。人気の理由の 1 つは、完全に無料でセットアップと管理が簡単であることです。
WordPress はブログで人気があるだけでなく、e コマースやフォーラムなどにも使用されています。
このチュートリアルでは、セットアップをガイドし、Ubuntu 22.04 を使用して WordPress をインストールします。
始めましょう。
1 システムの更新
まずシステムを更新しましょう。
sudo apt update && apt upgrade2 PHP と PHP 拡張機能のインストール
WordPress を適切に実行するために必要な PHP と PHP 拡張機能をインストールしましょう。
sudo apt install php php-curl php-gd php-mbstring php-xml php-xmlrpc php-soap php-intl php-zip php-mysql php-fpm
PHP のバージョンを確認します:
php -v

Output:
PHP 8.1.2 (cli) (built: Jul 21 2022 12:10:37) (NTS)
Copyright (c) The PHP Group
Zend Engine v4.1.2, Copyright (c) Zend Technologies
    with Zend OPcache v8.1.2, Copyright (c), by Zend Technologies
3 データベースのインストールと構成
WordPress は PHP で構築されているため、選択するデータベースは MySQL または MariaDB である必要があり、このチュートリアルでは MariaDB をインストールします。
sudo apt install mariadb-server -yMariaDB を有効にして起動しましょう。
systemctl enable mariadb --nowMariaDB データベースのステータスを確認してください。
sudo systemctl status mariadb

Output:
● mariadb.service - MariaDB 10.6.7 database server
     Loaded: loaded (/lib/systemd/system/mariadb.service; enabled; vendor preset: enabled)
     Active: active (running) since Sat 2022-09-03 12:32:57 EDT; 2min 13s ago
       Docs: man:mariadbd(8)
             https://mariadb.com/kb/en/library/systemd/
   Main PID: 123075 (mariadbd)
     Status: "Taking your SQL requests now..."
      Tasks: 9 (limit: 9456)
     Memory: 57.2M
        CPU: 425ms
     CGroup: /system.slice/mariadb.service
             └─123075 /usr/sbin/mariadbd
MariaDB データベースを保護しましょう。
sudo mysql_secure_installation

Output:
Securing the MySQL server deployment.

Enter password for user root:
The 'validate_password' component is installed on the server.
The subsequent steps will run with the existing configuration
of the component.
Using existing password for root.

Estimated strength of the password: 50
Change the password for root ? ((Press y|Y for Yes, any other key for No) : N

 ... skipping.
By default, a MySQL installation has an anonymous user,
allowing anyone to log into MySQL without having to have
a user account created for them. This is intended only for
testing, and to make the installation go a bit smoother.
You should remove them before moving into a production
environment.

Remove anonymous users? (Press y|Y for Yes, any other key for No) : Y
Success.


Normally, root should only be allowed to connect from
'localhost'. This ensures that someone cannot guess at
the root password from the network.

Disallow root login remotely? (Press y|Y for Yes, any other key for No) : Y
Success.

By default, MySQL comes with a database named 'test' that
anyone can access. This is also intended only for testing,
and should be removed before moving into a production
environment.


Remove test database and access to it? (Press y|Y for Yes, any other key for No) : Y
 - Dropping test database...
Success.

 - Removing privileges on test database...
Success.

Reloading the privilege tables will ensure that all changes
made so far will take effect immediately.

Reload privilege tables now? (Press y|Y for Yes, any other key for No) : Y
Success.

All done!
MariaDB サービスを再起動します。
sudo systemctl restart mariadbWordPress サイトのデータベースとデータベース ユーザーを作成しましょう。
mysql -u root -p
MariaDB [(none)]> create database wordpress;
MariaDB [(none)]> grant all privileges on wordpress.* to 'wordpress_user'@'localhost' identified by 'your_secure_password';
MariaDB [(none)]> flush privileges;
MariaDB [(none)]> exit;「your_secure_password」を忘れずに変更してください ‘安全なパスワードに。
4 WordPress のダウンロード
sudo wget https://wordpress.org/latest.tar.gz -P /var/www/WordPress をダウンロードした場所にディレクトリを変更しましょう。
cd /var/www
WordPress ファイルを抽出します。
sudo tar -xvzf latest.tar.gz
.htaccess を作成します ファイル。
sudo nano /var/www/wordpress/.htaccess以下を内部に挿入します。
# BEGIN WordPress

RewriteEngine On
RewriteRule .* - [E=HTTP_AUTHORIZATION:%{HTTP:Authorization}]
RewriteBase /
RewriteRule ^index\.php$ - [L]
RewriteCond %{REQUEST_FILENAME} !-f
RewriteCond %{REQUEST_FILENAME} !-d
RewriteRule . /index.php [L]

# END WordPress
.htaccess に注意してください Apache ウェブサーバーでのみ動作します。
ファイルを保存して終了します。
所有権とグループを www-data に変更します。
sudo chown -R www-data:www-data wordpressパーミッションを修正して、すべてのフォルダーを 755 に、すべてのファイルを 644 に設定しましょう。
sudo find /var/www/wordpress/ -type d -exec chmod 755 {} \;
sudo find /var/www/wordpress/ -type f -exec chmod 644 {} \;
5 Apache ウェブサーバーで WordPress をセットアップする
まず、Apache WebServer をインストールしましょう。
sudo apt install apache2Apache を有効にして起動します。
systemctl enable apache2 --now仮想ホストを作成します。
sudo nano /etc/apache2/sites-available/wordpress.com.conf以下を wordpress.com.conf ファイルに挿入します。
<VirtualHost *:80>
     ServerAdmin example@unixlinux.online
     DocumentRoot /var/www/wordpress
     ServerName domain.com
www.domain.com


     ErrorLog ${APACHE_LOG_DIR}/error.log
     CustomLog ${APACHE_LOG_DIR}/access.log combined

     <Directory /var/www/wordpress/>
        Options +FollowSymlinks
        AllowOverride All
        Require all granted
     </Directory>

</VirtualHost>
「domain.com を変更することを忘れないでください。 」をドメイン名に置き換えます。
保存して終了します。
作成した仮想ホストを有効にしましょう。
sudo a2ensite wordpress.com.confmod_rewrite を有効にします。
sudo a2enmod rewriteApache を再起動します。
sudo systemctl restart apache2
6 Nginx ウェブサーバーで WordPress をセットアップ
まず、Nginx をインストールしましょう。
sudo apt install nginx -y
Nginx を有効にして起動します。
sudo systemctl enable nginx --now
サーバー ブロックを作成します。
sudo nano /etc/nginx/sites-available/domain.com.conf以下を挿入してください。
server {
        server_name domain.comwww.domain.com;

    access_log   /var/log/nginx/domain.com.access.log;
    error_log    /var/log/nginx/domain.com.error.log;

        root /var/www/wordpress;
        index index.php;

        location / {
                try_files $uri $uri/ /index.php?$args;
        }

        location ~ \.php$ {
      fastcgi_pass unix:/run/php/php-fpm.sock;
      include         fastcgi_params;
      fastcgi_param   SCRIPT_FILENAME    $document_root$fastcgi_script_name;
      fastcgi_param   SCRIPT_NAME        $fastcgi_script_name;
        }

}
domain.com を変更してください。
ファイルを保存して終了します。
nginx 構成ファイル (サーバー ブロック) を有効にしましょう。
sudo ln -s /etc/nginx/sites-available/domain.com.conf /etc/nginx/sites-enabled/
Nginx を再起動します。
sudo systemctl restart nginxNginx ウェブサーバーを使用して WordPress サイトにアクセスできるはずです。
7 WordPress のインストールを完了する
http://domain.com のドメインで WordPress インスタンスにアクセスして、インストールを完了しましょう。 .
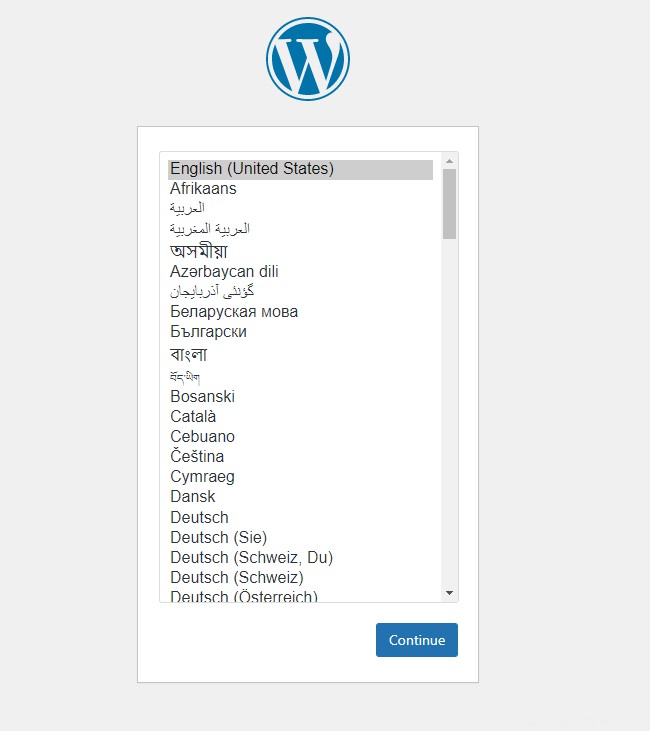
ご希望の言語を選択して、[続行] をクリックします .
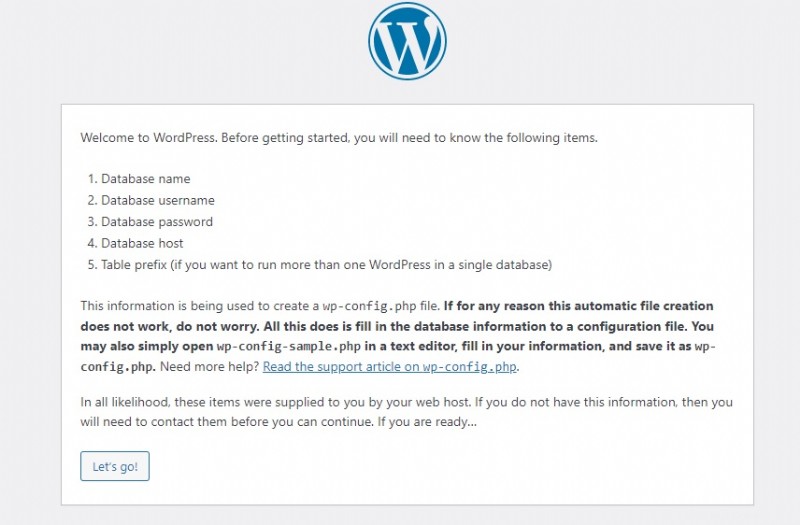
レッツゴーをクリックします .
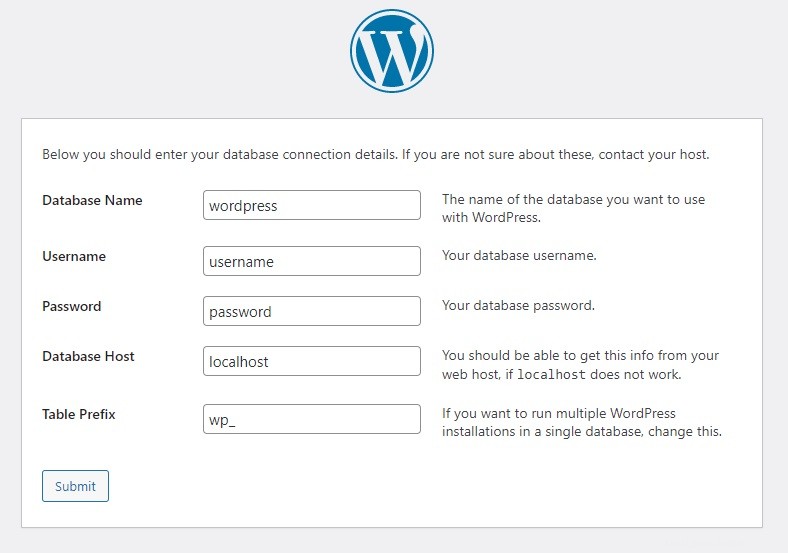
データベース名を入力してください 、データベースのユーザー名 、データベース ユーザーのパスワード ステップ 3 で作成したもの データベース ホストから離れるだけです は テーブル プレフィックスです [送信] をクリックします。
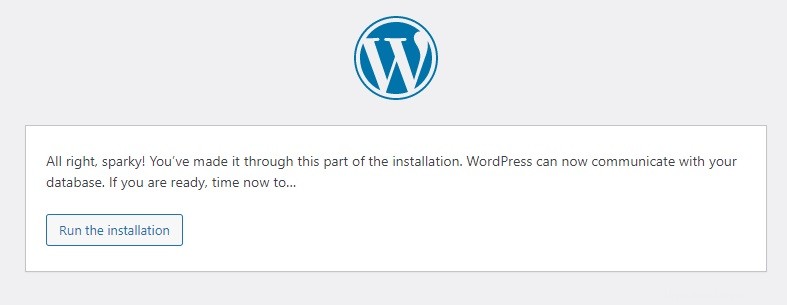
[インストールを実行] をクリックします .
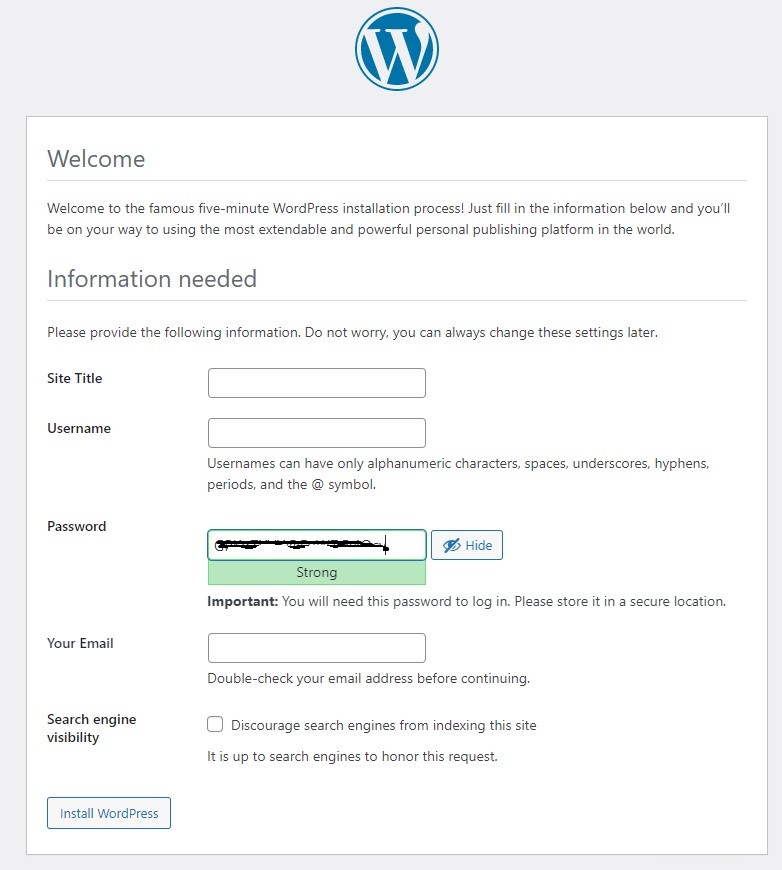
フォームに入力し、[WordPress をインストール] をクリックします。 .
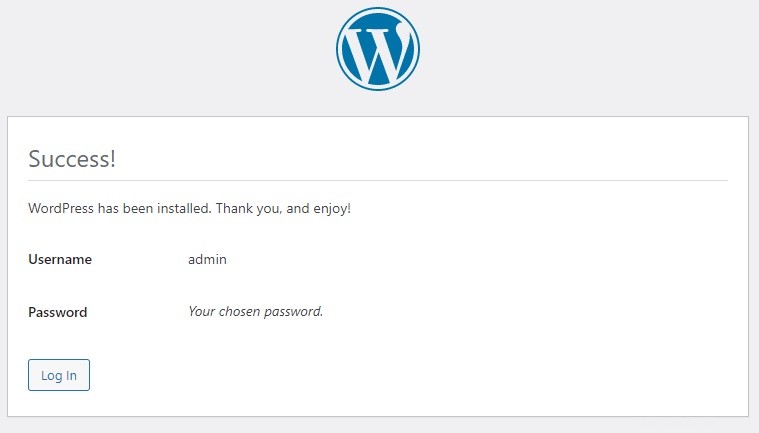
これでインストールは成功し、WordPress サイトにアクセスできるはずです。
8 まとめ
Nginx と Apache Web サーバーを使用して Ubuntu 22.04 に WordPress を簡単にインストールする方法を学びました。この記事が気に入ったら、Drupal に関する記事も気に入っていただけると思います。
また、SSL 証明書をインストールして WordPress インスタンスを保護することもできます。Let’s Encrypt に関するガイドを確認してください。