GitLab CE( Community Edition )は無料でオープンソースのgit managerツールであり、美しいグラフィカルユーザーインターフェイスを提供し、集中型サーバーからすべてのgitリポジトリを管理できるようにします。
GitLab CEは通常、ソフトウェア開発チームに使用され、コーダーは最新のコードをチェックインおよびチェックアウトできます。また、バージョン管理、コードレビュー、 CI / CDにも使用できます。 (継続的インテグレーション/継続的開発)アプローチ。
この記事では、Ubuntu 18.04/16.04サーバーに最新バージョンのGitLabCEをインストールする方法を示します。以下は私のラボセットアップの詳細です:
- UbuntuサーバーのIPアドレス(18.04 /16.04):192.168.0.104
- Ubuntuサーバーのホスト名:gitlabce.example.com
- RAM:2 GB(GitlabではGitlabのセットアップに4 GBを推奨しています)
1)aptコマンドを使用してGitlabの依存関係をインストールします
Ubuntu 16.04 / 18.04サーバーにログインし、次のaptコマンドを実行してgitlabの依存関係をインストールします。
[email protected]:~$ sudo apt update
[email protected]:~$ sudo apt install curl openssh-server ca-certificates postfix -y
上記のコマンドは、Postfixサーバーをどのように設定するかを尋ねるプロンプトを表示します。ご使用の環境に適したオプションを選択してください。
2)スクリプトを介してGitLabCEパッケージリポジトリをセットアップする
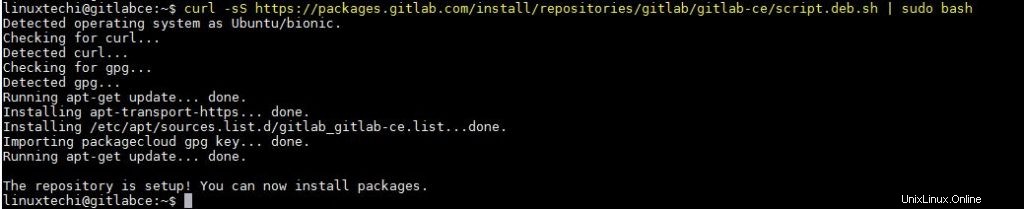
以下のcurlコマンドを実行すると、gitlab-ceスクリプトがダウンロードされ、パッケージリポジトリが構成されます
。[email protected]:~$ curl -sS https://packages.gitlab.com/install/repositories/gitlab/gitlab-ce/script.deb.sh | sudo bash
上記のcurlコマンドの出力は次のようになります:
3)aptコマンドを使用してGitLabCEパッケージをインストールします
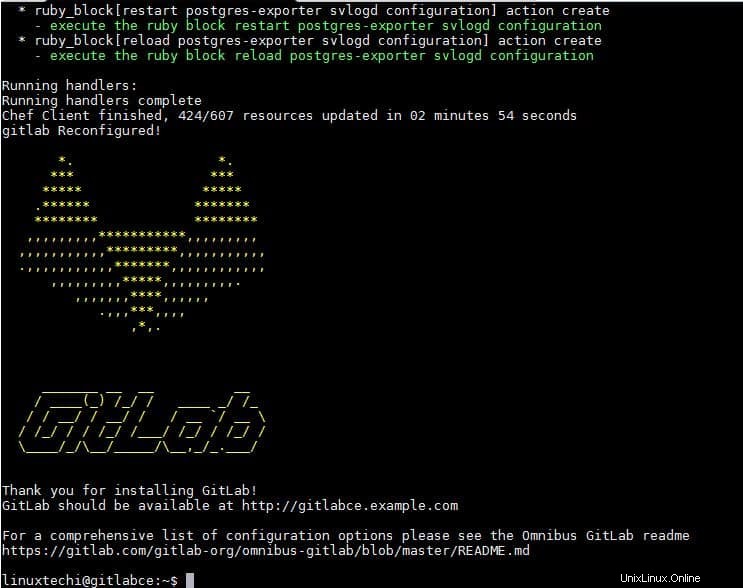
以下のコマンドを実行して、サーバーにgitlab-ceを自動的にインストールして構成し、セットアップとしてサーバーのホスト名を置き換えます。
[email protected]:~$ sudo EXTERNAL_URL="http://gitlabce.example.com" apt-get install gitlab-ce
上記のコマンドが正常に実行されると、次のような出力が得られます。
注: サーバーでOSファイアウォールが有効になっている場合は、80ポートと443ポートを許可します。Ubuntuサーバーでは、ufwがデフォルトのファイアウォールです。
[email protected]:~$ sudo ufw allow http
Rule added
Rule added (v6)
[email protected]:~$ sudo ufw allow https
Rule added
Rule added (v6)
[email protected]:~$
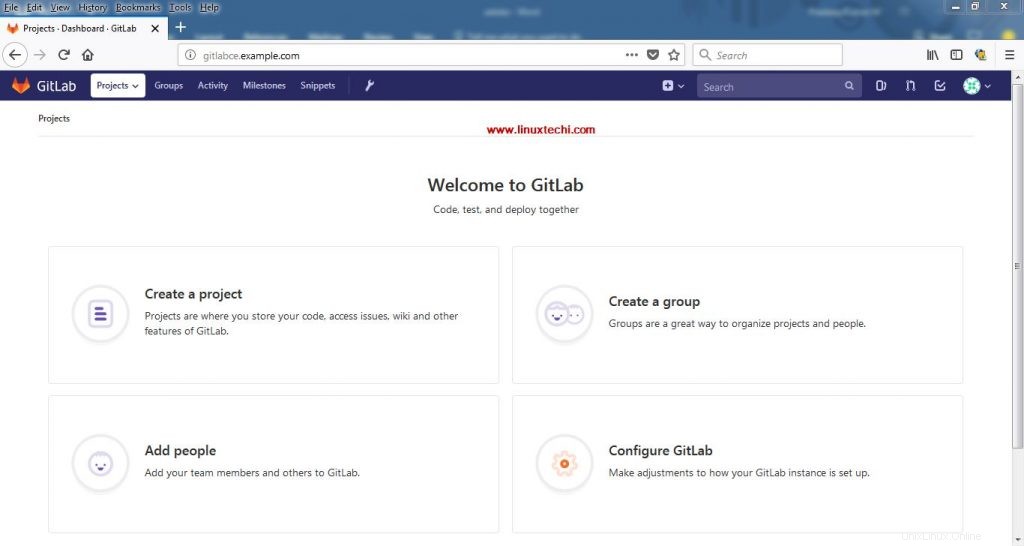
4)WebブラウザからGitLabサーバーにアクセスする
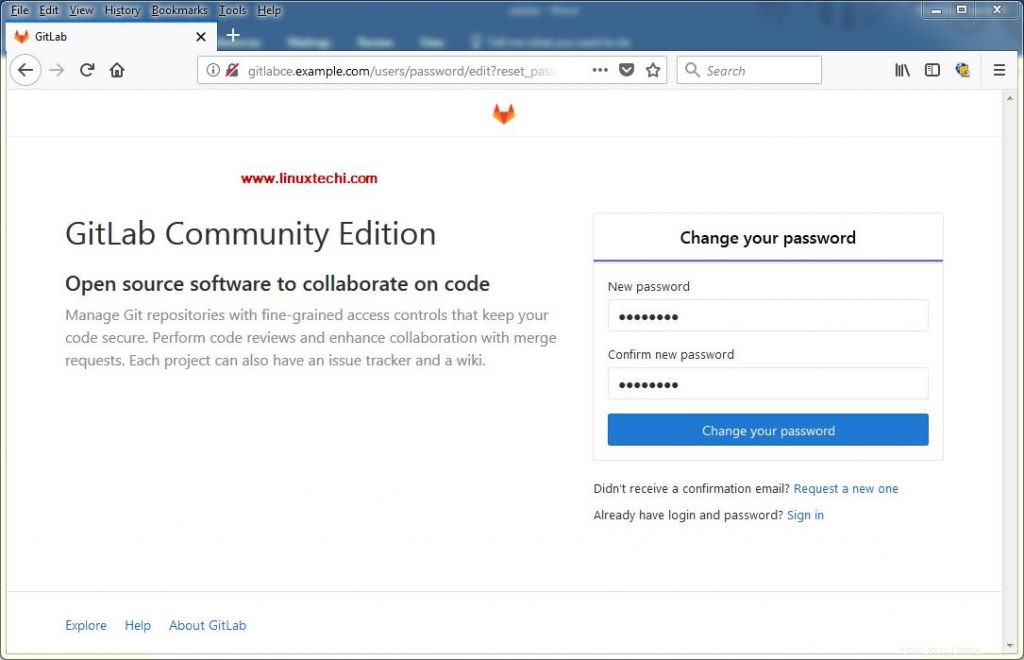
お気に入りのWebブラウザーを開き、URL http://gitlabce.example.com
を入力します。初めて、パスワードの設定を求められますので、パスワードを指定して「パスワードの変更」をクリックしてください
次の画面で以下の画面が表示されます。「root」のユーザー名でログインします。 」と上記の手順で設定したパスワード
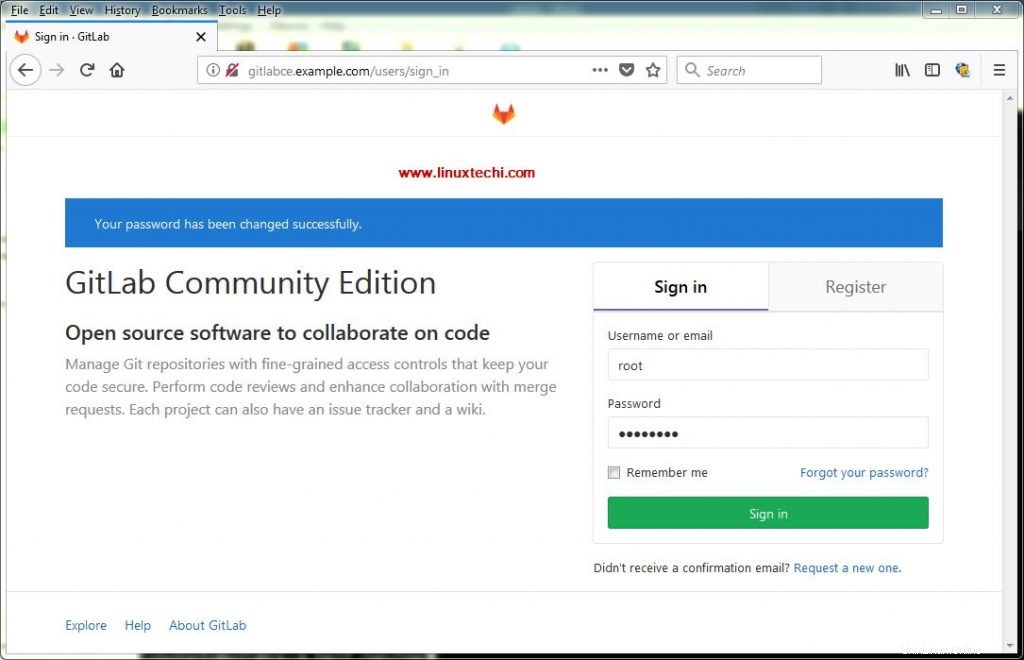
「サインイン」をクリックします
現在、GitLabサーバーはhttp(80)プロトコルで動作しています。GitLabポータルでhttpsを有効にする場合は、以下の手順を参照してください。
5)GitLabサーバーのhttpsを構成します
Gitlabサーバーのすべての重要な構成は、ファイル「 /etc/gitlab/gitlab.rb」によって制御されます。 」したがって、このファイルを編集して、「 external_url」を検索します 」と追加し、「 gitlabce.example.com ”external_urlパラメータの前
[email protected]:~$ sudo vi /etc/gitlab/gitlab.rb
----------------------------------------------------------
external_url 'https://gitlabce.example.com'
----------------------------------------------------------
ファイルを保存して終了します
次に、次のフォルダを作成し、opensslコマンドを使用して自己署名証明書を生成しましょう
[email protected]:~$ sudo mkdir -p /etc/gitlab/ssl
[email protected]:~$ sudo chmod 700 /etc/gitlab/ssl
まず、opensslコマンドを使用して秘密鍵を生成しましょう
[email protected]gitlabce:~$ sudo openssl genrsa -des3 -out /etc/gitlab/ssl/gitlabce.example.com.key 2048
パスフレーズを入力して覚えておいてください
以下のコマンドを使用してCSRを作成します
[email protected]:~$ sudo openssl req -new -key /etc/gitlab/ssl/gitlabce.example.com.key -out /etc/gitlab/ssl/gitlabce.example.com.csr
Enter pass phrase for /etc/gitlab/ssl/gitlabce.example.com.key:
You are about to be asked to enter information that will be incorporated
into your certificate request.
What you are about to enter is what is called a Distinguished Name or a DN.
There are quite a few fields but you can leave some blank
For some fields there will be a default value,
If you enter '.', the field will be left blank.
-----
Country Name (2 letter code) [AU]:IN
State or Province Name (full name) [Some-State]:Delhi
Locality Name (eg, city) []:Delhi
Organization Name (eg, company) [Internet Widgits Pty Ltd]:LinuxTechi
Organizational Unit Name (eg, section) []:IT
Common Name (e.g. server FQDN or YOUR name) []:gitlabce.example.com
Email Address []:[email protected]

Please enter the following 'extra' attributes
to be sent with your certificate request
A challenge password []:
An optional company name []:
[email protected]:~$
キーからパスフレーズを削除する
次のコマンドを次々に実行します
[email protected]:~$ sudo cp -v /etc/gitlab/ssl/gitlabce.example.com.{key,original}
'/etc/gitlab/ssl/gitlabce.example.com.key' -> '/etc/gitlab/ssl/gitlabce.example.com.original'
[email protected]:~$
[email protected]:~$ sudo openssl rsa -in /etc/gitlab/ssl/gitlabce.example.com.original -out /etc/gitlab/ssl/gitlabce.example.com.key
Enter pass phrase for /etc/gitlab/ssl/gitlabce.example.com.original:
writing RSA key
[email protected]:~$
[email protected]:~$ sudo rm -v /etc/gitlab/ssl/gitlabce.example.com.original
removed '/etc/gitlab/ssl/gitlabce.example.com.original'
[email protected]:~$
以下のopensslコマンドを使用して証明書を作成します
[email protected]:~$ sudo openssl x509 -req -days 1460 -in /etc/gitlab/ssl/gitlabce.example.com.csr -signkey /etc/gitlab/ssl/gitlabce.example.com.key -out /etc/gitlab/ssl/gitlabce.example.com.crt
以下のrmコマンドを使用してCSRファイルを削除します
[email protected]:~$ sudo rm -v /etc/gitlab/ssl/gitlabce.example.com.csr
removed '/etc/gitlab/ssl/gitlabce.example.com.csr'
[email protected]:~$
キーと証明書に以下の権限を設定します
[email protected]:~$ sudo chmod 600 /etc/gitlab/ssl/gitlabce.example.com.key
[email protected]:~$ sudo chmod 600 /etc/gitlab/ssl/gitlabce.example.com.crt
以下のコマンドを使用してgitlabを再構成します
[email protected]:~$ sudo gitlab-ctl reconfigure
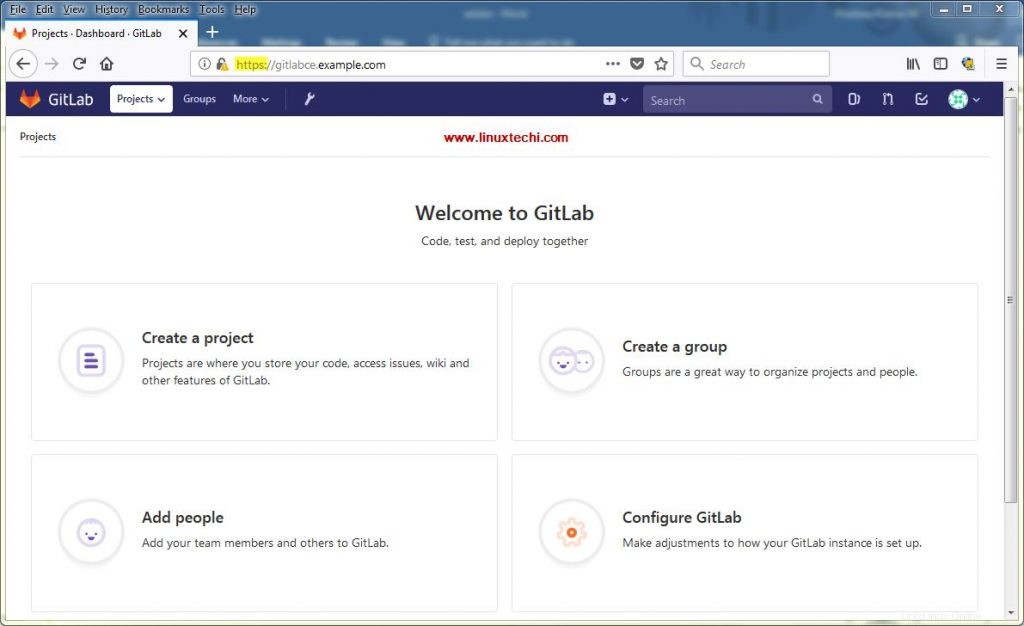
上記のコマンドが正常に実行されると、GitLabポータルにhttpsプロトコル経由でアクセスできるようになります。私の場合、URLはhttps://gitlabce.example.com/
になります。初めてアクセスすると、接続が安全ではないなどのメッセージが表示されるので、[追加-例外]をクリックします。
6)テストプロジェクトを作成し、基本的なgit操作を実行します
「linuxrocks」という名前のテストプロジェクトを作成しましょう 「、GitLabダッシュボードから「プロジェクトの作成」オプションをクリックします
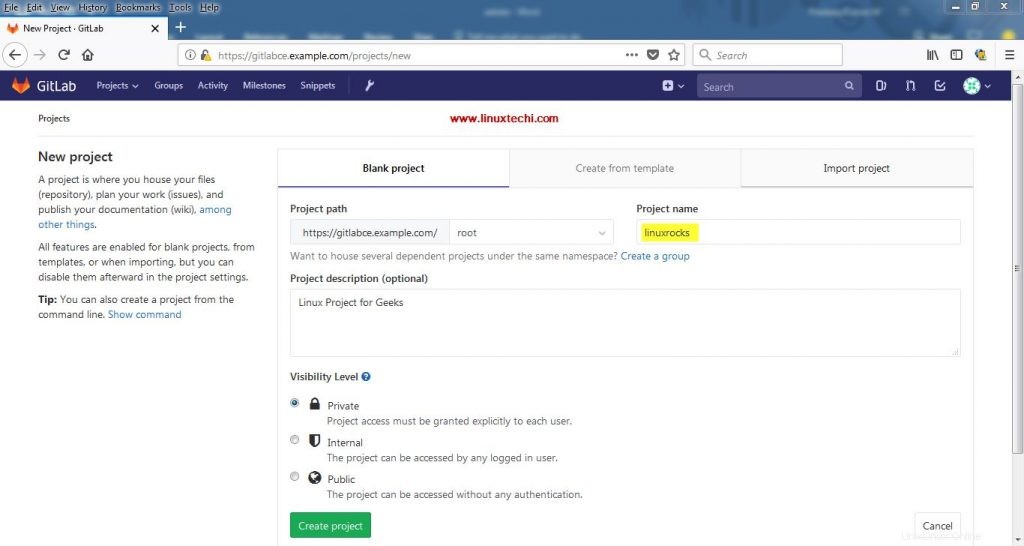
プロジェクトとその説明を指定し、[プロジェクトの作成]をクリックします

次に、次のコマンドを使用して「linuxrocks」プロジェクトのリポジトリのクローンを作成しましょう。
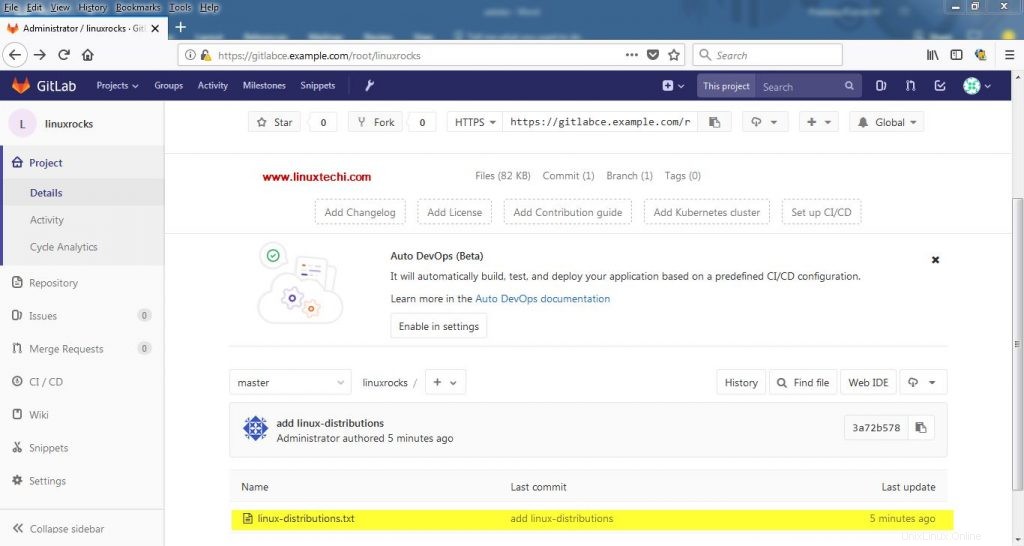
[email protected]:~# git config --global user.name "Administrator"
[email protected]:~# git config --global user.email [email protected]
[email protected]:~# export GIT_SSL_NO_VERIFY=1
[email protected]:~# git clone https://gitlabce.example.com/root/linuxrocks.git
Cloning into 'linuxrocks'...
Username for 'https://gitlabce.example.com': root
Password for 'https://[email protected]':
warning: You appear to have cloned an empty repository.
[email protected]:~# ls
linuxrocks
[email protected]:~# cd linuxrocks
[email protected]:~/linuxrocks# touch linux-distributions.txt
[email protected]:~/linuxrocks# git add linux-distributions.txt
[email protected]:~/linuxrocks# git commit -m "add linux-distributions"
[master (root-commit) 3a72b57] add linux-distributions
 1 file changed, 0 insertions(+), 0 deletions(-)
 create mode 100644 linux-distributions.txt
[email protected]:~/linuxrocks# git push -u origin master
Username for 'https://gitlabce.example.com': root
Password for 'https://[email protected]':
Counting objects: 3, done.
Compressing objects: 100% (2/2), done.
Writing objects: 100% (3/3), 238 bytes | 238.00 KiB/s, done.
Total 3 (delta 0), reused 0 (delta 0)
To https://gitlabce.example.com/root/linuxrocks.git
 * [new branch]      master -> master
Branch 'master' set up to track remote branch 'master' from 'origin'.
[email protected]:~/linuxrocks#
次に、GitLabダッシュボードに移動して、新しいファイルが「linuxrocks」プロジェクトの下にプッシュされているかどうかを確認します
これで記事は終わりです。構成できるものはたくさんありますが、このチュートリアルで説明するのは現実的ではありません。この記事がUbuntuサーバーに最新バージョンのGitLabをインストールするのに役立つことを願っています。フィードバックやコメントを共有してください。