FreeIPAは、一元化された認証、承認、およびアカウント情報システムです。 FreeIPAは、Free Identity、Policy、Auditの略で、LDAPディレクトリとKerberosに基づくオープンソースのID管理ソリューションであり、DNSサーバー、認証局などのオプションのコンポーネントを備えています。ユーザー、コンピューター、ポリシー、および信頼関係を持つドメインを管理できます。 MicrosoftActiveDirectoryに似ています。
FreeIPAは、既存のActive Directoryフォレストとのフォレスト間の信頼を設定することもでき、重複しない限り、ActiveDirectoryによって管理されるゾーンの下のDNSゾーンに存在することもできます。 Webインターフェイスとコマンドライン管理ツールで構成されています。
また、チェックしてください:
- Rocky Linux /Centos8にPuppet7サーバーをインストールする方法
- FreeIPAサーバーでユーザーとグループを管理する方法
- Fedora35にFreeIPAクライアントをインストールする方法
- Rocky Linux / Alma Linux /Centos8でFreeIPAレプリケーションを構成する方法
- Rocky Linux/CentosにFreeIPAをインストールして構成する方法
- Ubuntu20.04にFreeIPAクライアントをインストールして構成する方法
前提条件
うまくフォローするには、次のことを確認してください。
- RockyLinuxのようなRHEL8ベースのサーバー
- サーバーには少なくとも1GBのRAMが必要であり、最適なパフォーマンスを得るには2GBが必要です
- サーバーには少なくとも10GBのディスク容量が必要です
- rootアクセスまたはsudoアクセスを持つユーザー
- 完全修飾ドメイン名をホスト名として設定します。サブドメイン
ipa.citizix.comを使用します 私たちの場合
目次
- システムを更新し、ホスト名とタイムゾーンを設定します
- FreeIPAサーバーのインストール
- FreeIPAサーバーインストーラーの実行
- Linuxファイアウォールを構成する
- FreeIPAGuiWebインターフェイスにアクセスする
- FreeIPACLIインターフェイスを使用した基本的な操作
1。システムを更新し、ホスト名とタイムゾーンを設定します
このコマンドを使用して、システムパッケージが最新であることを確認します。
sudo dnf -y update
サーバーを指すために使用するFQDN(完全修飾ドメイン名)を設定する必要があります。サブドメイン( ipa.citizix.com )を設定する必要があります )サーバーに解決するDNS。 DNSサーバーがない場合は、サーバーのホストファイルにエントリを手動で追加して、完全修飾ホスト名のシステムIPアドレスを解決する必要があります。
ホスト名を設定します:
sudo hostnamectl set-hostname ipa.citizix.comipa.citizix.comを置き換えます サーバーのホスト名に設定するものを使用します。
ホスト名を確認します:
$ hostnamectl
   Static hostname: ipa.citizix.com
         Icon name: computer-vm
           Chassis: vm
        Machine ID: ee3563997878469ebfcc3f721aec3c66
           Boot ID: 029a7962df24475091296d32b222f166
    Virtualization: kvm
  Operating System: Rocky Linux 8.4 (Green Obsidian)
       CPE OS Name: cpe:/o:rocky:rocky:8.4:GA
            Kernel: Linux 4.18.0-305.3.1.el8_4.x86_64
      Architecture: x86-64

$ hostname
ipa.citizix.com
ホスト名に使用されるドメインは、サーバーに到達するためにIPアドレスを解決する必要があります。次に、サーバーのIPアドレスを、ホストファイル内のホスト名(完全修飾ドメイン名)にポイントします。
echo "10.2.40.149 ipa.citizix.com ipa" | sudo tee -a /etc/hosts
10.2.40.149を置き換えます サーバーのIPアドレスと
完了したら、システムがホストにpingを実行して同じ問題を解決できることを確認します。
ping -c 2 ipa.citizix.com
私のマシンに出力
# ping -c 2 ipa.citizix.com
PING ipa.citizix.com (10.2.40.149) 56(84) bytes of data.
64 bytes from ipa.citizix.com (10.2.40.149): icmp_seq=1 ttl=64 time=0.033 ms
64 bytes from ipa.citizix.com (10.2.40.149): icmp_seq=2 ttl=64 time=0.029 ms

--- ipa.citizix.com ping statistics ---
2 packets transmitted, 2 received, 0% packet loss, time 1039ms
rtt min/avg/max/mdev = 0.029/0.031/0.033/0.002 ms
最後に、現在の地域に合わせてタイムゾーンを設定しましょう。私は Africa / Nairobiにいます。 タイムゾーン、次のコマンドを使用します:
sudo timedatectl set-timezone Africa/Nairobi期待どおりに構成されていることを確認します:
$ timedatectl
               Local time: Tue 2021-11-09 07:58:09 EAT
           Universal time: Tue 2021-11-09 04:58:09 UTC
                 RTC time: Tue 2021-11-09 04:58:08
                Time zone: Africa/Nairobi (EAT, +0300)
System clock synchronized: yes
              NTP service: active
          RTC in local TZ: no
2。 FreeIPAサーバーのインストール
追加のRPMリポジトリは必要ありません。すべてのパッケージと依存関係は、デフォルトのOSデフォルトリポジトリで利用できます。
EL8ベースのシステムでは、FreeIPAサーバーのインストールに必要なパッケージは、DL1ストリームと呼ばれるモジュールストリームで出荷されます。 。ストリームからパッケージのインストールを実行する前に、ストリームを有効にする必要があります。
次のコマンドを使用して、IdMパッケージを含むモジュールを一覧表示できます。
$ sudo yum module list idm

Rocky Linux 8 - AppStream
Name Stream     Profiles                        Summary
idm  DL1        adtrust, client, common [d], dn The Red Hat Enterprise Linux Identity Management syst
                s, server                       em module
idm  client [d] common [d]                      RHEL IdM long term support client module

Hint: [d]efault, [e]nabled, [x]disabled, [i]nstalled
次のコマンドを使用して、ストリームの詳細を確認できます:
sudo dnf module info idm:DL1次に、 idm:DL1を有効にします ストリーム:
sudo dnf module enable idm:DL1システムに出力
$ sudo dnf module enable idm:DL1
Last metadata expiration check: 0:45:05 ago on Tue 09 Nov 2021 07:22:21 AM EAT.
Dependencies resolved.
=====================================================================================================
 Package                Architecture          Version                   Repository              Size
=====================================================================================================
Enabling module streams:
 389-ds                                       1.4
 httpd                                        2.4
 idm                                          DL1
 pki-core                                     10.6
 pki-deps                                     10.6

Transaction Summary
=====================================================================================================

Is this ok [y/N]: y
Complete!
IdMの要件に応じて、次のいずれかのオプションを選択してください。
- インストール 統合DNSのないIdMサーバー:
sudo dnf module install idm:DL1/server- DNSが統合されたFreeIPAサーバーのインストール:
sudo dnf module install idm:DL1/dns- インストール Active Directoryと信頼契約を結んでいるFreeIPAサーバー:
sudo dnf module install idm:DL1/adtrust- DNSやadtrustプロファイルなどの複数のプロファイルの場合:
sudo dnf module install idm:DL1/{dns,adtrust}- FreeIPAクライアントの場合
sudo dnf module install idm:DL1/client3。 FreeIPAサーバーインストーラーの実行
FreeIPAパッケージがインストールされたら、ipa-server-installユーティリティを実行できます。インストーラースクリプトは、/ var / log / ipaserver-install.logにログファイルを作成します:
sudo ipa-server-installスクリプトは、いくつかの必要な設定の入力を求め、括弧内に推奨されるデフォルト値を提供します。
デフォルト値を受け入れるには、Enterキーを押します。カスタム値を指定するには、必要な値を入力します。 DNSを使用しないIdMの非対話型インストールの場合は、次を使用します:
sudo ipa-server-install \
  --realm IPA.CITIZIX.COM \
  -domain ipa.citizix.com \
  --ds-password ds_password \
  --admin-password admin_password \
  --unattended
非対話型インストールに最低限必要なオプションは次のとおりです。
-レルム Kerberosレルム名を提供する-
-ds-passwordDirectoryServerのスーパーユーザーであるDirectoryManager(DM)のパスワードを提供する -
-admin-password管理者、IdM管理者のパスワードを提供する -無人インストールプロセスでホスト名とドメイン名のデフォルトオプションを選択できるようにするには
DNSが統合されたIdMの非対話型インストールの場合は、次を使用します:
sudo ipa-server-install \
    --domain ipa.citizix.com \
    --realm IPA.CITIZIX.COM \
    --reverse-zone=40.2.10.in-addr.arpa. \
    --no-forwarders \
    --no-ntp \
    --setup-dns \
    --ds-password ds_password \
    --admin-password admin_password \
    --unattended
これは私のサーバーでのインタラクティブセッションの出力です:
$ sudo ipa-server-install

The log file for this installation can be found in /var/log/ipaserver-install.log
==============================================================================
This program will set up the IPA Server.
Version 4.9.2

This includes:
  * Configure a stand-alone CA (dogtag) for certificate management
  * Configure the NTP client (chronyd)
  * Create and configure an instance of Directory Server
  * Create and configure a Kerberos Key Distribution Center (KDC)
  * Configure Apache (httpd)
  * Configure the KDC to enable PKINIT

To accept the default shown in brackets, press the Enter key.

Do you want to configure integrated DNS (BIND)? [no]: no

Enter the fully qualified domain name of the computer
on which you're setting up server software. Using the form
<hostname>.<domainname>
Example: master.example.com.


Server host name [ipa.citizix.com]: ipa.citizix.com

The domain name has been determined based on the host name.

Please confirm the domain name [citizix.com]: ipa.citizix.com

The kerberos protocol requires a Realm name to be defined.
This is typically the domain name converted to uppercase.

Please provide a realm name [IPA.CITIZIX.COM]: IPA.CITIZIX.COM
Certain directory server operations require an administrative user.
This user is referred to as the Directory Manager and has full access
to the Directory for system management tasks and will be added to the
instance of directory server created for IPA.
The password must be at least 8 characters long.

Directory Manager password:
Password (confirm):

The IPA server requires an administrative user, named 'admin'.
This user is a regular system account used for IPA server administration.

IPA admin password:
Password (confirm):

Do you want to configure chrony with NTP server or pool address? [no]: no

The IPA Master Server will be configured with:
Hostname:       ipa.citizix.com
IP address(es): 10.2.40.149
Domain name:    ipa.citizix.com
Realm name:     IPA.CITIZIX.COM

The CA will be configured with:
Subject DN:   CN=Certificate Authority,O=IPA.CITIZIX.COM
Subject base: O=IPA.CITIZIX.COM
Chaining:     self-signed

Continue to configure the system with these values? [no]: yes

The following operations may take some minutes to complete.
Please wait until the prompt is returned.

Disabled p11-kit-proxy
Synchronizing time
No SRV records of NTP servers found and no NTP server or pool address was provided.
Using default chrony configuration.
Attempting to sync time with chronyc.
Time synchronization was successful.
Configuring directory server (dirsrv). Estimated time: 30 seconds
  [1/41]: creating directory server instance
  [2/41]: tune ldbm plugin
  [3/41]: adding default schema
...
インストールが成功すると:
...
Client configuration complete.
The ipa-client-install command was successful

Please add records in this file to your DNS system: /tmp/ipa.system.records.87gb3voq.db
==============================================================================
Setup complete

Next steps:
	1. You must make sure these network ports are open:
		TCP Ports:
		  * 80, 443: HTTP/HTTPS
		  * 389, 636: LDAP/LDAPS
		  * 88, 464: kerberos
		UDP Ports:
		  * 88, 464: kerberos
		  * 123: ntp

	2. You can now obtain a kerberos ticket using the command: 'kinit admin'
	   This ticket will allow you to use the IPA tools (e.g., ipa user-add)
	   and the web user interface.

Be sure to back up the CA certificates stored in /root/cacert.p12
These files are required to create replicas. The password for these
files is the Directory Manager password
The ipa-server-install command was successful
4。 LinuxFirewalldを設定する
システムにfirewalldがインストールされ、ファイアウォールが有効になっている場合は、アクセスのためにFreeIPAポートを開く必要があります。
これらのネットワークポートが開いていることを確認する必要があります:
TCPポート:
80、443:HTTP / HTTPS
389、636:LDAP / LDAPS
88、464:Kerberos
UDPポート:
88、464:Kerberos
123:NTP
Firewalldを使用してポートを開くには、次のコマンドを使用します。
sudo firewall-cmd --add-service={http,https,dns,ntp,freeipa-ldap,freeipa-ldaps} --permanent
sudo firewall-cmd --reload
5。 FreeIPAGUIWebインターフェースにアクセスする
スクリプトによってインストールが完了したら、システムブラウザを開き、最初にシステムに設定したFQDNホスト名をポイントします(例: https://ipa.citizix.com )。 または https:// your-server-ipと入力した場合 これにより、自動的にFQDNにリダイレクトされます。
[詳細]をクリックしてSSL警告を無視します ”>“ ipa.citizix.comに進みます(安全ではありません) 」を取得した場合。
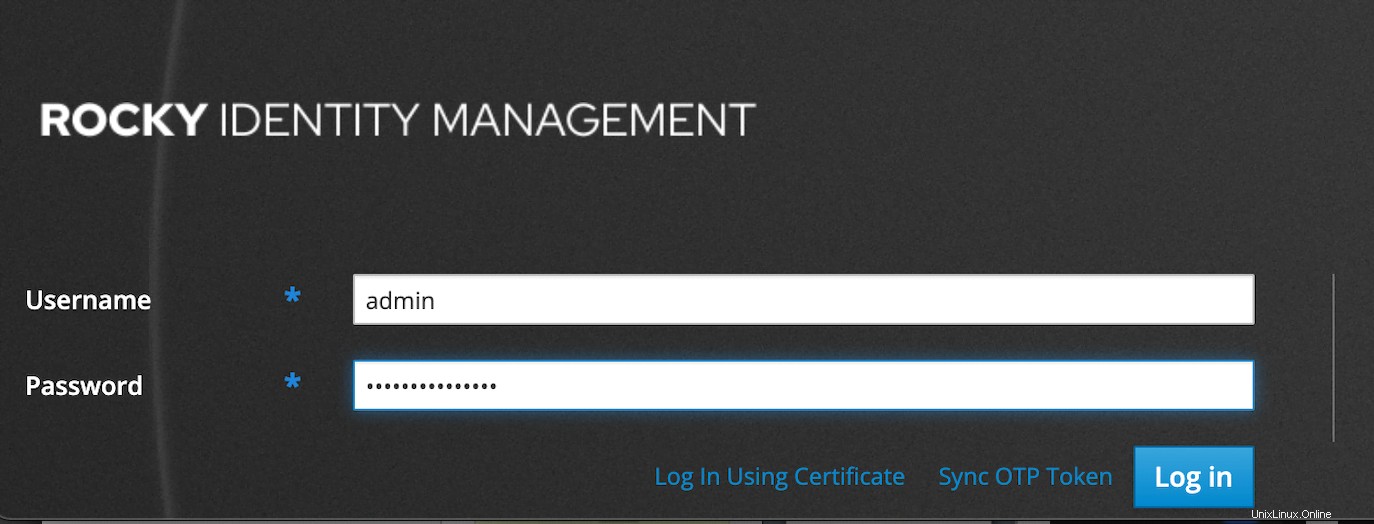
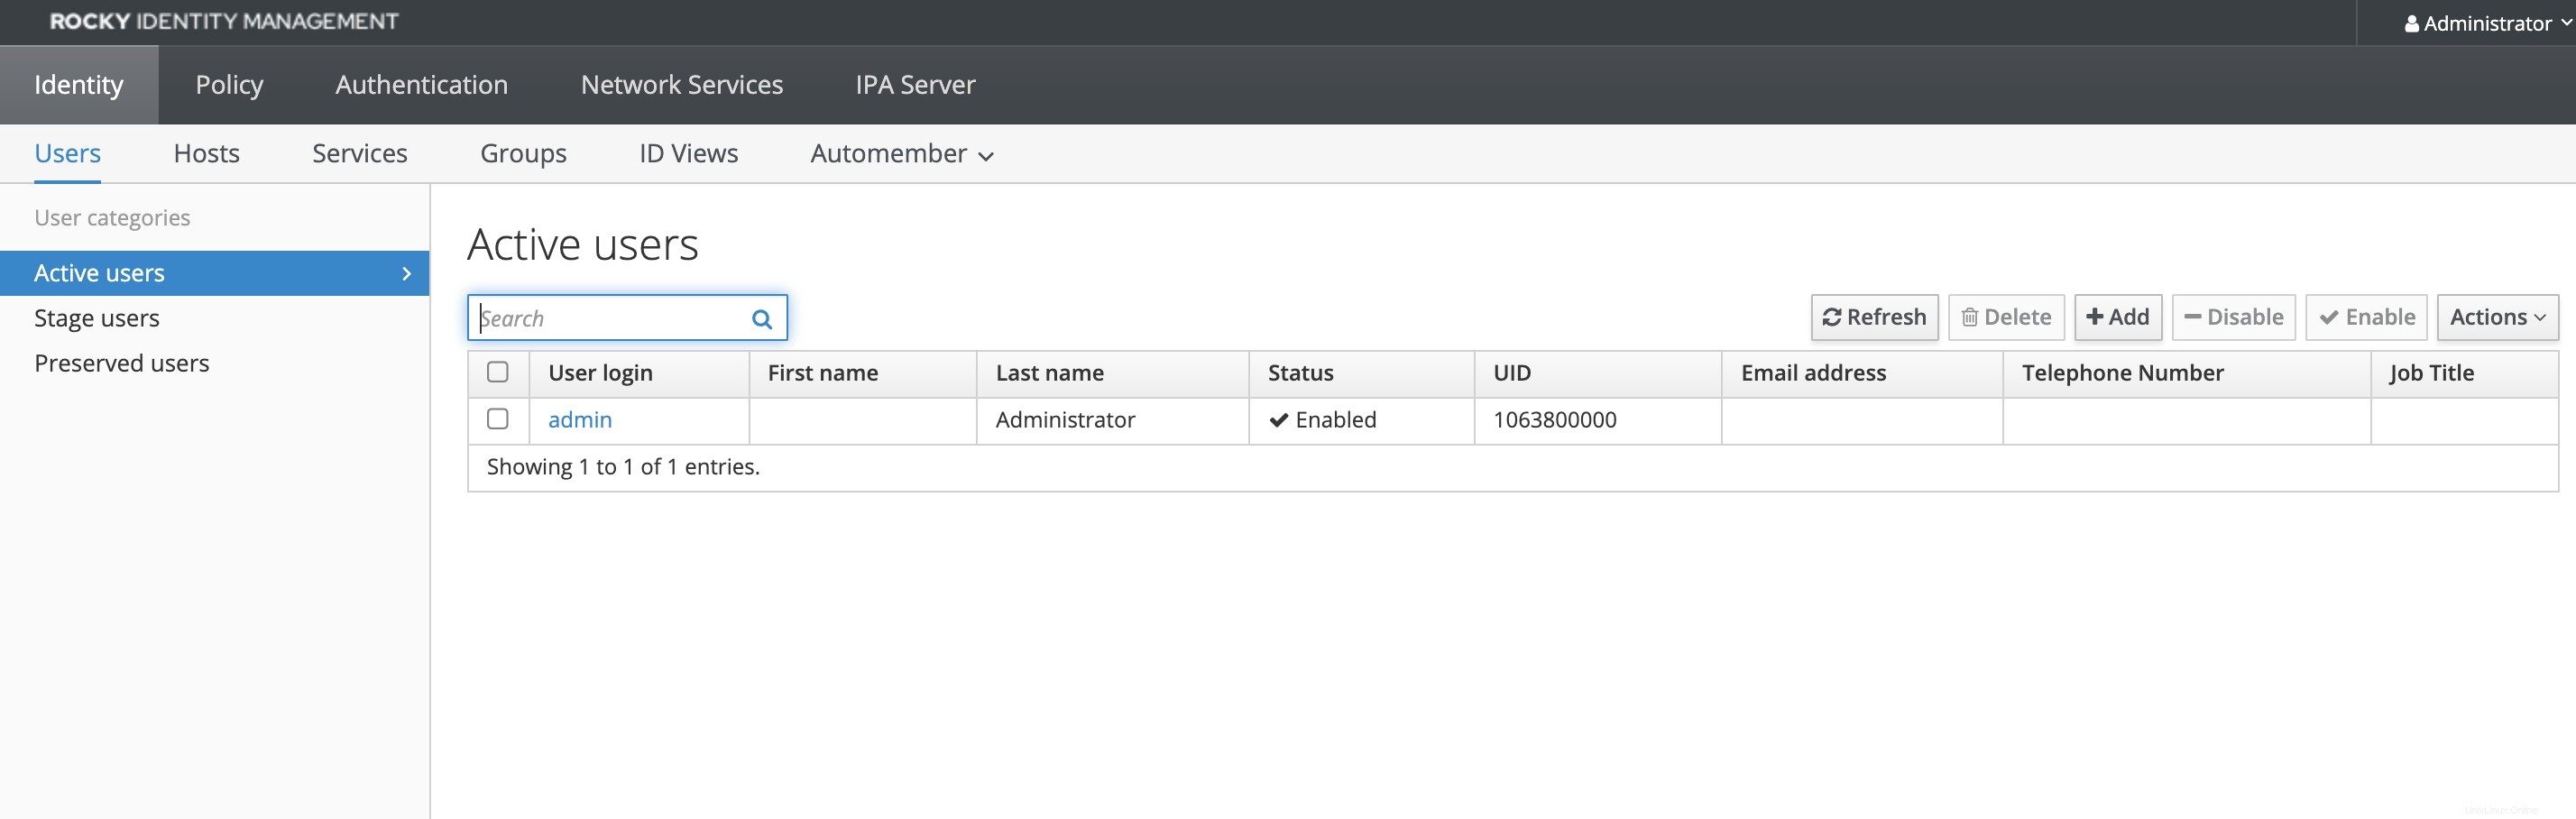
ログインに成功すると、IDダッシュボードインターフェイスが表示されます
6。 FreeIPACLIインターフェースを使用して基本的な操作を行う
ipa コマンドを使用して、すべてのFreeIPAサーバー操作を実行できます。
ただし、最初に、管理者ユーザーのKerberosチケットを取得します:
$ sudo kinit admin
Password for [email protected]:
klistを使用してチケットの有効期限情報を確認してください。
$ sudo klist
Ticket cache: KCM:0
Default principal: [email protected]

Valid starting       Expires              Service principal
11/09/2021 09:03:25 11/10/2021 09:03:19 krbtgt/[email protected]- ユーザーのデフォルトのシェルを
/bin / bashに設定します 。
$ sudo ipa config-mod --defaultshell=/bin/bash
  Maximum username length: 32
  Maximum hostname length: 64
  Home directory base: /home
  Default shell: /bin/bash
  Default users group: ipausers
  Default e-mail domain: ipa.citizix.com
  Search time limit: 2
  Search size limit: 100
  User search fields: uid,givenname,sn,telephonenumber,ou,title
  Group search fields: cn,description
  Enable migration mode: FALSE
  Certificate Subject base: O=IPA.CITIZIX.COM
  Password Expiration Notification (days): 4
  Password plugin features: AllowNThash, KDC:Disable Last Success
  SELinux user map order: guest_u:s0$xguest_u:s0$user_u:s0$staff_u:s0-s0:c0.c1023$sysadm_u:s0-s0:c0.c1023$unconfined_u:s0-s0:c0.c1023
  Default SELinux user: unconfined_u:s0-s0:c0.c1023
  Default PAC types: MS-PAC, nfs:NONE
  IPA masters: ipa.citizix.com
  IPA master capable of PKINIT: ipa.citizix.com
  IPA CA servers: ipa.citizix.com
  IPA CA renewal master: ipa.citizix.com
2.ユーザーをFreeIPAに追加します
$ sudo ipa user-add etowett --first=Eutychus --last=Towett \
> [email protected] --password

Password:
Enter Password again to verify:
--------------------
Added user "etowett"
--------------------
  User login: etowett
  First name: Eutychus
  Last name: Towett
  Full name: Eutychus Towett
  Display name: Eutychus Towett
  Initials: ET
  Home directory: /home/etowett
  GECOS: Eutychus Towett
  Login shell: /bin/bash
  Principal name: [email protected]
  Principal alias: [email protected]
  User password expiration: 20211109060518Z
  Email address: [email protected]
  UID: 1063800001
  GID: 1063800001
  Password: True
  Member of groups: ipausers
  Kerberos keys available: True
3.FreeIPAにユーザーアカウントを一覧表示する
$ sudo ipa user-find
---------------
2 users matched
---------------
  User login: admin
  Last name: Administrator
  Home directory: /home/admin
  Login shell: /bin/bash
  Principal alias: [email protected], [email protected]
  UID: 1063800000
  GID: 1063800000
  Account disabled: False

  User login: etowett
  First name: Eutychus
  Last name: Towett
  Home directory: /home/etowett
  Login shell: /bin/bash
  Principal name: [email protected]
  Principal alias: [email protected]
  Email address: [email protected]
  UID: 1063800001
  GID: 1063800001
  Account disabled: False
----------------------------
Number of entries returned 2
----------------------------
4. create etowettとしてログインします ユーザー。最初のログイン時に、パスワードを変更するように求められます:
$ ssh [email protected]
Password:

Password expired. Change your password now.
Current Password:
New password:
Retype new password:

$ id
uid=1063800001(etowett) gid=1063800001(etowett) groups=1063800001(etowett) context=unconfined_u:unconfined_r:unconfined_t:s0-s0:c0.c1023
結論
このガイドでは、RockyLinuxシステムにFreeIPAを設定することができました。インターフェイスを操作して、さまざまなFreeIPA管理機能の配置を理解できます。