はじめに
Sentrifugoは無料です と強力 組織のニーズに合わせて簡単に構成できる人事管理システム。また、機能が豊富で簡単に構成できるアプリケーションです。 PHPで記述されており、MySQL/MariaDBを使用してデータベースを保存します。 Sentrifugoを使用して、従業員の業績、休暇の日付、役割、および特権を追跡できます。
Sentrifugoの仕組み
Sentrifugoは、卓越した機能と直感的なインターフェイスを備えたHRリソースモジュールを提供します。セットアップ、構成、使用は簡単です。
インストール
以下の手順に従ってください
- Apacheをインストールし、起動して有効にします
dnf -y install httpd && systemctl start httpd && systemctl enable httpd- 次のコマンドでPHPをインストールします
dnf install epel-release -y && rpm -Uvh http://rpms.remirepo.net/enterprise/remi-release-8.rpm && dnf install -y php-curl php-cli php-openssl php php-mbstring php-pear php-devel php-gd php-mysqli
- phpがインストールされていることを確認します。
php -v
- ロードされたPHP構成ファイルを編集します。
vim /etc/php.ini- 適切なタイムゾーンを設定します。
date.timezone = Africa/Cairo
#Replace "Africa/Cairo" with your appropriate timezone- MySQLのフォークであるMariaDBをインストールし、MariaDBを起動してから、起動時に自動的に起動できるようにします。
dnf install -y mariadb-server.x86_64 mariadb.x86_64 && systemctl start mariadb && systemctl enable mariadb- 安全なMariaDB
mysql_secure_installation注
デフォルトでは、MariaDBのインストールにはrootパスワードはありません。 「Enter」を押します 」キーを押して続行します。次に、MariaDBサーバーのrootユーザーに強力なパスワードを設定し、「 Y」と答えます。 」と尋ねられる他のすべての質問に。
- 作成したパスワードを使用してrootとしてmysqlにログインします。
mysql -u root -p- MariaDBルートのパスワードを入力してから、次のクエリを実行します。
CREATE DATABASE sentrifugo_db CHARACTER SET utf8 COLLATE utf8_general_ci;
CREATE USER 'sentrifugo_user'@'localhost' IDENTIFIED BY 'unixcopPassword';
GRANT ALL PRIVILEGES ON sentrifugo_db.* TO 'sentrifugo_user'@'localhost';
FLUSH PRIVILEGES;
\q;- Sentrifugoをインストールします HRM sentrifugozipファイルをダウンロードします。
wget http://www.sentrifugo.com/home/downloadfile?file_name=Sentrifugo.zip -O Sentrifugo.zip
- アーカイブを抽出し、抽出したファイルを sentrifugoで変更します 次に、以下のコマンドを実行して、適切な所有権を提供します。
unzip Sentrifugo.zip -d /var/www/html/ && mv /var/www/html/Sentrifugo_* /var/www/html/sentrifugo && chown -R apache:apache /var/www/html/sentrifugo- HTTPも許可します ファイアウォールのポート80のトラフィック。
firewall-cmd --zone=public --permanent --add-service=http && firewall-cmd --zone=public --permanent --add-service=https && firewall-cmd --reload- Sentrifugoの仮想ホストを作成します HRM サイト。
vim /etc/httpd/conf.d/sentrifugo.unixcop.com.conf- 次に、以下を追加します。
<VirtualHost *:80>
    ServerName sentrifugo.unixcop.com
    DocumentRoot /var/www/html/sentrifugo
    <Directory /var/www/html/sentrifugo>
        Options Indexes FollowSymLinks MultiViews
        AllowOverride All
        Order allow,deny
        allow from all
    </Directory>
</VirtualHost>- Apacheを再起動します。
systemctl restart httpd- Webインターフェイスからインストールを完了する必要があります。ブラウザを開いてからhttp://sentrifugo.unixcop.comを開くと、Webインストーラにアクセスできます。
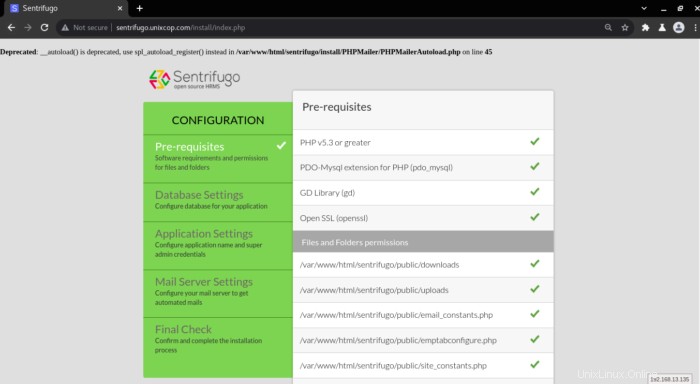
注
上のスクリーンショットに示されているように、 PHPMailerAutoloの45行目に警告があります。 ディレクティブ__autoload()が非推奨になっているad.phpファイルなので、Sentrifugoの推奨ソリューションを使用して解決します。
- vimでファイルを編集する
vim /var/www/html/sentrifugo/install/PHPMailer/PHPMailerAutoload.php +45- 次に、 spl_autoload_registerを追加します __ autoload()の代わりに 以下のスクリーンショットに示すように。
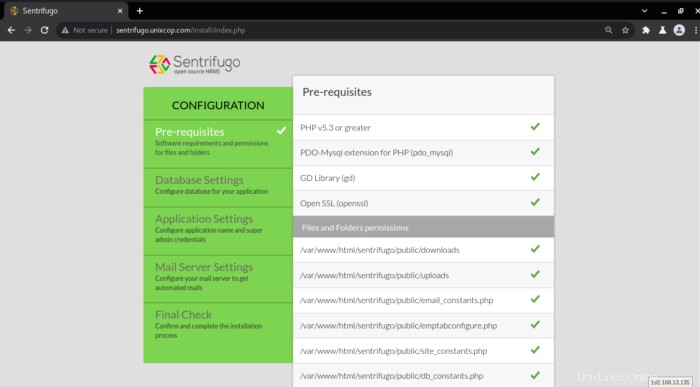
- Sentrifugoをリロードしてみてください インストーラーのWebページに再度アクセスすると、警告が再度表示され、すべての前提条件が緑色でマークされていることを確認してから、以下に示すように[次へ]をクリックします。
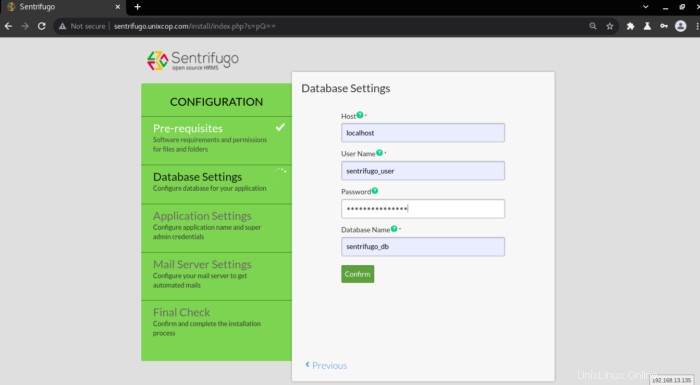
- データベース接続用のSentrifugoデータベース名、データベースユーザー名、およびデータベースパスワードを入力します。 確認をクリックします 。
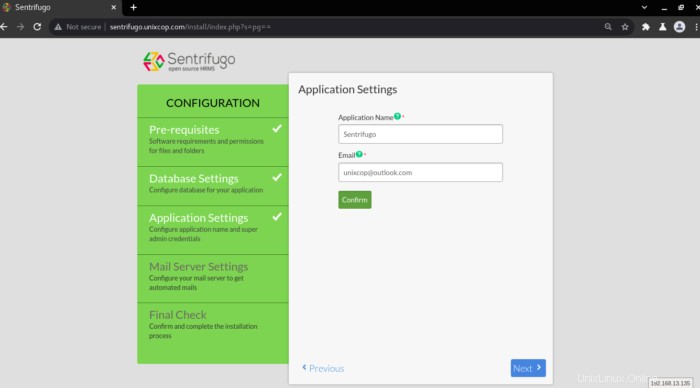
- アプリ名を設定してメールアドレスを入力し、[確認]をクリックします 。
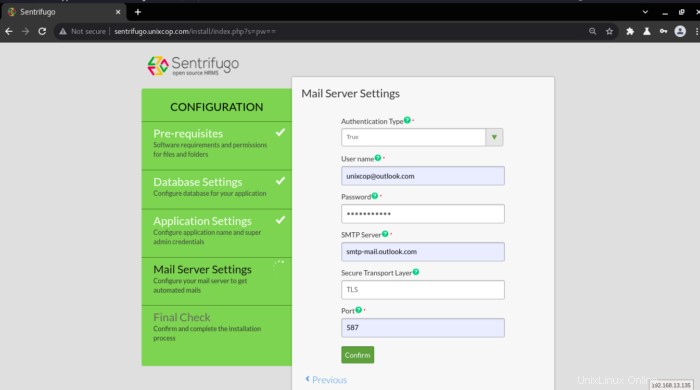
- メールサーバーの設定になりました。メール情報を入力してください。
以下に示すように、私はOutlook構成を使用しているので、メール設定を選択します。次に、確認をクリックします 。
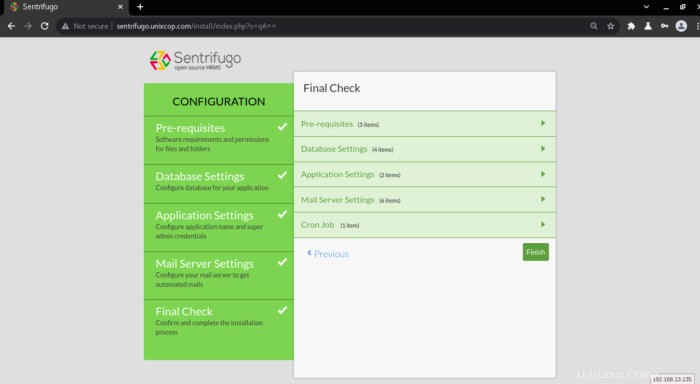
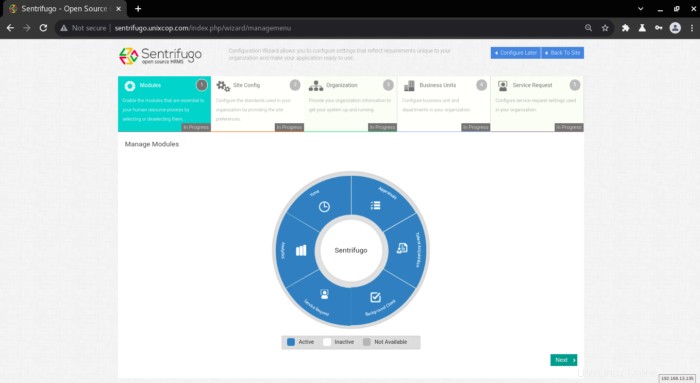
- 最終チェックのために上記のすべてを完了したことを確認してから、[完了]をクリックします。
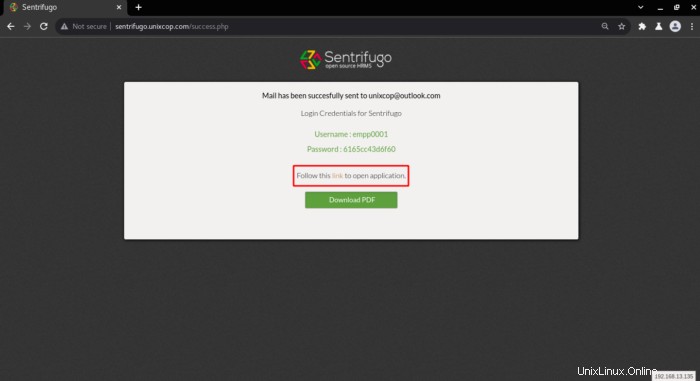
- ログインするための資格情報を取得します Sentrifugo HRMダッシュボードに移動するので、ページ内のリンクを開いてダッシュボードにログインします。
- 前述の資格情報を使用してアプリケーションにログインします。
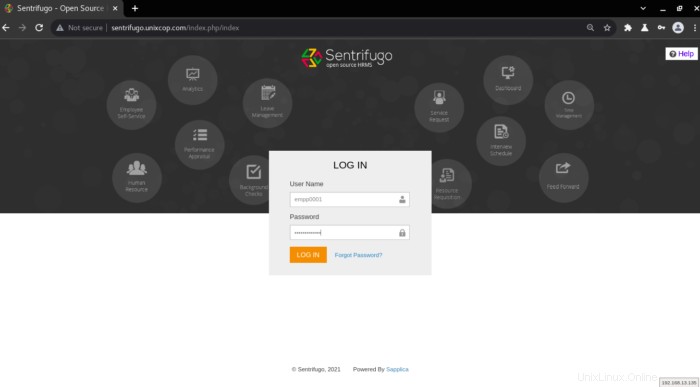
ダッシュボードに移動します。
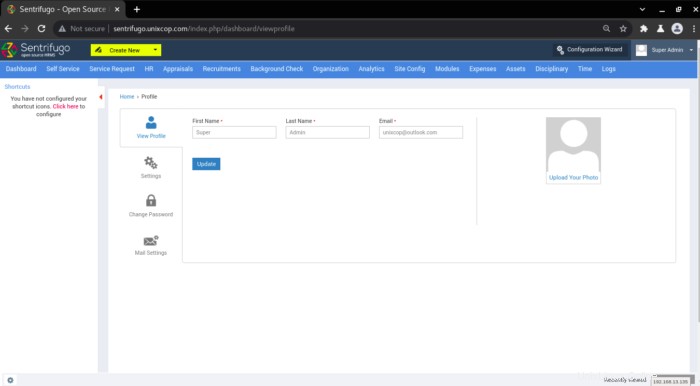
CentOS8サーバーにSentrifugoHRMが正常にインストールされました。
参照
http://www.sentrifugo.com/
https://sourceforge.net/p/sentrifugo/wiki/Home/
結論
以上です
このインストールガイドでは、CentOS8にSentrifugoHRMをインストールする方法を示します。