はじめに
Subversion はオープンソースのバージョン管理システムです。 CollabNet、Inc.によって2000年に設立されたSubversionプロジェクトとソフトウェアは、過去10年間で驚異的な成功を収めてきました。 Subversionは、オープンソースの分野と企業の世界の両方で広く採用され続けています。
ユーザーフレンドリーなUSVN は、Subversionリポジトリの構成に使用されるPHPで記述されたWebインターフェイスです。目標は、コマンドラインインターフェイスを使用せずに、おそらくサーバーへの特権アクセスなしで、新しいプロジェクトの作成を容易にすることです。 USVNは、ソースコードへのアクセスを許可されたユーザーのリストを生成します。これにより、Subversionリポジトリを管理する権限の委任が可能になります。
Apache Subversion(SVN)をインストールする
USVNは、展開にWebサーバーを必要としました。そこで、ApacheHTTPサーバーをインストールします。
# yum install -y httpdhttpdを起動して有効にします サービス。
# systemctl start httpd
# systemctl enable httpdようこそページを無効にする ApacheHTTPサーバーの。
# mv /etc/httpd/conf.d/welcome.conf /etc/httpd/conf.d/welcome.conf.orgディレクトリインデックスを無効にする Apache HTTPサーバー構成で、次のコマンドを使用してhttpdサービスを再起動します。
# cp /etc/httpd/conf/httpd.conf /etc/httpd/conf/httpd.conf.org
# sed -i "s/Options Indexes FollowSymLinks/Options FollowSymLinks/" /etc/httpd/conf/httpd.conf
# systemctl restart httpd
次に、コマンドを使用してfirewalldサービスを介してhttpサービスを許可する必要があります:
# firewall-cmd --permanent --add-service=http
# firewall-cmd --reload
また、USVNでは、MySQLデータベースがバックエンドデータベースである必要があります。そこで、 mariadbをインストールします データベースとphp 。
# yum install php mariadb-server php-mysql -ymariadbを起動して有効にします サービス。
# systemctl start mariadb
# systemctl enable mariadb
次のコマンドでmariadbサーバーを構成します:
[root@unixcop ~]# mysql_secure_installation

NOTE: RUNNING ALL PARTS OF THIS SCRIPT IS RECOMMENDED FOR ALL MariaDB
      SERVERS IN PRODUCTION USE!  PLEASE READ EACH STEP CAREFULLY!

In order to log into MariaDB to secure it, we'll need the current
password for the root user.  If you've just installed MariaDB, and
you haven't set the root password yet, the password will be blank,
so you should just press enter here.

Enter current password for root (enter for none):
OK, successfully used password, moving on...

Setting the root password ensures that nobody can log into the MariaDB
root user without the proper authorisation.

Set root password? [Y/n] Y
New password:
Re-enter new password:
Password updated successfully!
Reloading privilege tables..
 ... Success!


By default, a MariaDB installation has an anonymous user, allowing anyone
to log into MariaDB without having to have a user account created for
them.  This is intended only for testing, and to make the installation
go a bit smoother.  You should remove them before moving into a
production environment.

Remove anonymous users? [Y/n] Y
 ... Success!

Normally, root should only be allowed to connect from 'localhost'.  This
ensures that someone cannot guess at the root password from the network.

Disallow root login remotely? [Y/n] Y
 ... Success!

By default, MariaDB comes with a database named 'test' that anyone can
access.  This is also intended only for testing, and should be removed
before moving into a production environment.

Remove test database and access to it? [Y/n] Y
 - Dropping test database...
 ... Success!
 - Removing privileges on test database...
 ... Success!

Reloading the privilege tables will ensure that all changes made so far
will take effect immediately.

Reload privilege tables now? [Y/n] Y
 ... Success!

Cleaning up...

All done!  If you've completed all of the above steps, your MariaDB
installation should now be secure.

Thanks for using MariaDB!
[root@unixcop ~]#
また、PHP設定でタイムゾーンを編集します:
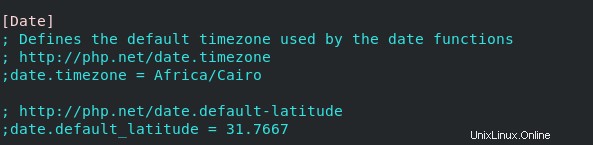
# vim /etc/php.iniそして、この行にタイムゾーンを追加します
date.timezone = そのように
date.timezone = Africa/Cairo
ApacheSubversionとApacheHTTPサーバーモジュールをインストールします
以下のコマンドでダウンロードできます:
# yum install -y subversion mod_dav_svnユーザーフレンドリーなSVN(USVN)をインストールする
ApacheHTTPサーバーにUSVNをダウンロードして抽出します。以下の手順のコマンドに従ってください:
# cd /var/www/html[root@unixcop html]# wget https://github.com/usvn/usvn/archive/1.0.7.tar.gz
--2021-08-24 07:28:42-- https://github.com/usvn/usvn/archive/1.0.7.tar.gz
Resolving github.com (github.com)... 192.30.255.113
Connecting to github.com (github.com)|192.30.255.113|:443... connected.
HTTP request sent, awaiting response... 302 Found
Location: https://codeload.github.com/usvn/usvn/tar.gz/1.0.7 [following]
--2021-08-24 07:28:42-- https://codeload.github.com/usvn/usvn/tar.gz/1.0.7
Resolving codeload.github.com (codeload.github.com)... 192.30.255.120
Connecting to codeload.github.com (codeload.github.com)|192.30.255.120|:443... connected.
HTTP request sent, awaiting response... 200 OK
Length: unspecified [application/x-gzip]
Saving to: ‘1.0.7.tar.gz’
[ <=> ] 4,577,871 5.77MB/s in 0.8s
2021-08-24 07:28:43 (5.77 MB/s) - ‘1.0.7.tar.gz’ saved [4577871]
[root@unixcop html]#ダウンロードしたtarファイルを抽出します:
[root@unixcop html]# tar xvf 1.0.7.tar.gz 抽出したファイルの名前をusvnに変更します:
[root@unixcop html]# mv usvn-1.0.7 usvn次に、usvnディレクトリに移動し、以下のコマンドを使用して必要なフォルダ権限を設定してファイルディレクトリを作成します。
[root@unixcop html]# cd usvn
[root@unixcop usvn]# mkdir files
[root@unixcop usvn]# chmod -R g+w {public,files,config}
[root@unixcop usvn]# chgrp -R apache /var/www/html/usvn
[root@unixcop usvn]# restorecon -R /var/www/html/usvn
最後に、ApacheサーバーでUSVNアプリケーションを構成します。
[root@unixcop usvn]# vim /etc/httpd/conf.d/usvn.conf 次に、以下を追加します。
<Directory /var/www/html/usvn/>
AllowOverride All
Require all granted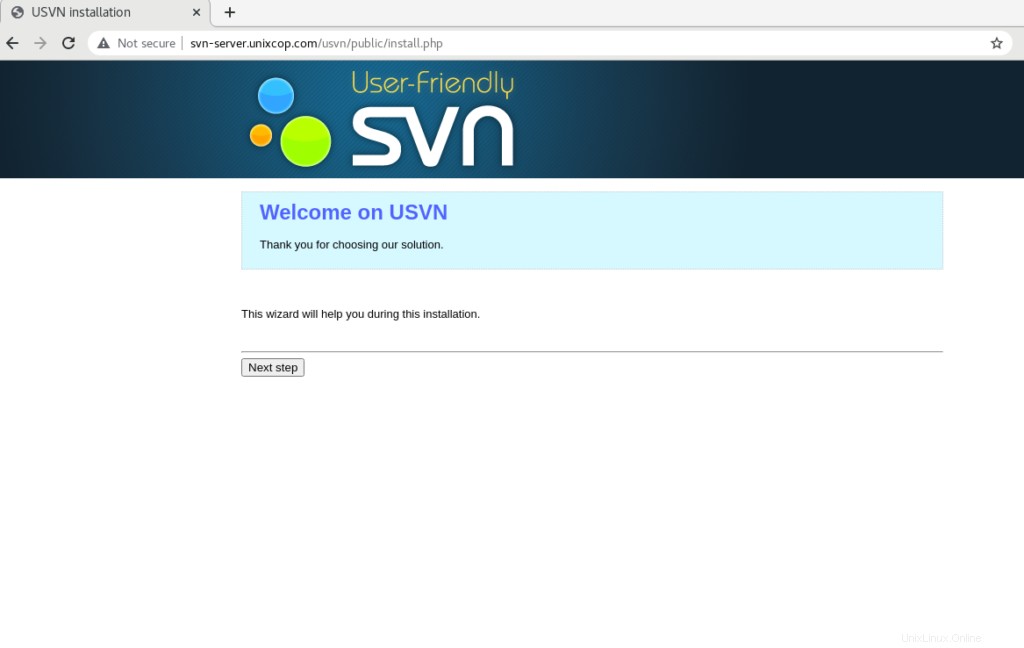
</Directory>ブラウザでhttp://ip_address/usvn/public/install.phpを開きます インストールを開始します。
または、 http://svn-server.unixcop.com/usvn/public/install.phpを開きます 、USVNのインストールを開始します。
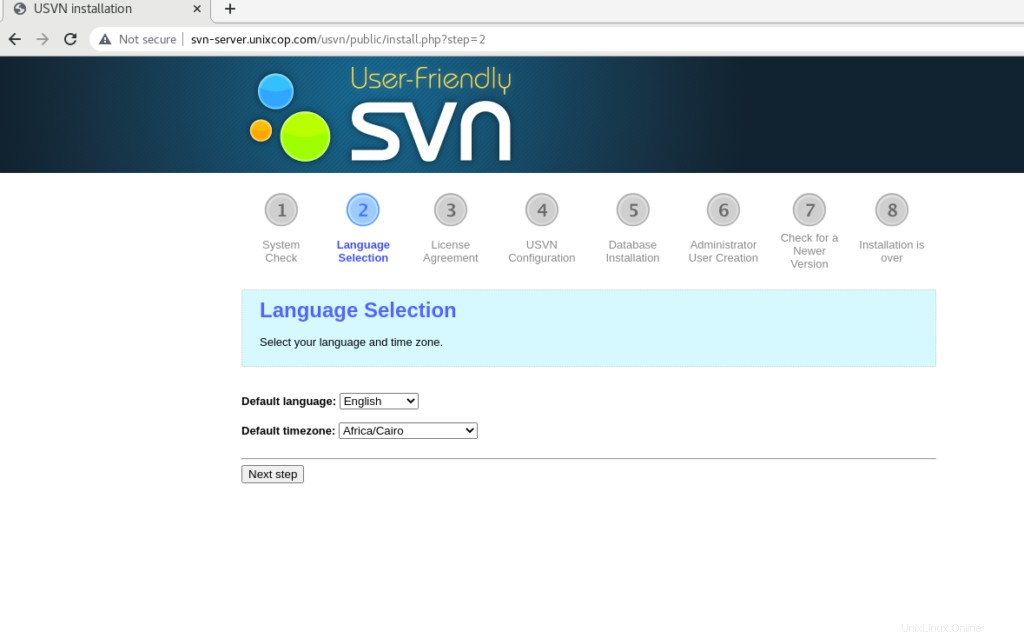
言語とタイムゾーンを選択してください。
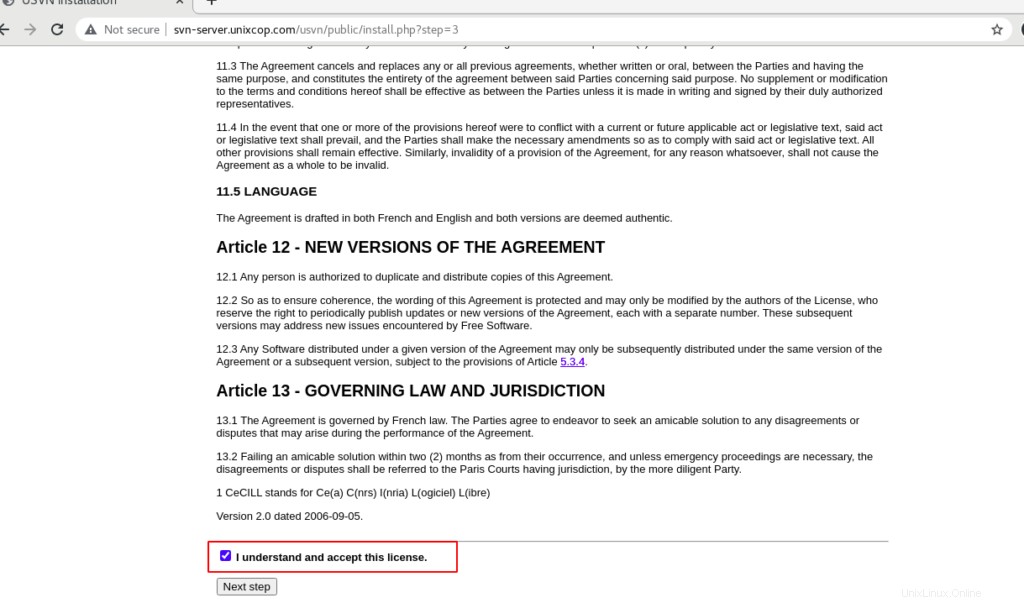
このライセンスを理解して同意しますを確認してください 次に、次のステップをクリックします 。
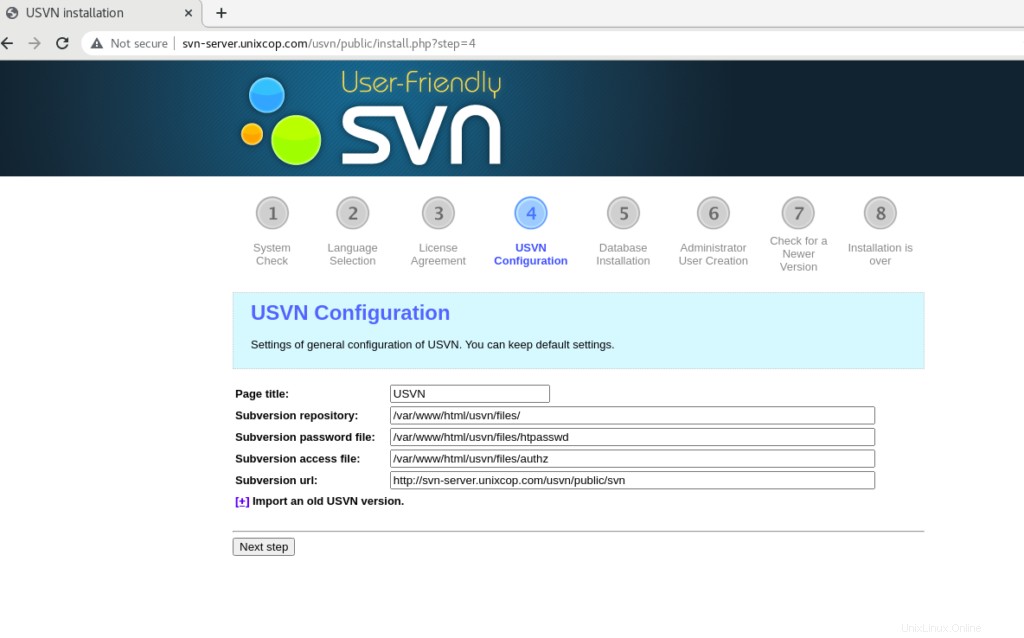
次のステップをクリックします 。
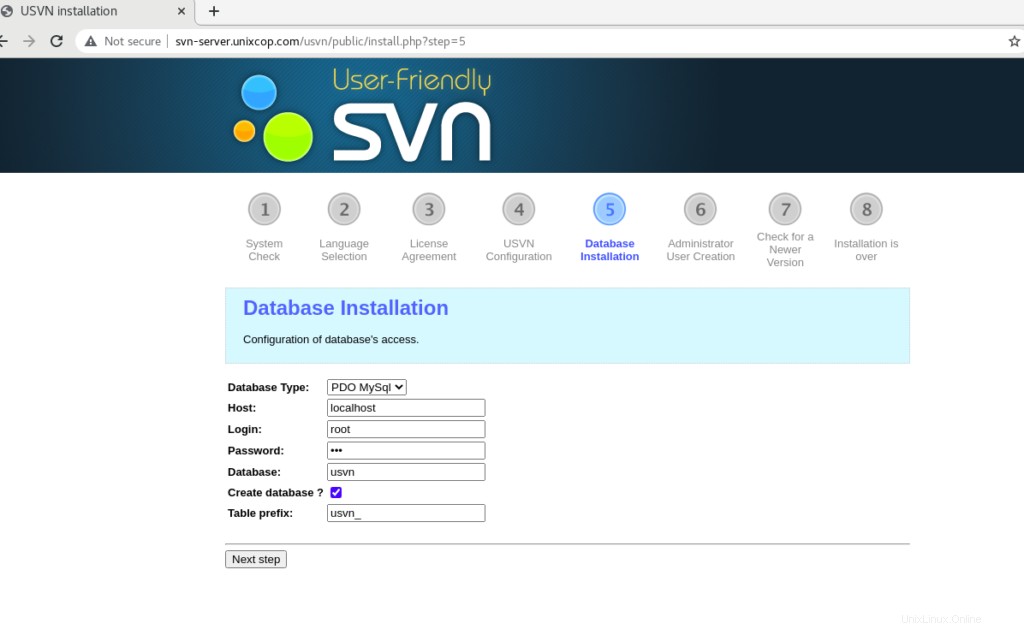
データベースのパスワードを入力し、データベースの作成?をオンにします 次に、次へをクリックします 。
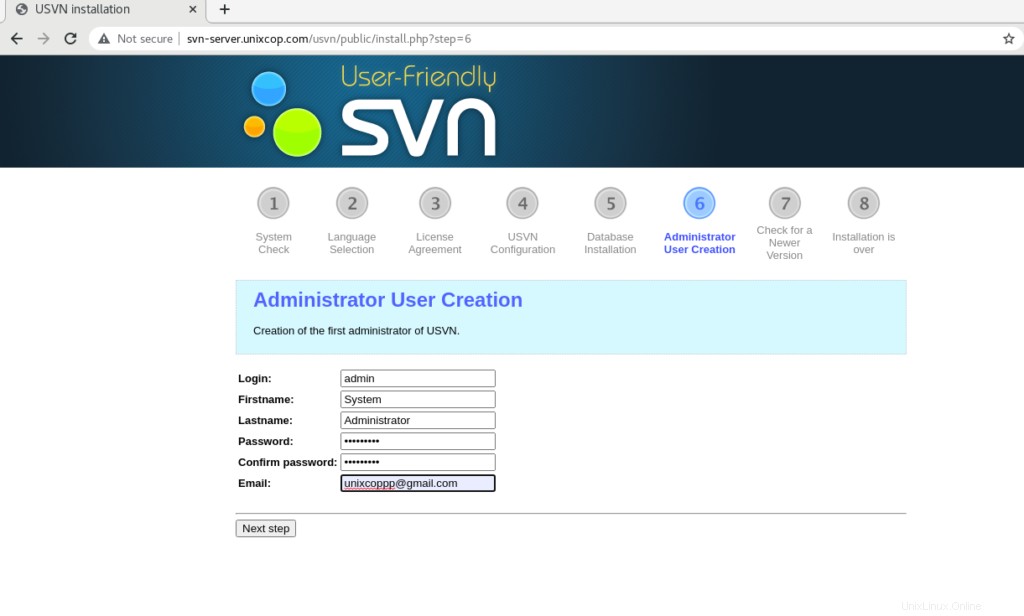
USVN管理者を作成し、[次のステップ]をクリックします。
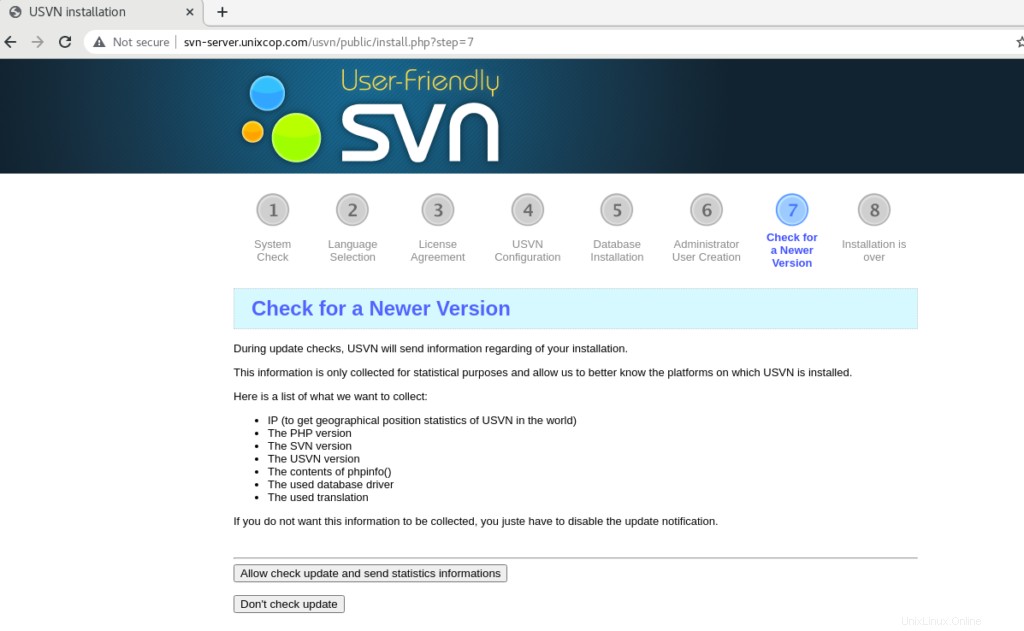
USVNの更新バージョンの自動チェックを無効にするか、許可します。
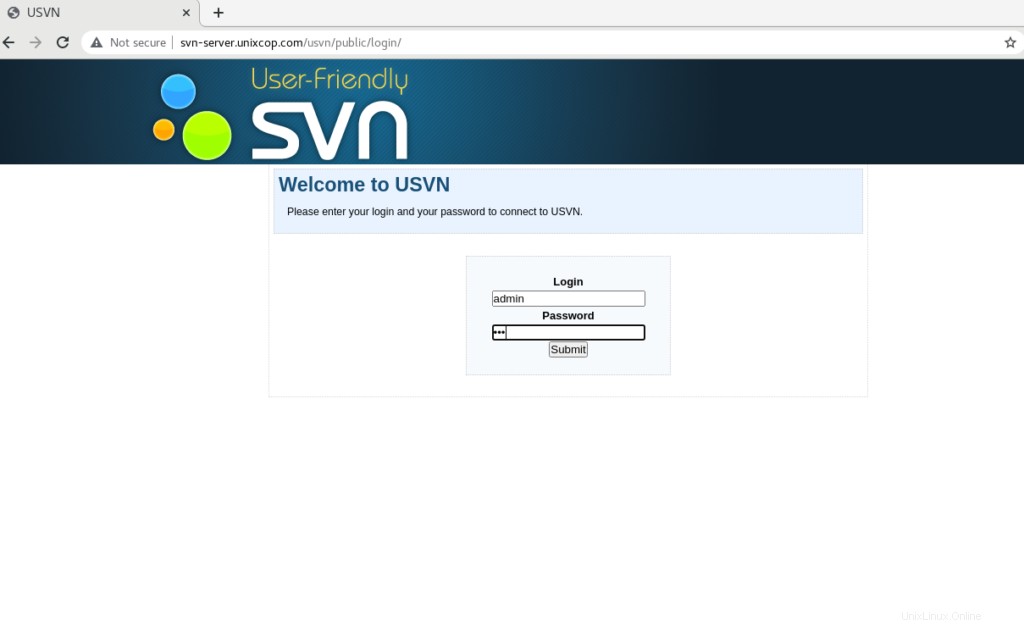
adminユーザーのログインページにリダイレクトされます。したがって、ユーザー名(admin)と、作成したばかりの正しいパスワードを入力してください。
結論
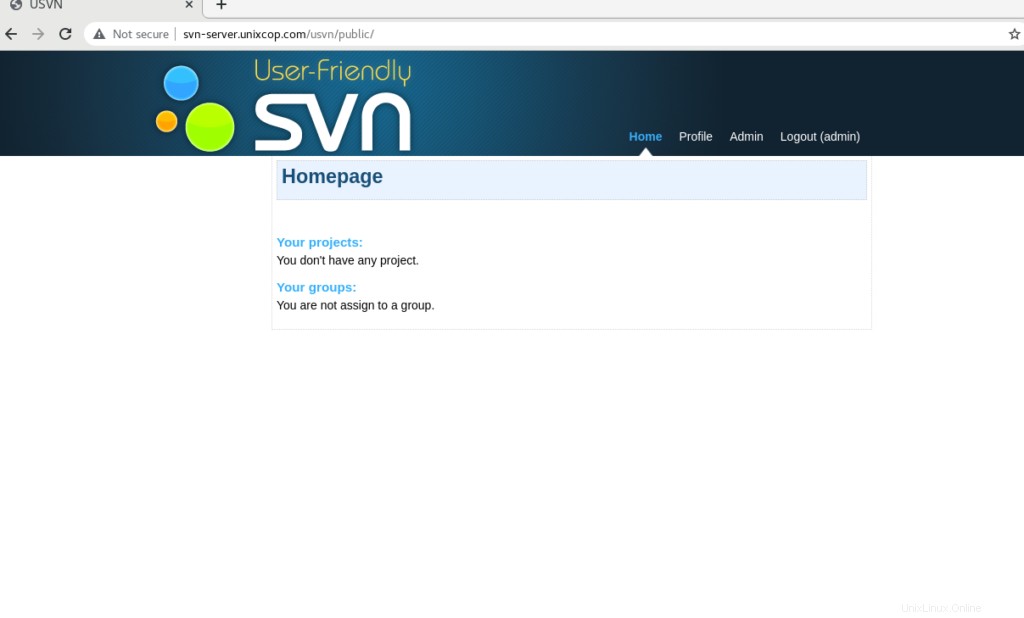
これで、(USVN)アプリケーションとApache Subversion(SVN)が正常にインストールされました。
このチュートリアルでは、CentOS 8にSubversionとUSVN(Apache SVN)をインストールする方法を学びます。