VisualStudioコード は、Microsoftによって開発された無料のクロスプラットフォームソースコードエディタです。組み込みのデバッグサポート、組み込みのGitコントロール、構文の強調表示、コードの補完、コードのリファクタリング、およびスニペットがあります。
Visual Studio Codeの機能は、拡張機能を使用して拡張できます。
このチュートリアルでは、 Ubuntu 18.04にVisualStudioCodeエディターをインストールする方法について説明します。 / Linux Mint 19 & Debian 9 MicrosoftのVSコードリポジトリから。
VisualStudioコードリポジトリを構成する
Microsoftは、 Ubuntu用のVisualStudioCodeを簡単にインストールするための公式リポジトリを提供しています およびDebian オペレーティングシステム。したがって、VSCodeパッケージを受け取るシステムにMicrosoftリポジトリを設定できます。
最初のタスクとして、 aptを使用してリポジトリインデックスを更新します コマンド
sudo apt update
aptおよびその他のパッケージのHTTPSサポートをインストールします。
sudo apt install -y curl apt-transport-https
curlコマンドを使用してMicrosoft署名GPGキーをダウンロードしてインポートします。
curl -sSL https://packages.microsoft.com/keys/microsoft.asc -o microsoft.asc
sudo apt-key add microsoft.asc
次に、VisualStudioCodeリポジトリをシステムに追加します。
echo "deb [arch=amd64] https://packages.microsoft.com/repos/vscode stable main" | sudo tee /etc/apt/sources.list.d/vscode.list
VisualStudioCodeをインストールする
リポジトリをシステムに追加したら、リポジトリインデックスを更新することを忘れないでください。
sudo apt update
aptコマンドを使用してVisualStudioCodeをインストールします。
sudo apt install -y code
VisualStudioCodeを起動する
VS Codeがシステムにインストールされると、コマンドラインから、またはグラフィカルモードでVSCodeアイコンをクリックして起動できます。
$ code
または
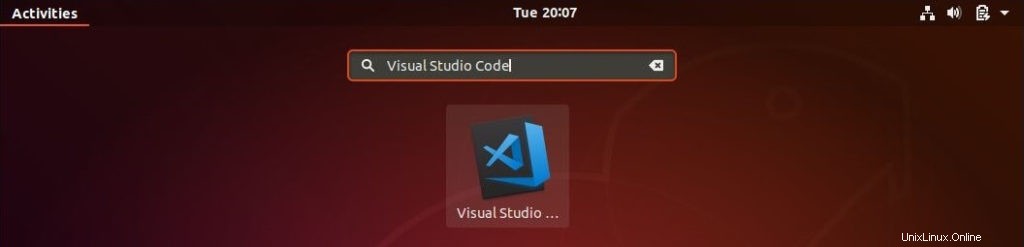
Ubuntu 18:04 :アクティビティ>> VisualStudioコードを検索します
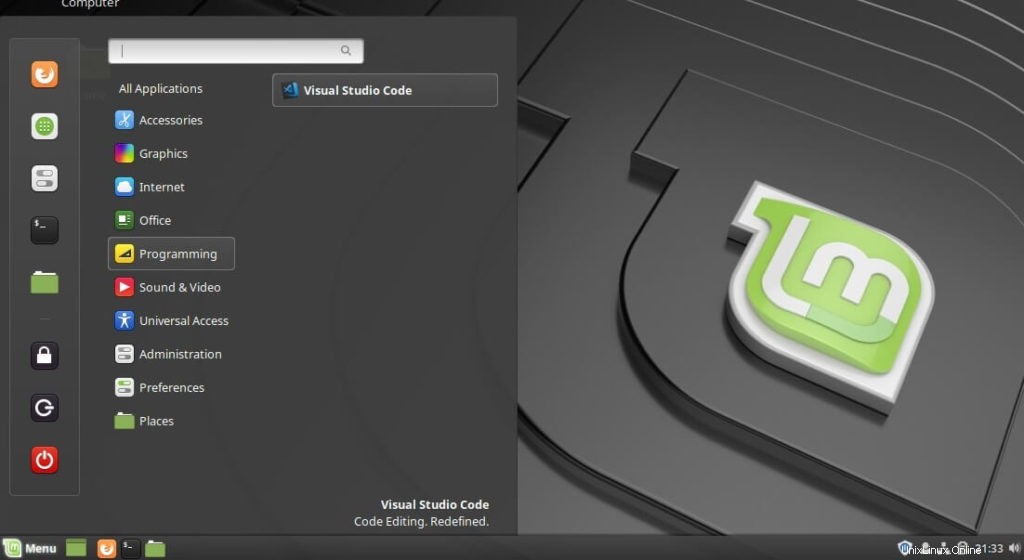
Linux Mint 19 :メニュー>>プログラミング>> VisualStudioコード
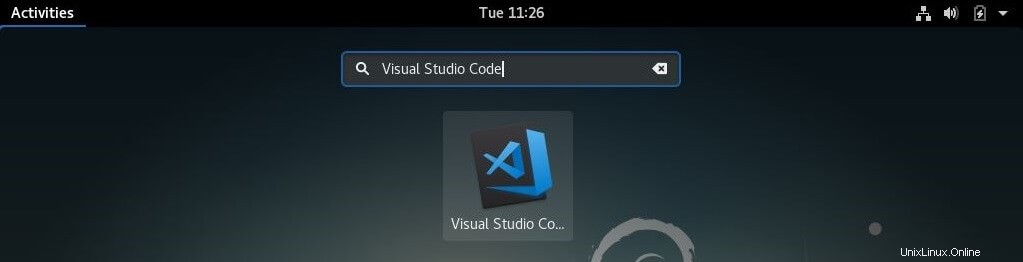
Debian 9 :アクティビティ>> VisualStudioコードを検索します
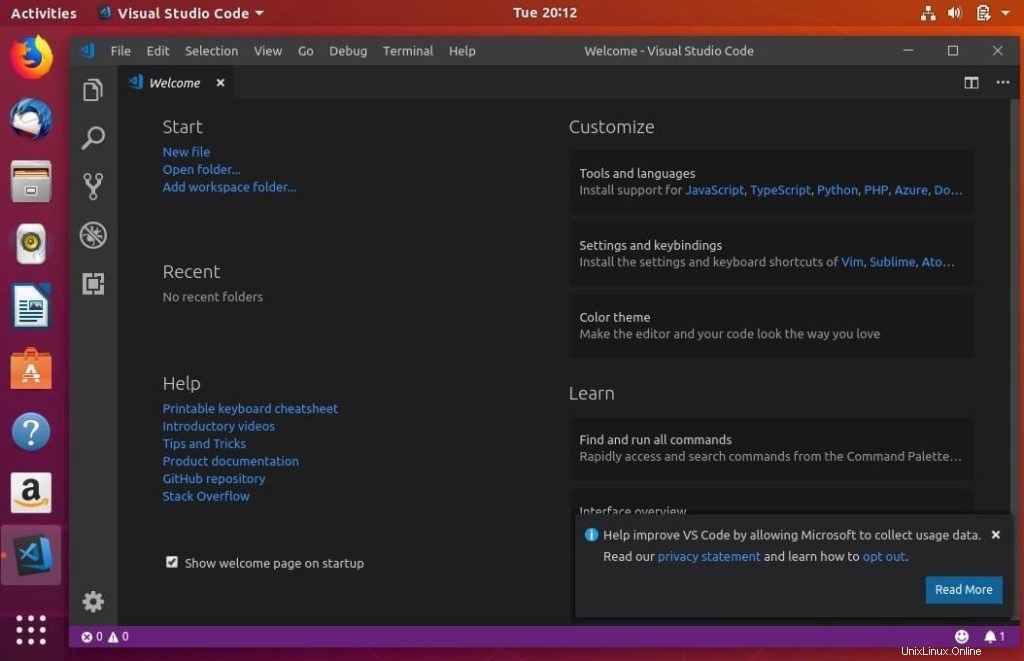
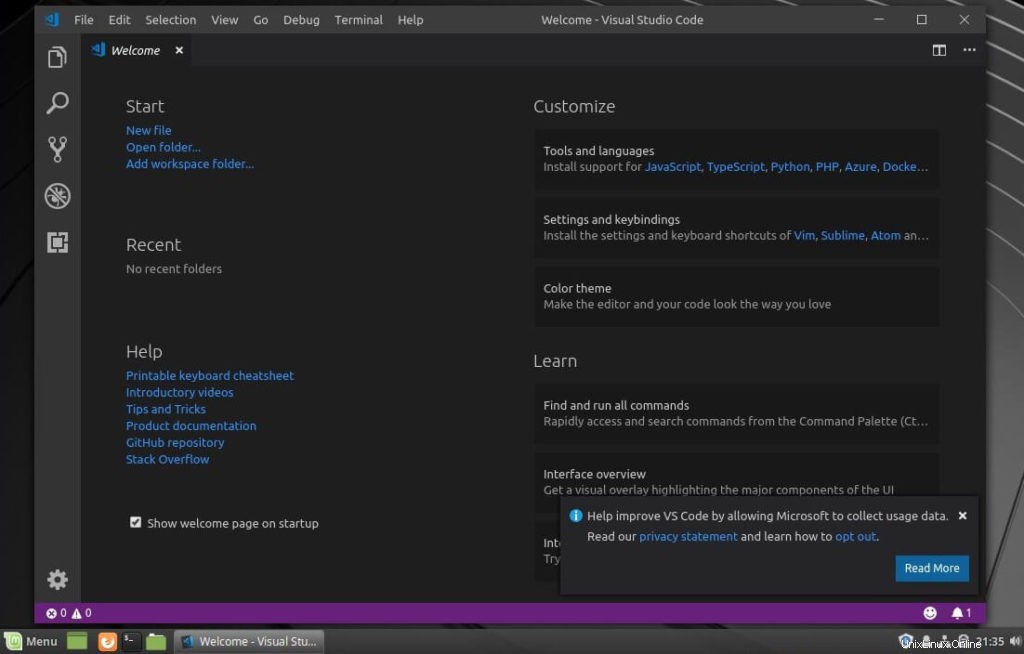
Ubuntu18.04で実行されているVisualStudioCode:
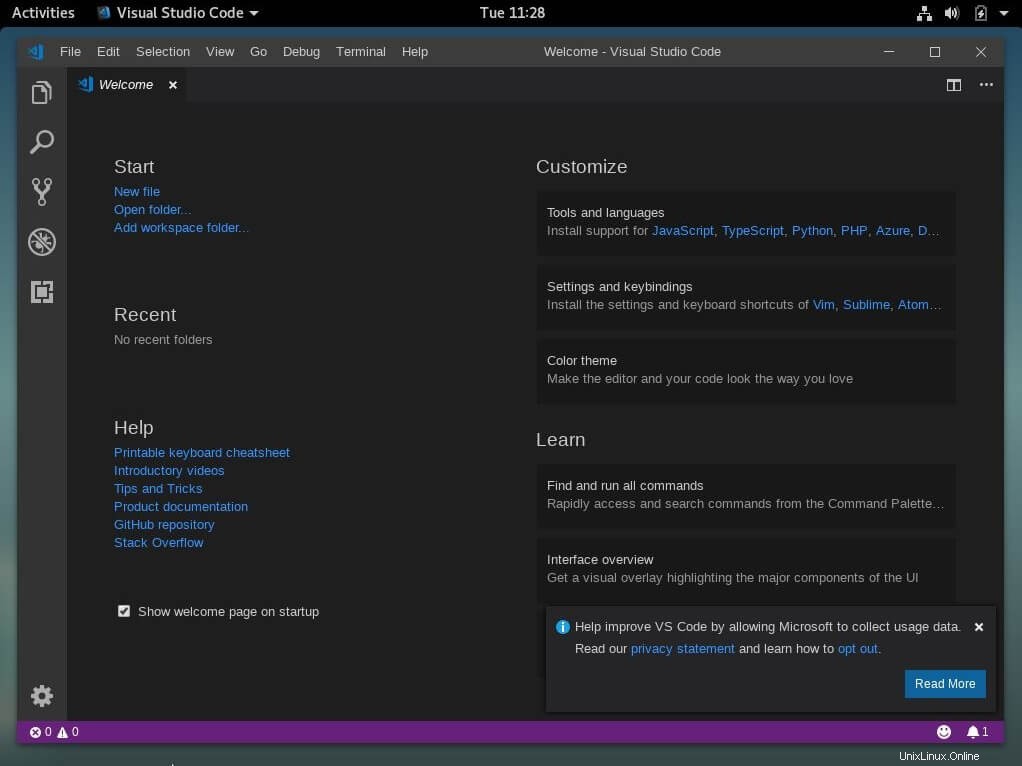
LinuxMint19で実行されているVisualStudioCode:
Debian9で実行されているVisualStudioCode:
VSCodeをデフォルトのエディターとして設定
複数のソースコードエディターがあり、プロジェクトのデフォルトエディターとしてVisual Studio Codeを設定する場合は、以下のコマンドを実行して、VisualStudioCodeをデフォルトエディターとして設定する必要があります。
sudo update-alternatives --set editor /usr/bin/code
VisualStudioコードを更新する
Microsoftは、VisualStudioCodeの更新プログラムを毎月リリースしています。 aptコマンドを使用して、他のパッケージと同様にVisualStudioCodeのバージョンを更新できます。
sudo apt update
sudo apt upgrade code
結論
Ubuntu 18.04にVisualStudioCodeが正常にインストールされました / Linux Mint 19 & Debian 9 。 拡張機能をインストールできるようになりました およびVSCodeを構成する あなたの好みに応じて。また、ユーザーインターフェースについて学ぶ VSCodeの。
以上です。