Chatwootは、無料のオープンソースのリアルタイムメッセージングプラットフォームです。それはあなたのウェブサイトにシンプルでライブチャットを提供し、それを他のアプリと統合します。それはあなたのビジネスがソーシャルメディアチャネルを介して彼らのクライアントに良いカスタマーサポートを提供するのを助けます。 Facebook、WhatsApp、Twitterなどのソーシャルメディアアプリと簡単に統合できます。これは、Intercom、Zendeskなどの他の商用ソフトウェアの非常に優れた代替ソリューションです。
このチュートリアルでは、Debian11にChatwootをインストールする方法を紹介します。
- Debian11を実行しているサーバー。
- サーバーIPで指定された有効なドメイン名。
- ルートパスワードはサーバーで構成されています。
Debian11にChatwootをインストールする
開始する前に、GitリポジトリからChatwootインストールスクリプトをダウンロードする必要があります。
まず、次のコマンドを使用してgitコマンドをインストールします。
apt-get install git -y
次に、次のコマンドを使用してChatwootをダウンロードします。
git clone https://github.com/chatwoot/chatwoot.git
次に、ディレクトリをダウンロードしたディレクトリに変更し、次のコマンドを使用してChatwootをインストールします。
cd chatwoot/deployment/
bash setup_20.04.sh -O setup.sh
以下に示すように、ドメインを定義し、SSLで構成するように求められます。
Would you like to configure a domain and SSL for Chatwoot?(yes or no): yes
Enter your sub-domain to be used for Chatwoot (chatwoot.domain.com for example) : chatwoot.linuxbuz.com

This script will try to generate SSL certificates via LetsEncrypt and serve chatwoot at
https://chatwoot.linuxbuz.com. Proceed further once you have pointed your DNS to the IP of the instance.

Do you wish to proceed? (yes or no): yes
Would you like to install postgres and redis?(Answer no if you plan to use external services): yes


Saving debug log to /var/log/letsencrypt/letsencrypt.log
Plugins selected: Authenticator nginx, Installer nginx
Enter email address (used for urgent renewal and security notices)
 (Enter 'c' to cancel): [email protected]

- - - - - - - - - - - - - - - - - - - - - - - - - - - - - - - - - - - - - - - -
Please read the Terms of Service at
https://letsencrypt.org/documents/LE-SA-v1.2-November-15-2017.pdf. You must
agree in order to register with the ACME server. Do you agree?
- - - - - - - - - - - - - - - - - - - - - - - - - - - - - - - - - - - - - - - -
(Y)es/(N)o: Y

- - - - - - - - - - - - - - - - - - - - - - - - - - - - - - - - - - - - - - - -
Would you be willing, once your first certificate is successfully issued, to
share your email address with the Electronic Frontier Foundation, a founding
partner of the Let's Encrypt project and the non-profit organization that
develops Certbot? We'd like to send you email about our work encrypting the web,
EFF news, campaigns, and ways to support digital freedom.
- - - - - - - - - - - - - - - - - - - - - - - - - - - - - - - - - - - - - - - -
(Y)es/(N)o: Y
Account registered.
Requesting a certificate for chatwoot.linuxbuz.com
Performing the following challenges:
http-01 challenge for chatwoot.linuxbuz.com
Waiting for verification...
Cleaning up challenges
Subscribe to the EFF mailing list (email: [email protected]).

IMPORTANT NOTES:
 - Congratulations! Your certificate and chain have been saved at:
   /etc/letsencrypt/live/chatwoot.linuxbuz.com/fullchain.pem
   Your key file has been saved at:
   /etc/letsencrypt/live/chatwoot.linuxbuz.com/privkey.pem
   Your certificate will expire on 2022-06-04. To obtain a new or
   tweaked version of this certificate in the future, simply run
   certbot again. To non-interactively renew *all* of your
   certificates, run "certbot renew"
 - If you like Certbot, please consider supporting our work by:

   Donating to ISRG / Let's Encrypt:   https://letsencrypt.org/donate
   Donating to EFF:                    https://eff.org/donate-le

Job for nginx.service failed because the control process exited with error code.
See "systemctl status nginx.service" and "journalctl -xe" for details.


***************************************************************************
Woot! Woot!! Chatwoot server installation is complete
The server will be accessible at https://chatwoot.linuxbuz.com
***************************************************************************
Chatwootをインストールしたら、次のコマンドでChatwootのステータスを確認できます。
systemctl status chatwoot.target
次の出力が得られます:
? chatwoot.target
     Loaded: loaded (/etc/systemd/system/chatwoot.target; enabled; vendor preset: enabled)
     Active: active since Sun 2022-03-06 06:07:21 UTC; 1min 36s ago

Mar 06 06:07:21 debian11 systemd[1]: Reached target chatwoot.target.
デフォルトでは、Chatwootはポート 3000でリッスンします 。次のコマンドで確認できます:
ss -antpl | grep 3000
次の出力が得られます:
LISTEN 0 1024 0.0.0.0:3000 0.0.0.0:* users:(("ruby",pid=38128,fd=8))
Chatwootは、インストール中にLet'sEncryptSSLを使用してNginxをインストールおよび構成します。次のコマンドを使用して、Nginxのステータスを確認できます。
systemctl status nginx
次の出力が得られます:
? nginx.service - A high performance web server and a reverse proxy server
     Loaded: loaded (/lib/systemd/system/nginx.service; enabled; vendor preset: enabled)
     Active: active (running) since Sun 2022-03-06 06:09:48 UTC; 10s ago
       Docs: man:nginx(8)
    Process: 38376 ExecStartPre=/usr/sbin/nginx -t -q -g daemon on; master_process on; (code=exited, status=0/SUCCESS)
    Process: 38377 ExecStart=/usr/sbin/nginx -g daemon on; master_process on; (code=exited, status=0/SUCCESS)
   Main PID: 38378 (nginx)
      Tasks: 3 (limit: 4679)
     Memory: 3.5M
        CPU: 61ms
     CGroup: /system.slice/nginx.service
             ??38378 nginx: master process /usr/sbin/nginx -g daemon on; master_process on;
             ??38379 nginx: worker process
             ??38380 nginx: worker process

Mar 06 06:09:48 debian11 systemd[1]: Starting A high performance web server and a reverse proxy server...
Mar 06 06:09:48 debian11 systemd[1]: Started A high performance web server and a reverse proxy server.
ChatwootWebインターフェイスにアクセス
次に、Webブラウザーを開き、URL http://chatwoot.linuxbuz.comを使用してChatwootWebインターフェースにアクセスします。 。次のページにリダイレクトされます:
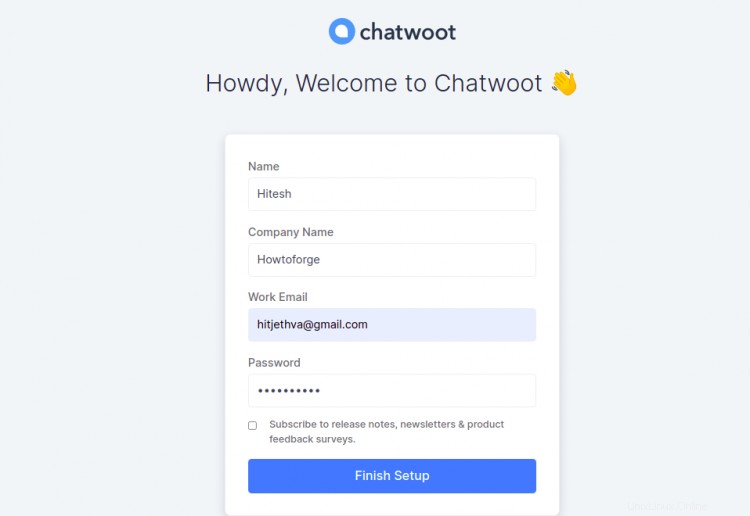
名前、メールアドレス、会社名、パスワードを入力し、完了をクリックします セットアップ ボタン。 Chatwootログインページが表示されます:
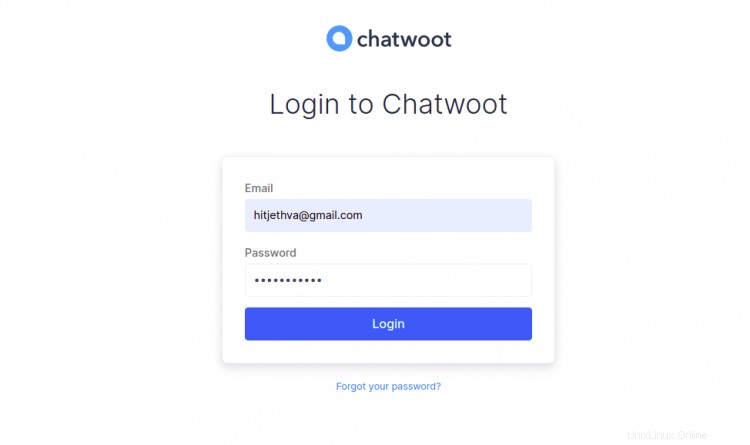
メールアドレスとパスワードを入力し、ログインをクリックします ボタン。次のページにChatwootダッシュボードが表示されます。

受信トレイをクリックします 。次のページが表示されます:

ここから、チャネルを選択できます Chatwootと統合したいこと。
おめでとう!これで、Debian 11にChatwootが正常にインストールされました。これで、組織でChatwootをホストし、それを使用してカスタマーサポートを提供できます。ご不明な点がございましたら、お気軽にお問い合わせください。