
この記事では、Ubuntu 20.04 LTS に HestiaCP をインストールするために必要な手順を説明しました。このチュートリアルを続行する前に、sudo を持つユーザーとしてログインしていることを確認してください 特権。このチュートリアルのすべてのコマンドは、root 以外のユーザーとして実行する必要があります。
HestiaCP は、Vesta コントロール パネルと呼ばれる別のオープンソース プロジェクトに基づいています。 HestiaCP は、使いやすい Web およびコマンド ライン インターフェイスを提供します。これにより、Web サーバー管理者は、構成ファイルを手動で編集することなく、ドメイン名、Web スペース、メール アカウント、および DNS ゾーンを集中管理された場所から簡単に管理できます。
前提条件:
- Ubuntu 20.04 を搭載したオペレーティング システム
- スーパーユーザー権限を持つサーバー IPv4 アドレス (ルート アクセス)
- Linux デスクトップ用 Gnome ターミナル
- Windows または macOS 用の PuTTy SSH クライアント
- Windows 10/11 用 Powershell
- APT コマンドに精通している
Ubuntu 20.04 に HestiaCP をインストール
ステップ 1. まず、Ubuntu サーバーにパッケージのインストールを開始する前に、すべてのシステム パッケージが更新されていることを確認することを常にお勧めします。
sudo apt update
sudo apt upgrade
sudo apt install ca-certificates
ステップ 2. HestiaCP を Ubuntu にインストールします。
Ubuntu Linux システムに HestiaCP をインストールするのは簡単です。HestiaCP のリポジトリ キーを追加して、必要なパッケージをダウンロードできるようにします。
sudo wget -qO - https://gpg.hestiacp.com/deb_signing.key | sudo apt-key add -
次に、最新の安定した HestiaCP インストール スクリプトをダウンロードします。
sudo wget https://raw.githubusercontent.com/hestiacp/hestiacp/release/install/hst-install.sh
次に、インストール スクリプトを実行し、画面の指示に従ってインスタンスに HestiaCP をインストールします。
bash hst-install.sh
出力:
_   _           _   _        ____ ____
| | | | ___  ___| |_(_) __ _ / ___|  _ \
| |_| |/ _ \/ __| __| |/ _` | |   | |_) |
|  _  |  __/\__ \ |_| | (_| | |___|  __/
|_| |_|\___||___/\__|_|\__,_|\____|_|

                      Hestia Control Panel
                                    v1.1.1
====================================================================
The following server components will be installed on your system:

  - NGINX Web / Proxy Server
  - Apache Web Server (as backend)
  - PHP-FPM Application Server
  - Bind DNS Server
  - Exim Mail Server + ClamAV + SpamAssassin
  - Dovecot POP3/IMAP Server
  - MariaDB Database Server
  - Vsftpd FTP Server
  - Firewall (Iptables) + Fail2Ban Access Monitor
====================================================================
インストールが完了すると、出力に管理 URL、ユーザー名、およびパスワードが表示されます。
You have successfully installed Hestia Control Panel on your server.

Ready to get started? Log in using the following credentials:

    Admin URL:  https://your-ip-address:8083
    Username:   admin
    Password:   your_secure_password

Thank you for choosing Hestia Control Panel to power your full stack web server,
we hope that you enjoy using it as much as we do!

Please feel free to contact us at any time if you have any questions,
or if you encounter any bugs or problems:

E-mail:  example@unixlinux.online
Web:     https://www.hestiacp.com/
Forum:   https://forum.hestiacp.com/
GitHub:  https://www.github.com/hestiacp/hestiacp

Note: Automatic updates are enabled by default. If you would like to disable them,
please log in and navigate to Server > Updates to turn them off.

Help support the Hestia Contol Panel project by donating via PayPal:
https://www.hestiacp.com/donate
--
Sincerely yours,
The Hestia Control Panel development team

Made with love & pride by the open-source community around the world.

(!) IMPORTANT: You must logout or restart the server before continuing.

Do you want to reboot now? [Y/N]
その後、次のコマンドを使用して Hestia で SSL を有効にします:
v-add-letsencrypt-host
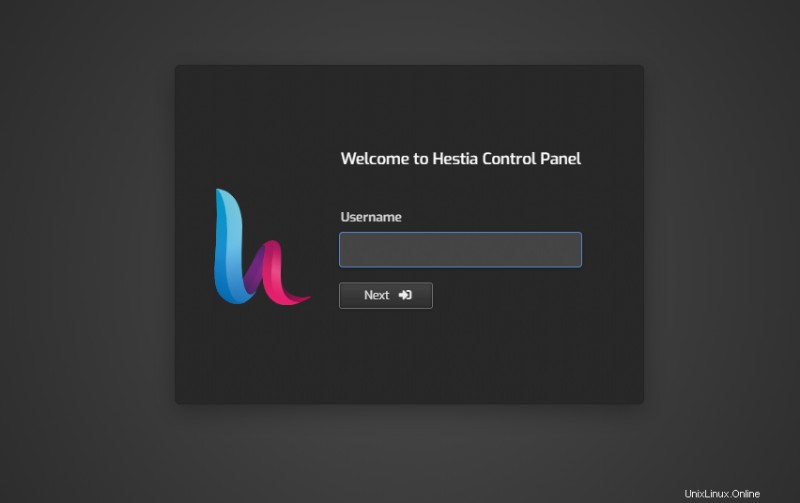
ステップ 3. Web UI Hestia CPanel Admin にアクセスします。
インストールが完了したら、以下のようにサーバー IP またはホスト名を使用して HestiaCP パネルにログインできます。
https://your-IP-address:8083
HestiaCP を Ubuntu 20.04 LTS Focal Fossa にインストールするために必要なことはこれだけです。この簡単なヒントがお役に立てば幸いです。インストール HestiaCP オープン ソース Linux Web サーバー コントロール パネルの詳細については、公式ナレッジ ベースを参照してください。質問や提案がある場合は、下にコメントを残してください。