はじめに
GitHubによると:
HASTE nodeJSで記述されたオープンソースのペーストビンソフトウェアであり、どのネットワークにも簡単にインストールできます。 Redisまたはファイルシステムのいずれかでバックアップでき、他のストア用の非常に簡単なアダプターインターフェイスを備えています
主な設計目標:
Hastebinをインストールする準備をするためのいくつかの重要なステップ
このようにして、ほぼすべてのシステムまたはサーバーで使用できるクライアントをインストールして、特定のインスタンスを自分で作成できるため、個人のプロジェクトや内部ネットワークに実装できます。
- に加えて、rootユーザーを使用してコマンドを実行します。したがって、ターミナルを開くか、SSH経由で実行します
sudo -i- パスワードを入力したら、必ずオペレーティングシステムを更新してください
apt update && apt upgrade- その後、チュートリアルに必要なパッケージをインストールします。
apt install software-properties-common git curl -y 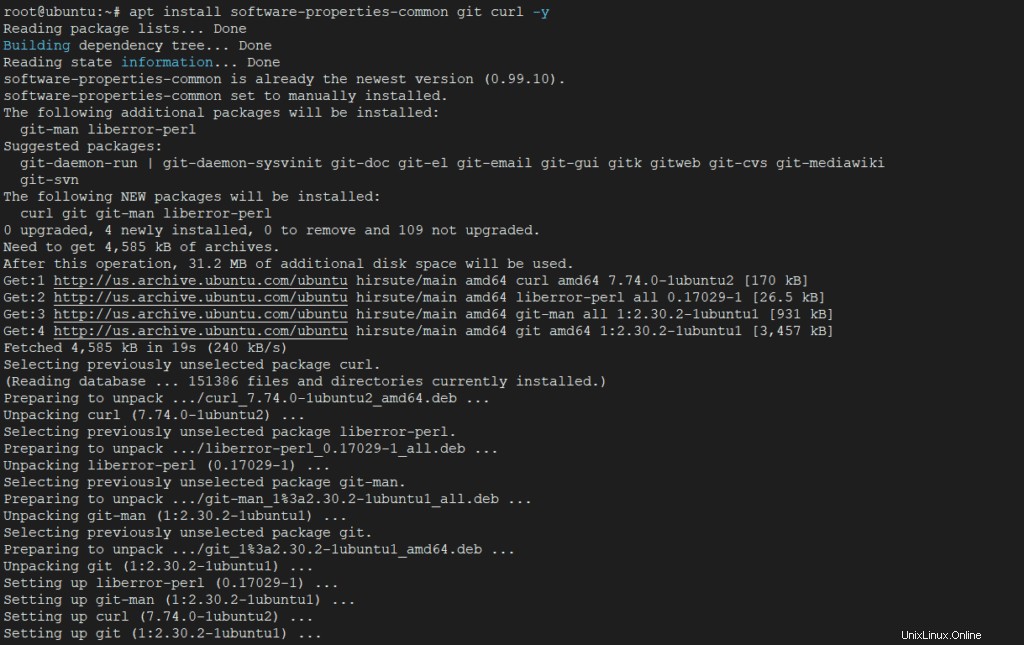
- 次に、Ubuntu 21.04にNodeJSをインストールする必要があります。そのためには、アプリケーションリポジトリを追加する必要があります。
curl -sL https://deb.nodesource.com/setup_16.x | bash -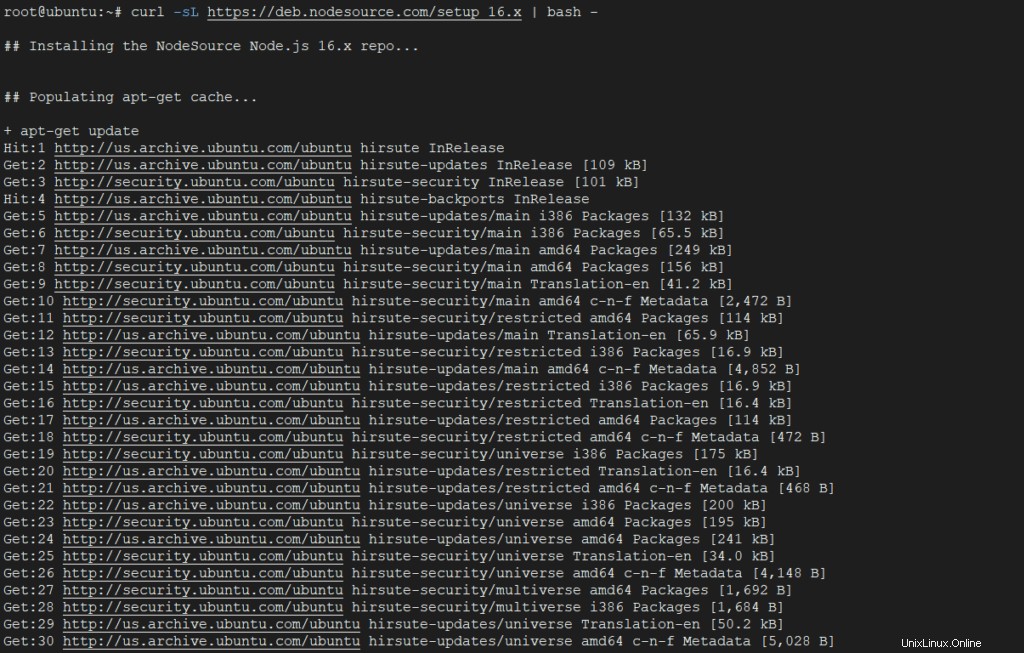
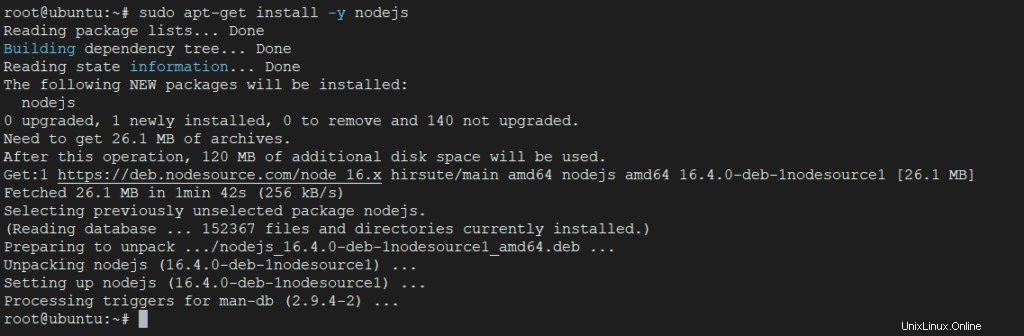
- 次に、実行してNodeJSをインストールします
sudo apt-get install -y nodejs
- 次のコマンドを使用して、インストールされているバージョンを確認します。
node --version
npm --version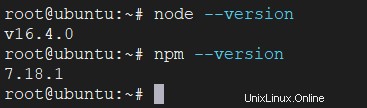
Hastebinサーバーのインストール
- rootとしてサーバーにSSH接続します。
- GitHubから速攻サーバーリポジトリのクローンを作成します。
# git clone https://github.com/seejohnrun/haste-server.git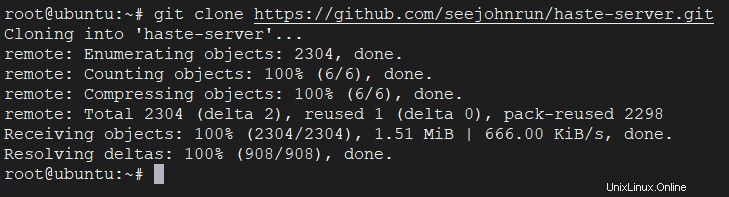
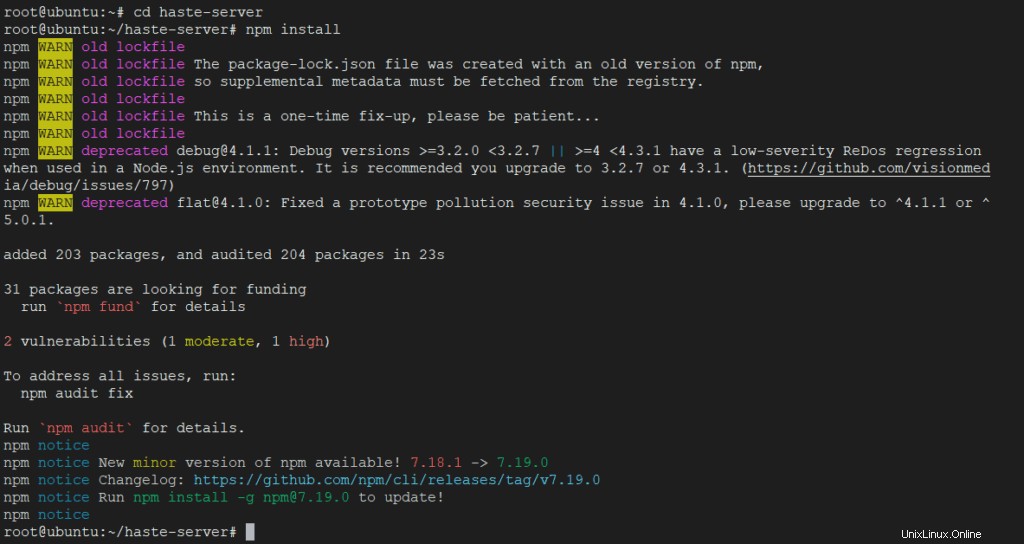
- haste-serverに変更します ディレクトリを作成し、必要なすべてのパックをインストールします。
# cd haste-server# npm install
- npmでパッケージを更新します。
# npm update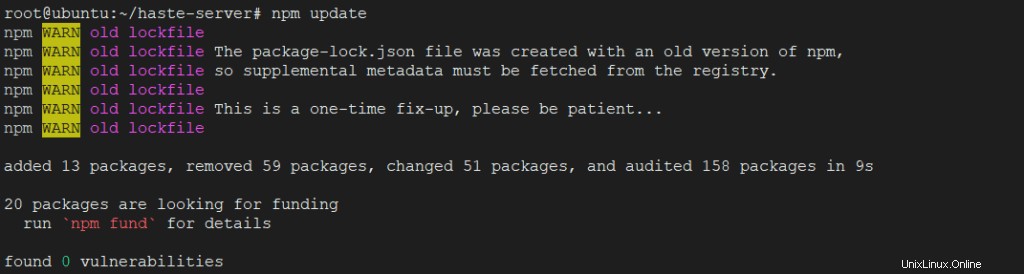
- Hastebinのデフォルトはポート7777です。HTTPポート80に変更してください。config.jsを編集してください。
# vim config.js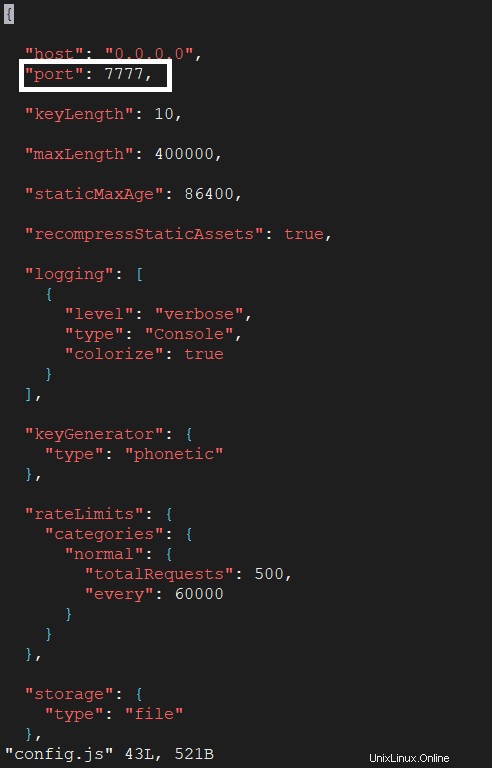
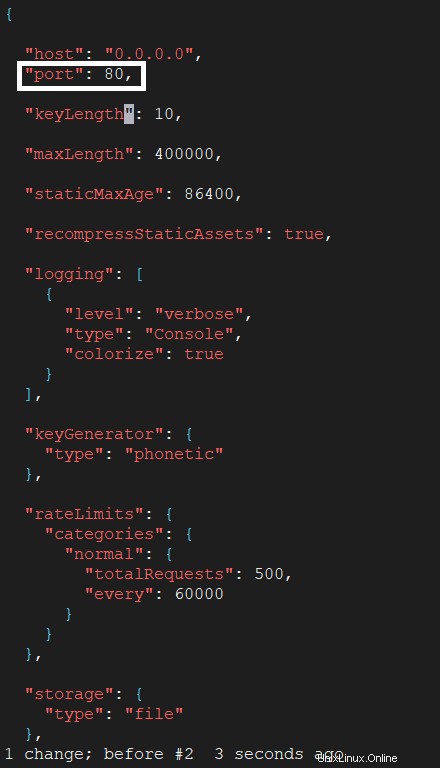
- この行を7777から80に変更します:「ポート」:「7777」、 完了すると、次のようになります。「ポート」:「80」、 ファイルを保存して終了します。
PM2をインストール
PM2は、Node.JSアプリケーションのプロセスマネージャーです。 PM2は、アプリケーションがオフラインになった場合に、アプリケーションを監視して再起動します。
- PM2をインストールします。
# npm install pm2 -g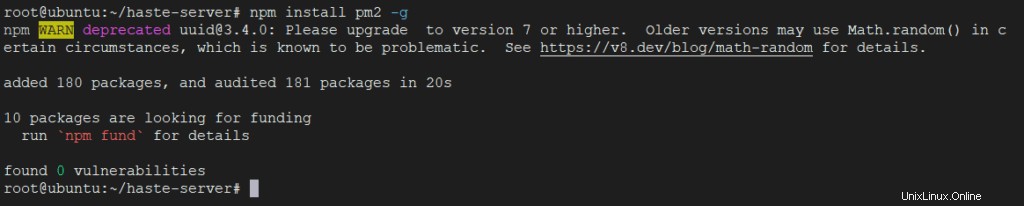
- Hastebinサーバーを起動します。
# pm2 start server.js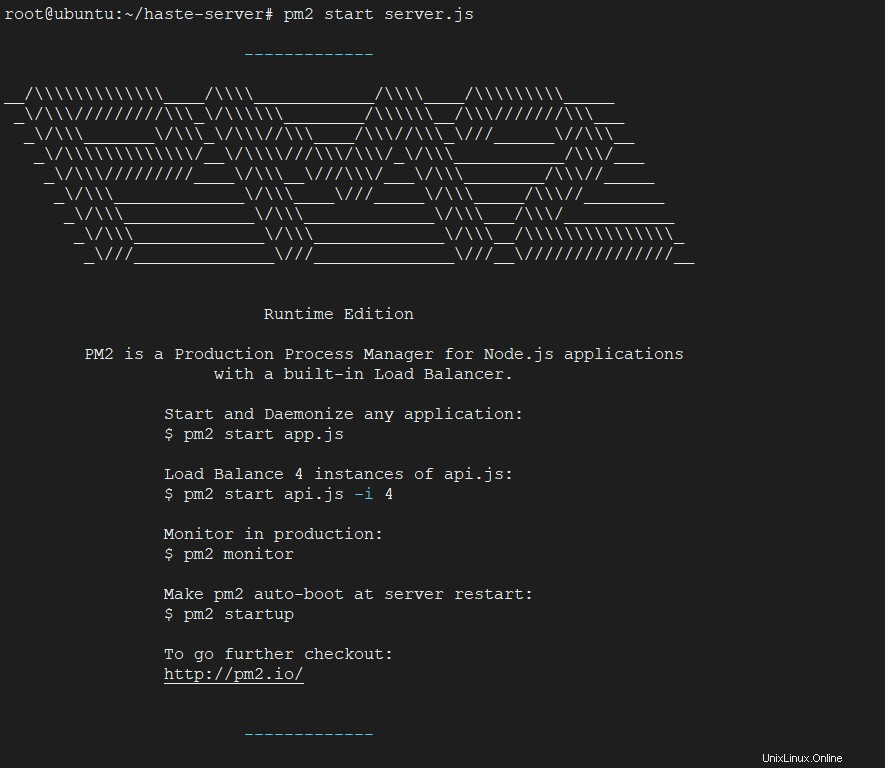
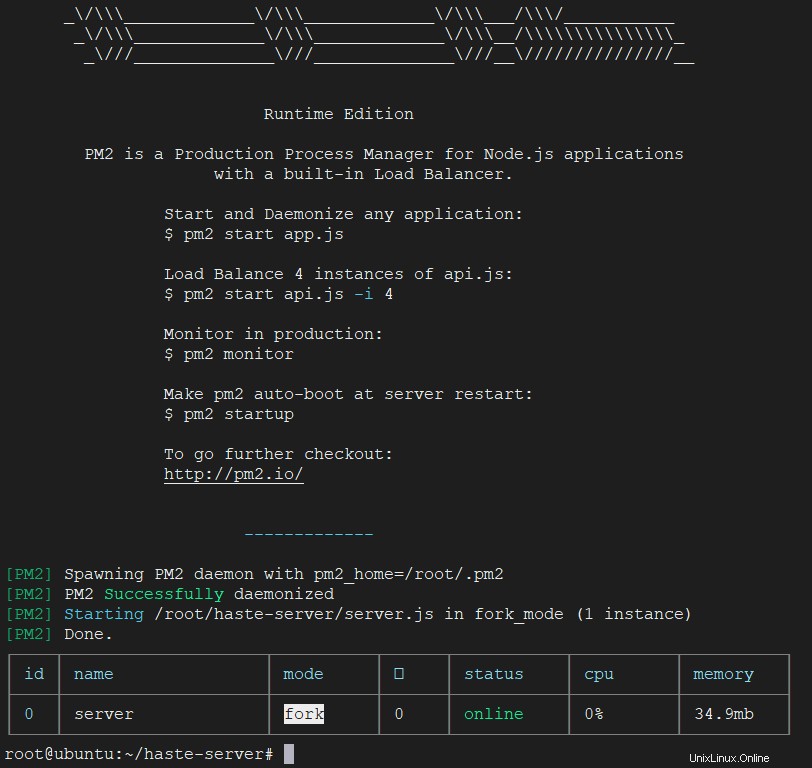
- PM2構成を保存し、起動時に実行するように依頼します。
# pm2 save
# pm2 startup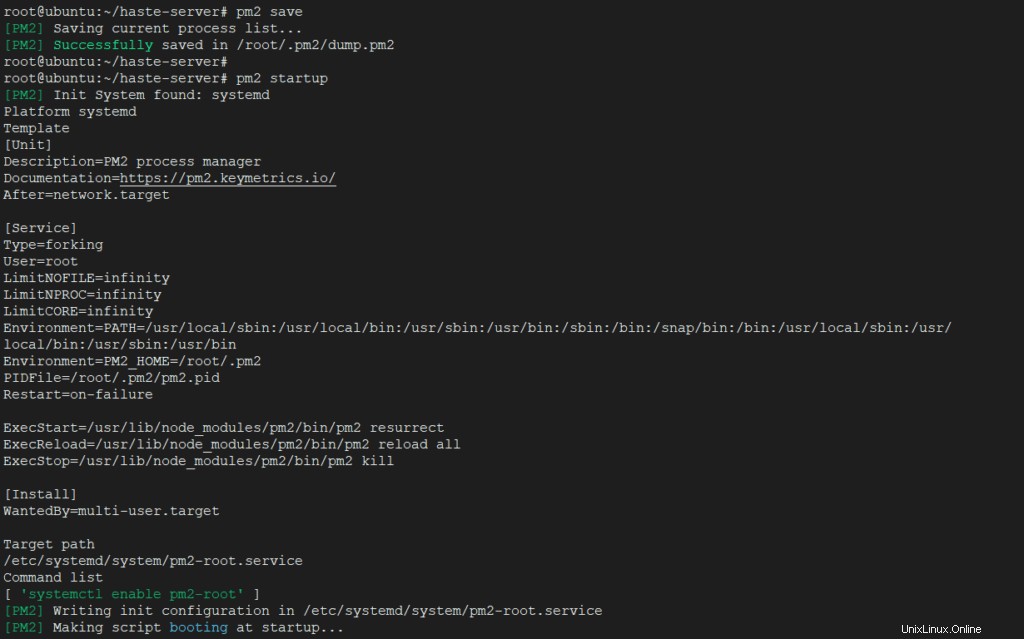
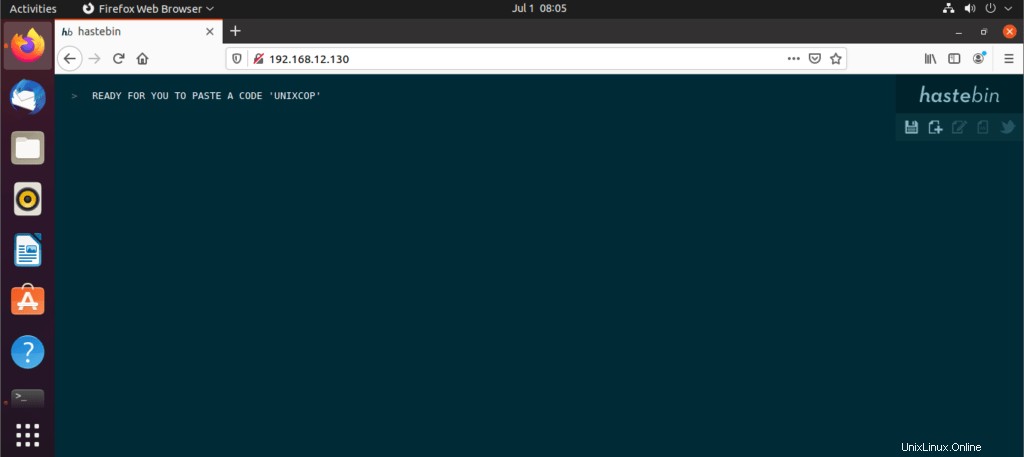
Hastebinサーバーをテストする
ブラウザでサーバーのIPアドレスに移動して空のページを読み込み、コードを貼り付ける準備をします。