Metabaseは、データセットの検索と情報の表示に使用できる無料のオープンソースのビジネスインテリジェンスツールです。これは、技術的な知識がなくても会社のデータから学ぶのに役立つシンプルで強力な分析ツールです。グラフやダッシュボードを生成したり、SQLを使用せずにクエリを実行したり、データベースの行に関する詳細情報を表示したりできます。
メタベースは、ビジネス向けの高性能データベースルックアッププラットフォームを探している場合に最適です。
このチュートリアルでは、NginxとLet'sEncryptSSLを使用してUbuntu20.04にMetabaseをインストールする方法を説明します。
- Ubuntu20.04を実行しているサーバー。
- サーバーIPで指定された有効なドメイン名。
- ルートパスワードがサーバーに設定されます。
Javaのインストール
MetabaseはJavaベースのアプリケーションです。したがって、Javaをサーバーにインストールする必要があります。次のコマンドでインストールできます:
apt-get install openjdk-11-jdk openjdk-11-jre -y
インストールが正常に完了したら、次のコマンドを使用してJavaのバージョンを確認できます。
java -version
次の出力が表示されます。
openjdk version "11.0.8" 2020-07-14
OpenJDK Runtime Environment (build 11.0.8+10-post-Ubuntu-0ubuntu120.04)
OpenJDK 64-Bit Server VM (build 11.0.8+10-post-Ubuntu-0ubuntu120.04, mixed mode, sharing)
終了したら、次のステップに進むことができます。
MariaDBのインストールと構成
次に、MariaDBデータベースサーバーをシステムにインストールする必要があります。次のコマンドを実行してインストールできます:
apt-get install mariadb-server -y
MariaDBサーバーがインストールされたら、次のコマンドを使用してMariaDBシェルにログインします。
mysql
ログインしたら、次のコマンドを使用してMetabaseのデータベースとユーザーを作成します。
MariaDB [(none)]> CREATE DATABASE metabase;
MariaDB [(none)]> GRANT ALL PRIVILEGES ON metabase.* TO 'metabase'@'localhost' IDENTIFIED BY "password";
次に、特権をフラッシュし、次のコマンドを使用してMariaDBシェルを終了します。
MariaDB [(none)]> FLUSH PRIVILEGES;
MariaDB [(none)]> EXIT;
終了したら、次のステップに進むことができます。
まず、次のコマンドを使用して、/optディレクトリ内にMetabaseのディレクトリを作成します。
mkdir /opt/metabase
次に、ディレクトリを/ opt / metabaseに変更し、次のコマンドを使用して最新バージョンのMetabaseをダウンロードします。
cd /opt/metabase
wget https://downloads.metabase.com/v0.36.2/metabase.jar
次に、Metabaseを実行するために、個別のユーザーとグループを作成する必要があります。次のコマンドで作成できます:
addgroup --quiet --system metabase
adduser --quiet --system --ingroup metabase --no-create-home --disabled-password metabase
次に、/ opt / metabaseの所有権をmetabaseに変更し、次のコマンドで適切な権限を付与します。
chown -R metabase:metabase /opt/metabase
chmod -R 755 /opt/metabase
終了したら、次のステップに進むことができます。
次に、Metabaseサービスを管理するためのsystemdサービスファイルを作成する必要があります。次のコマンドで作成できます:
nano /etc/systemd/system/metabase.service
次の行を追加します:
[Unit]
Description=Metabase server

[Service]
WorkingDirectory=/opt/metabase/
ExecStart=/usr/bin/java -jar /opt/metabase/metabase.jar
User=metabase
Type=simple
Restart=on-failure
RestartSec=10

[Install]
WantedBy=multi-user.target
ファイルを保存して閉じてから、次のコマンドを使用してsystemdデーモンをリロードします。
systemctl daemon-reload
次に、次のコマンドを使用してMetabaseサービスを開始し、システムの再起動時に開始できるようにします。
systemctl start metabase
systemctl enable metabase
次のコマンドを使用して、メタベースのステータスを確認できるようになりました。
systemctl status metabase
次の出力が表示されます。
? metabase.service - Metabase server
     Loaded: loaded (/etc/systemd/system/metabase.service; disabled; vendor preset: enabled)
     Active: active (running) since Sat 2020-08-01 10:14:02 UTC; 12s ago
   Main PID: 9650 (java)
      Tasks: 18 (limit: 2353)
     Memory: 150.2M
     CGroup: /system.slice/metabase.service
             ??9650 /usr/bin/java -jar /opt/metabase/metabase.jar

Aug 01 10:14:02 ubuntu2004 systemd[1]: Started Metabase server.
Aug 01 10:14:05 ubuntu2004 java[9650]: 08-01 10:14:05 INFO metabase.util :: Loading Metabase...
Aug 01 10:14:06 ubuntu2004 java[9650]: 08-01 10:14:06 INFO metabase.util :: Maximum memory available to JVM: 498.0 MB
この時点で、Metabaseが起動し、ポート3000でリッスンしています。次のコマンドで確認できます。
netstat -tunelp | grep 3000
次の出力が表示されます。
tcp6 0 0 :::3000 :::* LISTEN 109 35366 9650/java
Nginxをメタベースのリバースプロキシとして構成する
次に、NginxをMetabaseのリバースプロキシとして構成する必要があります。まず、次のコマンドを使用してNginxWebサーバーをインストールします。
apt-get install nginx -y
Nginxをインストールした後、次のコマンドを使用して新しいNginx仮想ホスト構成ファイルを作成します。
nano /etc/nginx/sites-available/metabase.conf
次の行を追加します:
upstream metabase {
  server 127.0.0.1:3000;
}

server {
    listen 80;
    server_name metabase.linuxbuz.com;
    access_log /var/log/nginx/metabase.linuxbuz.com-access.log;
    error_log /var/log/nginx/metabase.linuxbuz.com-error.log;

    location / {
        proxy_pass http://metabase/;
        proxy_http_version 1.1;
        proxy_set_header Upgrade $http_upgrade;
        proxy_set_header Connection "upgrade";
        proxy_set_header Host $http_host;

        proxy_set_header X-Real-IP $remote_addr;
        proxy_set_header X-Forward-For $proxy_add_x_forwarded_for;
        proxy_set_header X-Forward-Proto http;
        proxy_set_header X-Nginx-Proxy true;

        proxy_redirect off;
    }
}
終了したら、ファイルを保存して閉じます。次に、次のコマンドを使用してNginx仮想ホストをアクティブ化します。
ln -s /etc/nginx/sites-available/metabase.conf /etc/nginx/sites-enabled/
次に、次のコマンドを使用して、構成エラーがないかNginxを確認します。
nginx -t
次の出力が表示されます。
nginx: the configuration file /etc/nginx/nginx.conf syntax is ok
nginx: configuration file /etc/nginx/nginx.conf test is successful
最後に、Nginxサービスを再起動して、変更を適用します。
systemctl restart nginx
この時点で、Nginxはポート80でMetabaseにサービスを提供するように構成されています。これで、次の手順に進むことができます。
まず、ドメインのSSLをインストールして管理するには、CertbotLetsEncryptクライアントをインストールする必要があります。次のコマンドを使用して、Certbotクライアントをインストールできます。
apt-get install python3-certbot-nginx -y
インストールしたら、次のコマンドを使用してLet'sEncryptSSLを使用してMetabaseWebサイトを保護します。
certbot --nginx -d metabase.linuxbuz.com
以下に示すように、メールアドレスを提供し、利用規約に同意するよう求められます。
Saving debug log to /var/log/letsencrypt/letsencrypt.log
Plugins selected: Authenticator nginx, Installer nginx
Enter email address (used for urgent renewal and security notices) (Enter 'c' to
cancel): [email protected]

- - - - - - - - - - - - - - - - - - - - - - - - - - - - - - - - - - - - - - - -
Please read the Terms of Service at
https://letsencrypt.org/documents/LE-SA-v1.2-November-15-2017.pdf. You must
agree in order to register with the ACME server at
https://acme-v02.api.letsencrypt.org/directory
- - - - - - - - - - - - - - - - - - - - - - - - - - - - - - - - - - - - - - - -
(A)gree/(C)ancel: A

- - - - - - - - - - - - - - - - - - - - - - - - - - - - - - - - - - - - - - - -
Would you be willing to share your email address with the Electronic Frontier
Foundation, a founding partner of the Let's Encrypt project and the non-profit
organization that develops Certbot? We'd like to send you email about our work
encrypting the web, EFF news, campaigns, and ways to support digital freedom.
- - - - - - - - - - - - - - - - - - - - - - - - - - - - - - - - - - - - - - - -
(Y)es/(N)o: Y
Obtaining a new certificate
Performing the following challenges:
http-01 challenge for metabase.linuxbuz.com
Waiting for verification...
Cleaning up challenges
Deploying Certificate to VirtualHost /etc/nginx/sites-enabled/metabase.conf
次に、以下に示すように、HTTPトラフィックをHTTPSにリダイレクトするかどうかを選択します。
- - - - - - - - - - - - - - - - - - - - - - - - - - - - - - - - - - - - - - - -
1: No redirect - Make no further changes to the webserver configuration.
2: Redirect - Make all requests redirect to secure HTTPS access. Choose this for
new sites, or if you're confident your site works on HTTPS. You can undo this
change by editing your web server's configuration.
- - - - - - - - - - - - - - - - - - - - - - - - - - - - - - - - - - - - - - - -
Select the appropriate number [1-2] then [enter] (press 'c' to cancel): 2
タイプ2を入力し、Enterキーを押して、ドメインにLet'sEncryptSSLをインストールします。
Redirecting all traffic on port 80 to ssl in /etc/nginx/sites-enabled/metabase.conf

- - - - - - - - - - - - - - - - - - - - - - - - - - - - - - - - - - - - - - - -
Congratulations! You have successfully enabled https://metabase.linuxbuz.com

You should test your configuration at:
https://www.ssllabs.com/ssltest/analyze.html?d=metabase.linuxbuz.com
- - - - - - - - - - - - - - - - - - - - - - - - - - - - - - - - - - - - - - - -

IMPORTANT NOTES:
 - Congratulations! Your certificate and chain have been saved at:
   /etc/letsencrypt/live/metabase.linuxbuz.com/fullchain.pem
   Your key file has been saved at:
   /etc/letsencrypt/live/metabase.linuxbuz.com/privkey.pem
   Your cert will expire on 2020-10-30. To obtain a new or tweaked
   version of this certificate in the future, simply run certbot again
   with the "certonly" option. To non-interactively renew *all* of
   your certificates, run "certbot renew"
 - Your account credentials have been saved in your Certbot
   configuration directory at /etc/letsencrypt. You should make a
   secure backup of this folder now. This configuration directory will
   also contain certificates and private keys obtained by Certbot so
   making regular backups of this folder is ideal.
 - If you like Certbot, please consider supporting our work by:

   Donating to ISRG / Let's Encrypt:   https://letsencrypt.org/donate
   Donating to EFF:                    https://eff.org/donate-le

 - We were unable to subscribe you the EFF mailing list because your
   e-mail address appears to be invalid. You can try again later by
   visiting https://act.eff.org.
これで、MetabaseWebサイトはLet'sEncryptSSLで保護されます。
次に、Webブラウザーを開き、URLhttps://metabase.linuxbuz.comを入力します。以下に示すように、メタベースのウェルカム画面にリダイレクトされます。
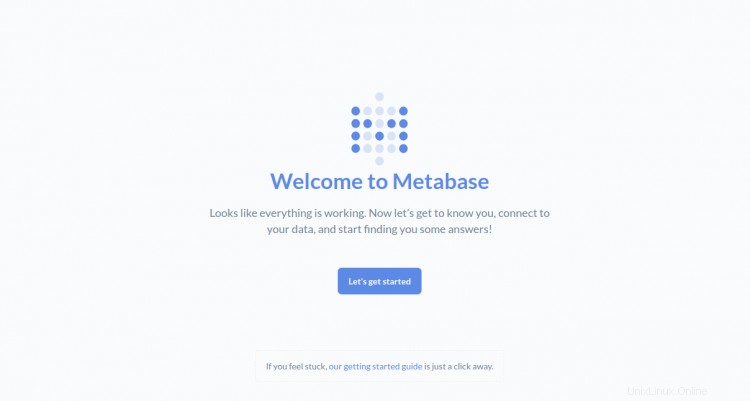
次に、始めましょうをクリックします ボタン。次の画面が表示されます。

希望の言語を選択し、次へをクリックします ボタン。次の画面が表示されます。
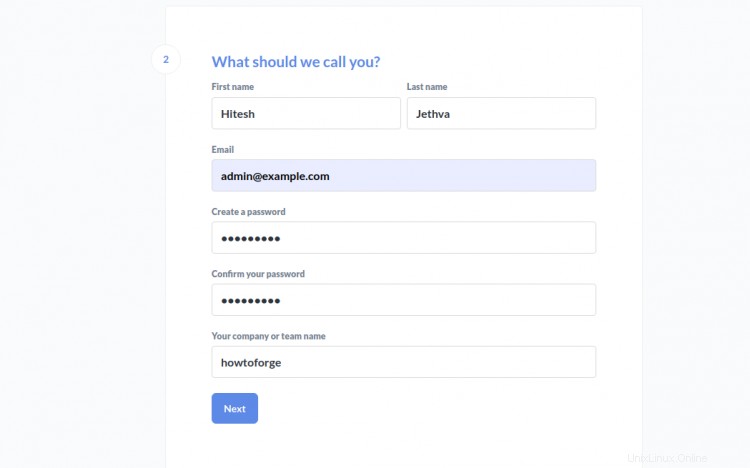
名前、メールアドレス、パスワードを入力して、次へをクリックします ボタン。 Metabaseデータベースの構成画面が表示されます。
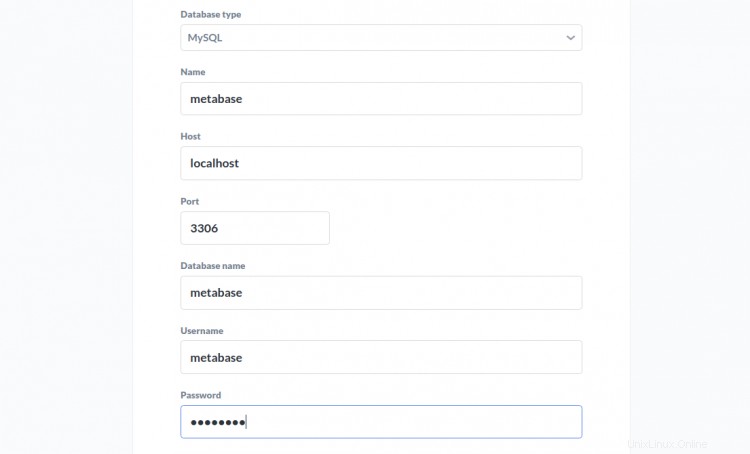
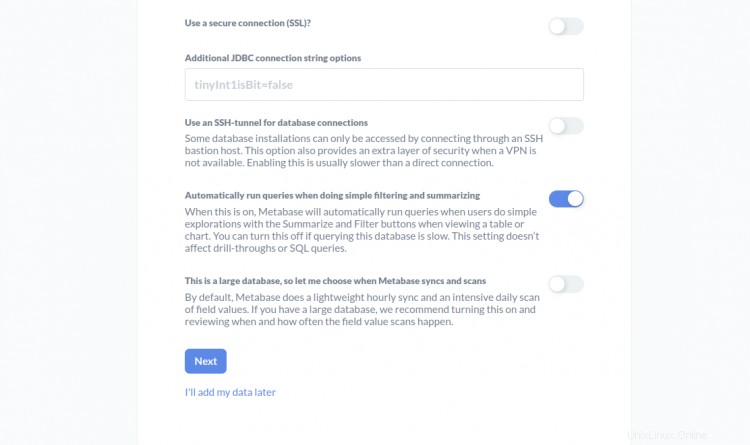
データベース情報を入力し、次へをクリックします ボタン。メタベースの使用状況データの設定画面が表示されます:
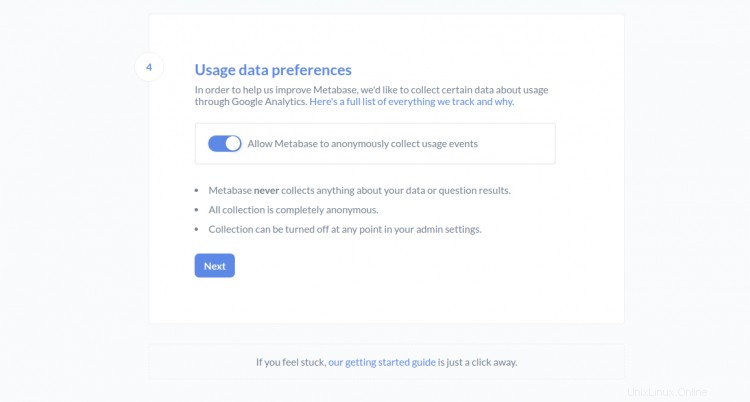
目的のオプションを有効にして、次へをクリックします ボタン。次の画面が表示されます。
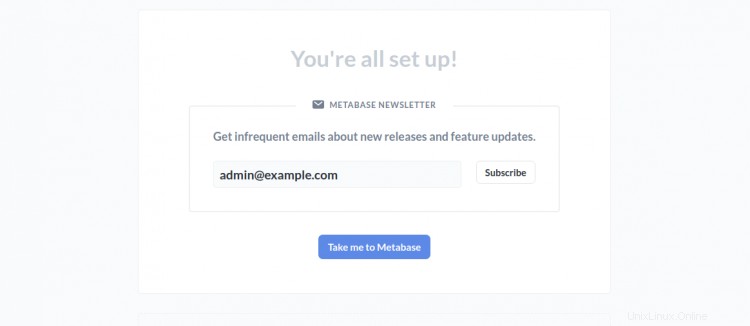
メールアドレスを入力して、メタベースに連れて行ってくださいをクリックします 。次の画面にメタベースダッシュボードが表示されます。

おめでとう!これで、Ubuntu20.04サーバーにNginxとLet'sEncryptSSLを使用してMetabaseが正常にインストールされました。これで、メタベースで新機能を調べることができます。ご不明な点がございましたら、お気軽にお問い合わせください。