GitBucketは、Scalaを利用したオープンソースのGitWebプラットフォームです。 HTTPおよびSSHを介したGitリポジトリホスティング、課題、Wiki、リポジトリビューア、プルリクエストなどのGithubのようなユーザーインターフェイス機能を提供します。豊富な機能セットが付属しています。それらのいくつかを以下に示します:
- 直感的なUI
- GitLFSのサポート
- パブリックおよびプライベートGitリポジトリをサポートする
- アクティビティのタイムラインとメール通知
- GitHubとのAPIの互換性
- アカウントとグループの管理
このチュートリアルでは、Ubuntu20.04にNginxを使用してGitBucketをインストールする方法を説明します。
- 2GBのRAMを搭載したUbuntu20.04を実行しているサーバー。
- サーバーで指定された有効なドメイン名。
- ルートパスワードはサーバーで構成されています。
Javaのインストール
GitBucketはJavaに基づいているため、システムにインストールする必要があります。次のコマンドでインストールできます:
apt-get install default-jdk -y
インストールしたら、次のコマンドを使用してJavaのバージョンを確認します。
java -version
次の出力が得られるはずです:
openjdk version "11.0.7" 2020-04-14
OpenJDK Runtime Environment (build 11.0.7+10-post-Ubuntu-3ubuntu1)
OpenJDK 64-Bit Server VM (build 11.0.7+10-post-Ubuntu-3ubuntu1, mixed mode, sharing)
完了したら、次のステップに進むことができます。
GitBucketのインストールと構成
開始する前に、GitBucketを実行するための個別のユーザーとグループを作成することをお勧めします。次のコマンドを使用して、gitbucketという名前の新しいグループとユーザーを作成できます。
groupadd -g 555 gitbucket
useradd -g gitbucket --no-user-group --home-dir /opt/gitbucket --no-create-home --shell /usr/sbin/nologin --system --uid 555 gitbucket
次に、次のコマンドを使用してGitBucketの新しいディレクトリを作成します。
mkdir /opt/gitbucket
次に、GitBucketディレクトリ内のGitBucketの最新バージョンをダウンロードします。
cd /opt/gitbucket
wget https://github.com/gitbucket/gitbucket/releases/download/4.33.0/gitbucket.war
次に、GitBucketディレクトリの所有権を変更します:
chown -R gitbucket:gitbucket /opt/gitbucket
GitBucketにはH2データベースが組み込まれています。次のコマンドを使用して、新しいデータベース構成ファイルを作成できます。
nano /opt/gitbucket/database.conf
次の行を追加します:
db {
  url = "jdbc:h2:${DatabaseHome};MVCC=true"
  user = "sa"
  password = "sa"
}
終了したら、ファイルを保存して閉じます。
GitBucketのSystemdサービスファイルを作成
次に、GitBucketサービスを管理するためのsystemdサービスファイルを作成する必要があります。次のコマンドを使用して作成できます:
nano /etc/systemd/system/gitbucket.service
次の行を追加します:
# GitBucket Service
[Unit]
Description=Manage Java service

[Service]
WorkingDirectory=/opt/gitbucket
ExecStart=/usr/bin/java -Xms128m -Xmx256m -jar gitbucket.war
User=gitbucket
Group=gitbucket
Type=simple
Restart=on-failure
RestartSec=10

[Install]
WantedBy=multi-user.target
終了したら、ファイルを保存して閉じます。次に、次のコマンドを使用してsystemdデーモンをリロードします。
systemctl daemon-reload
次に、GitBucketサービスを開始し、次のコマンドを使用してシステムの再起動後に開始できるようにします。
systemctl start gitbucket
systemctl enable gitbucket
次に、次のコマンドを使用してGitBucketサービスのステータスを確認します。
systemctl status gitbucket
次の出力が得られるはずです:
? gitbucket.service - Manage Java service
     Loaded: loaded (/etc/systemd/system/gitbucket.service; enabled; vendor preset: enabled)
     Active: active (running) since Thu 2020-05-14 02:27:13 UTC; 10s ago
   Main PID: 93029 (java)
      Tasks: 36 (limit: 2282)
     Memory: 324.9M
     CGroup: /system.slice/gitbucket.service
             ??93029 /usr/bin/java -Xms128m -Xmx256m -jar gitbucket.war

May 14 02:27:19 ubuntu2004 java[93029]: 2020-05-14 02:27:19.868:INFO:oejs.session:main: DefaultSessionIdManager workerName=node0
May 14 02:27:19 ubuntu2004 java[93029]: 2020-05-14 02:27:19.868:INFO:oejs.session:main: No SessionScavenger set, using defaults
May 14 02:27:19 ubuntu2004 java[93029]: 2020-05-14 02:27:19.875:INFO:oejs.session:main: node0 Scavenging every 600000ms
May 14 02:27:20 ubuntu2004 java[93029]: 02:27:20.261 [main] INFO  com.zaxxer.hikari.HikariDataSource - HikariPool-1 - Starting...
May 14 02:27:20 ubuntu2004 java[93029]: 02:27:20.691 [main] INFO  com.zaxxer.hikari.HikariDataSource - HikariPool-1 - Start completed.
May 14 02:27:20 ubuntu2004 java[93029]: 02:27:20.697 [main] WARN  slick.util.AsyncExecutor - Having maxConnection > maxThreads can result in d>
May 14 02:27:20 ubuntu2004 java[93029]: 02:27:20.721 [main] INFO  g.core.servlet.InitializeListener - Check version
May 14 02:27:20 ubuntu2004 java[93029]: 02:27:20.721 [main] INFO  g.core.servlet.InitializeListener - Start schema update
May 14 02:27:22 ubuntu2004 java[93029]: 02:27:22.156 [main] INFO  l.servicelocator.ServiceLocator - Can not use class liquibase.parser.core.ya>
May 14 02:27:22 ubuntu2004 java[93029]: 02:27:22.161 [main] INFO  l.servicelocator.ServiceLocator - Can not use class liquibase.parser.core.js>
この時点で、GitBucketはポート8080で実行され、リッスンしています。
Nginxをリバースプロキシとして構成する
デフォルトでは、GitBucketはポート8080で実行されています。したがって、NginxをGitBucketのリバースプロキシとして構成することをお勧めします。
まず、次のコマンドを使用してNginxWebサーバーをインストールします。
apt-get install nginx -y
次に、GitBucket用のNginx仮想ホスト構成ファイルを作成します。
nano /etc/nginx/sites-available/gitbucket
次の行を追加します:
upstream gitbucket {
  server 127.0.0.1:8080 weight=100 max_fails=5 fail_timeout=5;
}

server {
  listen          80;
  server_name     gitbucket.linuxbuz.com;

  location / {
        proxy_set_header X-Forwarded-Host $host;
        proxy_set_header X-Forwarded-Server $host;
        proxy_set_header X-Forwarded-For $proxy_add_x_forwarded_for;
        proxy_pass http://gitbucket/;
  }
}
ファイルを保存して閉じます。次に、サイト対応ディレクトリへのシンボリックリンクを作成します。
ln -s /etc/nginx/sites-available/gitbucket /etc/nginx/sites-enabled/
次に、次のコマンドを使用して、構文エラーがないかNginxを確認します。
nginx -t
次の出力が得られるはずです:
nginx: the configuration file /etc/nginx/nginx.conf syntax is ok
nginx: configuration file /etc/nginx/nginx.conf test is successful
最後に、Nginxサービスを再起動して、変更を実装します。
systemctl restart nginx
Let'sEncryptを使用した安全なGitBucket
次に、Certbotクライアントをインストールして、Let'sEncryptSSLでGitBucketを保護する必要があります。
まず、次のコマンドを使用してCertbotリポジトリを追加します。
add-apt-repository ppa:ahasenack/certbot-tlssni01-1875471
次に、リポジトリを更新し、次のコマンドを使用してCertbotクライアントをインストールします。
apt-get update -y
apt-get install certbot python3-certbot-nginx -y
次に、次のコマンドを実行して、Webサイト用のLet'sEncryptSSLをダウンロードしてインストールします。
certbot --nginx -d gitbucket.linuxbuz.com
メールアドレスを入力し、利用規約に同意するよう求められます:
Saving debug log to /var/log/letsencrypt/letsencrypt.log
Plugins selected: Authenticator nginx, Installer nginx
Enter email address (used for urgent renewal and security notices) (Enter 'c' to
cancel): [email protected]

- - - - - - - - - - - - - - - - - - - - - - - - - - - - - - - - - - - - - - - -
Please read the Terms of Service at
https://letsencrypt.org/documents/LE-SA-v1.2-November-15-2017.pdf. You must
agree in order to register with the ACME server at
https://acme-v02.api.letsencrypt.org/directory
- - - - - - - - - - - - - - - - - - - - - - - - - - - - - - - - - - - - - - - -
(A)gree/(C)ancel: A

- - - - - - - - - - - - - - - - - - - - - - - - - - - - - - - - - - - - - - - -
Would you be willing to share your email address with the Electronic Frontier
Foundation, a founding partner of the Let's Encrypt project and the non-profit
organization that develops Certbot? We'd like to send you email about our work
encrypting the web, EFF news, campaigns, and ways to support digital freedom.
- - - - - - - - - - - - - - - - - - - - - - - - - - - - - - - - - - - - - - - -
(Y)es/(N)o: Y
Obtaining a new certificate
Performing the following challenges:
http-01 challenge for gitbucket.linuxbuz.com
Waiting for verification...
Cleaning up challenges
Deploying Certificate to VirtualHost /etc/nginx/sites-enabled/gitbucket
次に、HTTPトラフィックをHTTPSにリダイレクトするかどうかを選択します。
Please choose whether or not to redirect HTTP traffic to HTTPS, removing HTTP access.
- - - - - - - - - - - - - - - - - - - - - - - - - - - - - - - - - - - - - - - -
1: No redirect - Make no further changes to the webserver configuration.
2: Redirect - Make all requests redirect to secure HTTPS access. Choose this for
new sites, or if you're confident your site works on HTTPS. You can undo this
change by editing your web server's configuration.
- - - - - - - - - - - - - - - - - - - - - - - - - - - - - - - - - - - - - - - -
Select the appropriate number [1-2] then [enter] (press 'c' to cancel): 2
2と入力します Enterを押します インストールを完了します。
Redirecting all traffic on port 80 to ssl in /etc/nginx/sites-enabled/gitbucket

- - - - - - - - - - - - - - - - - - - - - - - - - - - - - - - - - - - - - - - -
Congratulations! You have successfully enabled https://gitbucket.linuxbuz.com

You should test your configuration at:
https://www.ssllabs.com/ssltest/analyze.html?d=gitbucket.linuxbuz.com
- - - - - - - - - - - - - - - - - - - - - - - - - - - - - - - - - - - - - - - -

IMPORTANT NOTES:
 - Congratulations! Your certificate and chain have been saved at:
   /etc/letsencrypt/live/gitbucket.linuxbuz.com/fullchain.pem
   Your key file has been saved at:
   /etc/letsencrypt/live/gitbucket.linuxbuz.com/privkey.pem
   Your cert will expire on 2020-08-12. To obtain a new or tweaked
   version of this certificate in the future, simply run certbot again
   with the "certonly" option. To non-interactively renew *all* of
   your certificates, run "certbot renew"
 - If you like Certbot, please consider supporting our work by:

   Donating to ISRG / Let's Encrypt:   https://letsencrypt.org/donate
   Donating to EFF:                    https://eff.org/donate-le
終了したら、次のステップに進むことができます。
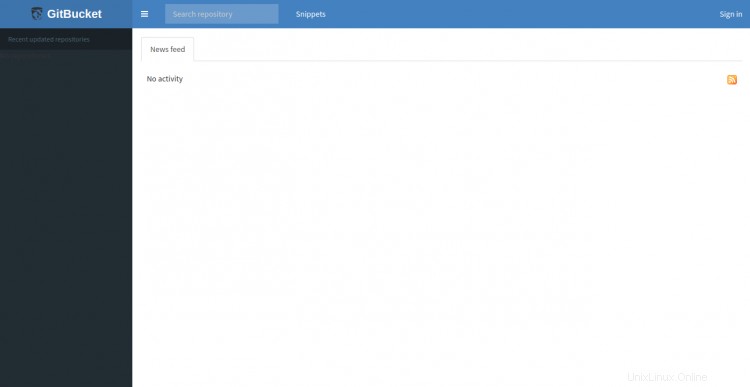
次に、Webブラウザーを開き、URLhttps://gitbucket.linuxbuz.comを入力します。次のページにリダイレクトされます:
署名をクリックします で ボタン。 GitBucketのログインページが表示されます:
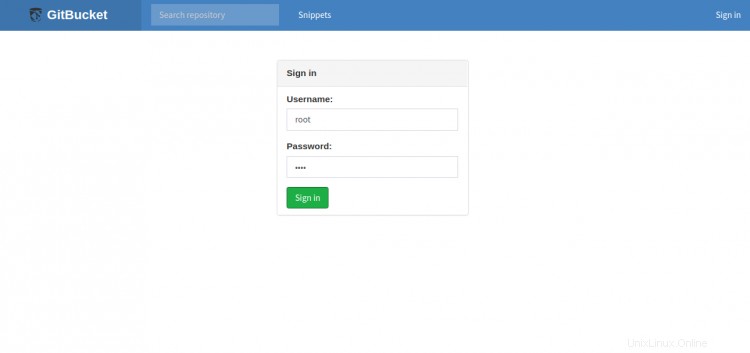
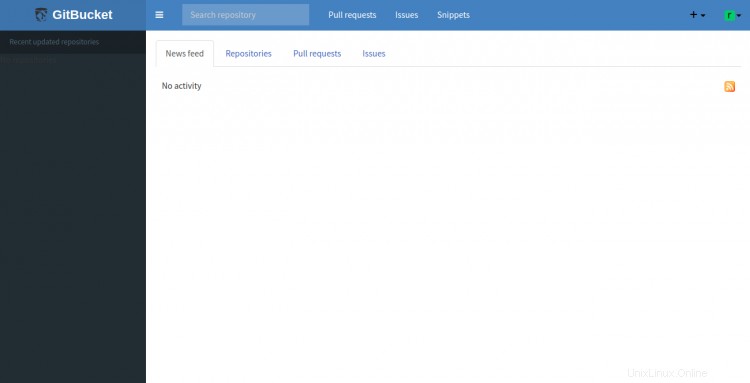
GitBucketのデフォルトのユーザー名をrootとして、パスワードをrootとして指定し、署名をクリックします。 で ボタン。次のページにGitBucketダッシュボードが表示されます。
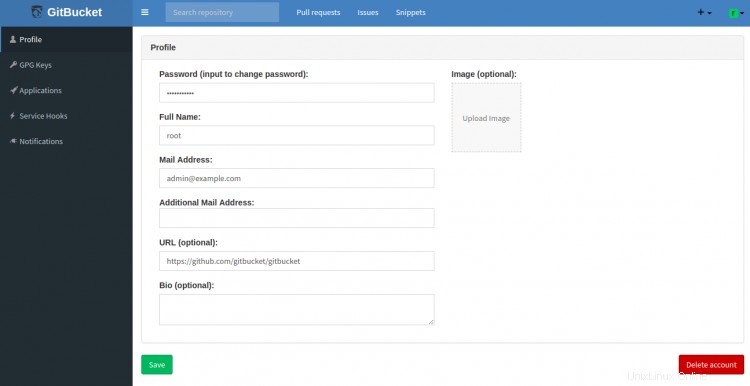
次に、アカウントをクリックします 設定 右上隅にあるデフォルトのrootパスワードを変更するには:
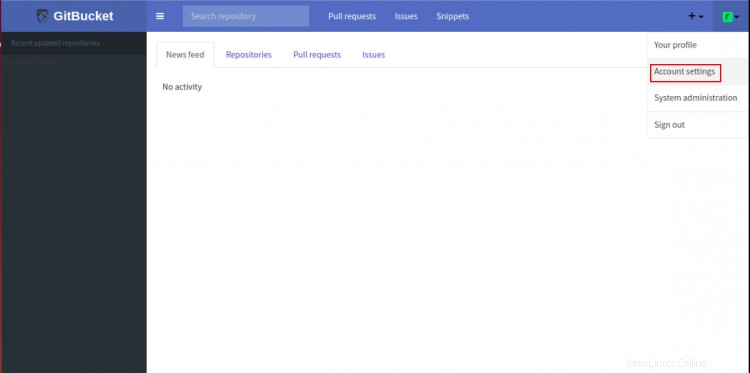
新しい安全なパスワードを入力し、保存をクリックします ルートパスワードを更新するボタン。
おめでとう!これで、Ubuntu20.04にリバースプロキシとしてNginxを使用してGitBucketを正常にインストールして保護できました。これで、GitBucketを使用して独自のGitリポジトリをホストできます。