New Relicは、サーバーのパフォーマンスをリアルタイムで監視する最も人気のあるWebベースの監視アプリケーションの1つです。これは、CPU、RAM、ディスク使用量、特定のユーザー定義イベントなどのリソースとネットワークの監視のためにWebホスティング会社によって使用されます。
New Relicでアカウントを作成し、インストールコードを取得し、コードを実行するだけです。サーバー内で、NewRelicが残りの作業を行います。
この投稿では、CentOS8にNewRelicをインストールして、サーバーの監視を開始する方法を紹介します。
前提条件
- Atlantic.Netクラウドプラットフォーム上の新しいCentOS8サーバー
- サーバーで構成されているrootパスワード
ステップ1-Atlantic.Netクラウドサーバーを作成する
まず、Atlantic.Netクラウドサーバーにログインします。 2GB以上のRAMを搭載したオペレーティングシステムとしてCentoS8を選択して、新しいサーバーを作成します。 SSH経由でクラウドサーバーに接続し、ページの上部で強調表示されているクレデンシャルを使用してログインします。
CentOS 8サーバーにログインしたら、次のコマンドを実行して、ベースシステムを最新の利用可能なパッケージで更新します。
dnf update -y
ステップ2–NewRelicでアカウントを作成する
まず、以下に示すように、NewRelicにアカウントを作成する必要があります。
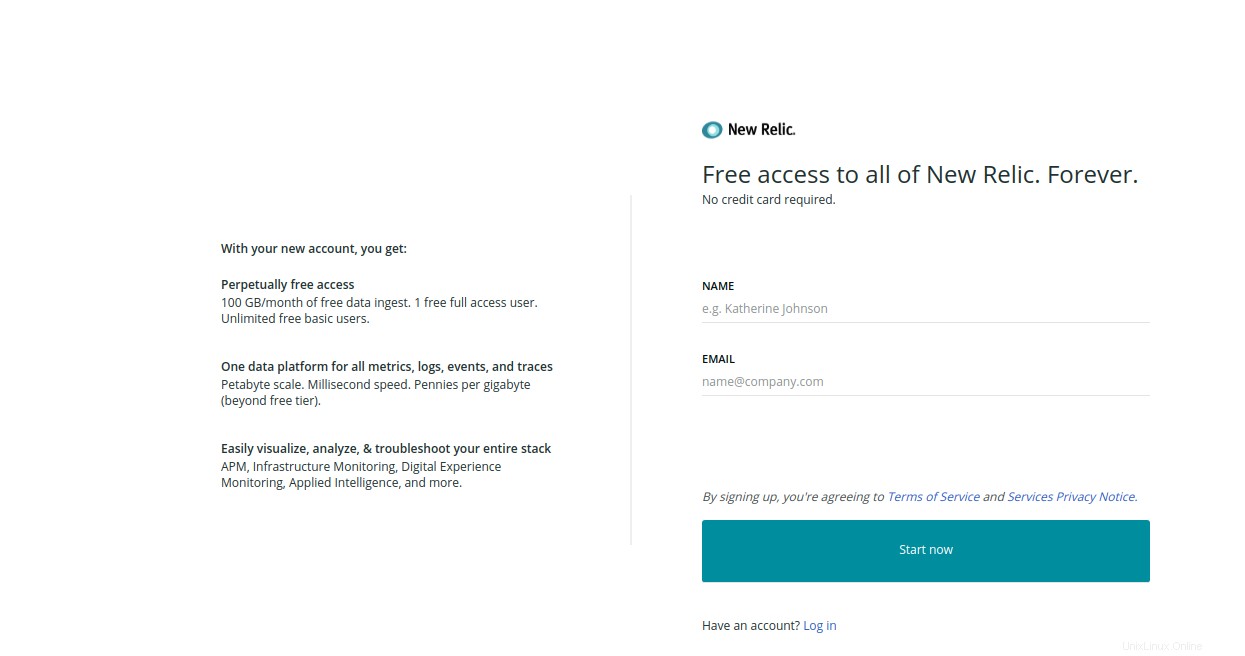
サインアップ後、NewRelicにログインします。次のページが表示されます:
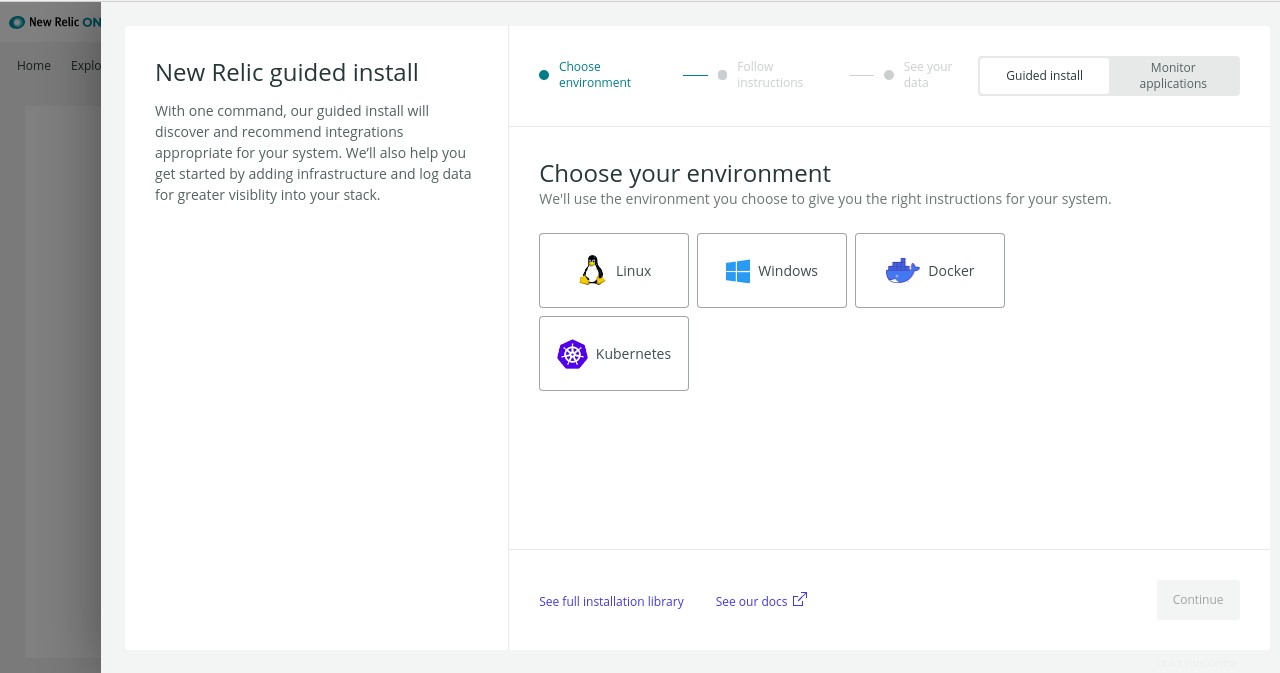
オペレーティングシステムを選択し、続行をクリックします ボタン。以下に示すようなインストールコードを取得する必要があります:
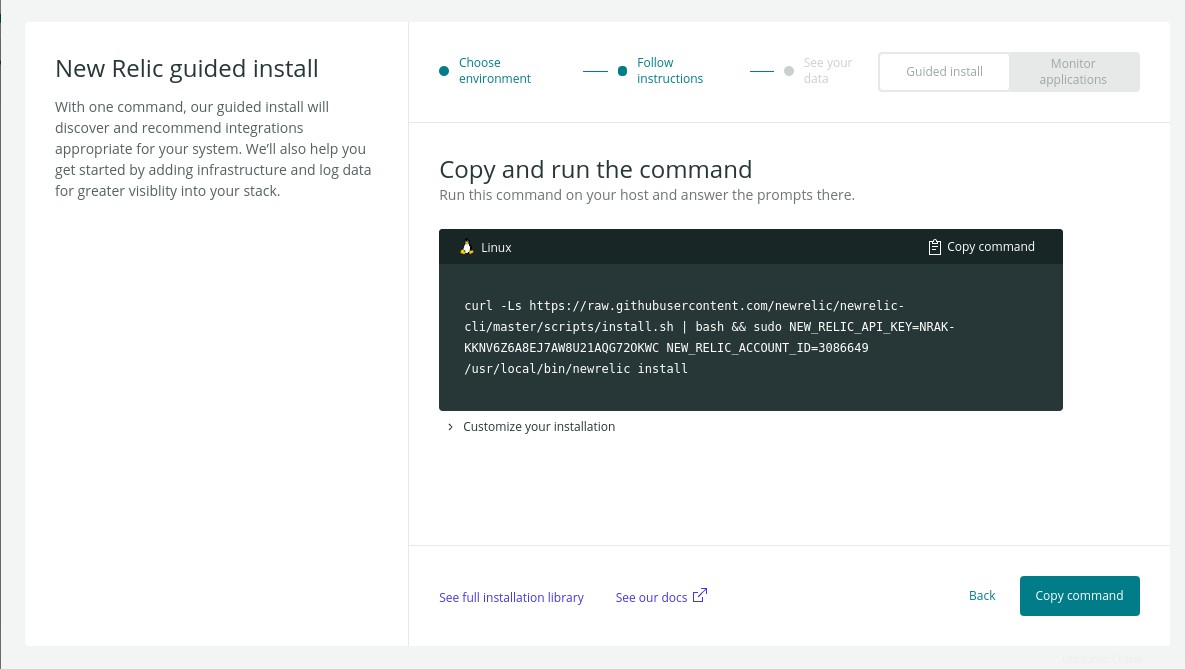
上記のコードをコピーして、次の手順に進みます。
ステップ3–NewRelicをインストールする
次に、CentOS 8サーバーにログインし、以下に示すようにコードを実行します。
curl -Ls https://raw.githubusercontent.com/newrelic/newrelic-cli/master/scripts/install.sh | bash && NEW_RELIC_API_KEY=NRAK-KKNV6Z6A8EJ7AW8U21AQG72OKWC NEW_RELIC_ACCOUNT_ID=3086649 /usr/local/bin/newrelic install
インストールが完了すると、次の出力が表示されます。
Starting installation.
Installing New Relic CLI v0.19.0
Installing to /usr/local/bin
WARNING unknown region, using default: US
INFO profile default added
INFO setting default as default profile

   _   _                 ____      _ _
  | \ | | _____      __ |  _ \ ___| (_) ___
  |  \| |/ _ \ \ /\ / / | |_) / _ | | |/ __|
  | |\  |  __/\ V  V /  |  _ |  __| | | (__
  |_| \_|\___| \_/\_/   |_| \_\___|_|_|\___|

  Welcome to New Relic. Let's install some instrumentation.

  Questions? Read more about our installation process at
  https://docs.newrelic.com/


The guided installation will begin by installing the New Relic Infrastructure agent, which is
required for additional instrumentation.

? Please choose from the additional recommended instrumentation to be installed: Logs integration

The following will be installed:
  Infrastructure Agent
  Logs integration

==> Installing infrastructure-agent-installer...
Importing GPG key 0x8ECCE87C:
 Userid     : "infrastructure-eng <example@unixlinux.online>"
 Fingerprint: A758 B3FB CD43 BE8D 123A 3476 BB29 EE03 8ECC E87C
 From       : https://download.newrelic.com/infrastructure_agent/gpg/newrelic-infra.gpg

==> Installing logs-integration...success.

  ---
  Instrumentation recommendations
  We discovered some additional instrumentation opportunities:
  - Node Agent Installer
  - Python Agent Installer
Please refer to the "Detected observability gaps" section in the link to your data.
  ---
  New Relic installation complete!
  Your data is available at https://one.newrelic.com/redirect/entity/MzA4NjY0OXxJTkZSQXxOQXw4ODA3MjE5MDg0OTUzODQ4NTMz
上記の出力に示されているように、NewRelicURLを覚えておいてください。 NewRelicWebインターフェースにアクセスするために必要になります。
ステップ4– NewRelicWebインターフェイスにアクセスする
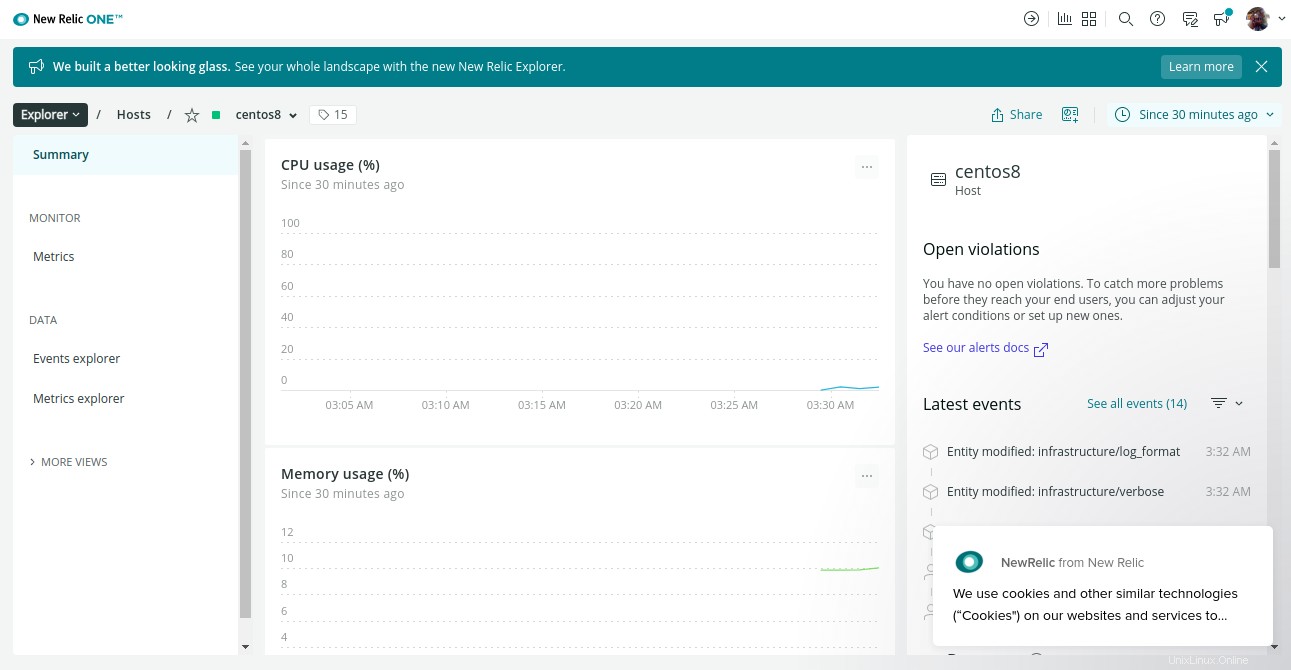
次に、Webブラウザーを開き、URLhttps://one.newrelic.com/redirect/entity/MzA4NjY0OXxJTkZSQXxOQXw4ODA3MjE5MDg0OTUzODQ4NTMzを使用してNewRelicWebインターフェースにアクセスします。
次のページにNewRelicダッシュボードが表示されます:
結論
おめでとう!これで、CentOS8にNewRelicが正常にインストールされました。これで、中央の場所から仮想サーバーを監視できます。