LEMPは、Linux、Nginx、MariaDB、PHPの4つのコンポーネントで構成されるWebサービススタックのオープンソースモデルです。 LEMPスタックは、Webアプリケーションの開発とデプロイに使用されます。ほとんどのWebアプリケーションはLEMPスタックで実行されるため、システム管理者がSSLを使用してLEMPスタックを保護できることが非常に重要です。改善されたオーガニックWebトラフィックを探している新しいWebサイト開発者またはブロガーの場合、SEO(検索エンジン最適化)用のSSL対応Webサーバーが不可欠です。
Let’s Encryptは、無料のSSL証明書を提供する無料のオープンソース認証局です。 Let’s Encryptは、HTTPSの普及を促進することで、より安全なWebを作成することを目的とした非営利の認証局です。
このチュートリアルでは、Ubuntu 18.04 VPSでLet’sEncryptの無料SSLを使用してLEMPサーバーを保護する方法を学習します。
前提条件
- Atlantic.netクラウド上の新しいUbuntu18.04サーバーVPS。
- VPSIPアドレスを指す有効なドメイン名。このチュートリアルでは、example.comを使用します。
ステップ1-Atlantic.Netクラウドサーバーを作成する
まず、Atlantic.Netクラウドサーバーにログインします。オペレーティングシステムとしてUbuntu18.04を選択し、少なくとも2GBのRAMを搭載した新しいサーバーを作成します。 SSH経由でクラウドサーバーに接続し、ページの上部で強調表示されているクレデンシャルを使用してログインします。
Ubuntu 18.04サーバーにログインしたら、次のコマンドを実行して、ベースシステムを最新の利用可能なパッケージで更新します。
apt-get update -y
ステップ2–サーバーにLEMPをインストールする
まず、次のコマンドを実行して、サーバーにLEMPをインストールします。
apt-get install nginx mariadb-server php php-common -y
すべてのパッケージがインストールされたら、次のコマンドを使用してNginx Webサービスを開始し、システムの再起動後に開始できるようにします。
systemctl start nginx
systemctl enable nginx
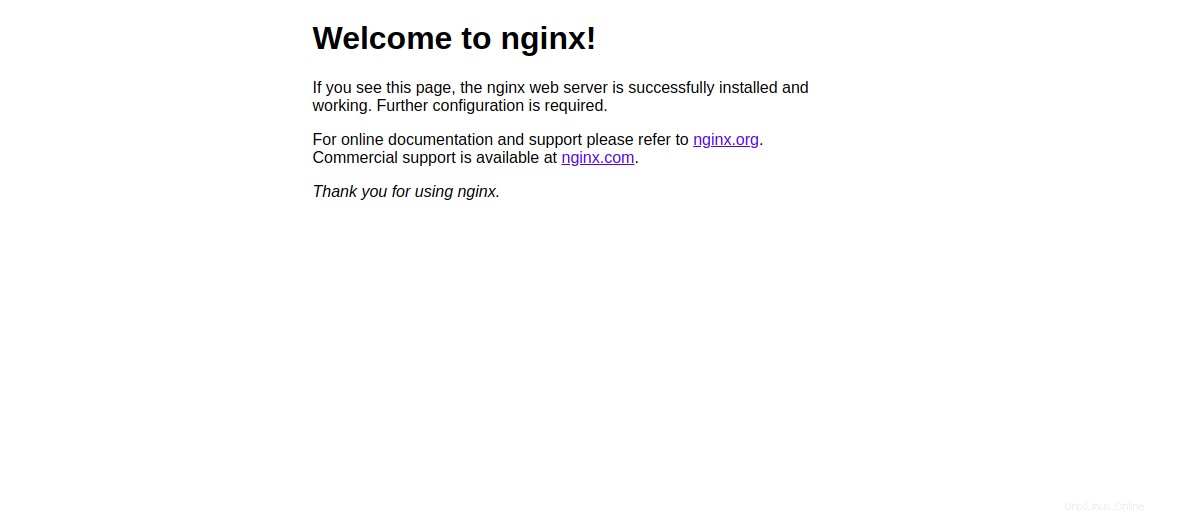
次に、Webブラウザーを開き、URLhttp://example.comを入力します。 Nginxのデフォルトページが表示されます:
ステップ3–ドメインのNginxサイトを作成する
次に、ドメインのNginx仮想ホストを作成する必要があります。 Let'sEncryptの無料SSLは後でこのサイトにインストールします。
次のコマンドで作成できます:
nano /etc/nginx/sites-available/example.com.conf
次の行を追加します:
server {
   listen 80;

   root /var/www/html;

   index index.html;

   server_name example.com;

   location / {
      try_files $uri $uri/ =404;
   }

}
ファイルを保存して閉じます。次に、次のコマンドを使用してNginx仮想ホストを有効にします。
ln -s /etc/nginx/sites-available/example.com.conf /etc/nginx/sites-enabled/
次に、次のコマンドを使用して、構文エラーがないかNginxを確認します。
nginx -t
すべてがうまくいけば、次の出力が表示されます。
nginx: the configuration file /etc/nginx/nginx.conf syntax is ok
nginx: configuration file /etc/nginx/nginx.conf test is successful
最後に、Nginxサービスを再起動して、構成の変更を適用します。
systemctl restart nginx
次に、ドメインのindex.htmlファイルを作成します。
nano /var/www/html/index.html
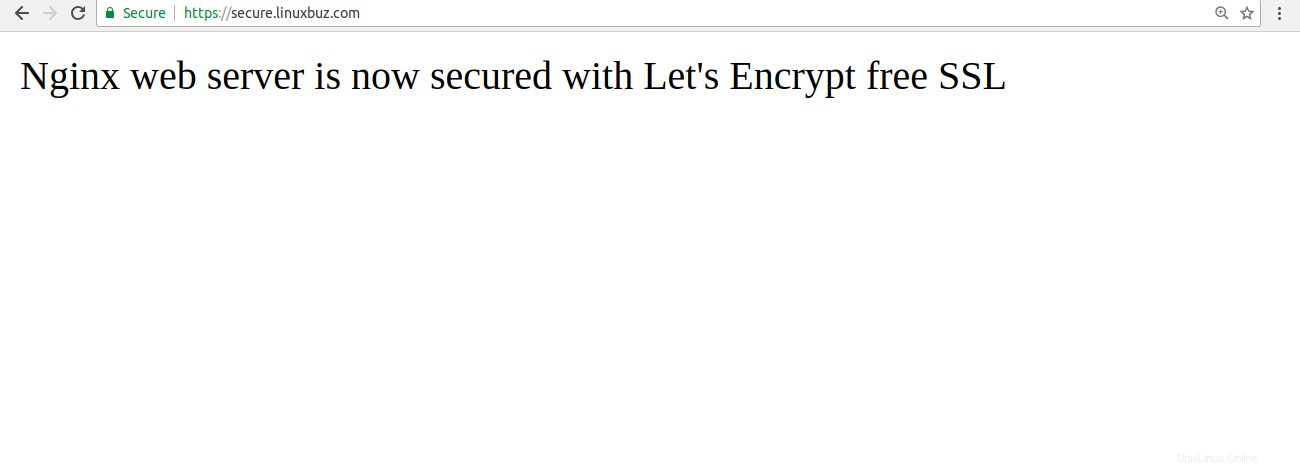
Add the following lines:

<html>
Nginx web server is now secured with Let's Encrypt free SSL
</html>
ファイルを保存して閉じます。次に、次のコマンドを使用して、ファイルの所有権をwww-dataに変更します。
chown www-data: /var/www/html/index.html
ステップ4–ドメインにLet’sEncryptをインストールする
これでNginxがインストールされ、実行されます。 Let'sEncryptの無料SSLで保護しましょう。
まず、Certbotツールをインストールして、Let’s Encryptから無料のSSL証明書を取得し、ドメインにインストールする必要があります。 Certbotは、ドメインでSSLを取得してインストールするプロセスを自動化する無料のフル機能ツールです。
次のコマンドを使用してリポジトリを追加できます:
add-apt-repository ppa:certbot/certbot
リポジトリが追加されたら、リポジトリを更新し、次のコマンドを使用してCertbotをインストールします。
apt-get update -y
apt-get install python-certbot-nginx -y
インストールしたら、次のコマンドを実行して、ドメインの証明書を取得してインストールします。
certbot --nginx -d example.com
インストール中に、以下に示すように、メールアドレスを提供し、利用規約に同意する必要があります。
Saving debug log to /var/log/letsencrypt/letsencrypt.log
Plugins selected: Authenticator nginx, Installer nginx
Enter email address (used for urgent renewal and security notices) (Enter 'c' to
cancel): example@unixlinux.online

- - - - - - - - - - - - - - - - - - - - - - - - - - - - - - - - - - - - - - - -
Please read the Terms of Service at
https://letsencrypt.org/documents/LE-SA-v1.2-November-15-2017.pdf. You must
agree in order to register with the ACME server at
https://acme-v02.api.letsencrypt.org/directory
- - - - - - - - - - - - - - - - - - - - - - - - - - - - - - - - - - - - - - - -
(A)gree/(C)ancel: A

- - - - - - - - - - - - - - - - - - - - - - - - - - - - - - - - - - - - - - - -
Would you be willing to share your email address with the Electronic Frontier
Foundation, a founding partner of the Let's Encrypt project and the non-profit
organization that develops Certbot? We'd like to send you email about our work
encrypting the web, EFF news, campaigns, and ways to support digital freedom.
- - - - - - - - - - - - - - - - - - - - - - - - - - - - - - - - - - - - - - - -
(Y)es/(N)o: N
Nと入力します Enterを押します 続ける。次の出力が表示されます。
Obtaining a new certificate
Performing the following challenges:
http-01 challenge for example.com
Waiting for verification...
Cleaning up challenges
Deploying Certificate to VirtualHost /etc/nginx/sites-enabled/example.com.conf

Please choose whether or not to redirect HTTP traffic to HTTPS, removing HTTP access.
- - - - - - - - - - - - - - - - - - - - - - - - - - - - - - - - - - - - - - - -
1: No redirect - Make no further changes to the webserver configuration.
2: Redirect - Make all requests redirect to secure HTTPS access. Choose this for
new sites, or if you're confident your site works on HTTPS. You can undo this
change by editing your web server's configuration.
- - - - - - - - - - - - - - - - - - - - - - - - - - - - - - - - - - - - - - - -
Select the appropriate number [1-2] then [enter] (press 'c' to cancel):
Here, you will need to select option 1 or 2. Option 1 only downloads the Let's Encrypt certificate and does not change your web server configuration file.
Option 2 will download the Let's Encrypt certificate and configure your webserver config file to redirect all requests to secure HTTPS access.

Please select option 2 and hit Enter. Once the installation has been completed successfully, you should see the following output:

Redirecting all traffic on port 80 to ssl in /etc/nginx/sites-enabled/example.com.conf

- - - - - - - - - - - - - - - - - - - - - - - - - - - - - - - - - - - - - - - -
Congratulations! You have successfully enabled https://example.com

You should test your configuration at:
https://www.ssllabs.com/ssltest/analyze.html?d=example.com
- - - - - - - - - - - - - - - - - - - - - - - - - - - - - - - - - - - - - - - -

IMPORTANT NOTES:
- Congratulations! Your certificate and chain have been saved at:
/etc/letsencrypt/live/example.com/fullchain.pem
Your key file has been saved at:
/etc/letsencrypt/live/example.com/privkey.pem
Your cert will expire on 2019-11-17. To obtain a new or tweaked
version of this certificate in the future, simply run certbot again
with the "certonly" option. To non-interactively renew *all* of
your certificates, run "certbot renew"
- Your account credentials have been saved in your Certbot
configuration directory at /etc/letsencrypt. You should make a
secure backup of this folder now. This configuration directory will
also contain certificates and private keys obtained by Certbot so
making regular backups of this folder is ideal.
- If you like Certbot, please consider supporting our work by:

Donating to ISRG / Let's Encrypt: https://letsencrypt.org/donate
Donating to EFF: https://eff.org/donate-le
次に、Webブラウザーを開き、URLhttps://example.comを入力します。サイトが保護されていることを示していることに気付くでしょう。
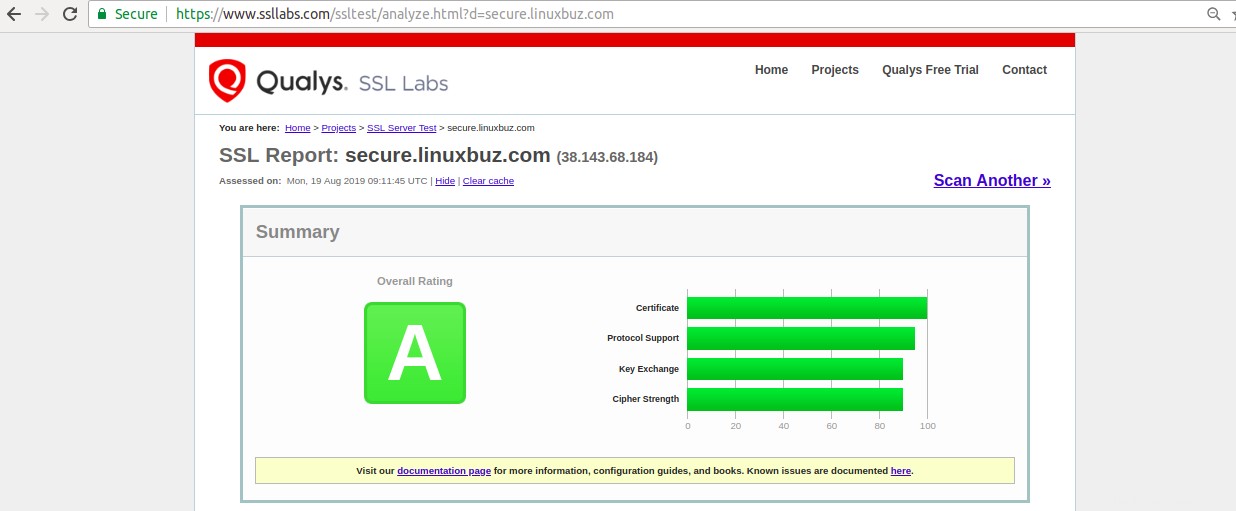
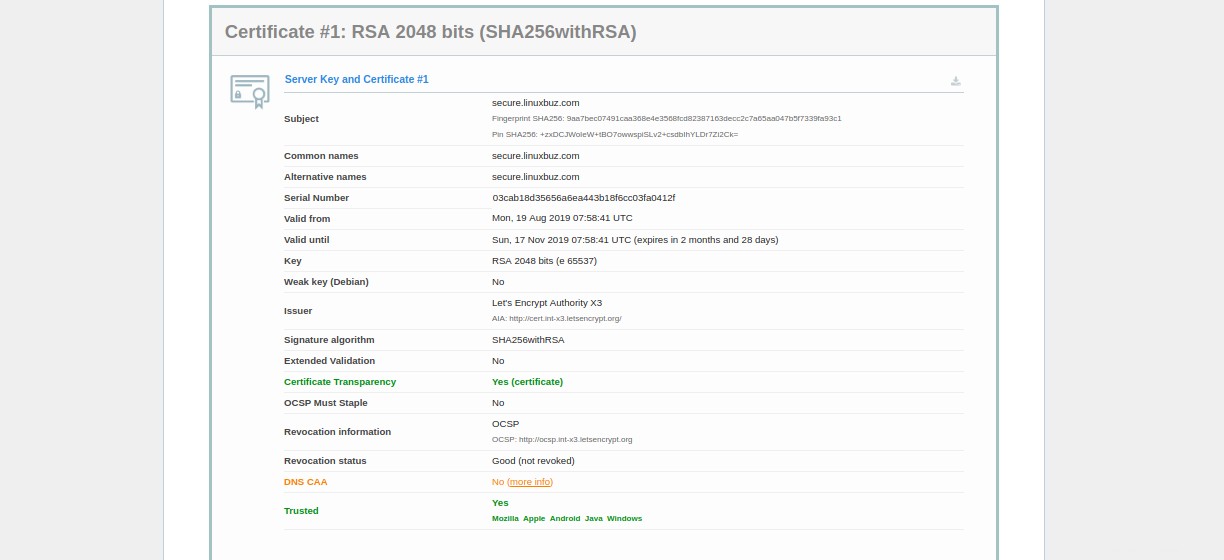
一方、SSL Labsサーバーテストを使用してサーバーをテストすることもできます:
ステップ5–Let'sEncryptのSSL証明書の自動更新を設定する
以下に示すようにcrontabファイルを編集することにより、自動更新を設定できます。
crontab -e
次の行を追加します:
12 8 * * * root /usr/bin/certbot renew >/dev/null 2>&1
終了したら、ファイルを保存して閉じます。
次のコマンドを使用して、SSL証明書を手動で更新することもできます。
certbot renew --dry-run
エラーが発生した場合、certbotはWebサイトの証明書を自動更新します。自動更新に失敗した場合は、指定したメールアドレスで通知されます。
結論
上記の記事では、Ubuntu 18.04でLet’s EncryptFreeSSLを使用してLEMPサーバーを保護する方法を学習しました。ウェブサイトをホストするための仮想プライベートサーバーを使い始める準備ができている場合は、Atlantic.NetのVPSホスティングページにアクセスして、最適なホスティングパッケージを見つけてください。