Kolabは、オペレーティングシステムのようなUnix用の無料のオープンソースグループウェアソフトウェアです。 Kolab Groupwareは、電子メールサーバー( SMTP )のソリューションを提供します )、カレンダー/イベント、名簿( LDAP )など。
Kolabには、WindowsのOutlook、LinuxのKDE(Kontact)、RoundCubeWebInterfaceなどのさまざまなクライアントからアクセスできます。
この記事では、 SMTP などのサービスを含む単一のサーバー(CentOS 7 / RHEL 7)にkolab16Groupwareをインストールします。 、 IMAP 、 LDAP 、 HTTP およびデータベースサーバー( MariaDB サーバー)。
以下は私のサーバーの詳細です
- ホスト名=kolab.linuxtechi.com
- IPアドレス=192.168.1.21
- OS =CentOS 7.x / RHEL 7.x
ステップ:1SELinuxを無効にしてホスト名を設定する
Kolabのドキュメントによると、KolabグループウェアコンポーネントはSELinuxと互換性がないため、以下のコマンドを使用して無効にします。
[[email protected] ~]# setenforce 0
[[email protected] ~]# getenforce
Permissive
[[email protected] ~]#
上記のコマンドはSELinuxを一時的に許容モードに設定するため、永続的に無効にするには、構成ファイル「 / etc / sysconfig / selinux」を編集します。 ‘パラメータ‘ SELINUX =enforcingを変更します ‘から‘ SELINUX=無効 ‘そしてサーバーを再起動します。
ホスト名を永続的に設定するには、 hostnamectlを使用します コマンド。
[[email protected] ~]# hostnamectl set-hostname "kollab.linuxtechi.com"
ローカルDNSサーバーがない場合は、ホストファイルを更新してください。
[[email protected] ~]# vi /etc/hosts
192.168.1.21 kolab.linuxtechi.com
ステップ:2ファイアウォールでKolab標準ポートを許可します。
以下のコマンドを使用して、OSファイアウォールでkolab標準ポートを許可します。
[[email protected] ~]# firewall-cmd --permanent --add-service=ssh
success
[[email protected] ~]# firewall-cmd --permanent --add-service=http
success
[[email protected] ~]# firewall-cmd --permanent --add-service=https
success
[[email protected] ~]# firewall-cmd --permanent --add-service=pop3s
success
[[email protected] ~]# firewall-cmd --permanent --add-service=imaps
success
[[email protected] ~]# firewall-cmd --permanent --add-service=smtp
success
[[email protected] ~]# firewall-cmd --permanent --add-service=ldap
success
[[email protected] ~]# firewall-cmd --permanent --add-service=ldaps
success
[[email protected]b ~]# firewall-cmd --permanent --add-port=110/tcp
success
[[email protected] ~]# firewall-cmd --permanent --add-port=143/tcp
success
[[email protected] ~]# firewall-cmd --permanent --add-port=587/tcp
success
[[email protected] ~]# firewall-cmd --reload
success
[[email protected] ~]#
ステップ:3EPELとKolabリポジトリを有効にする
以下のコマンドを使用して、epelおよびkolabリポジトリを有効にします。
[[email protected] ~]# rpm -Uhv https://dl.fedoraproject.org/pub/epel/epel-release-latest-7.noarch.rpm
[[email protected] ~]# cd /etc/yum.repos.d/
[[email protected] yum.repos.d]# wget http://obs.kolabsys.com/repositories/Kolab:/16/CentOS_7/Kolab:16.repo
以下のコマンドを使用して、パッケージの署名に使用されるキーをインポートします
[[email protected] ~]# rpm --import https://ssl.kolabsys.com/community.asc
[[email protected] ~]#
yum-plugin-prioritiesパッケージをインストールします
[[email protected] ~]# yum install yum-plugin-priorities
以下のコマンドを使用して、Kolabリポジトリの高優先度を設定します。
[[email protected] ~]# for f in /etc/yum.repos.d/Kolab*.repo; do echo "priority = 60" >> $f; done
[[email protected] ~]#
ステップ:4Kolabのインストールと構成
以下のyumコマンドを使用してkolabをインストールします
[[email protected] ~]# yum install kolab
次に、以下の「 setup-kolab 」を実行して、Kolabを構成します。 ‘コマンドを実行し、LDAPパスワード、ドメイン情報、データベースパスワードを指定します。
[[email protected] ~]# setup-kolab

Created symlink from /etc/systemd/system/multi-user.target.wants/guam.service to /usr/lib/systemd/system/guam.service.

Please supply a password for the LDAP administrator user 'admin', used to login
to the graphical console of 389 Directory server.

Administrator password [jzucZOpwwwGQ0KO]:
Confirm Administrator password:

Please supply a password for the LDAP Directory Manager user, which is the
administrator user you will be using to at least initially log in to the Web
Admin, and that Kolab uses to perform administrative tasks.

Directory Manager password [e58Z-DlULxLcEeF]:
Confirm Directory Manager password:

Please choose the system user and group the service should use to run under.
These should be existing, unprivileged, local system POSIX accounts with no
shell.

User [nobody]:
Group [nobody]:

This setup procedure plans to set up Kolab Groupware for the following domain
name space. This domain name is obtained from the reverse DNS entry on your
network interface. Please confirm this is the appropriate domain name space.

linuxtechi.com [Y/n]: Y

The standard root dn we composed for you follows. Please confirm this is the root
dn you wish to use.

dc=linuxtechi,dc=com [Y/n]: Y

Setup is now going to set up the 389 Directory Server. This may take a little
while (during which period there is no output and no progress indication).

Created symlink from /etc/systemd/system/multi-user.target.wants/dirsrv.target to /usr/lib/systemd/system/dirsrv.target.

Please supply a Cyrus Administrator password. This password is used by Kolab to
execute administrative tasks in Cyrus IMAP. You may also need the password
yourself to troubleshoot Cyrus IMAP and/or perform other administrative tasks
against Cyrus IMAP directly.

Cyrus Administrator password [0Oc4nmyeTpnjTW2]:
Confirm Cyrus Administrator password:

Please supply a Kolab Service account password. This account is used by various
services such as Postfix, and Roundcube, as anonymous binds to the LDAP server
will not be allowed.

Kolab Service password [sGU25rl-5Q7Ewic]:
Confirm Kolab Service password:
Job for [email protected] failed because start of the service was attempted too often. See "systemctl status [email protected]" and "journalctl -xe" for details.
To force a start use "systemctl reset-failed [email protected]" followed by "systemctl start [email protected]" again.
Created symlink from /etc/systemd/system/multi-user.target.wants/amavisd.service to /usr/lib/systemd/system/amavisd.service.
Created symlink from /etc/systemd/system/multi-user.target.wants/[email protected] to /etc/systemd/system/[email protected]
Created symlink from /etc/systemd/system/multi-user.target.wants/wallace.service to /usr/lib/systemd/system/wallace.service.
Created symlink from /etc/systemd/system/multi-user.target.wants/mariadb.service to /usr/lib/systemd/system/mariadb.service.
What MySQL server are we setting up?
 - 1: Existing MySQL server (with root password already set).
 - 2: New MySQL server (needs to be initialized).
Choice: 2

Please supply a root password for MySQL. This password will be the administrative
user for this MySQL server, and it should be kept a secret. After this setup
process has completed, Kolab is going to discard and forget about this password,
but you will need it for administrative tasks in MySQL.

MySQL root password [-nwxIMrNyT_0cRB]:
Confirm MySQL root password:

Please supply a password for the MySQL user 'kolab'. This password will be used
by Kolab services, such as the Web Administration Panel.

MySQL kolab password [yO2zsl5PEyTmbti]:
Confirm MySQL kolab password:

Please supply the timezone PHP should be using. You have to use a Continent or
Country / City locality name like 'Europe/Berlin', but not just 'CEST'.

Timezone ID [UTC]: Asia/Kolkata

Please supply a password for the MySQL user 'roundcube'. This password will be
used by the Roundcube webmail interface.

MySQL roundcube password [rUf1emw_km1TLMB]:
Confirm MySQL roundcube password:
Created symlink from /etc/systemd/system/multi-user.target.wants/httpd.service to /usr/lib/systemd/system/httpd.service.
Created symlink from /etc/systemd/system/multi-user.target.wants/kolab-saslauthd.service to /usr/lib/systemd/system/kolab-saslauthd.service.
Created symlink from /etc/systemd/system/multi-user.target.wants/cyrus-imapd.service to /usr/lib/systemd/system/cyrus-imapd.service.
Created symlink from /etc/systemd/system/multi-user.target.wants/kolabd.service to /usr/lib/systemd/system/kolabd.service.
Created symlink from /etc/systemd/system/multi-user.target.wants/mongod.service to /usr/lib/systemd/system/mongod.service.
Created symlink from /etc/systemd/system/multi-user.target.wants/manticore.service to /usr/lib/systemd/system/manticore.service.
[[email protected] ~]#
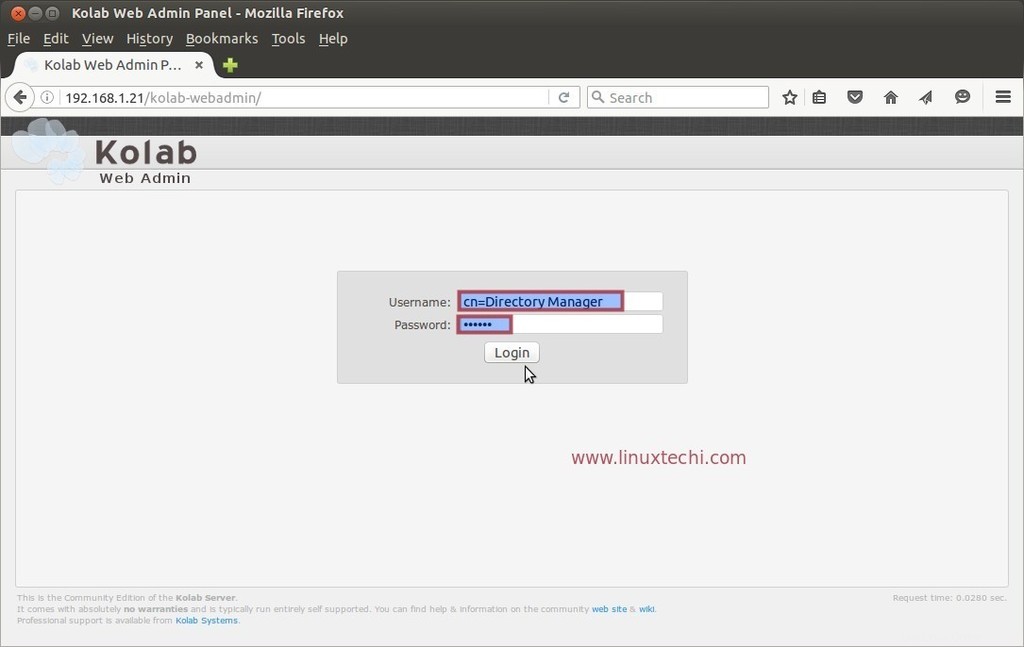
ステップ:5KolabWeb管理コンソールにアクセス
以下のURLを使用してkolabWeb管理コンソールにアクセスします:
http://192.168.1.21/kolab-webadmin/
または
http://
設定に従ってIPまたはホスト名を置き換えます。
ユーザー名を「cn=DirectoryManager」として使用します ‘と上記の手順で設定したパスワード。
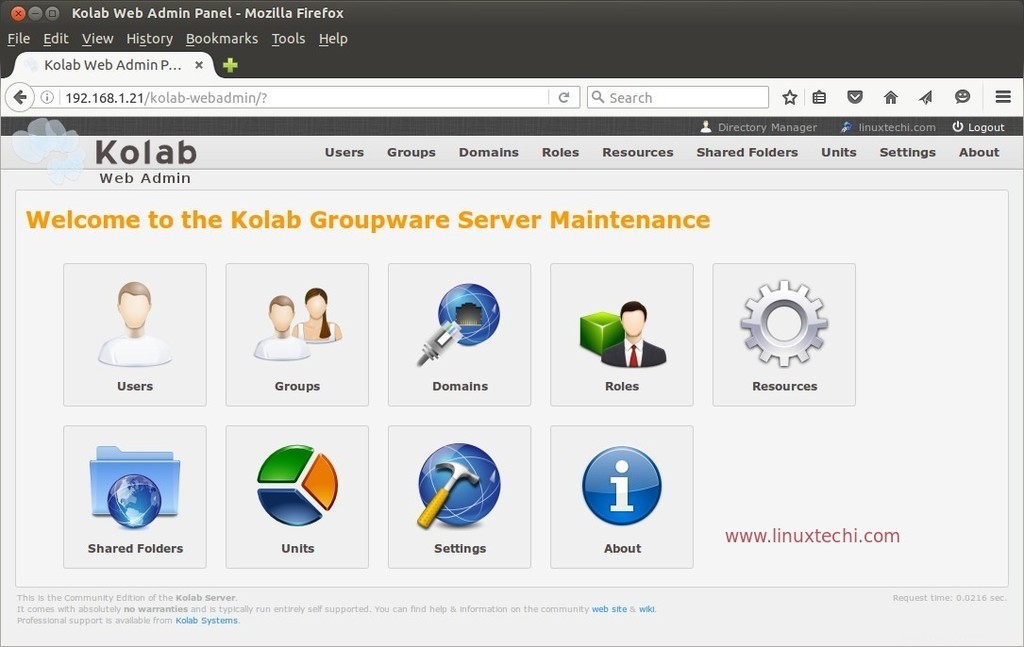
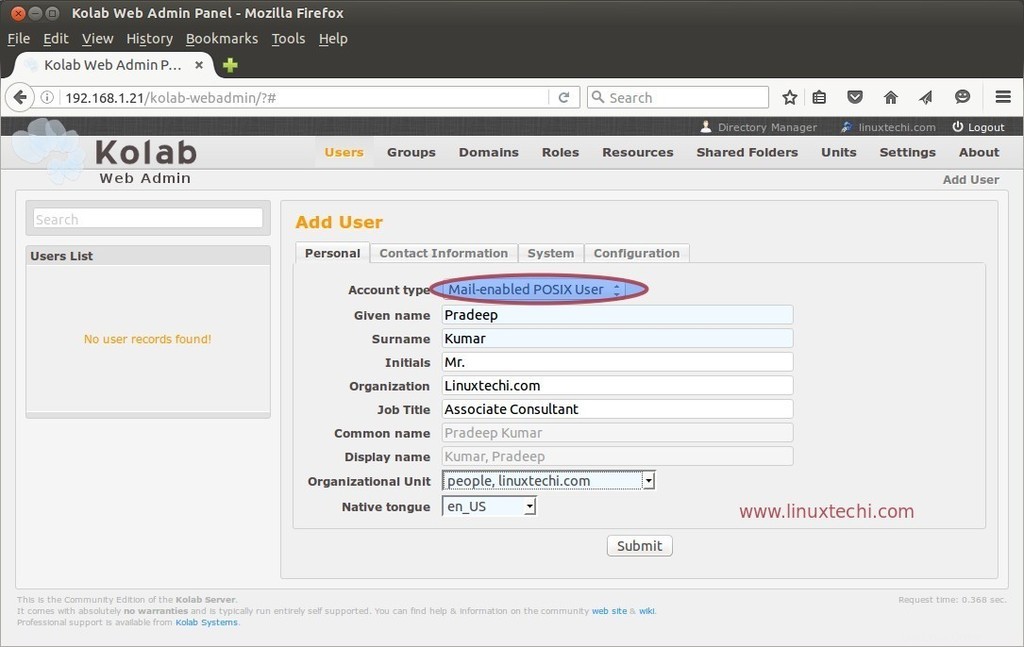
それでは、管理者パネルからメールユーザーを作成してみましょう。 Web管理パネルのユーザーアイコンをクリックします。
アカウントタイプを「メール対応のPOSIXユーザー」として指定します ‘
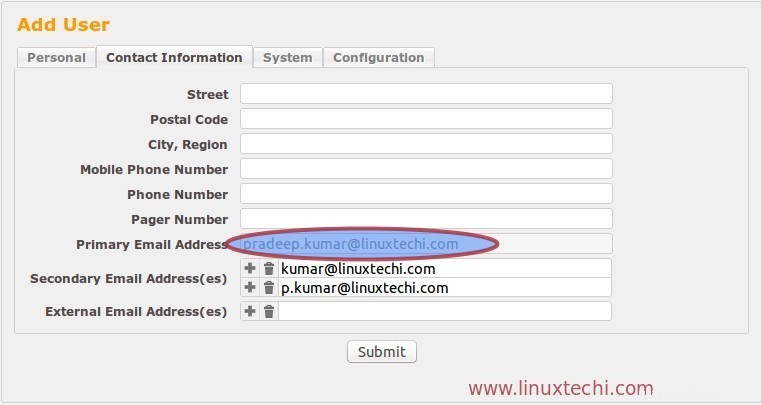
[連絡先]タブで、ユーザーのメールアドレスを確認します。
[システム]タブから、ユーザーのパスワードを取得できます。また、新しいパスワードを生成することもできます。
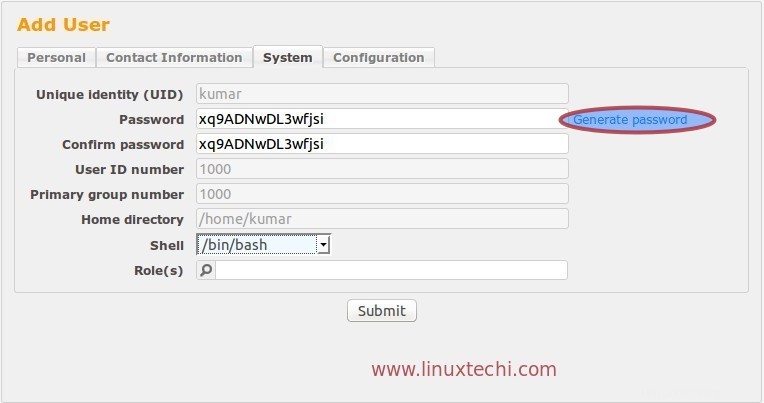
[構成]タブから、ユーザーの電子メールクォータを設定できます。すべての構成が完了したら、[送信]をクリックしてユーザーを作成します。
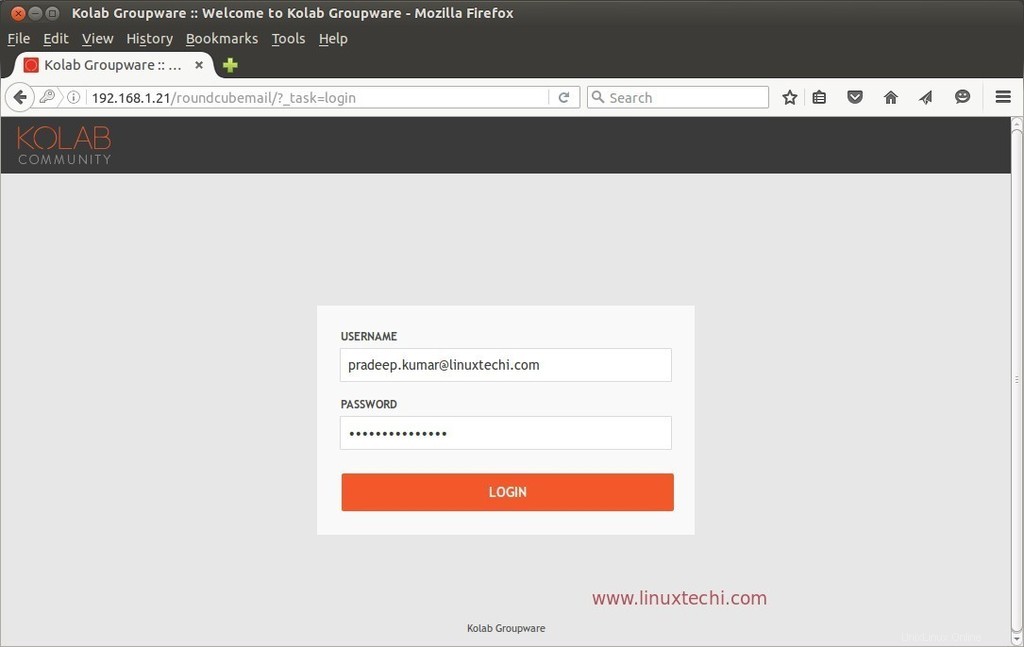
ステップ:6KolabRoundcubeWebメールにログイン
以下のURLを使用して、KolabRoundcubeWebメールにアクセスします。
http://192.168.1.21/roundcubemail/
または
http://
ユーザー名をプライマリメールIDとして使用します。私の場合、ユーザー名は「[メールで保護]」であり、ユーザーの作成時に設定したパスワードです。
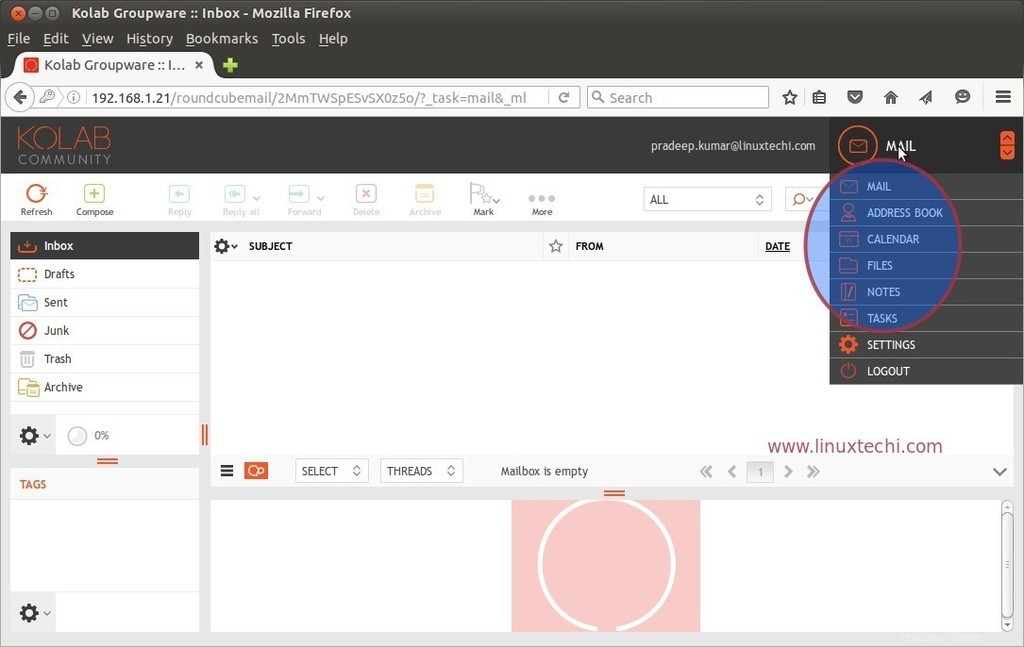
ラウンドキューブのウェブメールから、メール、名簿、カレンダー、タスクにアクセスできることがわかります。
これでこの記事は終わりです。Kolabグループウェアをさらに詳しく調べて楽しんでください🙂