Vtigerは、在庫、電子メール、プロジェクト管理、および完全なビジネス管理スイートを提供するその他のツールを含むオープンソースのCRMです。 vTiger CRMを使用すると、プレミアムサポート、販売管理、およびマーケティングチームがスムーズに作業して、ビジネスの成長を促進し、顧客エクスペリエンスを向上させることができます。
vTiger CRMの主な機能には、次のものがありますが、これらに限定されません。
- カスタマーポータルとサポートチケットを使用して自動化をサポートします。
- 役割ベースのアクセス制御があります。
- キャンペーン、リード、ポテンシャル、見積もり、請求書からエンドツーエンドの販売サイクル管理を提供します。
- Outlook、Thunderbird、Firefox、Gmailのプラグインを提供します。
- ワークフロー、タスク、およびプロジェクト管理。
- CSVファイル、ウェブからリードへのフォーム、レポート、カスタマイズ可能なユーザーダッシュボードを介したデータのインポートとエクスポートをサポートします。
vTiger CRMのインストールと適切な動作には、Apache Webサーバー、PHP、およびMariaDBデータベースサーバーが必要です。
PHPのインストール:
次のコマンドを使用してPHPをインストールします。
dnf -y install yum-utils
dnf -y install https://dl.fedoraproject.org/pub/epel/epel-release-latest-8.noarch.rpm
dnf -y install https://rpms.remirepo.net/enterprise/remi-release-8.rpm
dnf module reset php
dnf module -y install php:remi-7.4
dnf -y install vim php php-{pear,cli,cgi,common,curl,mbstring,gd,mysqlnd,gettext,bcmath,json,xml,fpm,intl,zip,imap,ldap,soap,xmlrpc}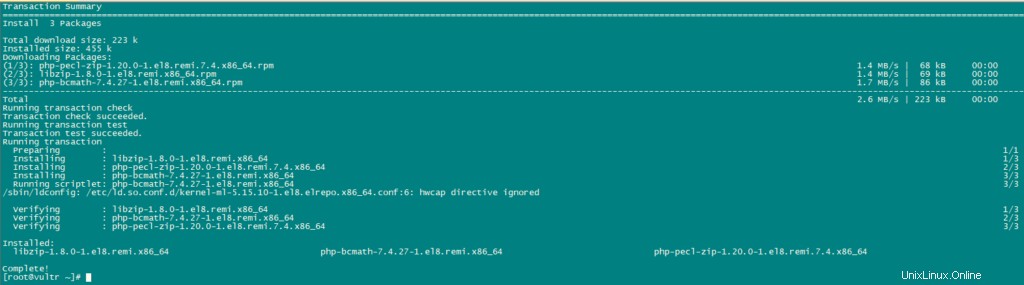
次に、PHPを構成します。
nano /etc/php.ini次の変数の現在の値を上記の値に置き換えます。
date.timezone = Africa/Nairobi
memory_limit = 256M
upload_max_filesize = 64M
display_errors = On
log_errors = Off
MariaDBをインストールしてデータベースを作成する:
vTiger CRMには、データ用のデータベースストアが必要です。データベースとしてmariaDBを使用します。
次のコマンドを使用してmariaDBをインストールします。
dnf install mariadb-serverMariaDBの構成には、次のコマンドを使用します。
mysql_secure_installation以下のように構成を設定します。
NOTE: RUNNING ALL PARTS OF THIS SCRIPT IS RECOMMENDED FOR ALL MariaDB
      SERVERS IN PRODUCTION USE!  PLEASE READ EACH STEP CAREFULLY!

In order to log into MariaDB to secure it, we'll need the current
password for the root user.  If you've just installed MariaDB, and
you haven't set the root password yet, the password will be blank,
so you should just press enter here.

Enter current password for root (enter for none):
OK, successfully used password, moving on...

Setting the root password ensures that nobody can log into the MariaDB
root user without the proper authorisation.

Set root password? [Y/n] y
New password:
Re-enter new password:
Password updated successfully!
Reloading privilege tables..
 ... Success!


By default, a MariaDB installation has an anonymous user, allowing anyone
to log into MariaDB without having to have a user account created for
them.  This is intended only for testing, and to make the installation
go a bit smoother.  You should remove them before moving into a
production environment.

Remove anonymous users? [Y/n] y
 ... Success!

Normally, root should only be allowed to connect from 'localhost'.  This
ensures that someone cannot guess at the root password from the network.

Disallow root login remotely? [Y/n] y
 ... Success!

By default, MariaDB comes with a database named 'test' that anyone can
access.  This is also intended only for testing, and should be removed
before moving into a production environment.

Remove test database and access to it? [Y/n] y
 - Dropping test database...
 ... Success!
 - Removing privileges on test database...
 ... Success!

Reloading the privilege tables will ensure that all changes made so far
will take effect immediately.

Reload privilege tables now? [Y/n] y
 ... Success!

Cleaning up...

All done!  If you've completed all of the above steps, your MariaDB
installation should now be secure.

Thanks for using MariaDB!
次に、SQLモードを次のように設定します。
nano /etc/my.cnf.d/server.cnf

[mysqld]
sql_mode = ERROR_FOR_DIVISION_BY_ZERO,NO_AUTO_CREATE_USER,NO_ENGINE_SUBSTITUTION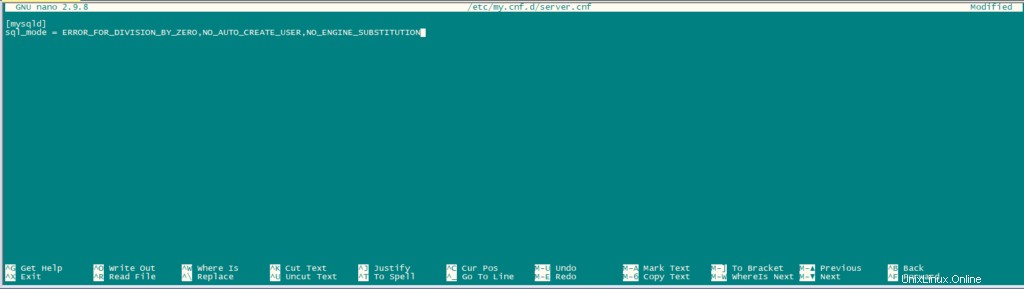
MariaDBを再起動します。
systemctl restart mariadb.serviceデータベースサーバーをインストールしたら、rootユーザーとしてMariaDB cliにログインし、vTigerCRM用のデータベースを作成します。
mysql -u root -p次のようにデータベースとユーザーを作成します。
CREATE USER 'vtiger'@'localhost' IDENTIFIED BY 'w';
CREATE DATABASE vtiger CHARACTER SET utf8 COLLATE utf8_general_ci;
GRANT ALL PRIVILEGES ON vtiger.* TO 'vtiger'@'localhost';
FLUSH PRIVILEGES;
QUIT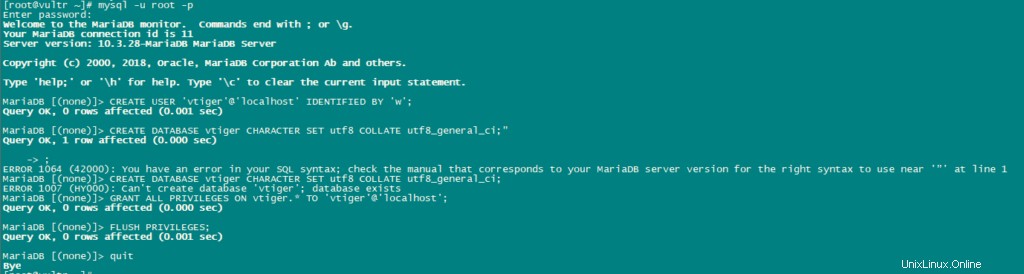
Vtigerのダウンロード:
vTigerの最新バージョンをダウンロードします。
dnf -y install wget
wget https://sourceforge.net/projects/vtigercrm/files/vtiger%20CRM%207.2.0/Core%20Product/vtigercrm7.2.0.tar.g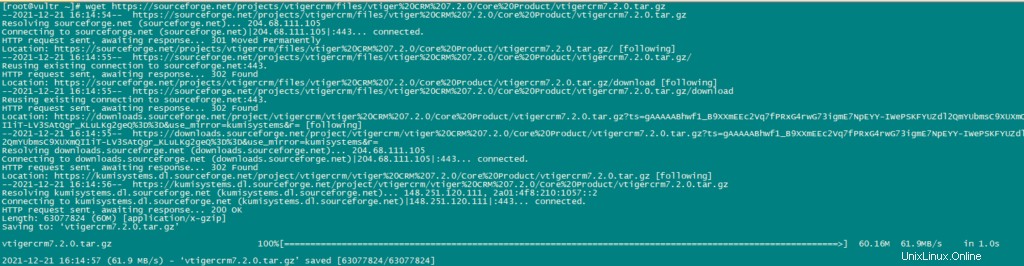
tarファイルを抽出します。
tar xvf vtigercrm7.2.0.tar.gzApache httpdサーバーをインストールします:
dnf -y install httpdvTigerフォルダとそのコンテンツを/var/ www/htmlに移動します。
mv vtigercrm /var/www/html/Apacheの構成:
次のコマンドを使用して、適切なディレクトリ権限を設定します。
chown -R apache:apache /var/www/html/vtigercrm次に、vTigerの仮想ホストファイルを作成します:
nano /etc/httpd/conf.d/vtigercrm.conf次のコンテンツをファイルに追加します。
<VirtualHost *:80>
     ServerAdmin lab1.unixcop.com
     ServerName lab1.unixcop.com
     ServerAlias lab1.unixcop.com
     DocumentRoot /var/www/html/vtigercrm/

     <Directory /var/www/html/vtigercrm/>
        Options +FollowSymlinks
        AllowOverride All
        Require all granted
     </Directory>

     ErrorLog /var/log/httpd/vtigercrm_error.log
     CustomLog /var/log/httpd/vtigercrm_access.log combined
</VirtualHost>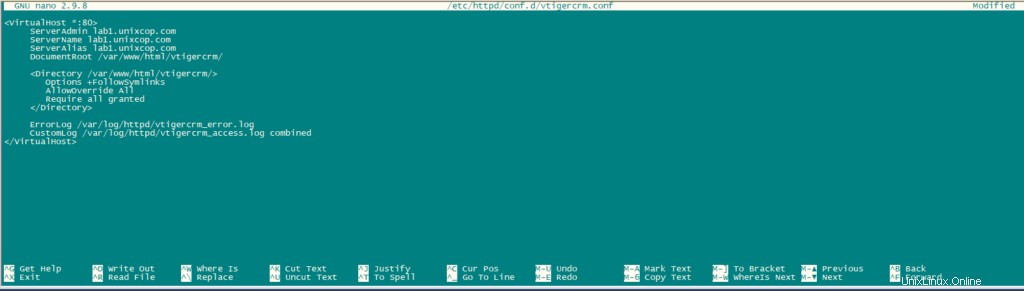
次のコマンドを使用して、上記のファイルの構文を確認します。
apachectl -thttpdサービスを再起動します。
systemctl restart httpd次のコマンドを使用して、ファイアウォールでhttpポートを開きます。
firewall-cmd --add-service=http --permanent
firewall-cmd --reload
無効になっていない場合はSELinuxを無効にします。
sudo setenforce 0
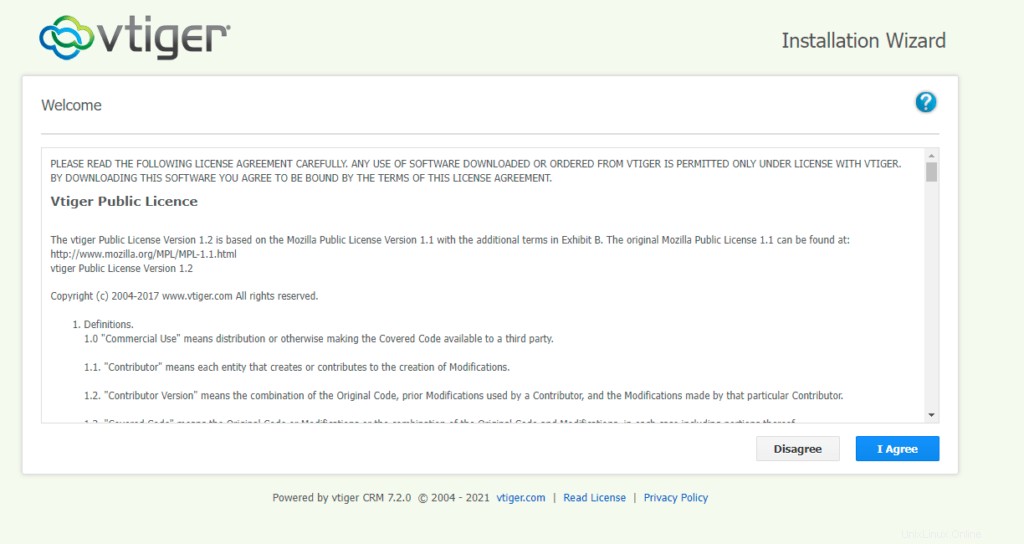
sudo sed -i 's/^SELINUX=.*/SELINUX=disabled/g' /etc/selinux/configブラウザでhttp:// Your_IPAddressを開いて、インストールを完了します。表示される最初のページはインストールウィザードです。
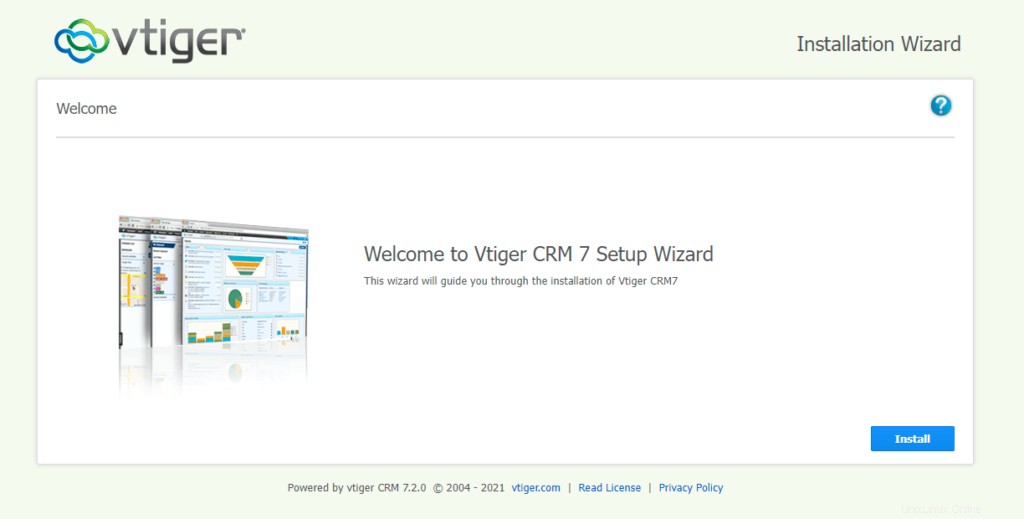
[インストール]をクリックしてから、[同意する]をクリックします
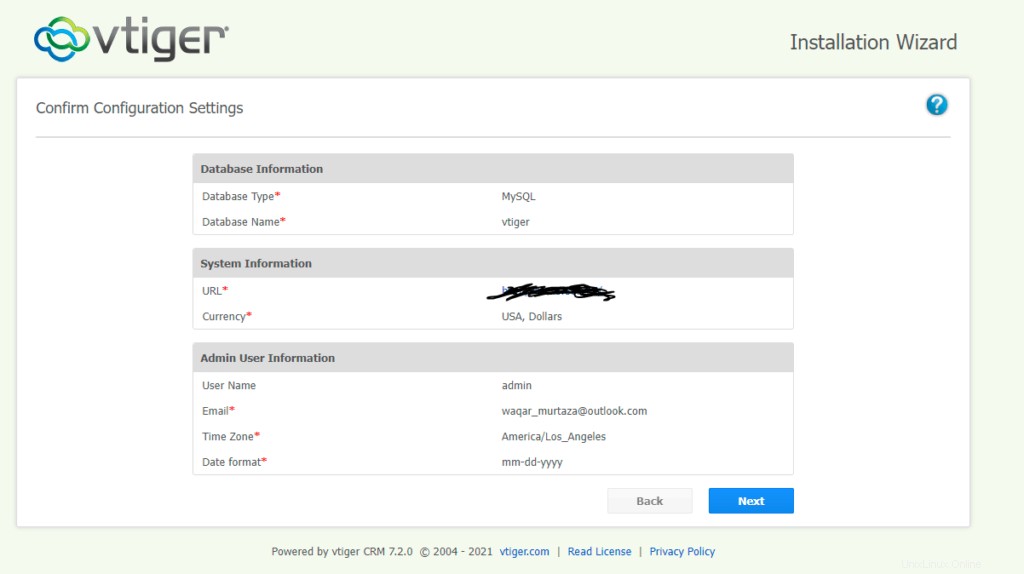
次に、下の図に示されているように構成を確認し、[次へ]をクリックします。

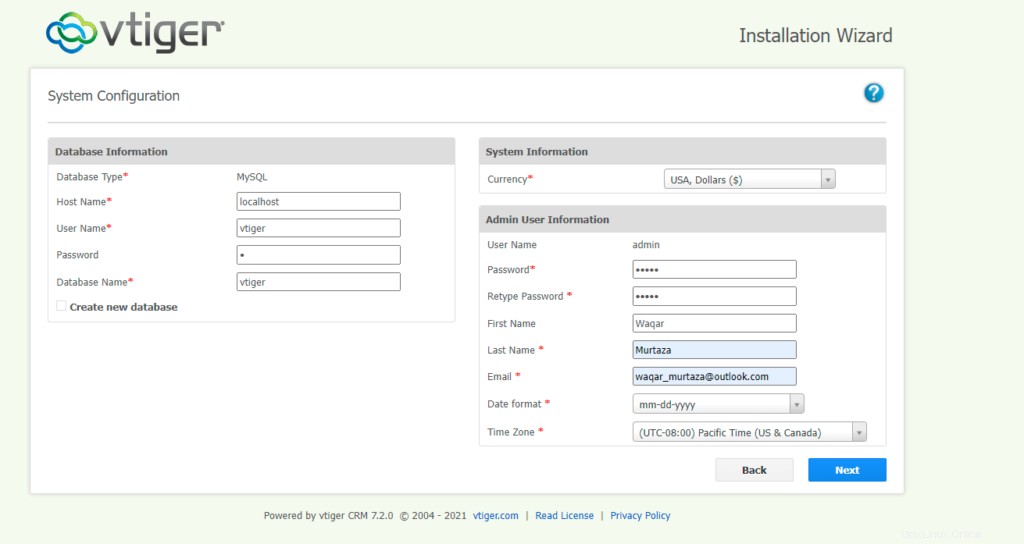
次の図に示すようにデータベースの詳細を入力し、パスワードを設定して、尋ねられた詳細を入力します。
設定を確認し、[次へ]をクリックします。
業界を確認して、[次へ]をクリックします。
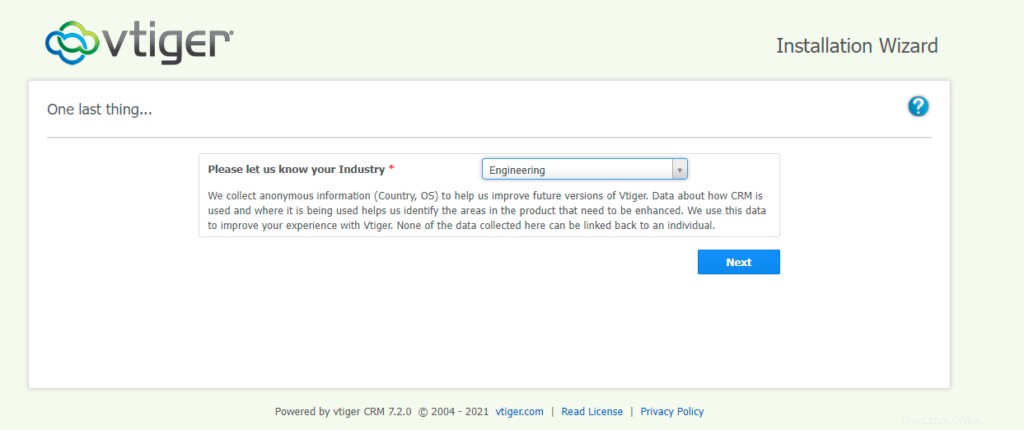
次に、インストールが完了するのを待ちます。
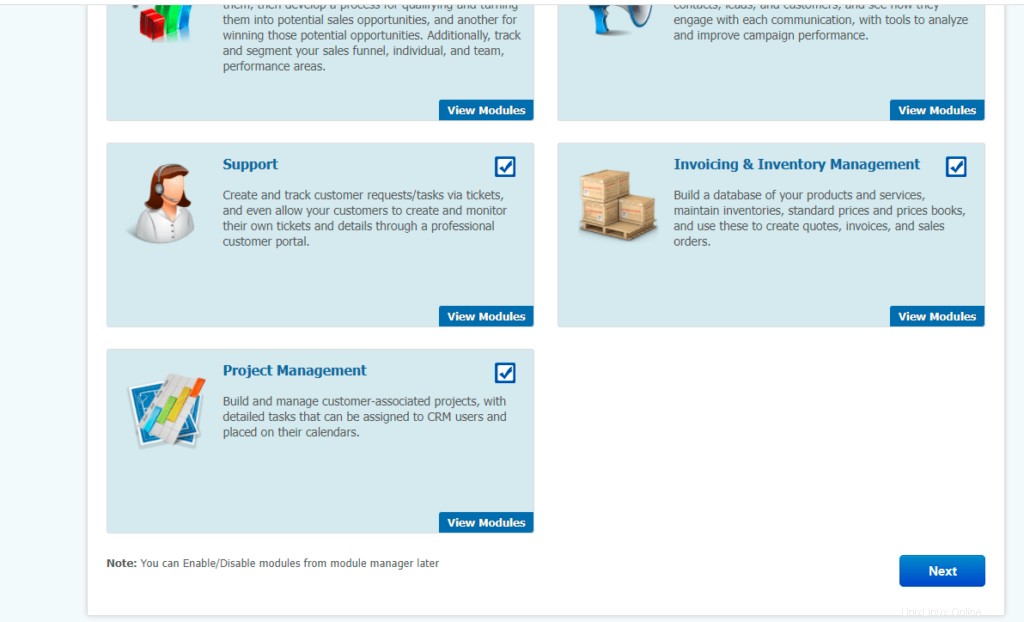
次に、vTiger CRMで使用するモジュールを選択し、[次へ]をクリックします。
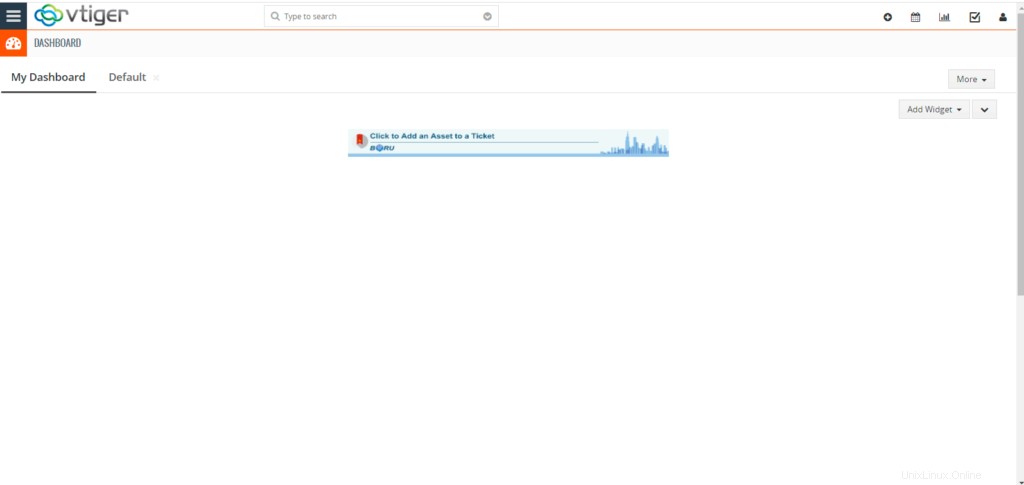
これでvTIGERCRMがインストールされ、使用できるようになりました。