
次の簡単なガイドは、RHEL 7 / CentOS 7マシンでxinetdを使用してVNCサーバーをセットアップするのに役立ちます。VNCは、クライアントがインストールされている他のマシンとデスクトップを共有するのに役立ちます。 VNCサーバーとクライアントはデフォルトではインストールされていないため、vncサーバーを手動でセットアップする必要があります。
VNCサーバーをインストールする前に、Gnomeデスクトップをインストールしてください。
tigervncサーバー、X11フォント、およびxinetdをインストールします。
yum install tigervnc-server xorg-x11-fonts-Type1 xinetd
XDMCPを有効にします。
vi /etc/gdm/custom.conf
次のコンテンツを追加します。
[security]
AllowRemoteRoot=true
DisallowTCP=false

[xdmcp]
Enable=true
MaxSessions=30
Xinetdサービスを作成します。
vi /etc/xinetd.d/vncserver
上記のファイルに次のコンテンツを配置します。
service vncserver
{
disable = no
socket_type = stream
protocol = tcp
group = tty
wait = no
user = nobody
server = /usr/bin/Xvnc
server_args = -inetd -query localhost -geometry 1024×768 -depth 16 -once -fp /usr/share/X11/fonts/misc -securitytypes=none
}
VNCサービスを作成します。
vi /etc/services
ファイルの最後に次の行を追加します。
vncserver5900/tcp#VNCおよびGDM
xinetdサービスを再起動します
systemctl restart xinetd.service
VNC接続を許可するファイアウォールルールを追加します。次のルールは、前の手順で説明したポートオフセットに従って設定されます。
firewall-cmd --permanent --zone=public --add-port=5900/tcp
firewall-cmd --reload
必要に応じて、マシンを再起動します。
reboot
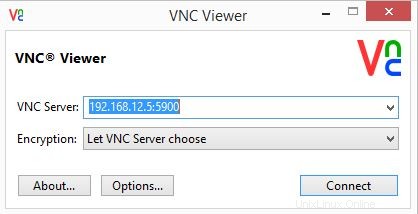
VNCビューアを使用して接続します。
ipaddress:5900
 ユーザー名とパスワードの入力を求められます。
 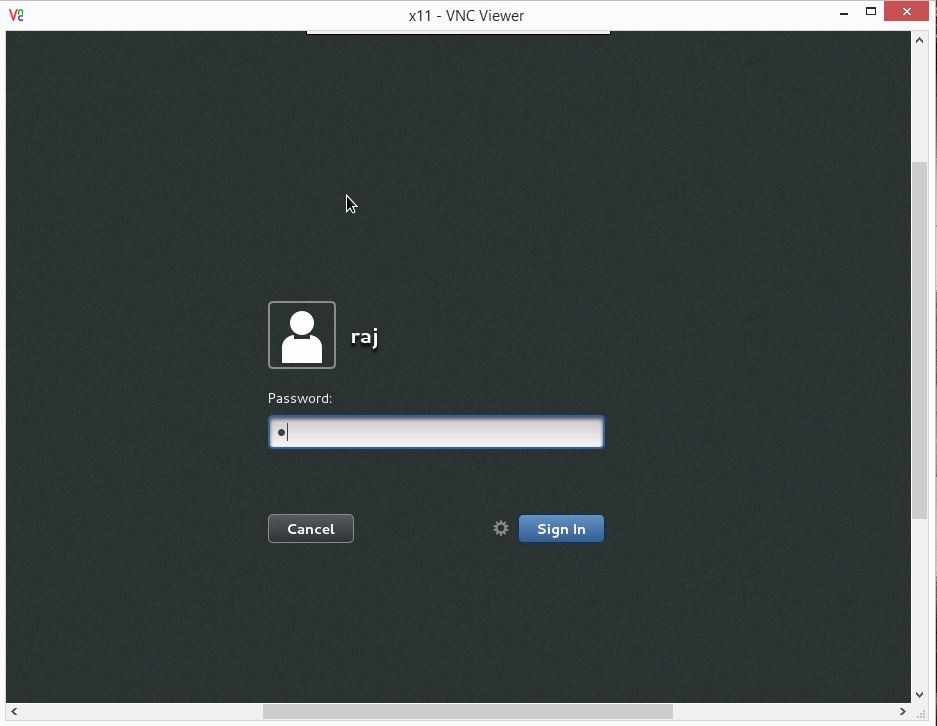 これで、vncデスクトップが表示されます。
 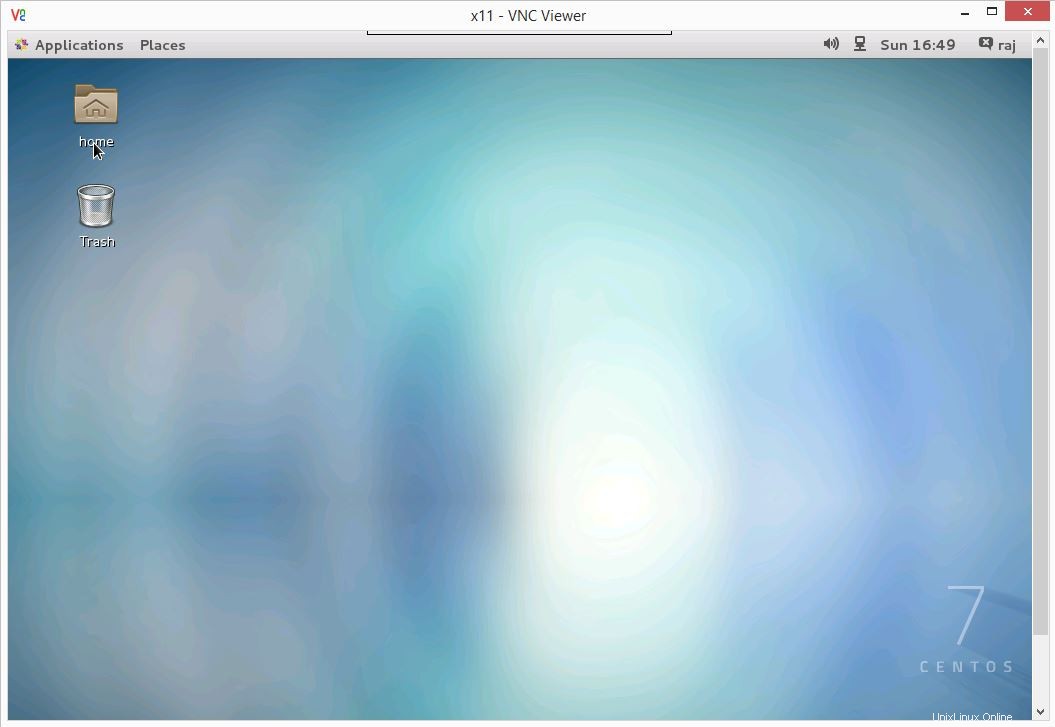 これで、CentOS 7 /RHEL7でXinetdを使用してVNCサーバーを正常に構成できました。