LiteSpeed Webサーバーは、ApacheWebサーバーを置き換えるための一般的な選択肢です。その機能には、Webコンテンツの最適化とコンテンツ配信が含まれ、ダウンロード速度を最大化し、パフォーマンスの向上とメモリフットプリントの削減を組み合わせます。 Apache機能と互換性があることも追加の利点であり、ApacheからLiteSpeedへの移行中のダウンタイムを削減するのに役立ちます。このインストールは、クリーンなCentOS7サーバーがインストールされていることを前提としています。
このソフトウェアには3つのエディションがあります:
- OpenLiteSpeedは、LiteSpeedサーバーのオープンソースバージョンです。
- LiteSpeed標準版とOpenLiteSpeedは無料で利用できます。
- LiteSpeedは、高度な商用Webサーバーパッケージでも利用できます。
サーバーパッケージをインストールする前に、サーバーの更新を確認し、これらをインストールする必要があります。したがって、yumupdateコマンドから始めます。
yum update -y
出力は次のようになります。
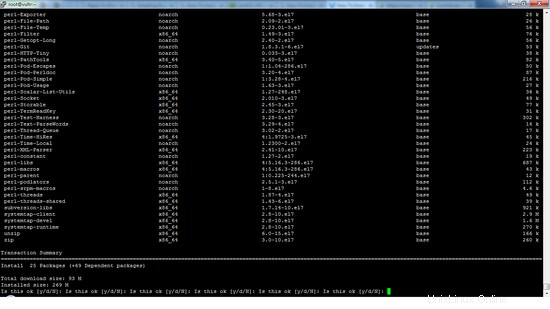
サーバーの更新頻度によっては、時間がかかる場合があります。更新を中断しないでください。
LiteSpeed用の開発者ツールのインストール
これらのyumコマンドを使用して、最初に開発ツールをインストールし、次にLiteSpeedのライブラリをインストールします。
sudo yum groupinstall 'Development Tools'
sudo yum install libxml2-devel.x86_64 openssl-devel.x86_64 bzip2-devel.x86_64 libcurl-devel.x86_64 db4-devel.x86_64 \
libjpeg-devel.x86_64 libpng-devel.x86_64 libXpm-devel.x86_64 freetype-devel.x86_64 gmp-devel.x86_64 \
libc-client-devel.x86_64 openldap-devel.x86_64 libmcrypt-devel.x86_64 mhash-devel.x86_64 freetds-devel.x86_64 \
zlib-devel.x86_64 mysql-devel.x86_64 ncurses-devel.x86_64 pcre-devel.x86_64 unixODBC-devel.x86_64 postgresql-devel.x86_64 \
sqlite-devel.x86_64 aspell-devel.x86_64 readline-devel.x86_64 recode-devel.x86_64 net-snmp-devel.x86_64 \
libtidy-devel.x86_64 libxslt-devel.x86_64 t1lib-devel.x86_64
インストール出力は次のようになります。
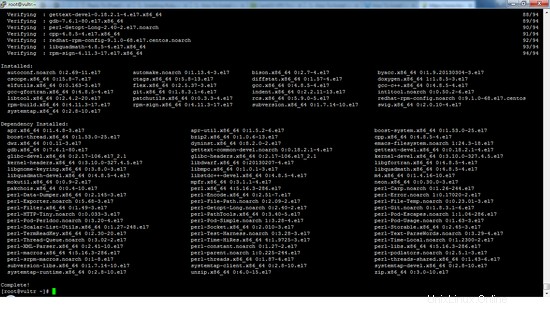
上記の開発者ツールをインストールした後、LiteSpeedから無料の標準パッケージをダウンロードすることができます。
wgetを使用したLiteSpeedパッケージのダウンロード
LiteSpeed Standard Editionパッケージファイルを入手するには、これが利用可能なWebリンクを取得する必要があります。これを取得するには、LiteSpeed Webサイトにアクセスして、Linux(x86_64)LiteSpeed Standardエディションを検索します。これは、今日のサーバーのデフォルトである64ビットLinuxシステムのバージョンです。
よくわからない場合は、次のコマンドを実行してください:
uname -a
カーネルバージョンを返します。 「x86_64」という単語が含まれている場合は、64ビットカーネルを実行します。
リンクをコピーするには、リンクを右クリックして[リンクアドレスのコピー]を選択します。リンクへのアドレスは次のようになります:
http://www.litespeedtech.com/packages/5.0/lsws-5.0.12-ent-x86_64-linux.tar.gz
次に、wgetコマンドを使用して、リンクアドレスを追加します。 wgetを使用する形式は次のとおりです:
wget URL
上記の例に従って、LiteSpeedStandardEditionをダウンロードするコマンドは次のとおりです。
wget http://www.litespeedtech.com/packages/5.0/lsws-5.0.12-ent-x86_64-linux.tar.gz
サンプル出力:
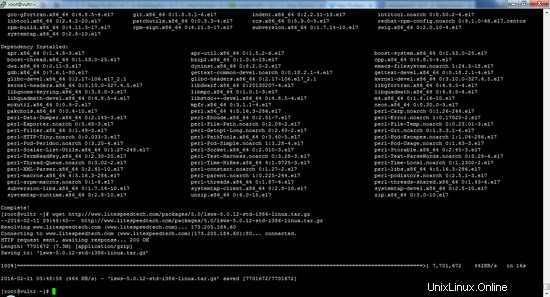
次のステップは、tarファイルを解凍することです。次のコマンドを実行して同じことを行います。
tar -zxvf lsws*
サンプル出力:
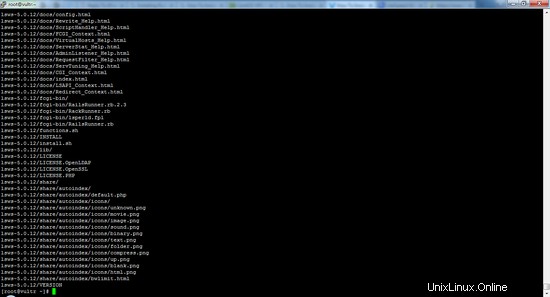
インストールは、LiteSpeedフォルダーにあるinstall.shファイルを実行することによって開始されます。これを行うには、ディレクトリをLiteSpeedに変更し、次に示すように実行コマンドに従います。
./install.sh
このコマンドを実行すると、ユーザー契約条件が表示されます。スペースバーを押して契約条件を下にスクロールし、最後に次のように表示される宣言に到達できます。
IMPORTANT: In order to continue installation you must agree with above
           license terms by typing "Yes" with capital "Y"!
サンプル出力:
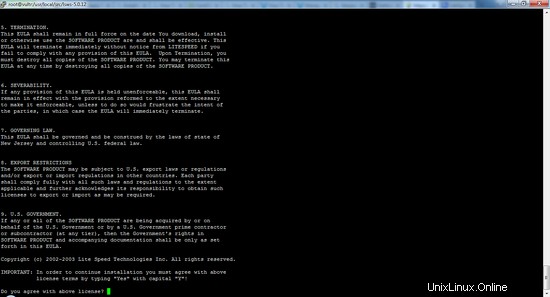
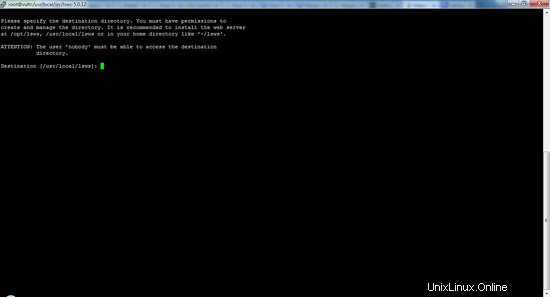
同意したら、Yキーを押します。これにより、インストールするディレクトリを選択するようにユーザーに求められます。デフォルトのディレクトリにインストールを続行するには、次の画面が表示されたらEnterキーを押します。
Please specify the destination directory. You must have permissions to
create and manage the directory. It is recommended to install the web server
at /opt/lsws, /usr/local/lsws or in your home directory like '~/lsws'.
ATTENTION: The user 'nobody' must be able to access the destination
           directory.
Destination [/usr/local/lsws]:
サンプル出力:
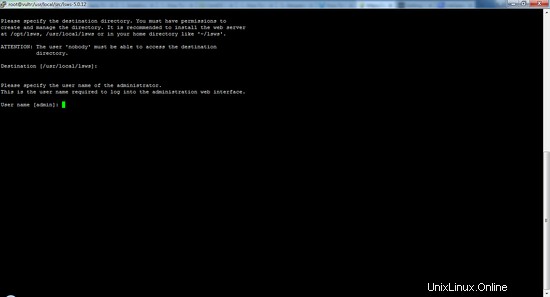
管理者のユーザー名とパスワードの詳細を入力するように求めるプロンプトが表示されます。パスワードは、後でWebインターフェイスにログインするために必要です。引き続き適切な詳細を入力し、Enterキーを押します。画面は次のようになります。
Please specify the user name of the administrator.
This is the user name required to log into the administration web interface.
User name [admin]:
サンプル出力:
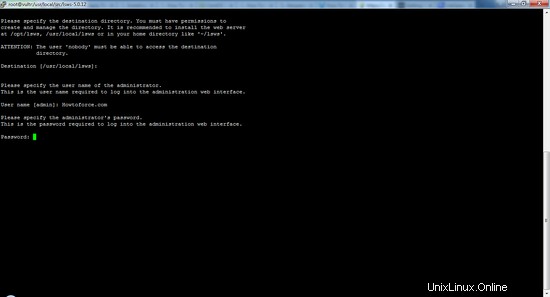
「admin」という名前を使用する場合は、Enterキーを押すだけです。セキュリティ上の理由から、名前を変更することをお勧めします。カスタム管理者のユーザー名を入力し、Enterキーを押します。
管理者ユーザーのパスワードを入力するように求められます。後でWebインターフェイスにアクセスするには、このパスワードを使用する必要があります。
Please specify the administrator's password.
This is the password required to log into the administration web interface.
Password:
サンプル出力:
使用するパスワードは、だれもランダムな方法で推測したりアクセスしたりできないように、安全である必要があります。そうしないと、サーバーを管理してアクセスできる可能性があります。
次に、プロンプトは、インストールまたはサーバーのパフォーマンスとメンテナンスに関連する重要または緊急の通知をメールで送信するための電子メールアドレスを要求します。メールアドレスのリストをカンマで区切って追加できます。
Please specify administrators' email addresses.
It is recommended to specify a real email address,
Multiple email addresses can be set by a comma
delimited list of email addresses. Whenever something
abnormal happened, a notificiation will be sent to
emails listed here.
Email addresses [[email protected]]:
例:
Email addresses [[email protected]]: [email protected]
メールアドレスのリストを提供するときは、次の構文に従う必要があります。
Email addresses [[email protected]]: [email protected], [email protected]
サンプル出力:
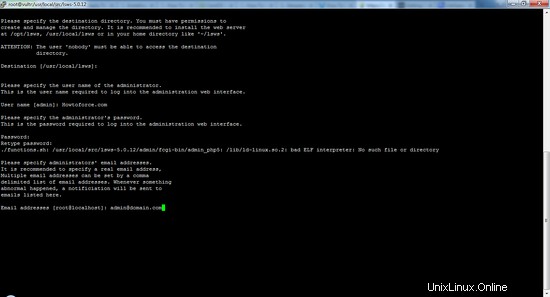
次に、インストーラーは、このサーバーを実行するためのユーザー名を入力するように求めます。 root以外の権限を持つ別のユーザーを作成してここに詳細を入力するか、デフォルトのユーザー「nobody」を選択することができます。 rootユーザーがサーバーを実行しないことが重要です。サーバーが脆弱で安全ではなくなります。次の画面が表示され、ユーザー名の入力を求められます。
As you are the root user, you must choose the user and group
whom the web server will be running as. For security reason, you should choose
a non-system user who does not have login shell and home directory such as
'nobody'.
User [nobody]:
サンプル出力:
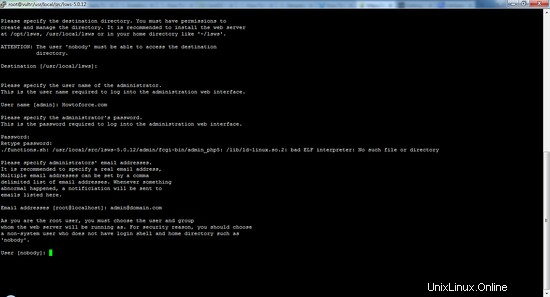
何を入力すればよいかわからない場合は、ユーザー名を「nobody」のままにしておくことをお勧めします。次のような次のプロンプトでこれを続けます:
Please choose the group that the web server running as.
User 'nobody' is the member of following group(s):  nobody
Group [nobody]:
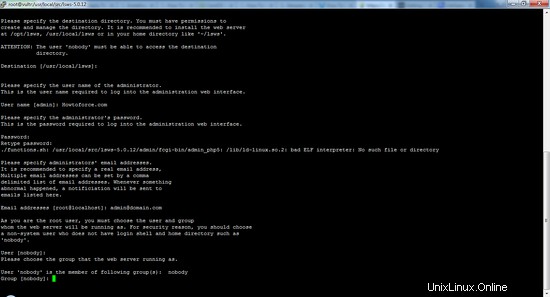
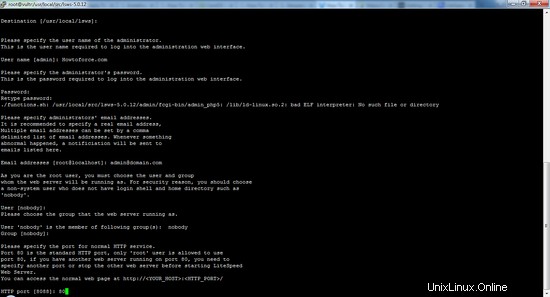
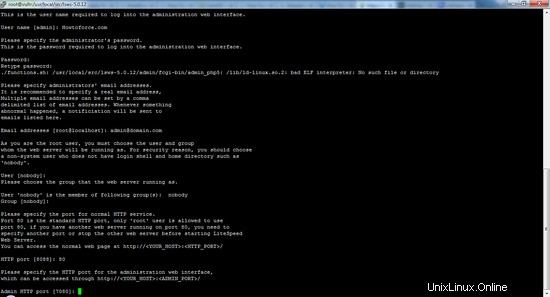
次のプロンプトは、LiteSpeedがリッスンするポートの詳細を提供するためのものです。 Webサーバーのデフォルトのポートはポート80であり、これを維持することをお勧めします。これは、訪問者のURLを単純化するのに役立ちます。そうしないと、URLの後にポート番号を記載する必要があります。特殊なアクセスの場合、このポート番号は適切な値に変更される場合があります。
Please specify the port for normal HTTP service.
Port 80 is the standard HTTP port, only 'root' user is allowed to use
port 80, if you have another web server running on port 80, you need to
specify another port or stop the other web server before starting LiteSpeed
Web Server.
You can access the normal web page at http://<YOUR_HOST>:<HTTP_PORT>/
HTTP port [8088]: 80
サンプル出力:
LiteSpeedは、Webサーバーの管理を容易にするための個別の管理インターフェースを提供します。実行されるデフォルトのポートは7080です。他のポートでのリッスンに特化している場合は、変更できます。管理Webインターフェイスを開くには、WebURLをhttp://domain.com:portとして指定する必要があります。
Please specify the HTTP port for the administration web interface,
which can be accessed through http://<YOUR_HOST>:<ADMIN_PORT>/
Admin HTTP port [7080]:
サンプル出力:
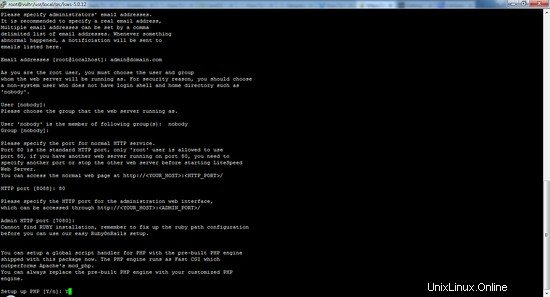
次に、プロンプトでPHPの使用に関する詳細を尋ねられます。 WordPressやJoomlaなどのCMSを使用している場合は、PHPを有効にする必要があります。 PHPを有効にするには、Yと入力します。それ以外の場合は、Nと入力します。
You can setup a global script handler for PHP with the pre-built PHP engine
shipped with this package now. The PHP engine runs as Fast CGI which
outperforms Apache's mod_php.
You can always replace the pre-built PHP engine with your customized PHP engine.
Setup up PHP [Y/n]: Y
サンプル出力:
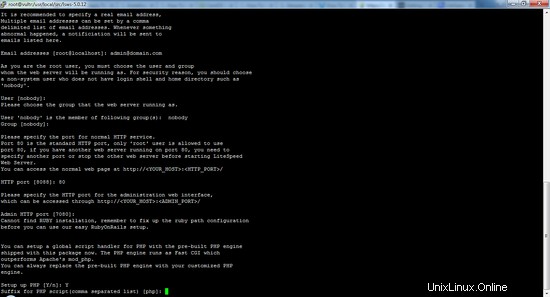
このプロンプトの後で、別のPHPファイル拡張子を指定できます。通常、ここで別の拡張子を指定する必要はないので、Enterキーを押して先に進みます。
Suffix for PHP script(comma separated list) [php]:
サンプル出力:
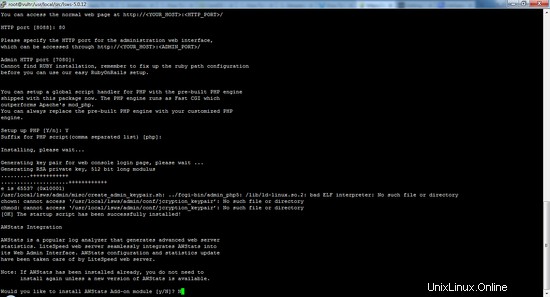
次のプロンプトでは、AWStatsの使用に関心がある場合に備えて詳細を入力するよう求められます。これは、訪問者数、ページビューなどをチェックするために使用される統計生成ツールであるプログラムです。詳細な訪問者情報を収集できるようにするには、Yを入力し、それ以外の場合はNと入力してさらに進みます。
AWStats is a popular log analyzer that generates advanced web server
statistics. LiteSpeed web server seamlessly integrates AWStats into
its Web Admin Interface. AWStats configuration and statistics update
have been taken care of by LiteSpeed web server.
Note: If AWStats has been installed already, you do not need to
      install again unless a new version of AWStats is available.
Would you like to install AWStats Add-on module [y/N]? N
サンプル出力:
次のプロンプトは、サーバーが再起動されるたびにLiteSpeedを自動的に実行するかどうかを調べます。サーバーのダウンタイムを回避するためにYを書き込みます。
Would you like to have LiteSpeed Web Server started automatically
when the server restarts [Y/n]? Y
これは、実行されると、LiteSpeedの起動スクリプトの追加が成功したことを通知し、ユーザーに今すぐサーバーを起動することを選択するように促します。 Yと入力して同じ操作を行うか、Nと入力して後の段階で手動で開始します。今すぐ開始することをお勧めします。
[OK] The startup script has been successfully installed!
Would you like to start it right now [Y/n]? Y
インストールが正常に完了すると、次のメッセージが表示されます。
LiteSpeed Web Server started successfully! Have fun!
サンプル出力:
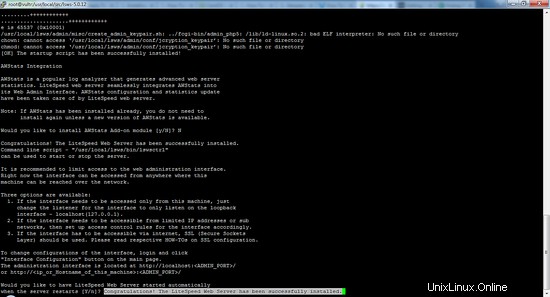
これが正常にインストールされたというメッセージが表示されたら、IPまたはドメイン名でサーバーにアクセスすると、デフォルトのWebページが開きます。今、あなたはあなたのウェブサイトを構築することができます。
訪問者のトラフィックがサーバーにアクセスできるようにするには、Webポート、80(サーバーポート)および7080(管理Webインターフェイス)を開く必要があります。ほとんどのCentOS7サーバーはfirewalldを使用します。これらのコマンドはfirewalldのポートを開きます:
firewall-cmd --permanent --zone=public --add-service=http
firewall-cmd --permanent --zone=public --add-port=7080/tcp
firewall-cmd --reload
IPTablesファイアウォールを使用し、firewalldを使用しない場合は、代わりにこれらのコマンドを使用してください。
iptables -I INPUT -p tcp --dport 80 -j ACCEPT
iptables -I INPUT -p tcp --dport 7080 -j ACCEPT
service iptables save
スクリプトのインストール中にポート番号を変更した場合は、iptablesとfirewalldのルールに同じものを反映してください。
新しい機能のLiteSpeedサーバーおめでとうございます。