LAMPスタックとは何ですか?
LAMPスタックは、オペレーティングシステムとオープンソースソフトウェアスタックの組み合わせであり、サーバーを最初にセットアップする際に重要です。頭字語は、Linux、Apache HTTPサーバー、MySQL / MariaDB、およびPHP / Perl/Pythonの略です。この記事では、オペレーティングシステムCentOS 6がすでにインストールされていることを前提として、Apache HTTPサーバー、MySQL、およびPHPをサーバーにインストールする手順について説明します。
前提条件この記事を読む前に、サーバーにroot以外のユーザーアカウントを設定しておく必要があります。
ApacheHTTPサーバーのインストール
ApacheまたはApacheHTTPは、現在、市場シェアの50%以上を占める、世界中で最も一般的に使用されているWebサーバーです。 apacheをインストールするには、以下の手順に従ってください:
ステップ1: ターミナルで次のコマンドを使用します
sudo yum update
更新プロセスが終了したら、コマンドを使用してApacheHTTPサーバーをインストールします。
sudo yum install httpd
認証メッセージを受け取り、Yを入力してそれを受け入れ、インストールを続行します。次に、コマンドを実行して、VPSにインストールされているWebサーバーを起動します
sudo service httpd start
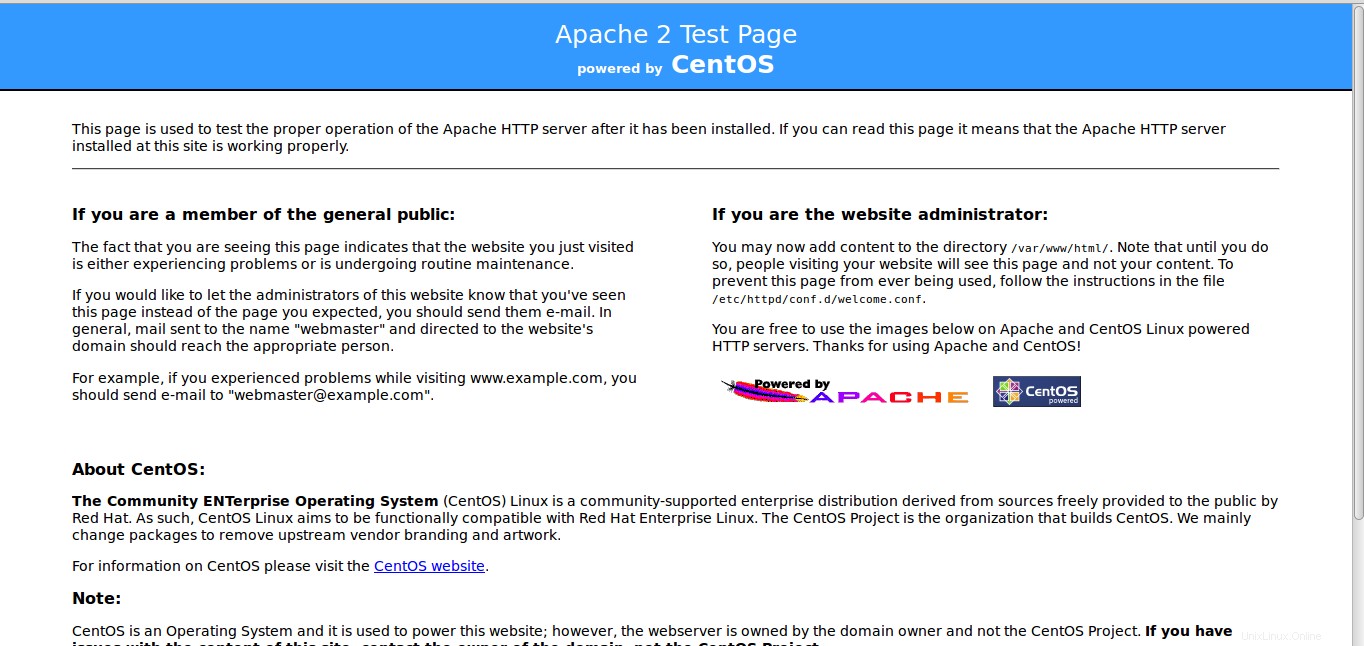
ステップ2: Webブラウザに次のURLを入力して、インストールを確認します。
http://server_ip_address/
Webサーバーが正しくインストールされている場合、Webブラウザは次のようなWebページに移動します。
MySQLのインストール
MySQLは、DBサーバーでデータベースを処理、保存、および取得するために使用されるデータベース管理システムソフトウェアです。 MySQLをインストールするには、以下の手順に従います。
ステップ1: ターミナルにコマンドを入力します
sudo yum install mysql-server
インストールの進行中に許可を求められたら、yと入力してインストールを続行します。インストールが正常に終了したら、mysqlを起動できます。
sudo service mysqld start
ステップ2: 次のコマンドを実行して、デフォルトのMySQLインストールでのいくつかのセキュリティ問題に対処します。
sudo /usr/bin/mysql_secure_installation
MySQLをインストールしたので、rootパスワードを入力する必要がないため、rootパスワードの入力を求められます。したがって、Enterキーを押して続行します。
MySQLのrootパスワードを変更するか、匿名ユーザーアカウントを削除するか、ローカルホストの外部でrootログインを無効にするか、テストデータベースを削除するかを選択できます。これらのオプションに「はい」と答えて、プロセスを続行することをお勧めします。
Enter current password for root (enter for none):
OK, successfully used password, moving on...

Setting the root password ensures that nobody can log into the MySQL
root user without the proper authorisation.

Set root password? [Y/n] Y
New password:
Re-enter new password:
Password updated successfully!
Reloading privilege tables..
 ... Success!


By default, a MySQL installation has an anonymous user, allowing anyone
to log into MySQL without having to have a user account created for
them.  This is intended only for testing, and to make the installation
go a bit smoother.  You should remove them before moving into a
production environment.

Remove anonymous users? [Y/n] Y
 ... Success!

Normally, root should only be allowed to connect from 'localhost'.  This
ensures that someone cannot guess at the root password from the network.

Disallow root login remotely? [Y/n] Y
 ... Success!

By default, MySQL comes with a database named 'test' that anyone can
access.  This is also intended only for testing, and should be removed
before moving into a production environment.

Remove test database and access to it? [Y/n] Y
 - Dropping test database...
 ... Success!
 - Removing privileges on test database...
 ... Success!

Reloading the privilege tables will ensure that all changes made so far
will take effect immediately.

Reload privilege tables now? [Y/n] Y
 ... Success!

Cleaning up...


All done!  If you've completed all of the above steps, your MySQL
installation should now be secure.

Thanks for using MySQL!
PHPのインストール
PHPは、動的なWebページを構築するためのWebデザインで使用されるスクリプト言語です。
ステップ1: ターミナルで次のコマンドを使用します
sudo yum install php php-mysql
プロンプトメッセージが表示されたら、yと入力して、インストールを完了します。
ステップ2: 簡単にインストールできる追加のPHPモジュールがたくさんあります。これはオプションの手順ですが、追加のモジュールをインストールする場合は、以下の手順に従ってください。
使用可能なモジュールを確認するには、ターミナルでコマンドを入力します
yum search php-
Output:

Loaded plugins: fastestmirror
Loading mirror speeds from cached hostfile
 * base: mirror.fibergrid.in
 * extras: mirror.fibergrid.in
 * updates: mirror.fibergrid.in
========================================================================== N/S Matched: php- ===========================================================================
php-bcmath.x86_64 : A module for PHP applications for using the bcmath library
php-cli.x86_64 : Command-line interface for PHP
php-common.x86_64 : Common files for PHP
php-dba.x86_64 : A database abstraction layer module for PHP applications
php-devel.x86_64 : Files needed for building PHP extensions
php-embedded.x86_64 : PHP library for embedding in applications
php-enchant.x86_64 : Human Language and Character Encoding Support
php-fpm.x86_64 : PHP FastCGI Process Manager
php-gd.x86_64 : A module for PHP applications for using the gd graphics library
php-imap.x86_64 : A module for PHP applications that use IMAP
php-intl.x86_64 : Internationalization extension for PHP applications
php-ldap.x86_64 : A module for PHP applications that use LDAP
php-mbstring.x86_64 : A module for PHP applications which need multi-byte string handling
php-mysql.x86_64 : A module for PHP applications that use MySQL databases
php-odbc.x86_64 : A module for PHP applications that use ODBC databases
php-pdo.x86_64 : A database access abstraction module for PHP applications
php-pear.noarch : PHP Extension and Application Repository framework
php-pecl-apc.x86_64 : APC caches and optimizes PHP intermediate code
php-pecl-apc-devel.i686 : APC developer files (header)
php-pecl-apc-devel.x86_64 : APC developer files (header)
php-pecl-memcache.x86_64 : Extension to work with the Memcached caching daemon
php-pgsql.x86_64 : A PostgreSQL database module for PHP
php-process.x86_64 : Modules for PHP script using system process interfaces
php-pspell.x86_64 : A module for PHP applications for using pspell interfaces
php-recode.x86_64 : A module for PHP applications for using the recode library
php-snmp.x86_64 : A module for PHP applications that query SNMP-managed devices
php-soap.x86_64 : A module for PHP applications that use the SOAP protocol
php-tidy.x86_64 : Standard PHP module provides tidy library support
php-xml.x86_64 : A module for PHP applications which use XML
php-xmlrpc.x86_64 : A module for PHP applications which use the XML-RPC protocol
php-zts.x86_64 : Thread-safe PHP interpreter for use with the Apache HTTP Server

  Name and summary matches only, use "search all" for everything.
パッケージまたはモジュールの詳細を知るには、次のように入力します
yum info module-name
module-nameの代わりに、対応するモジュールの名前を入力します。たとえば、
yum info php-bcmath
そのパッケージをインストールするには、次のように入力します
sudo yum install php-bcmath
要件に応じて、複数のphpパッケージをインストールできます。
また、サーバーの起動時にプロセスが自動的に実行されるように設定する必要があります(Apacheが起動するとphpが自動的に実行されます):
sudo chkconfig httpd on
sudo chkconfig mysqld on
ステップ3: phpがVPSに正しくインストールされているかどうかを確認するには、以下のコマンドを使用してファイルを作成します
sudo vim /var/www/html/info.php
キーIを押してファイルを編集し、ファイルに次のコンテンツを入力してから、 ESCを押して保存して終了します。 キーの後に:wq!が続きます 次に、Enterキーを押します。
<?php
phpinfo();
?>
Webサーバーの再起動
CentOS 6にLAMPスタックをインストールする最後の手順は、Apachewebサーバーを再起動することです。これは、Webサーバーがサーバーに加えられた変更を認識するために行われます。
sudo service httpd restart
これにより、サーバーがすぐに再起動し、そこに移動します。これで、CentOS6で実行されているサーバーにLAMPスタックがインストールされました。
Webブラウザに次のURLを入力すると、phpのインストールを確認できます。
http://server_ip_address/info.php
。