皆さん、こんにちは。この投稿では、Debian11にMatomoをインストールする方法を学びます。始めましょう。
Matomoとは何ですか?
Matomoはサーバーにインストールされるアプリケーションであり、Webサイトを分析および追跡して、さまざまな統計を取得できます。
Matomoのおかげで、世界中のWebサイトを所有している人なら誰でも、訪問者の数、サイトのパフォーマンス、Google広告の動作などを知ることができます。
したがって、ブログやWebサイトを所有している場合は、Matomoをインストールして使用する方法を学ぶ必要があります。
Debian11へのLAMPのインストール
MatomoにはアクセスするためのWebインターフェースがあるため、MariaDBなどのデータベースマネージャーと一緒に機能するWebサーバーが必要です。
Debian 11にLAMPをインストールするには、このコマンドを実行するだけで十分です。ここで、同じコンポーネントの各コンポーネントをインストールできます。
sudo apt install apache2 mariadb-server php libapache2-mod-php php-cli php-fpm php-fpm php-json php-json php-common php-mysql php-zip php-gd php-mbstring php-curl php-xml php-pear php-bcmath
この投稿では、LAMPの詳細なインストールについては扱いませんが、デフォルトの構成で十分です。ポート443を開くことを忘れないでください および80 ファイアウォールで。
Matomoのデータベースの作成
MariaDBをインストールして実行したら、新しいデータベースと新しいユーザーを作成する必要があります。まず、ルートパスワードを定義します
sudo mysql_secure_installation
パスワードが定義されていないため、Enterキーを押してスクリプトを開始します。次に、強力でプライベートでなければならないものを作成できます。次に、Yに答える必要のあるいくつかの構成に関する質問が表示されます。 。
次に、MariaDBコンソールにアクセスします
sudo mysql -u root -pMatomoのデータベースを作成します。好きな名前を付けてください。
CREATE DATABASE matomodb;次に、ユーザーとそのパスワードを作成します。一度に、新しいデータベースに十分な権限を割り当てます。
CREATE USER 'user'@'localhost' IDENTIFIED BY
pss';
GRANT ALL ON matomodb.* TO 'user'@'localhost' WITH GRANT OPTION;
pssよりも強力なパスワードを使用してください 🙂とユーザー名は好きなようにすることができます。次に、権限を更新してコンソールを終了します。
FLUSH PRIVILEGES;
exit;
Debian11でMatomoをダウンロード
wgetに感謝します コマンド、Matomoの最新の安定バージョンをダウンロードします。
wget http://builds.matomo.org/matomo-latest.zip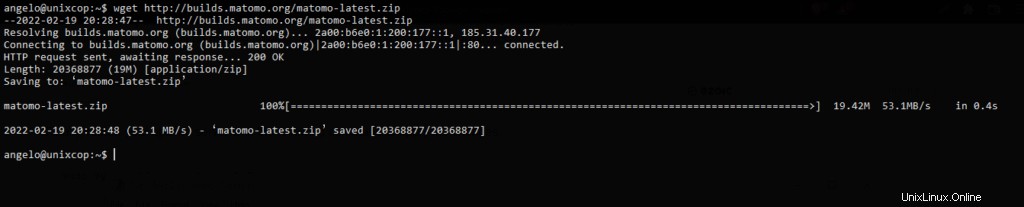
unzipを使用しています コマンドを実行し、作成する必要のあるフォルダに解凍します。
sudo mkdir -p /var/www/matomo
sudo unzip matomo-latest.zip
コマンドを使用できない場合は、
でインストールできます。sudo apt install unzip次に、結果のフォルダをApacheルートに移動します。
sudo mv matomo/* /var/www/matomoApacheをフォルダの所有者にして、一度にアクセス許可を与えます。
sudo chown -R www-data:www-data /var/www/matomo
sudo chmod -R 755 /var/www/matomo
この後、Matomoサイトの新しい仮想ホストを作成する必要があります。
sudo nano /etc/apache2/sites-available/matomo.conf以下を追加
<VirtualHost *:80>

ServerAdmin admin@your-domain.com
ServerName your-domain.com
DocumentRoot /var/www/matomo/

<Directory /var/www/matomo>
DirectoryIndex index.php
Options FollowSymLinks
AllowOverride All
Require all granted
</Directory>

<Files "console">
Options None
Require all denied
</Files>

<Directory /var/www/matomo/misc/user>
Options None
Require all granted
</Directory>

<Directory /var/www/matomo/misc>
Options None
Require all denied
</Directory>

<Directory /var/www/matomo/vendor>
Options None
Require all denied
</Directory>

ErrorLog ${APACHE_LOG_DIR}/matomo_error.log
CustomLog ${APACHE_LOG_DIR}/matomo_access.log combined

</VirtualHost>
ServerNameを変更することを忘れないでください 値を付けてドメインと一致させます。
変更を保存して、使用しているエディターを閉じます。
次に、新しいサイトを有効にします。
sudo a2ensite matomo.conf
そしてrewrite モジュールを作成し、Apacheを再起動して変更を適用します。
sudo a2enmod rewrite
sudo systemctl restart apache2
WebインターフェースからMatomoをインストール
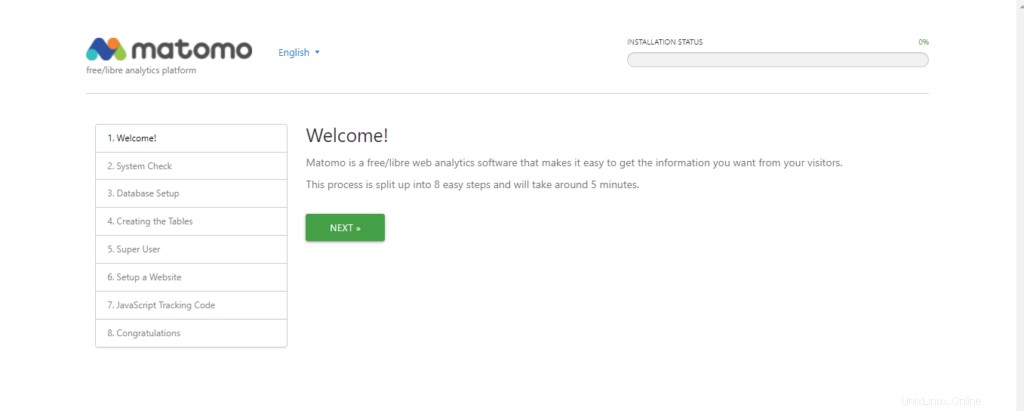
次に、Webブラウザを開き、ドメインにアクセスしてインストールを開始します。
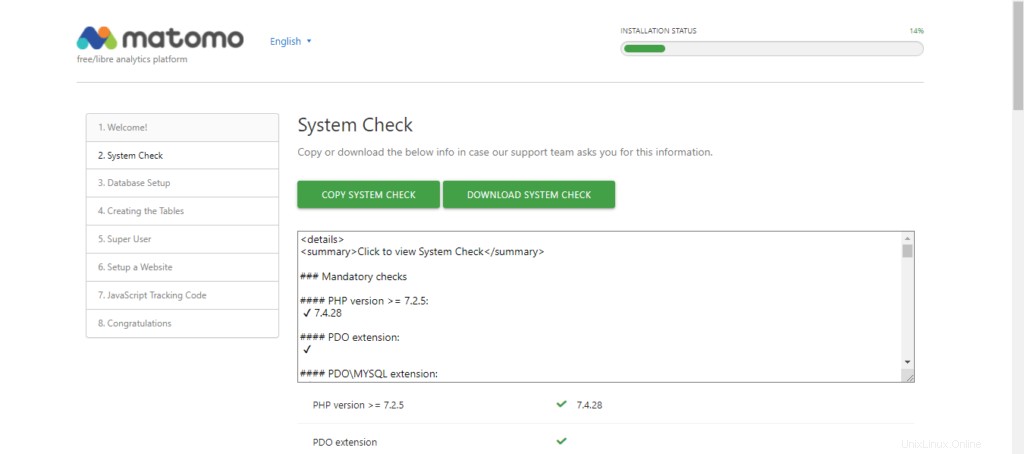
次の画面で、インストーラーはサーバーが完全な要件を満たしているかどうかを確認します。
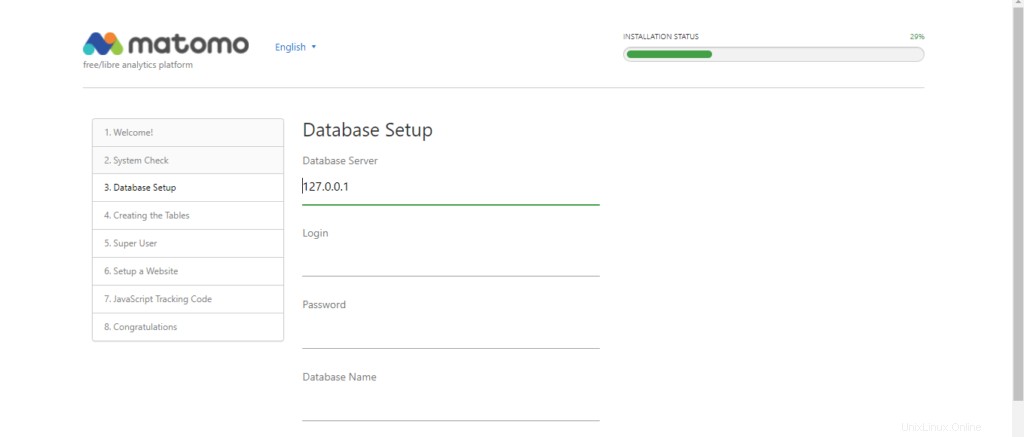
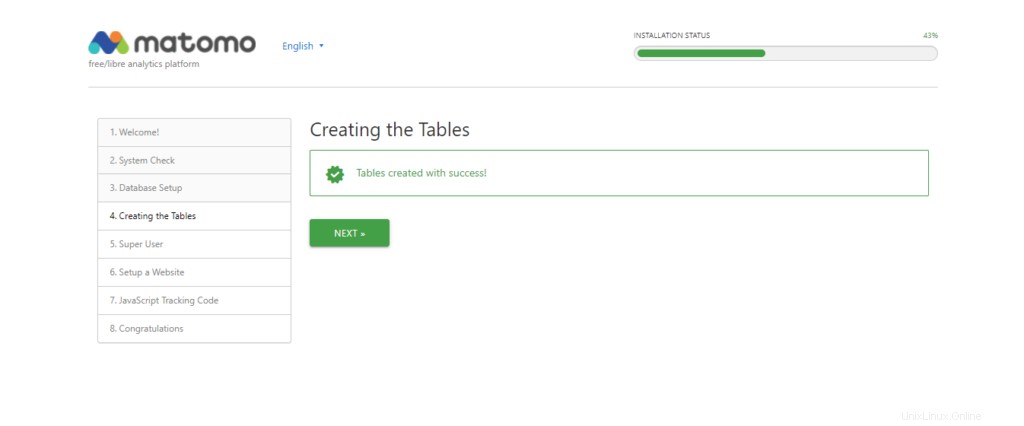
次に、データベースを構成します。
すべてがうまくいけば、この画像が表示されます。
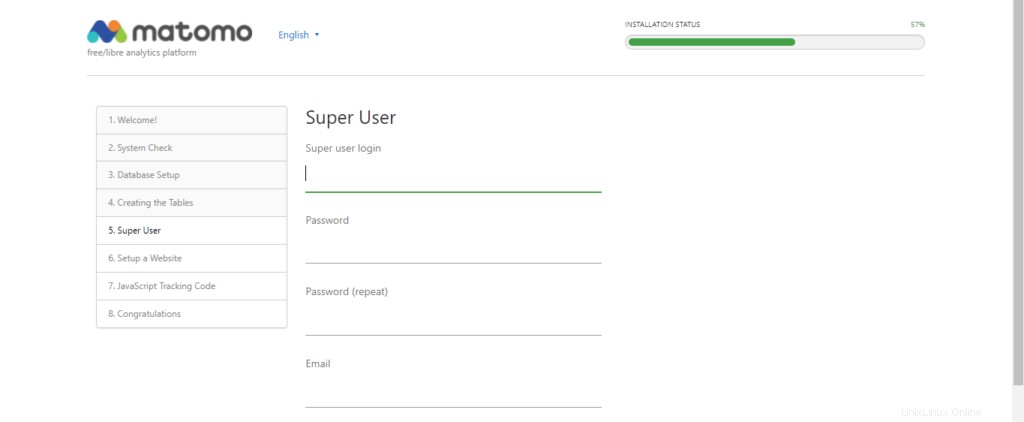
次に、ダッシュボードにアクセスするための管理者アカウントを作成します。
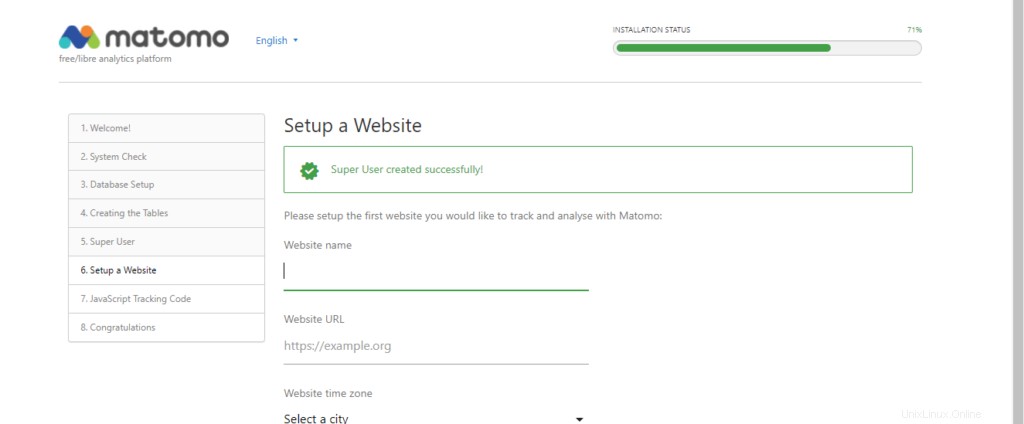
次に、Matomoの新しいサイトを作成します。
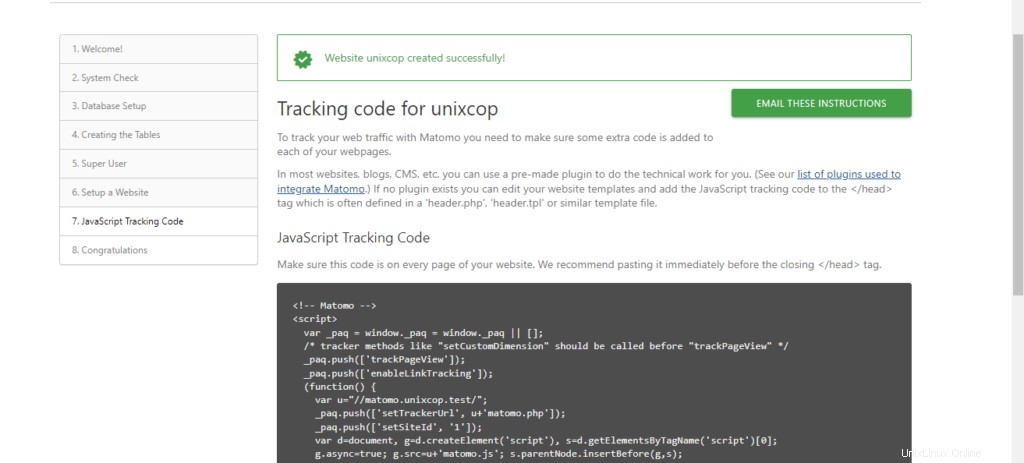
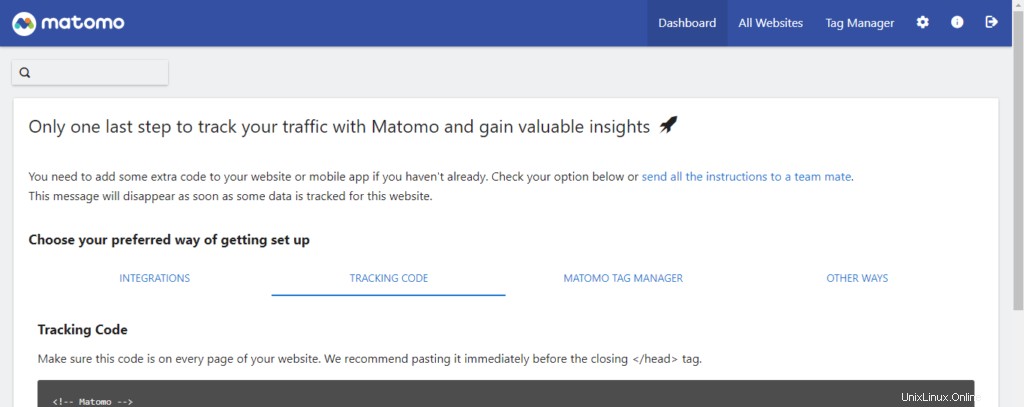
次に、ページの各ファイルにコピーする必要のあるコードが表示されます。また、WordPressまたは任意のCMSを使用している場合は、それをMatomoと統合するプラグインを使用できることも通知されています。
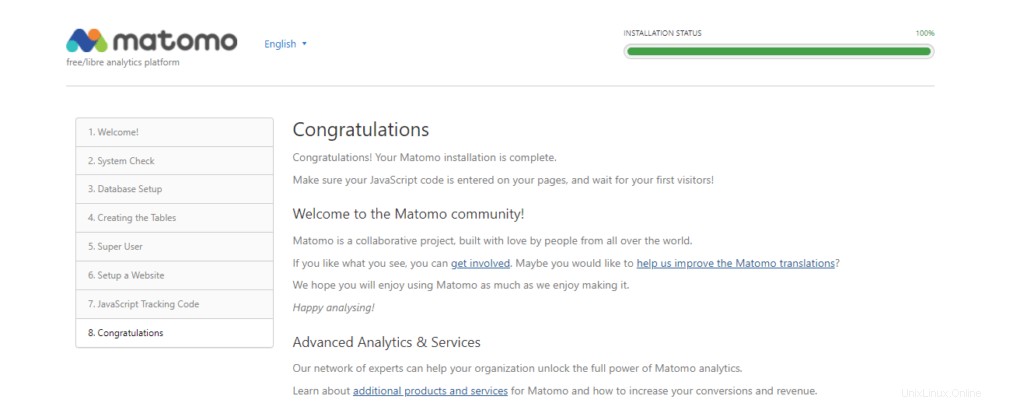
次に、インストールが成功したことを示すメッセージが表示されます。
管理者ユーザーでログインすると、ダッシュボードが表示されます。
完了です。
この投稿では、Debian11サーバーにMatomoをインストールする方法を学びました。このソフトウェアのおかげで、Webサイトをすばやく監視し、高度な統計情報を得ることができます。