pgAdminは、PostgreSQLデータベースを管理するための無料のオープンソースWebベースのツールであり、データベースを簡単に管理および保守するのに役立ついくつかの機能が含まれています。
pgAdminを使用すると、テーブル内のデータの表示と編集、SQLクエリの実行、ユーザーと権限の管理、シーケンスの作成などをすべてウェブブラウザから行うことができます
pgAdminは、Linux、Windows、macOSなどの複数のオペレーティングシステムで利用できます。
さらに、pgAdminはデスクトップアプリケーションとして実行することもできます。
この投稿では、Debian 11 /Debian10にpgAdminをインストールする方法を説明します。
PostgreSQLサーバーのインストール
まず、システムにPostgreSQLサーバーをまだインストールしていない場合は、システムにインストールします。
読む: Debian 11 /Debian10にPostgreSQLをインストールする方法
Debian11にpgAdminをインストールする
pgAdminリポジトリを追加
リポジトリインデックスを更新してから、いくつかの重要なパッケージをインストールします。
sudo apt update

sudo apt install -y apt-transport-https ca-certificates software-properties-common curl
まず、pgAdmin署名キーをシステムにインポートします。
# Debian 11

curl -fsSL https://www.pgadmin.org/static/packages_pgadmin_org.pub | sudo gpg --dearmor -o /usr/share/keyrings/pgadmin-keyring.gpg

# Debian 10

curl -fsSL https://www.pgadmin.org/static/packages_pgadmin_org.pub -O- | sudo apt-key add -
次に、以下のコマンドを使用してpgAdminリポジトリをシステムに追加します。
# Debian 11

echo "deb [signed-by=/usr/share/keyrings/pgadmin-keyring.gpg] https://ftp.postgresql.org/pub/pgadmin/pgadmin4/apt/bullseye pgadmin4 main" | sudo tee /etc/apt/sources.list.d/pgadmin4.list

# Debian 10

echo "deb https://ftp.postgresql.org/pub/pgadmin/pgadmin4/apt/buster pgadmin4 main" | sudo tee /etc/apt/sources.list.d/pgadmin4.list
pgAdmin4をインストール
リポジトリを追加したら、次のコマンドを実行してリポジトリインデックスを更新します。
sudo apt update
次のコマンドを使用してpgAdmin4Webアプリケーションをインストールします。
sudo apt install -y pgadmin4-web
pgAdmin4のセットアップ
アクセスする前に、pgAdmin4を設定する必要があります。したがって、以下のコマンドを使用してpgAdmin4のセットアップを開始します。
sudo /usr/pgadmin4/bin/setup-web.sh
セットアップを完了するには、いくつかの質問に答える必要があります。したがって、要件に従って回答してください。
Setting up pgAdmin 4 in web mode on a Debian based platform...
Creating configuration database...
NOTE: Configuring authentication for SERVER mode.

Enter the email address and password to use for the initial pgAdmin user account:

Email address: admin@itzgeek.local
Password: xxx
Retype password: xxx
pgAdmin 4 - Application Initialisation
======================================

Creating storage and log directories...
We can now configure the Apache Web server for you. This involves enabling the wsgi module and configuring the pgAdmin 4 application to mount at /pgadmin4. Do you wish to continue (y/n)? y << Type y and press Enter
The Apache web server is running and must be restarted for the pgAdmin 4 installation to complete. Continue (y/n)? y << Type y and press Enter
Apache successfully restarted. You can now start using pgAdmin 4 in web mode at http://127.0.0.1/pgadmin
でウェブモードでpgAdmin4の使用を開始できます。
PostgreSQL認証を設定する
デフォルトでは、PostgreSQLデータベースユーザーはUnixソケットからのみログインできます。したがって、pgAdmin4が別のマシンにインストールされている場合は、すべてのホストまたは特定のサブネットからのログインを有効にする必要があります。セキュリティを強化するために、MD5メソッドを有効にして、pgAdminが暗号化されたパスワードを送信するようにすることができます。
pg_hba.confを編集します ファイル。
# PostgreSQL 13

sudo nano /etc/postgresql/13/main/pg_hba.conf

# PostgreSQL 12

sudo nano /etc/postgresql/12/main/pg_hba.conf
以下のように表示される以下の行を更新します。
# TYPE  DATABASE        USER            ADDRESS                 METHOD

host     all            all              all                     md5
PostgreSQLサービスを再起動します。
sudo systemctl restart postgresql
pgAdmin4にアクセス
Webブラウザを開き、次のURLにアクセスしてpgAdmin4Webアプリケーションにアクセスします。
http://ip.add.re.ss/pgadmin4pgAdmin4のセットアップ中に入力したメールアドレスとパスワードを使用してpgAdmin4にログインします。
ログインに成功すると、pgAdmin4インターフェースが表示されます。
PostgreSQLサーバーを管理するには、新しいサーバーの追加をクリックして新しいサーバーを追加する必要があります。 ホームページで。
[一般]タブ:
名前:- PostgreSQLサーバーに名前を付けます
[接続]タブ:
ホスト名/アドレス:- PostgreSQLサーバーのホスト名またはIPアドレス。 pgAdmin4がPostgreSQLサーバー自体にインストールされている場合は、127.0.0.1と入力します。
ポート:- 5432(デフォルトのまま)–必要に応じて変更します。
ユーザー名:- 接続しているユーザー名。私の場合、postgresです。
パスワード:- データベースユーザーのパスワード。私の場合、これはpostgresユーザーのパスワードです。
保存をクリックします 変更を保存します。
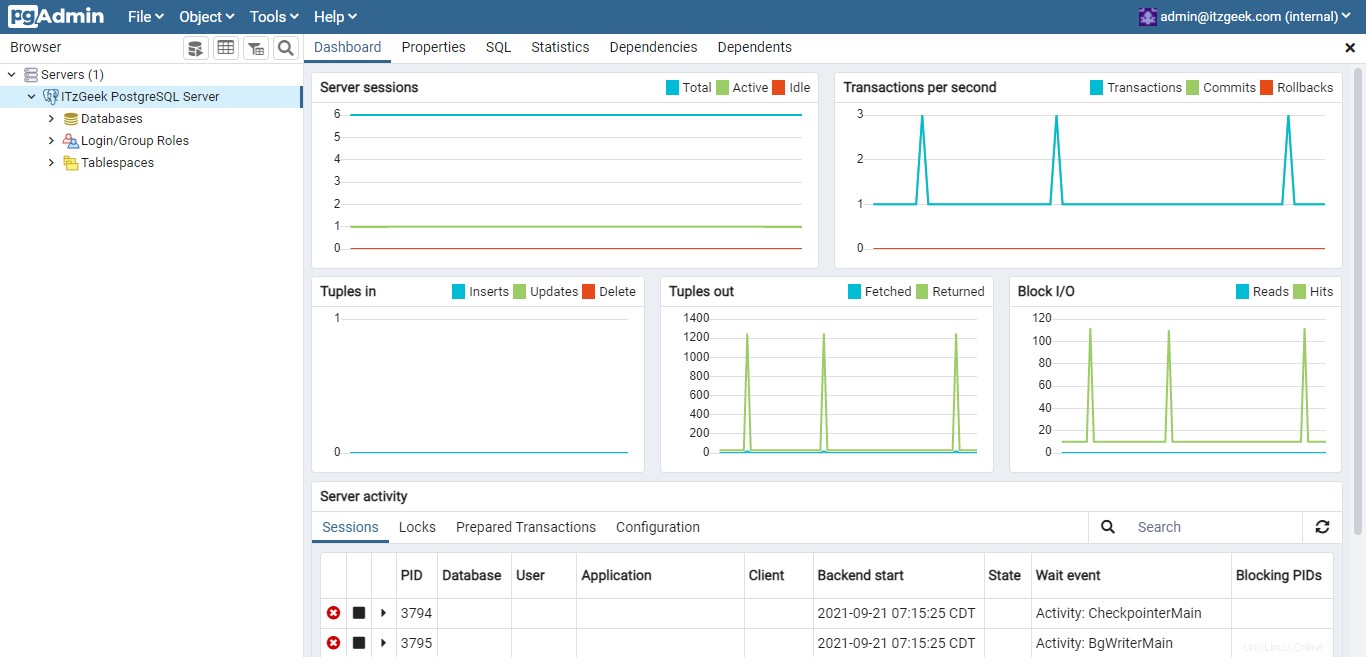
PostgreSQLサーバーへの接続が成功すると、次のページが表示されます。
結論
それで全部です。 Debian 11 / Debian 10にpgAdminが正常にインストールされました。また、データベースを管理するためにPostgreSQLインスタンスの1つを追加しました。詳細については、pgAdmin4のドキュメントをご覧ください。