InvoicePlaneは、無料のオープンソースの請求書発行アプリケーションです。そのソースコードは、このGithubにあります。このチュートリアルでは、新しいDebian 9(ストレッチ)システムにInvoicePlaneをインストールする方法を説明します。
- WebServer(Apache、NGINX)。このチュートリアルではNginxを使用します。
- MySQLバージョン5.5以降または同等のバージョンのMariaDB。
- 次のPHP拡張機能がインストールおよびアクティブ化されたPHPバージョン7.0、7.1、または7.2:
- php-gd
- php-hash
- php-json
- php-mbstring
- php-mcrypt
- php-mysqli
- php-openssl
- php-recode
- php-xmlrpc
- php-zlib
前提条件
- Debian9を実行しているサーバー。
- sudo権限を持つroot以外のユーザー。
Debianバージョンを確認してください:
lsb_release -ds
# Debian GNU/Linux 9 (stretch)
タイムゾーンを設定します:
sudo dpkg-reconfigure tzdata
オペレーティングシステムパッケージ(ソフトウェア)を更新します。これは、オペレーティングシステムのデフォルトのソフトウェアパッケージの最新の更新とセキュリティ修正を確実に行うための重要な最初のステップです。
sudo apt update && sudo apt upgrade -y
Debianオペレーティングシステムの基本的な管理に必要ないくつかの重要なパッケージをインストールします:
sudo apt install -y curl wget vim git unzip socat bash-completion apt-transport-https
InvoicePlaneウェブアプリケーションには、PHPバージョン7.0以降が必要です。
PHPと必要なPHP拡張機能をインストールします:
sudo apt install -y php-cli php-fpm php-common php-gd php-json php-mbstring php-mysql php-xmlrpc php-recode
モジュールにコンパイルされたPHPを表示するには、次のコマンドを実行できます。
php -m

ctype
curl
exif
fileinfo
. . .
. . .
PHPのバージョンを確認してください:
php --version

# PHP 7.0.9-1~deb10u1 (cli) (built: Sep 18 2019 10:33:23) ( NTS )
# Copyright (c) 1997-2018 The PHP Group
# Zend Engine v3.3.9, Copyright (c) 1998-2018 Zend Technologies
# with Zend OPcache v7.0.9-1~deb10u1, Copyright (c) 1999-2018, by Zend Technologies
PHP-FPMサービスを開始して有効にします:
sudo systemctl start php7.0-fpm.service
sudo systemctl enable php7.0-fpm.service
MariaDBをインストールします:
sudo apt install -y mariadb-server
MariaDBのバージョンを確認してください:
mysql --version
MariaDBサービスを開始して有効にします:
sudo systemctl start mariadb.service
sudo systemctl enable mariadb.service
mysql_secure installationを実行します MariaDBのセキュリティを向上させ、MariaDB rootのパスワードを設定するスクリプト ユーザー:
sudo mysql_secure_installation
以下に示すように、すべての質問に答えてください。
Enter current password for root (enter for none):
Set root password? [Y/n]: Y
Remove anonymous users? [Y/n]: Y
Disallow root login remotely? [Y/n]: Y
Remove test database and access to it? [Y/n]:  Y
Reload privilege tables now? [Y/n]:  Y
ユーザーrootとしてMariaDBシェルにログインします:
mysql -u root -p
# Enter password
InvoicePlaneのインストールに使用するMariaDBデータベースとユーザーを作成し、資格情報を覚えておいてください。
CREATE DATABASE dbname;
GRANT ALL ON dbname.* TO 'username' IDENTIFIED BY 'password';
FLUSH PRIVILEGES;
MariaDBシェルを終了します:
quit
dbnameを置き換えます 、ユーザー名 、およびパスワード 自分の名前で。
Nginxウェブサーバーをインストールします:
sudo apt install -y nginx
NGINXのバージョンを確認してください:
nginx -v
# nginx version: nginx/1.10.3
Nginxサービスを開始して有効にします:
sudo systemctl start nginx.service
sudo systemctl enable nginx.service
InvoicePlane用にNGINXを構成します。 sudo vim /etc/nginx/sites-available/invoiceplane.confを実行します ファイルに次の構成を入力します。
server {
    listen 80;
    listen [::]:80;

    server_name example.com;

    root /var/www/InvoicePlane;

    index index.php index.html;

    location / {
        try_files $uri $uri/ /index.php?$query_string;
    }

    location ~ \.php$ {
        include snippets/fastcgi-php.conf;
        include fastcgi_params;
        fastcgi_param SCRIPT_FILENAME $document_root$fastcgi_script_name;
        fastcgi_pass unix:/var/run/php/php7.0-fpm.sock;
    }
}
新しいinvoiceplane.confをアクティブ化します ファイルをsites-enabledにリンクして構成する ディレクトリ:
sudo ln -s /etc/nginx/sites-available/invoiceplane.conf /etc/nginx/sites-enabled/
NGINX構成をテストします:
sudo nginx -t
NGINXをリロードします:
sudo systemctl reload nginx.service
InvoicePlaneの最新の安定バージョンをダウンロードし、アーカイブを抽出します:
sudo mkdir -p /var/www
cd /var/www
sudo curl -O -J -L https://invoiceplane.com/download/v1.5.9
sudo unzip v1.5.9.zip
sudo rm v1.5.9.zip
sudo mv ip invoiceplane
/var/www/invoiceplaneに移動します ディレクトリ:
cd /var/www/invoiceplane
ipconfig.php.exampleのコピーを作成します ファイルを作成し、コピーの名前をipconfig.php:に変更します。
sudo cp ipconfig.php.example ipconfig.php
ipconfig.phpを開きます ファイルにURLを追加します:
sudo vim ipconfig.php
# Something like this
IP_URL=http://example.com
/var/www/invoiceplaneの所有権を変更します www-data:へのディレクトリ
sudo chown -R www-data:www-data /var/www/InvoicePlane
sudo vim /etc/php.iniを実行します date.timezone:を設定します
date.timezone = Region/City
PHP-FPMサービスを再起動します:
sudo systemctl restart php7.0-fpm.service
WebブラウザからInvoicePlaneインストーラを実行し、次の手順に従います。
http://example.com/index.php/setup
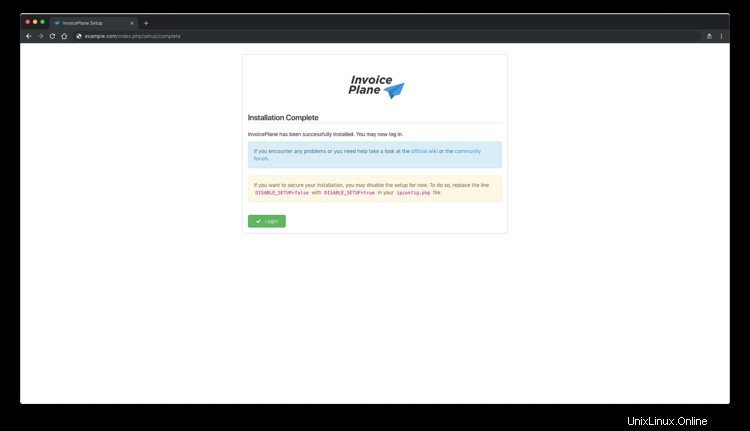
インストールが完了したら、インストール中に選択した電子メールアドレスとパスワードを使用してInvoicePlaneにログインできます。
インストールを保護する場合は、セットアップを無効にすることができます。これを行うには、DISABLE_SETUP=falseを置き換えます DISABLE_SETUP=trueの行 ipconfig.phpで ファイル。
これでInvoicePlaneがインストールおよび構成されたので、Webインストールウィザードにアクセスします。
Webブラウザーを開き、URL http://example.comを入力します 。次のページにリダイレクトされます:
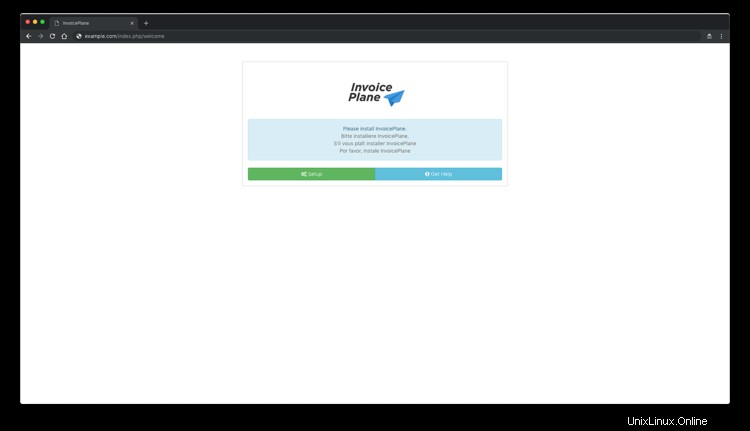
次に、セットアップをクリックします ボタン。次のページが表示されます:
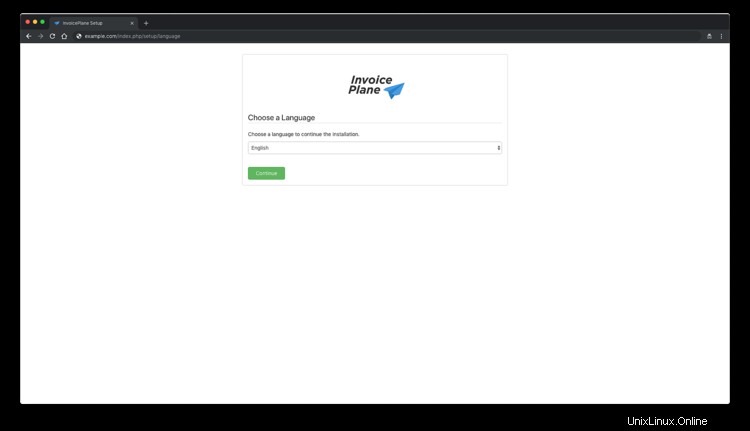
次に、言語を選択して、続行をクリックします ボタン。次のページが表示されます:
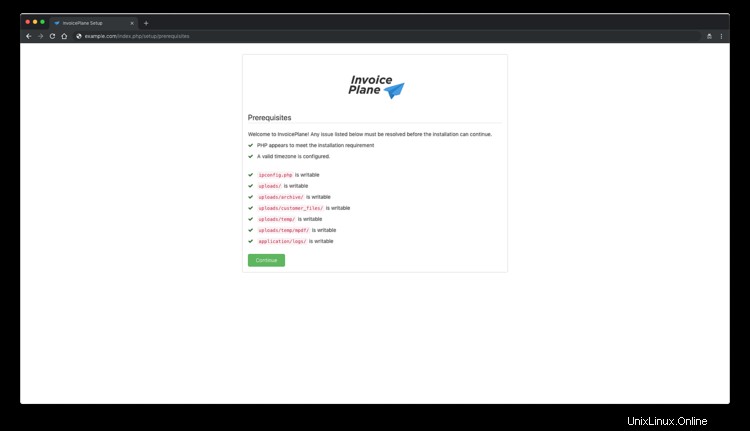
次に、続行をクリックします ボタン。次のページが表示されます:
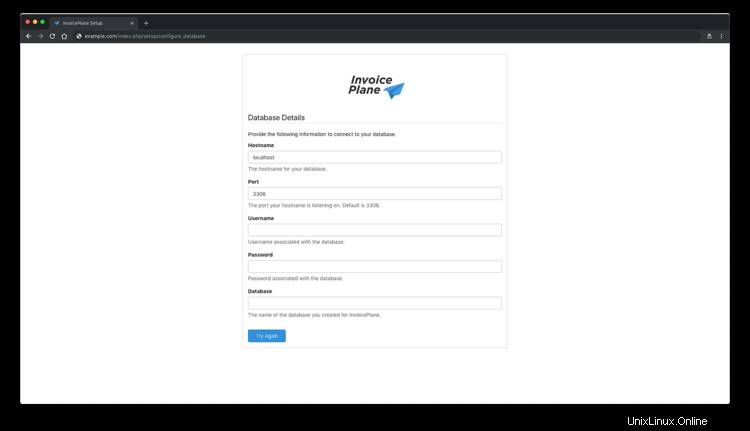
ここで、データベースの詳細を入力し、再試行をクリックします ボタン。次のページが表示されます:
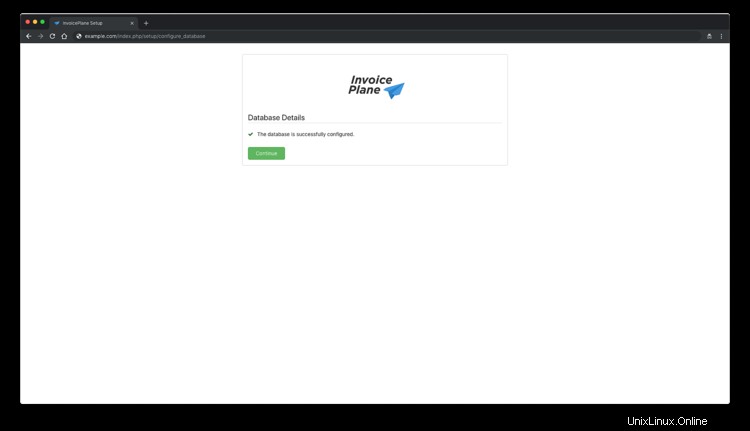
次に、続行をクリックします ボタン。次のページが表示されます:
次に、続行をクリックします ボタン。次のページが表示されます:
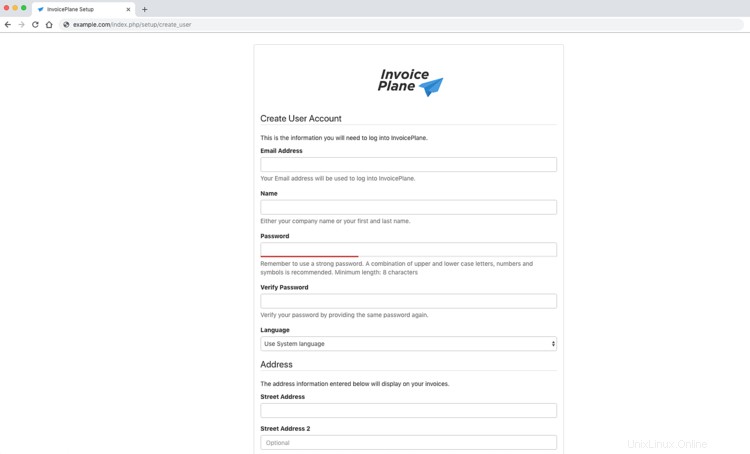
次に、必要な詳細をすべて入力してから、続行をクリックします。 ボタン。インストールが完了すると、次のページが表示されます。
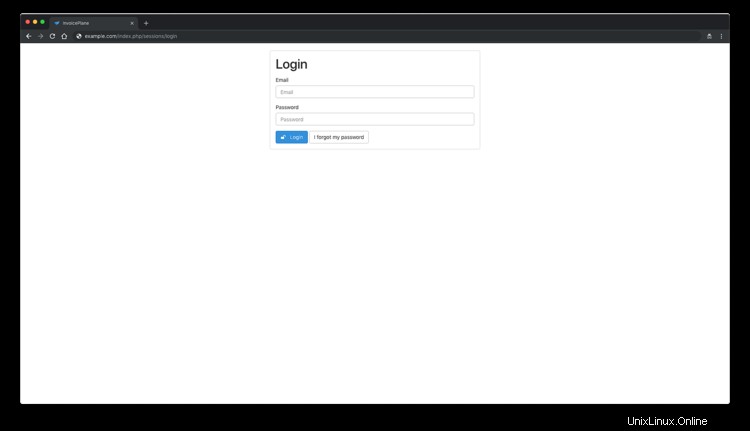
次に、ログインをクリックします InvoicePlane管理にアクセスするためのボタン。
- https://invoiceplane.com/
- https://github.com/InvoicePlane/InvoicePlane