マストドンは、Twitterに非常によく似たオープンソースのソーシャルネットワーキングプラットフォームです。マストドンで他のユーザーをフォローしたり、メッセージや画像を投稿したりできます。 RubyとJavaScriptで書かれており、誰でもプライベートかつ安全に使用できます。マストドンは、AndroidやiOSなどのさまざまなプラットフォーム向けのアプリケーションも提供しています。
このチュートリアルでは、Debian10にMastodonをインストールする方法を紹介します。
- Debian10を実行しているサーバー。
- ルートパスワードはサーバーで構成されています。
- 有効なドメイン名はサーバーのIPアドレスで示されます。このチュートリアルでは、test.linuxbuz.comを使用します。
まず、システムを最新バージョンに更新することをお勧めします。次のコマンドを実行することでそれを行うことができます:
apt-get update -y
 apt-get upgrade -y
システムを更新した後、Mastodonに必要ないくつかの依存関係をインストールする必要があります。次のコマンドですべてをインストールできます:
apt-get install software-properties-common dirmngr apt-transport-https ca-certificates curl gcc g++ make imagemagick ffmpeg libpq-dev libxml2-dev libxslt1-dev file git-core libprotobuf-dev protobuf-compiler pkg-config autoconf bison build-essential libssl-dev libyaml-dev libreadline-dev libidn11-dev libicu-dev libjemalloc-dev zlib1g-dev libncurses5-dev libffi-dev libgdbm-dev -y
すべての依存関係がインストールされたら、次のステップに進むことができます。
Node.jsをインストール
Mastodonでは、Node.jsバージョン8.xとYarnがシステムにインストールされている必要があります。 Node.jsをインストールするには、次のコマンドを使用してNode.jsリポジトリをサーバーに追加します。
curl -sL https://deb.nodesource.com/setup_8.x | bash -
リポジトリが追加されたら、次のコマンドを使用してNode.jsバージョン8をインストールします。
apt-get install nodejs -y
次に、YarnのGPGキーをダウンロードして追加し、次のコマンドでリポジトリを有効にします。
curl -sL https://dl.yarnpkg.com/debian/pubkey.gpg | apt-key add -
 echo "deb https://dl.yarnpkg.com/debian/ stable main" | tee /etc/apt/sources.list.d/yarn.list
追加したら、リポジトリを更新し、次のコマンドを使用してYarnをインストールします。
apt-get update -y
 apt-get install yarn -y
終了したら、次のステップに進むことができます。
PostgreSQLのインストールと構成
MastodonはPostgreSQLを使用してデータを保存します。次のコマンドを使用して、最新バージョンのPostgreSQLをインストールできます。
apt-get install postgresql postgresql-contrib -y
インストールしたら、次のコマンドを使用してPostgreSQLにログインします。
su - postgres
 [email protected]:~$ psql
 psql (11.5 (Debian 11.5-1+deb10u1))
 Type "help" for help.
次に、次のコマンドを使用してMastodonのユーザーを作成します。
postgres=# CREATE USER mastodon CREATEDB;
次に、次のコマンドを使用してPostgreSQLシェルを終了します。
postgres=#exit
Mastodonは、バックエンドの目的でRubyonRailsを使用しています。まず、Mastodonサーバーを実行するための新しいシステムユーザーを作成する必要があります。
次のコマンドで作成できます:
adduser --disabled-login --gecos 'Mastodon Server' mastodon
作成したら、次のコマンドを使用してmastodonユーザーにログインします。
su - mastodon
次に、次のコマンドを使用してrbenvリポジトリのクローンを作成します。
git clone https://github.com/rbenv/rbenv.git ~/.rbenv
次に、次のコマンドを使用してrbenvとruby-buildを設定します。
cd ~/.rbenv && src/configure && make -C src
 echo 'export PATH="$HOME/.rbenv/bin:$PATH"' >> ~/.bashrc
 echo 'eval "$(rbenv init -)"' >> ~/.bashrc
 exec bash
 git clone https://github.com/rbenv/ruby-build.git ~/.rbenv/plugins/ruby-build
終了したら、次のコマンドを使用して最新バージョンのRubyをインストールします。
RUBY_CONFIGURE_OPTS=--with-jemalloc rbenv install 2.6.1
インストールすると、次の出力が得られます。
Downloading ruby-2.6.1.tar.bz2...
-> https://cache.ruby-lang.org/pub/ruby/2.6/ruby-2.6.1.tar.bz2
Installing ruby-2.6.1...

Installed ruby-2.6.1 to /home/mastodon/.rbenv/versions/2.6.1
次に、次のコマンドを使用して、Rubyをグローバルに使用可能に設定します。
rbenv global 2.6.1
次に、gemを更新し、次のコマンドを使用してバンドラーをインストールします。
gem update --system
 gem install bundler --no-document
終了したら、次のコマンドでRubyを確認できます。
ruby --version
まず、mastodonユーザーにログインし、次のコマンドを使用してmastodongitリポジトリをダウンロードします。
su - mastodon
git clone https://github.com/tootsuite/mastodon.git ~/live
 cd ~/live
次に、次のコマンドを使用して最新のブランチをチェックアウトします。
git checkout $(git tag -l | grep -v 'rc[0-9]*$' | sort -V | tail -n 1)
次の出力が得られるはずです:
Note: checking out 'v2.9.3'. You are in 'detached HEAD' state. You can look around, make experimental changes and commit them, and you can discard any commits you make in this state without impacting any branches by performing another checkout. If you want to create a new branch to retain commits you create, you may do so (now or later) by using -b with the checkout command again. Example: git checkout -bHEAD is now at 06f906aca Bump version to 2.9.3
次に、次のコマンドを使用して、rubyとNode.jsに必要なすべての依存関係をインストールします。
bundle install -j$(getconf _NPROCESSORS_ONLN) --deployment --without development test
 yarn install --pure-lockfile
次に、次のコマンドを使用してマストドンをセットアップします。
RAILS_ENV=production bundle exec rake mastodon:setup
セットアッププロセス中に、いくつかの質問があります。以下に示すように、すべての質問に答えてください。
Your instance is identified by its domain name. Changing it afterward will break things.
Domain name: test.linuxbuz.com

Single user mode disables registrations and redirects the landing page to your public profile.
Do you want to enable single user mode? No

Are you using Docker to run Mastodon? no

PostgreSQL host: /var/run/postgresql
PostgreSQL port: 5432
Name of PostgreSQL database: mastodon_production
Name of PostgreSQL user: mastodon
Password of PostgreSQL user:
Database configuration works! ????

Redis host: localhost
Redis port: 6379
Redis password:
Redis configuration works! ????

Do you want to store uploaded files on the cloud? No

Do you want to send e-mails from localhost? yes
E-mail address to send e-mails "from": Mastodon <[email protected]>
Send a test e-mail with this configuration right now? no

This configuration will be written to .env.production
Save configuration? Yes

Now that configuration is saved, the database schema must be loaded.
If the database already exists, this will erase its contents.
Prepare the database now? Yes

All done! You can now power on the Mastodon server ????

Do you want to create an admin user straight away? Yes
Username: admin
E-mail: [email protected]
You can login with the password: a9a78a4c2eb442d72eb946f94ebe9a00
You can change your password once you login.
終了したら、次のコマンドを使用してマストドンユーザーを終了します。
exit
次に、NginxとCertbotをシステムにインストールする必要があります。デフォルトでは、Certbotの最新バージョンはDebian10デフォルトリポジトリで利用できません。そのため、Certbotリポジトリをシステムに追加する必要があります。
次のコマンドで追加できます:
add-apt-repository ppa:certbot/certbot
次に、リポジトリを更新し、次のコマンドを実行してNginxでCertbotをインストールします。
apt-get update -y
 apt-get install nginx python-certbot-nginx -y
両方のパッケージがインストールされたら、次のコマンドを使用して、Nginx構成ファイルをMastodonディレクトリからNginxにコピーします。
cp /home/mastodon/live/dist/nginx.conf /etc/nginx/sites-available/mastodon.conf
次に、次のコマンドを使用して、Mastodon仮想ホスト構成ファイルを有効にします。
ln -s /etc/nginx/sites-available/mastodon.conf /etc/nginx/sites-enabled/
デフォルトでは、Mastodon仮想ホスト構成ファイルはドメインexample.comで構成されています。したがって、example.comドメインをmastodon.confファイルのドメイン名に置き換える必要があります。次のコマンドに置き換えることができます:
sed -i 's/example.com/test.linuxbuz.com/g' /etc/nginx/sites-enabled/mastodon.conf
次に、Nginxサービスを再起動して、構成を適用します。
systemctl restart nginx
次に、Let's Encryptの無料SSL証明書をダウンロードし、certbotコマンドを実行してこの証明書を使用するようにNginxを構成します。
certbot --nginx -d test.linuxbuz.com
これにより、無料のLet's Encrypt SSL証明書がダウンロードされ、ドメインtest.linuxbuz.comのNginxが構成されます。
MastodonのNginx構成ファイルは次のようになります。
cat /etc/nginx/sites-enabled/mastodon.conf
出力:
map $http_upgrade $connection_upgrade {
  default upgrade;
  ''      close;
}

proxy_cache_path /var/cache/nginx levels=1:2 keys_zone=CACHE:10m inactive=7d max_size=1g;

server {
    if ($host = test.linuxbuz.com) {
        return 301 https://$host$request_uri;
    } # managed by Certbot


  listen 80;
  listen [::]:80;
  server_name test.linuxbuz.com;
  root /home/mastodon/live/public;
  location /.well-known/acme-challenge/ { allow all; }
  location / { return 301 https://$host$request_uri; }


}

server {
  listen 443 ssl http2;
  listen [::]:443 ssl http2;
  server_name test.linuxbuz.com;

  ssl_protocols TLSv1.2;
  ssl_ciphers HIGH:!MEDIUM:!LOW:!aNULL:!NULL:!SHA;
  ssl_prefer_server_ciphers on;
  ssl_session_cache shared:SSL:10m;

  # Uncomment these lines once you acquire a certificate:
  # ssl_certificate     /etc/letsencrypt/live/test.linuxbuz.com/fullchain.pem;
  # ssl_certificate_key /etc/letsencrypt/live/test.linuxbuz.com/privkey.pem;

  keepalive_timeout    70;
  sendfile             on;
  client_max_body_size 80m;

  root /home/mastodon/live/public;

  gzip on;
  gzip_disable "msie6";
  gzip_vary on;
  gzip_proxied any;
  gzip_comp_level 6;
  gzip_buffers 16 8k;
  gzip_http_version 1.1;
  gzip_types text/plain text/css application/json application/javascript text/xml application/xml application/xml+rss text/javascript;

  add_header Strict-Transport-Security "max-age=31536000";

  location / {
    try_files $uri @proxy;
  }

  location ~ ^/(emoji|packs|system/accounts/avatars|system/media_attachments/files) {
    add_header Cache-Control "public, max-age=31536000, immutable";
    add_header Strict-Transport-Security "max-age=31536000";
    try_files $uri @proxy;
  }

  location /sw.js {
    add_header Cache-Control "public, max-age=0";
    add_header Strict-Transport-Security "max-age=31536000";
    try_files $uri @proxy;
  }

  location @proxy {
    proxy_set_header Host $host;
    proxy_set_header X-Real-IP $remote_addr;
    proxy_set_header X-Forwarded-For $proxy_add_x_forwarded_for;
    proxy_set_header X-Forwarded-Proto https;
    proxy_set_header Proxy "";
    proxy_pass_header Server;

    proxy_pass http://127.0.0.1:3000;
    proxy_buffering on;
    proxy_redirect off;
    proxy_http_version 1.1;
    proxy_set_header Upgrade $http_upgrade;
    proxy_set_header Connection $connection_upgrade;

    proxy_cache CACHE;
    proxy_cache_valid 200 7d;
    proxy_cache_valid 410 24h;
    proxy_cache_use_stale error timeout updating http_500 http_502 http_503 http_504;
    add_header X-Cached $upstream_cache_status;
    add_header Strict-Transport-Security "max-age=31536000";

    tcp_nodelay on;
  }

  location /api/v1/streaming {
    proxy_set_header Host $host;
    proxy_set_header X-Real-IP $remote_addr;
    proxy_set_header X-Forwarded-For $proxy_add_x_forwarded_for;
    proxy_set_header X-Forwarded-Proto https;
    proxy_set_header Proxy "";

    proxy_pass http://127.0.0.1:4000;
    proxy_buffering off;
    proxy_redirect off;
    proxy_http_version 1.1;
    proxy_set_header Upgrade $http_upgrade;
    proxy_set_header Connection $connection_upgrade;

    tcp_nodelay on;
  }

  error_page 500 501 502 503 504 /500.html;

    ssl_certificate /etc/letsencrypt/live/test.linuxbuz.com/fullchain.pem; # managed by Certbot
    ssl_certificate_key /etc/letsencrypt/live/test.linuxbuz.com/privkey.pem; # managed by Certbot
}
これで、Nginxがインストールされ、Mastodonにサービスを提供するように構成されました。次に、Mastodonのsystemdサービスファイルを構成する必要があります。これを行うには、Mastodonディレクトリからsystemdサービステンプレートをコピーします。
cp /home/mastodon/live/dist/mastodon-web.service /etc/systemd/system/
 cp /home/mastodon/live/dist/mastodon-sidekiq.service /etc/systemd/system/
 cp /home/mastodon/live/dist/mastodon-streaming.service /etc/systemd/system/
次に、すべてのサービスを開始し、次のコマンドを使用して再起動後にサービスを開始できるようにします。
systemctl start mastodon-web
 systemctl start mastodon-sidekiq
 systemctl start mastodon-streaming
 systemctl enable mastodon-web
 systemctl enable mastodon-sidekiq
 systemctl enable mastodon-streaming
MastodonWebインターフェイスにアクセス
次に、Webブラウザーを開き、URL https://test.linuxbuz.comを入力します。 。次のページにリダイレクトされます:
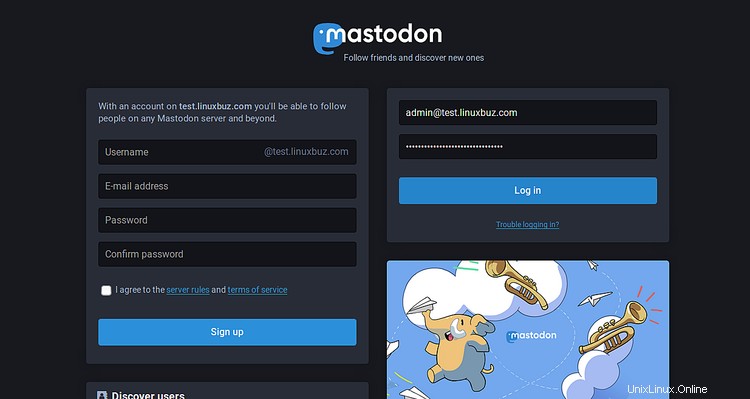
次に、前に作成した管理者の電子メールとパスワードを入力して、ログをクリックします。 で ボタン。次のページが表示されます:
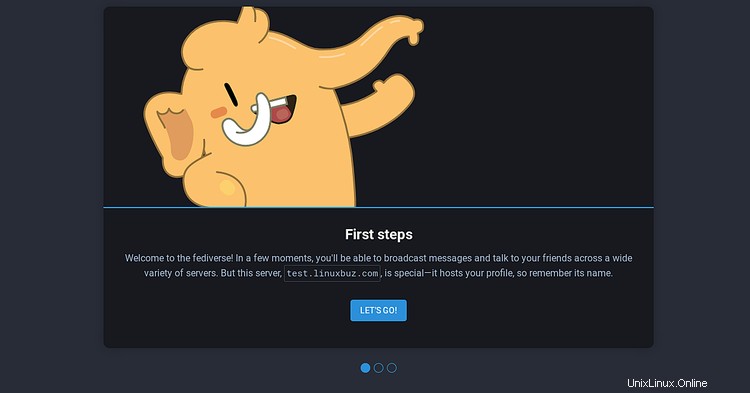
次に、 LET'S GO!をクリックします。 ボタン。次のページが表示されます:
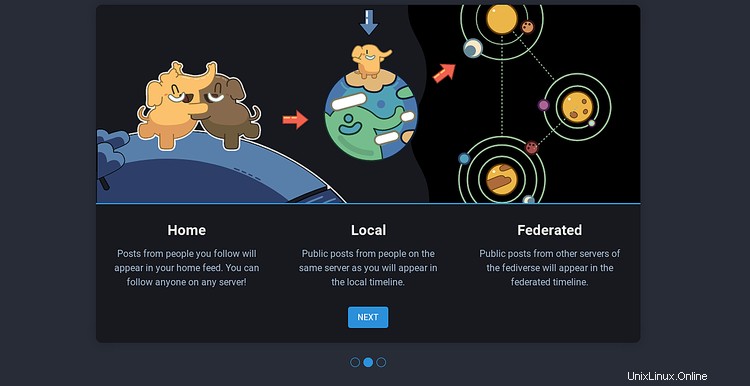
次に、次へをクリックします ボタン。次のページが表示されます:
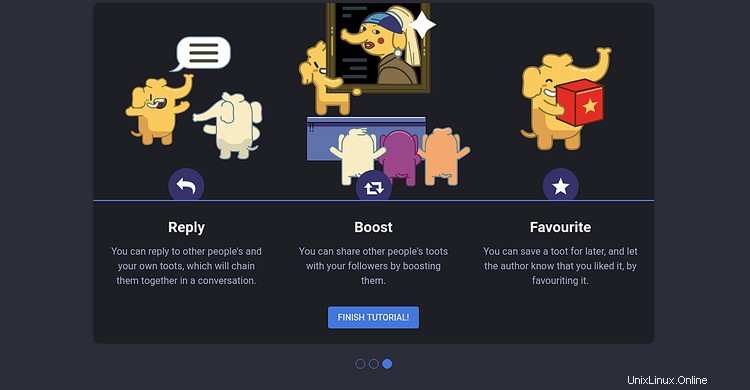
次に、終了をクリックします チュートリアル !ボタン。次のページにMastodonダッシュボードが表示されます。
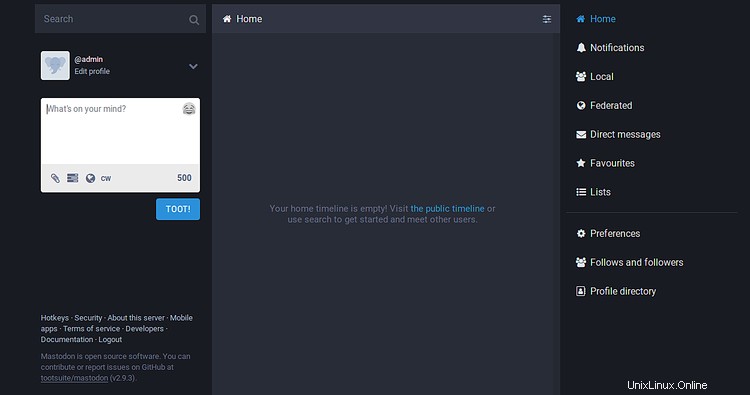
おめでとう!これで、Debian10サーバーにMastodonが正常にインストールおよび構成されました。マストドンを使用して、独自のソーシャルメディアネットワークを簡単に作成できるようになりました。ご不明な点がございましたら、お気軽にお問い合わせください。