Ntopngは、ネットワークトラフィックをリアルタイムで監視するために使用できる、無料のオープンソースで非常に便利なネットワーク監視ツールです。これは、libpcapに基づく元のntopの高性能、低リソース、および次世代バージョンです。クロスプラットフォームであり、すべてのUnixプラットフォーム、MacOSX、およびWindowsで動作します。 ntopngは、TCP、UDP、ICMP、DLC、IPX、ARP、Netbios、Decnetなどのさまざまなプロトコルを監視および報告します。
機能
- IPアドレスのジオロケーション
- ネットワークトラフィックとIPv4/IPv6ホストを表示する
- トラフィックを分析し、送信元/宛先に従って並べ替えます
- トラフィック統計をRRD形式で保存する
- プロトコルタイプごとにIPプロトコルの使用状況を報告および並べ替える
- Debian10を実行しているサーバー。
- サーバーにルートパスワードが設定されています。
開始する前に、システムを最新バージョンに更新する必要があります。これを行うには、次のコマンドを実行します。
apt-get update -y
 apt-get upgrade -y
サーバーが更新されたら、サーバーを再起動して変更を適用します。
Ntopngのインストール
デフォルトでは、NtopngはDebian10リポジトリでは利用できません。したがって、Ntopngリポジトリをシステムに追加する必要があります。
次のコマンドでNtopngリポジトリをインストールできます:
wget http://apt.ntop.org/buster/all/apt-ntop.deb
 dpkg -i apt-ntop.deb
リポジトリが追加されたら、リポジトリを更新し、次のコマンドを実行してNtopngをインストールします。
apt-get update -y
 apt-get install pfring-dkms nprobe ntopng n2disk cento -y
インストールが完了したら、次のコマンドを使用してNtopngサービスを開始し、システムの再起動時に開始できるようにします。
systemctl start ntopng
 systemctl enable ntopng
次のコマンドを使用して、Ntopngのステータスを確認できるようになりました。
systemctl status ntopng
次の出力が表示されます。
? ntopng.service - ntopng high-speed web-based traffic monitoring and analysis tool
   Loaded: loaded (/etc/systemd/system/ntopng.service; enabled; vendor preset: enabled)
   Active: active (running) since Sat 2019-09-21 02:05:50 EDT; 7min ago
 Main PID: 3314 (ntopng)
    Tasks: 26 (limit: 1138)
   Memory: 209.2M
   CGroup: /system.slice/ntopng.service
           ??3314 /usr/local/bin/ntopng /run/ntopng.conf

Sep 21 02:05:53 debian ntopng[3314]: 21/Sep/2019 02:05:53 [Ntop.cpp:707] Adding 192.168.0.103/32 as IPv4 interface address for enp0s3
Sep 21 02:05:53 debian ntopng[3314]: 21/Sep/2019 02:05:53 [Ntop.cpp:715] Adding 192.168.0.0/24 as IPv4 local network for enp0s3
Sep 21 02:05:53 debian ntopng[3314]: 21/Sep/2019 02:05:53 [Ntop.cpp:735] Adding ::1/128 as IPv6 interface address for lo
Sep 21 02:05:53 debian ntopng[3314]: 21/Sep/2019 02:05:53 [Ntop.cpp:744] Adding ::1/128 as IPv6 local network for lo
Sep 21 02:05:53 debian ntopng[3314]: 21/Sep/2019 02:05:53 [Ntop.cpp:735] Adding fe80::a00:27ff:fe99:dc40/128 as IPv6 interface address for enp0
Sep 21 02:05:53 debian ntopng[3314]: 21/Sep/2019 02:05:53 [Ntop.cpp:744] Adding fe80::a00:27ff:fe99:dc40/64 as IPv6 local network for enp0s3
Sep 21 02:05:56 debian ntopng[3314]: 21/Sep/2019 02:05:56 [PeriodicActivities.cpp:72] Started periodic activities loop...
Sep 21 02:06:09 debian ntopng[3314]: 21/Sep/2019 02:06:09 [PeriodicActivities.cpp:114] Each periodic activity script will use 2 threads
Sep 21 02:06:09 debian ntopng[3314]: 21/Sep/2019 02:06:09 [NetworkInterface.cpp:2791] Started packet polling on interface enp0s3 [id: 1]...
Sep 21 02:06:09 debian ntopng[3314]: 21/Sep/2019 02:06:09 [NetworkInterface.cpp:2791] Started packet polling on interface lo [id: 2]...
Ntopngの構成
デフォルトのNtopng構成ファイルは/etc/ntopng/ntopng.confにあります。編集して変更を加える必要があります:
nano /etc/ntopng/ntopng.conf
次の行を変更します:
-G=/var/run/ntopng.pid
##Define the network interface for network monitoring.
-i=enp0s3
##Define the HTTP port for web server.
-w=3000
終了したら、ファイルを保存して閉じます。次に、新しいntopng.startファイルを作成してネットワークを定義します。
nano /etc/ntopng/ntopng.start
次の行を追加します:
--local-networks "192.168.0.0/24"  ## give your local IP Ranges here.
--interface 1
ファイルを保存して閉じ、Ntopngを再起動して構成の変更を適用します。
systemctl restart ntopng
これで、Ntopngが実行され、ポート3000でリッスンします。Webブラウザーを開き、URL http:// your-server-ip:3000にアクセスします。次のページが表示されます:
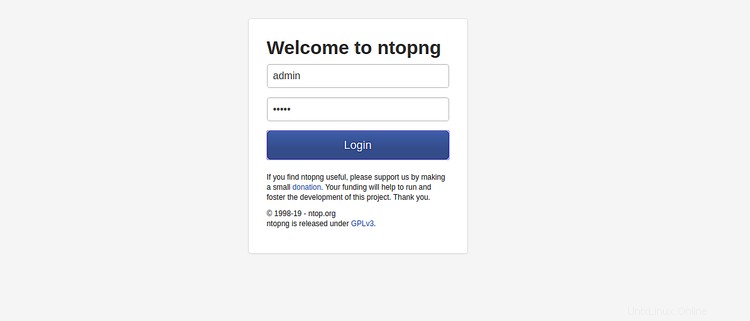
Ntopngのデフォルトのユーザー名とパスワードをadmin/adminとして指定し、ログインをクリックします。 ボタン。次の画面が表示されます。
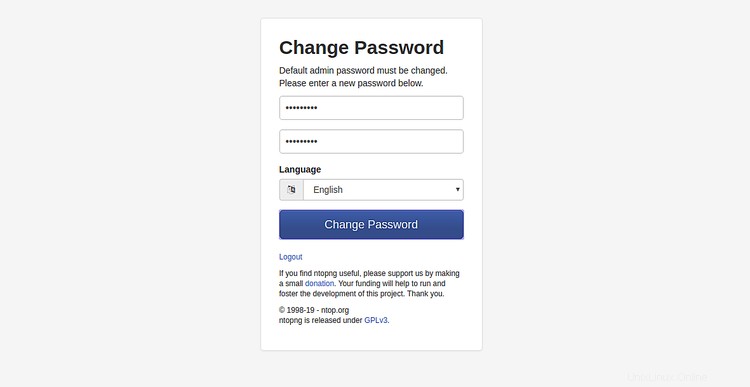
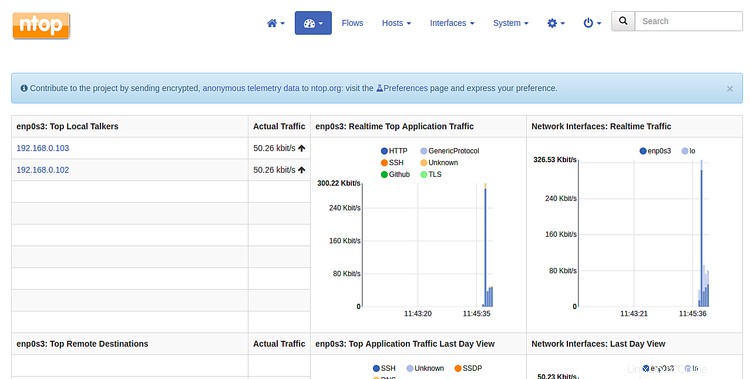
次に、希望のパスワードを入力して、変更をクリックします。 パスワード ボタン。次のページにNtopngのデフォルトのダッシュボードが表示されます。
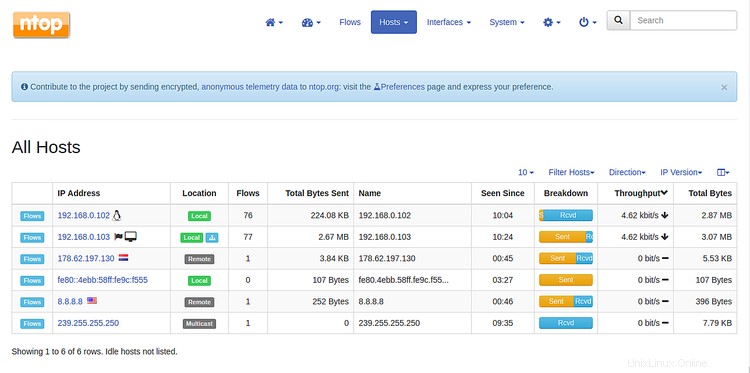
次に、ホスト>すべてのホストをクリックします。 。次の画面に、ネットワークで使用可能なすべてのホストが表示されます。
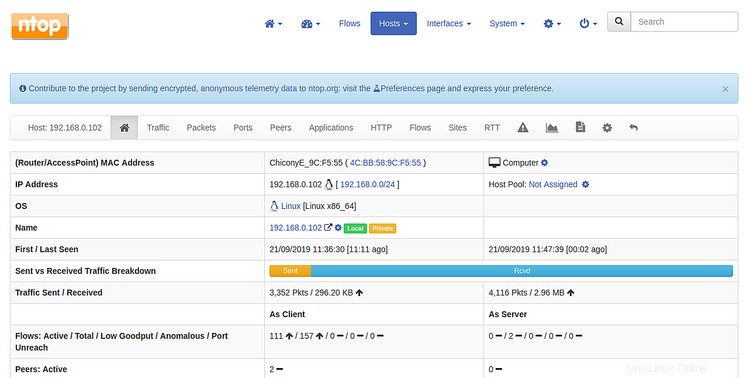
次に、ホストの1つをクリックします 、次の画面にこのホストに関するすべての情報が表示されます。
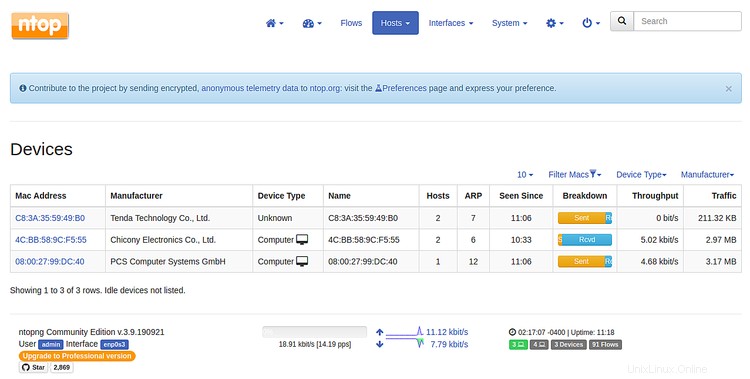
次に、ホスト>デバイスをクリックします 。次の画面に、ネットワーク内のすべてのホストのMacアドレスが表示されます。
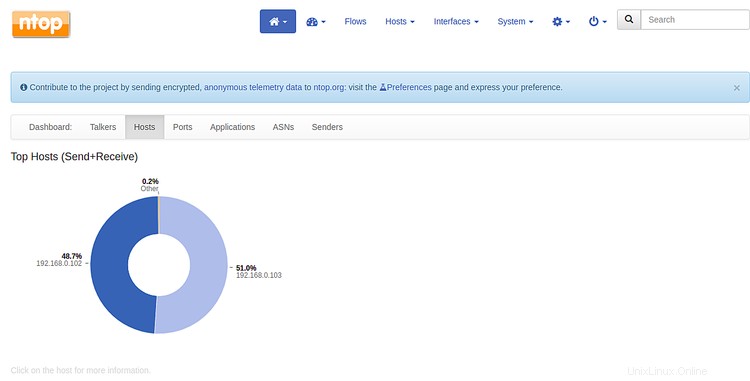
次に、ホーム>ホストをクリックします 次の画面で上位のホストのリストを表示するには:
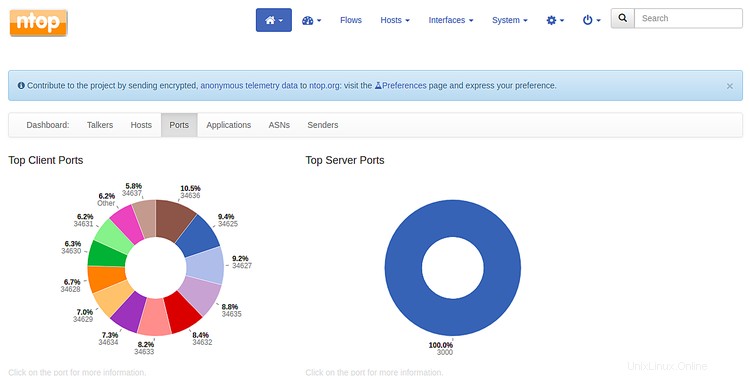
次に、ポートをクリックします ボタンをクリックすると、次の画面に上位のクライアントポートとサーバーポートのリストが表示されます。
おめでとう!これで、Debian10サーバーにNtopngが正常にインストールおよび構成されました。これで、ネットワーク上の任意のデバイスを簡単に監視できます。