最近のユーザーは、すべてGoogleサービスであるGoogleドライブ、OneDrive、iDriveなどのファイルを保存するためにクラウドストレージを好みます。 KIO GDrive は無料のオープンソースアプリケーションであり、KIO対応アプリがGoogleドライブを編集してアクセスできるようにするため、前述の目的にも使用されます。これは、KDEデスクトップで実行されるKDE製品です。 KIO GDriveは、ファイルをコンピューターからGoogleドライブに簡単に移動します。
インストールの完全な手順 および使用法 KIO GDrive この記事で説明します。
Ubuntu22.04にKIOGDriveをインストールする方法
Ubuntu22.04にKIOGDriveをインストールするには、以下の手順に従ってください。
ステップ1:Ubuntuのパッケージを更新する
まず、システムパッケージを更新します。これを行うには、「 CTRL + ALT + T」を使用してターミナルを開きます。 」と入力し、次のコマンドを実行します。
$ sudo apt update 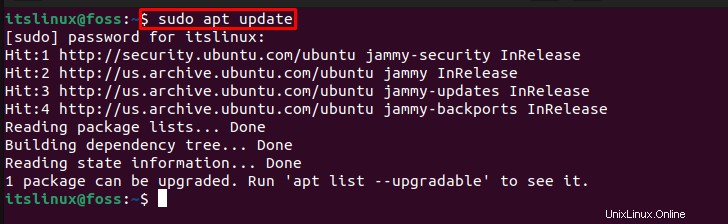
ステップ2:KDEアカウントプロバイダーパッケージのインストール
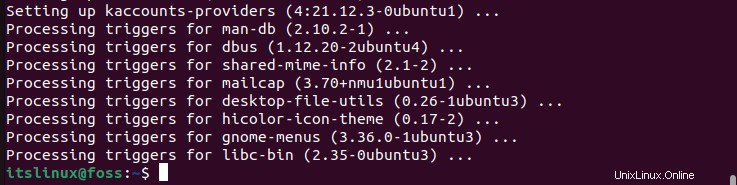
このステップでは、Ubuntu22.04でGoogleやFacebookなどのオンラインサービスを認識するのに役立つ追加のパッケージをインストールします。この目的のために、「 kaccounts-providers」をインストールします 以下のコマンドを使用した」パッケージ:
$ sudo apt install -y kaccounts-providers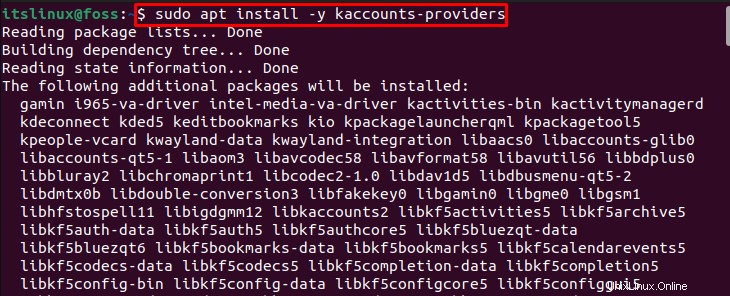
ステップ3:KIOGDriveのインストール
Ubuntu22.04にKIOGDriveをインストールするには、ターミナルで提供されているコマンドを書き出します。
$ sudo apt install -y kio-gdrive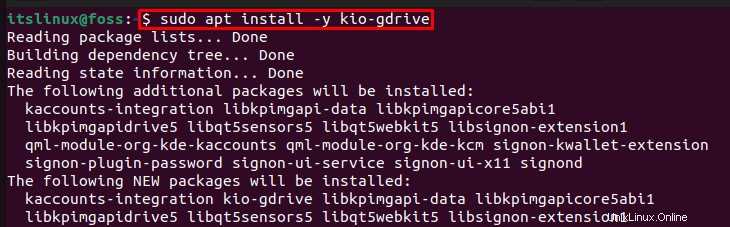
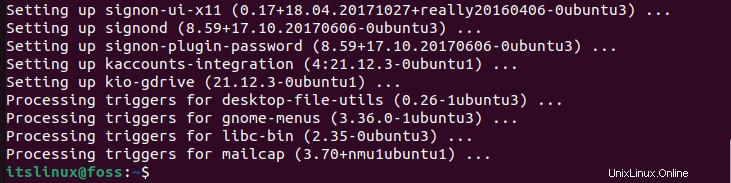
Ubuntu22.04にKIOGDriveが正常にインストールされました。
注: Ubuntu 22.04でKIOGDriveを使用するには、KDE Plasma Desktopをインストールし、Ubuntuシステムにログインするときにアクティブ化する必要があります。
ステップ4:KDEPlasmaDesktopをインストールする
上記のように、KIO GDriveを使用および構成するには、Ubuntu22.04にKDEPlasmaDesktopをインストールします。
$ sudo apt install kde-plasma-desktop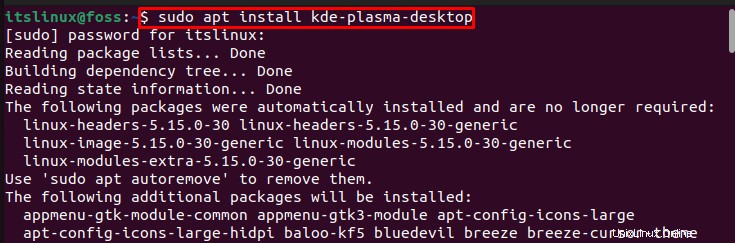
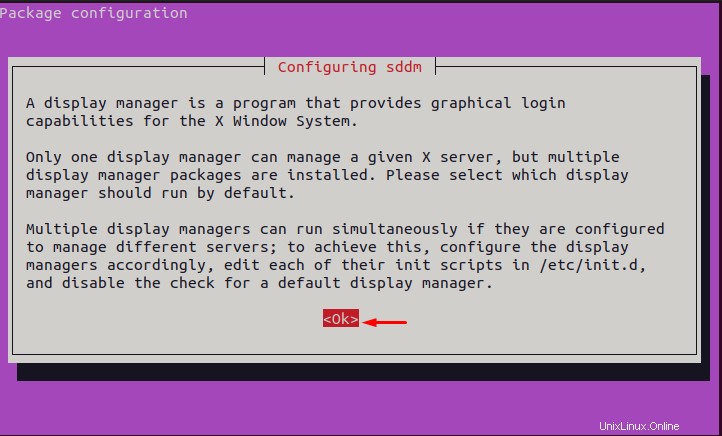
一方、次の「パッケージ構成 」ウィンドウが画面に表示されます。 「OK」をクリックします 」ボタンで先に進みます:
「ディスプレイマネージャ」を選択します 好みに応じて」を押し、「 Enter」を押します。 」キーでKDEデスクトップのインストールを続行します:
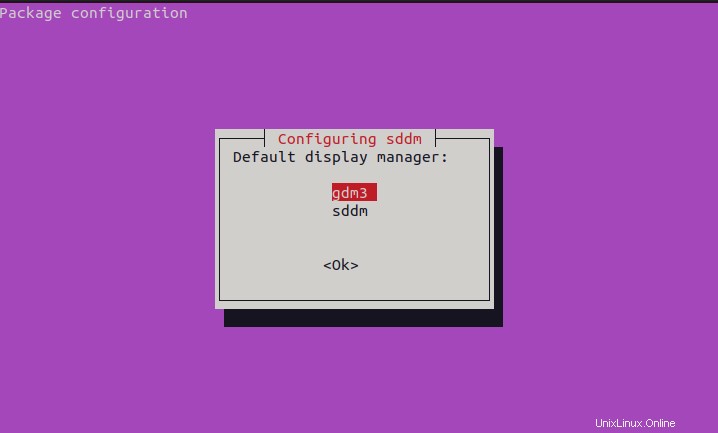
与えられた出力は、KDEデスクトップがUbuntu22.04に正常にインストールおよび構成されていることを示しています。

ステップ5:システムを再起動します
KDE Plasmaデスクトップをインストールした後、次のコマンドを使用してシステムを再起動します。
$ reboot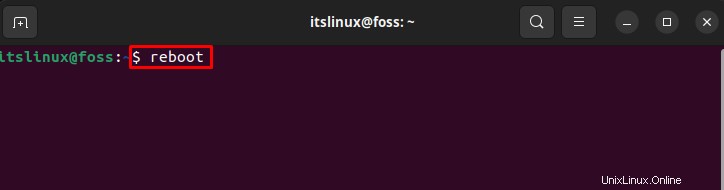
Ubuntu 22.04では、KIOGDriveとKDEPlasmaDesktopのインストールが正常に完了しました。次に、Ubuntu22.04でKIOGDriveを使用する方法を確認します。
Ubuntu22.04でKIOGDriveを使用する方法
KIO GDriveは、KDEデスクトップ環境をアクティブ化することでUbuntu22.04で使用できます。 Ubuntu22.04でKIOGDriveを使用する方法を調べるには、以下の手順に従ってください。
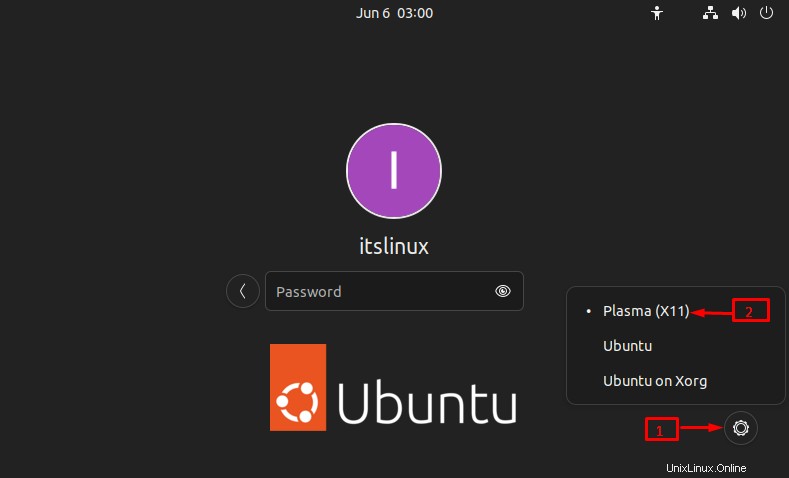
システムを再起動した後、まず「ギア」をクリックします 右下から「」アイコンを選択し、「プラズマX11」を選択します。 」を使用してデスクトップ環境としてアクティブ化します:
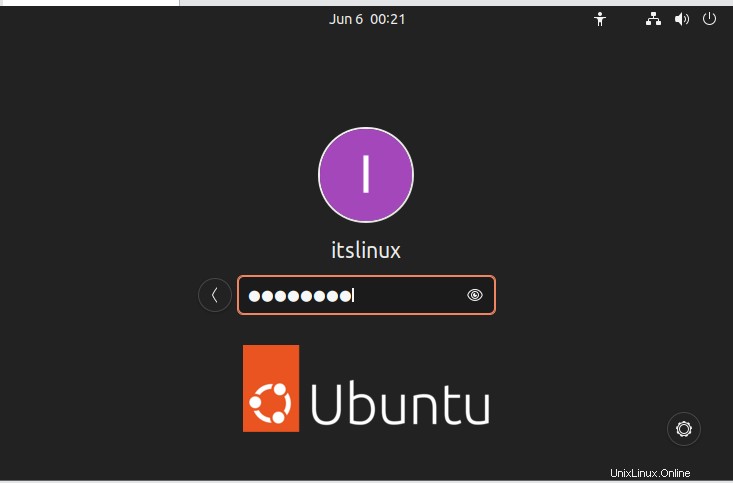
パスワードを指定します システムにログインするには:
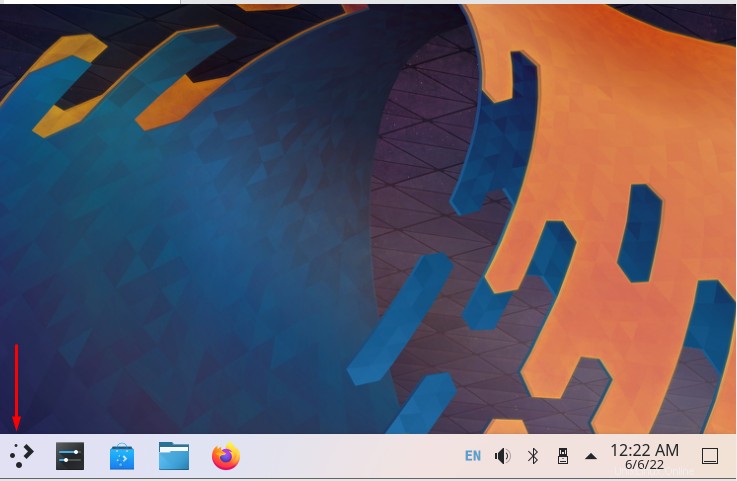
「アプリケーションランチャー」に移動します 」を以下に示します:
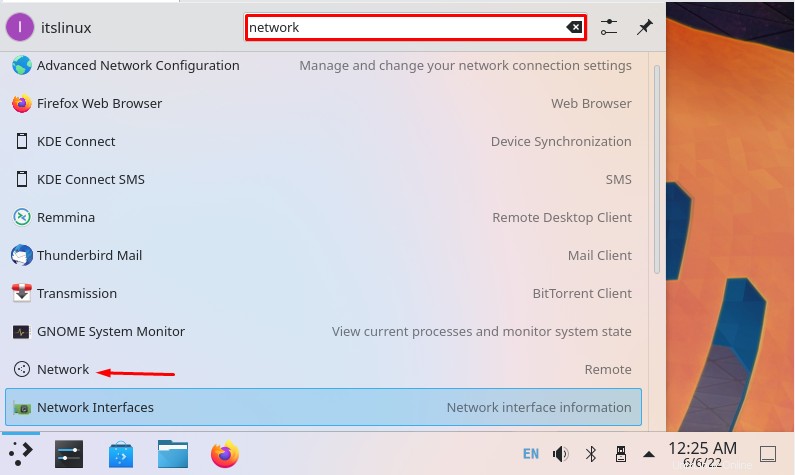
次に、「ネットワーク」と入力します 強調表示された検索バーで」を表示し、検索結果から開きます:
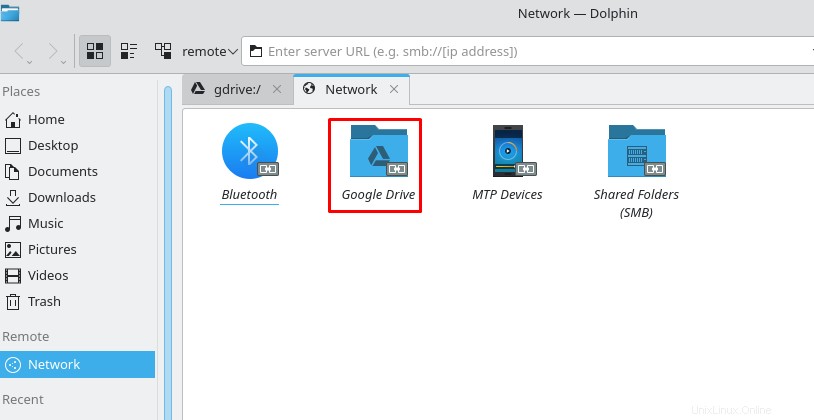
「Googleドライブ」をクリックします 」アイコンをクリックして開きます:
次に、[新しいアカウントを追加]をクリックします 」ボタンをクリックして、KIO GDriveのアカウントを追加します:

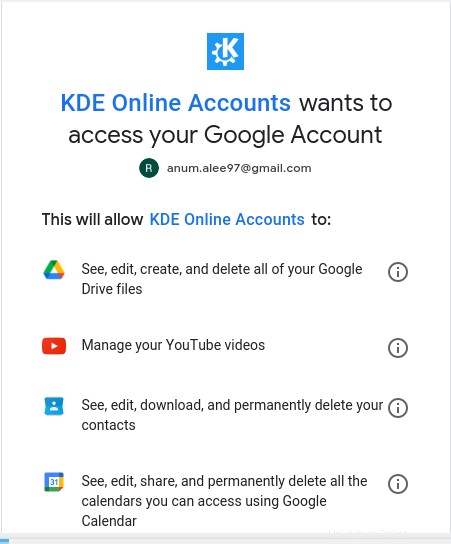
「Google」を選択します 」を表示して、KIO GDriveにアクセスするためにGoogleのクレデンシャルを使用します:
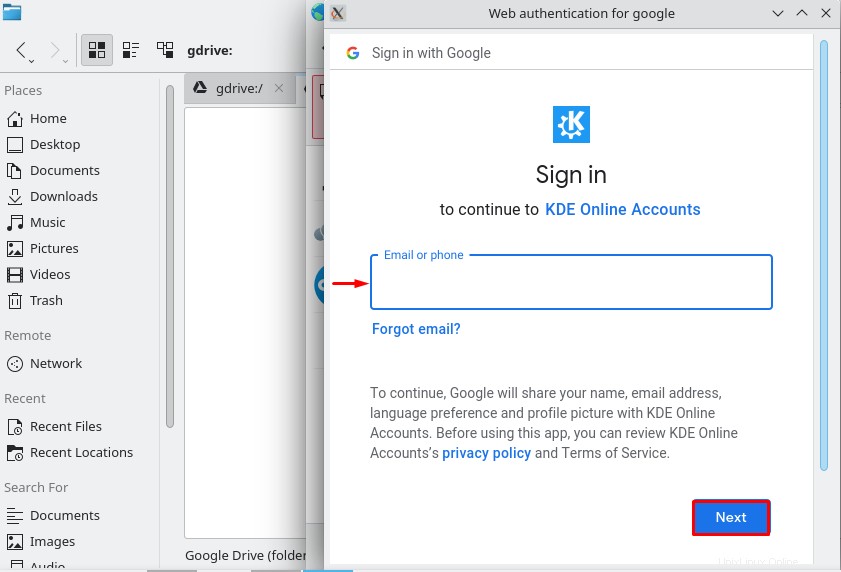
次に、Googleメールを追加します ID 「次へ」をクリックします 」ボタン:
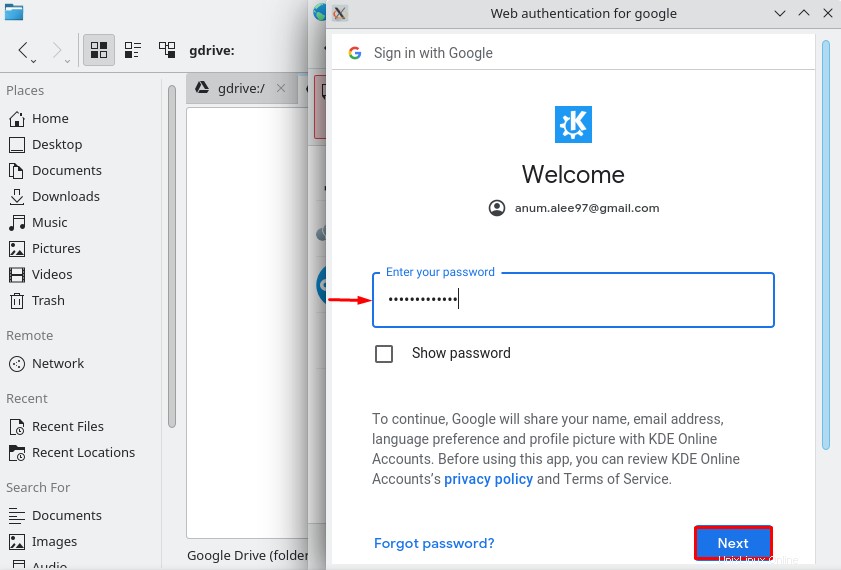
メールを追加したら、「パスワード」と入力します Gmailアカウントの」をクリックし、「次へ」ボタンを引き続き使用します:
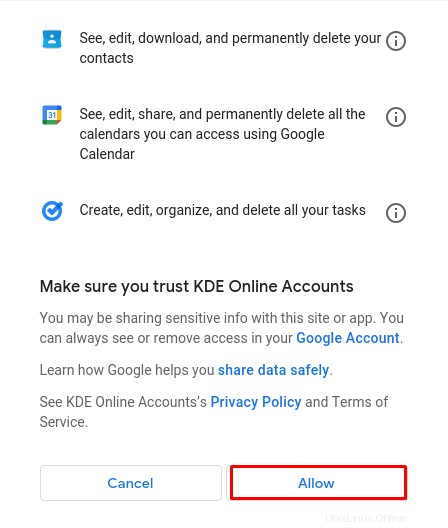
次に、「KDEオンラインアカウント」へのアクセスを許可します 「許可」をクリックしてGoogleドライブを使用する 」ボタンをクリックすると、KIO GDriveを使用できるようになります:
ご覧のとおり、Ubuntu22.04でKIOGDriveを使用する手順を完全に詳しく説明しました。アンインストール方法に移りましょう。
Ubuntu22.04でKIOGDriveをアンインストールする方法
Ubuntu22.04からKIOGDriveをアンインストールするには、以下のコマンドを実行します。
$ sudo apt remove kio-gdrive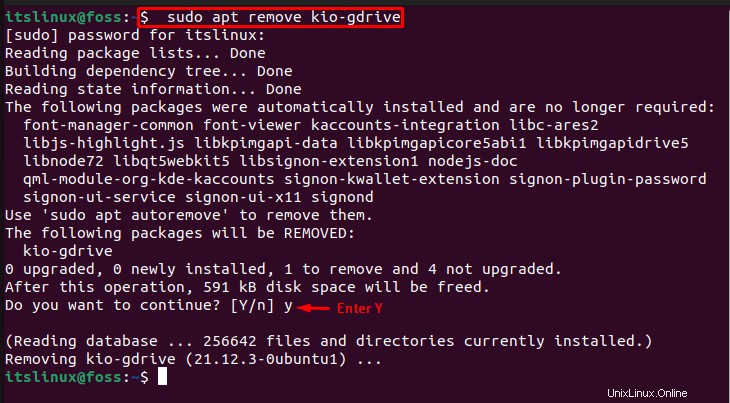
KIO GDrive のインストール、使用、アンインストールに必要なすべての手順を取得しました Ubuntu 22.04 。
結論
KIO GDriveをインストールするには Ubuntu 22.04では、最初にKDEアカウントプロバイダーパッケージをインストールします。次に、「 $ sudo apt install -y kio-gdrive」を使用してKIOGDriveをインストールします。 Ubuntuのターミナルで「」コマンドを実行し、 KDE Plasma Desktopをインストールします $ sudo apt install kde-plasma-desktop” コマンドとアクティブ化 デスクトップ環境として 。この記事では、Ubuntu22.04でのKIOGDriveのインストール、使用、およびアンインストールに必要なすべての手順を完全に説明しました。