このチュートリアルでは、Ubuntu 20.04 LTSにBitwardenをインストールする方法を紹介します。知らなかった方のために、Bitwardenはパスワード管理のオープンソースソフトウェアです。 BitwardenはGitHubでホストされており、誰でも自由にBitwardenコードベースを確認、監査、貢献できます。Bitwardenは、パスワードの作成と管理だけでなく、すべてのデバイス間でのパスワードの同期を支援します。モバイルアプリを含むいくつかのクライアントアプリケーションを提供します。 CLI、Webインターフェース、ブラウザー拡張機能、およびデスクトップアプリケーション。
この記事は、少なくともLinuxの基本的な知識があり、シェルの使用方法を知っていること、そして最も重要なこととして、サイトを独自のVPSでホストしていることを前提としています。インストールは非常に簡単で、ルートアカウントで実行されていますが、そうでない場合は、'sudoを追加する必要があります。 ‘ルート権限を取得するコマンドに。 Ubuntu 20.04 LTSFocalFossaにBitwardenPasswordManagerを段階的にインストールする方法を紹介します。
前提条件
- 次のオペレーティングシステムのいずれかを実行しているサーバー:Ubuntu 20.04、18.04、およびLinuxMintやエレメンタリーOSなどの他のDebianベースのディストリビューション。
- 潜在的な問題を防ぐために、OSの新規インストールを使用することをお勧めします。
non-root sudo userまたはroot userへのアクセス 。non-root sudo userとして行動することをお勧めします ただし、ルートとして機能するときに注意しないと、システムに害を及ぼす可能性があるためです。
Ubuntu 20.04 LTSFocalFossaにBitwardenをインストールする
手順1.まず、次のaptを実行して、すべてのシステムパッケージが最新であることを確認します。 ターミナルのコマンド。
sudo apt update
sudo apt upgrade
ステップ2.必要な依存関係をインストールします。
サーバーにいくつかの依存関係をインストールする必要があります:
sudo apt install apt-transport-https ca-certificates curl gnupg-agent software-properties-common
ステップ3.Dockerをインストールします。
Bitwardenは、Dockerコンテナーの配列を使用してマシンにデプロイおよび実行されます。Bitwardenは、Docker Community(無料)エディションとEnterpriseエディションで同等に機能します:
curl -fsSL https://download.docker.com/linux/ubuntu/gpg | apt-key add -
次に、次のコマンドを使用してDockerリポジトリを追加します。
add-apt-repository "deb [arch=amd64] https://download.docker.com/linux/ubuntu $(lsb_release -cs) stable"
完了したら、次のコマンドを使用してDockerとDockerComposeをインストールします。
sudo apt install docker-ce docker-ce-cli containerd.io docker-compose
ステップ4.Ubuntu20.04にBitwardenPasswordManagerをインストールします。
これで、Bitwardenインストールスクリプトを公式Webサイトからダウンロードします:
curl -Lso bitwarden.sh https://go.btwrdn.co/bw-sh
chmod +x bitwarden.sh
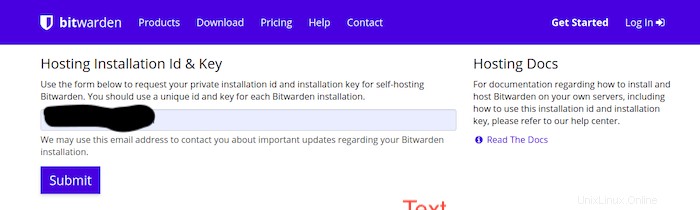
Bitwardenをインストールする前に、メールIDを入力し、[送信]をクリックする必要があります。そのようなページが読み込まれます。
その後、次のコマンドでBitwardenのインストールを開始します:
./bitwarden.sh install
システムのホスト名を入力してください:
_     _ _                         _
| |__ (_) |___      ____ _ _ __ __| | ___ _ __
| '_ \| | __\ \ /\ / / _` | '__/ _` |/ _ \ '_ \
| |_) | | |_ \ V  V / (_| | | | (_| |  __/ | | |
|_.__/|_|\__| \_/\_/ \__,_|_|  \__,_|\___|_| |_|
Open source password management solutions
Copyright 2015-2020, 8bit Solutions LLC
https://bitwarden.com, https://github.com/bitwarden
===================================================
Docker version 19.03.12, build 48a66213fe
docker-compose version 1.25.0, build unknown
(!) Enter the domain name for your Bitwarden instance (ex. bitwarden.example.com): 192.168.77.21
(!) Do you want to use Let's Encrypt to generate a free SSL certificate? (y/n): n
1.36.1: Pulling from bitwarden/setup
6ec8c9369e08: Pull complete
fe8522826504: Pull complete
658bf4619169: Pull complete
0392978bbc2e: Pull complete
33dd02257803: Pull complete
2a69859c8164: Pull complete
d68079cd71ee: Pull complete
7c08df4e94b0: Pull complete
653a8af878c4: Pull complete
d252f877c4a2: Pull complete
Digest: sha256:5b2c43b46c03da54aecc6d19098b0pengen019725kimpoif29
Status: Downloaded newer image for bitwarden/setup:1.36.1
docker.io/bitwarden/setup:1.36.1
(!) Enter your installation id (get at https://bitwarden.com/host): bmwe46325e-f0e7-47cf-9667-ac0f008645b9
(!) Enter your installation key: tloMmeilanamariaSC5
(!) Do you have a SSL certificate to use? (y/n): n
(!) Do you want to generate a self-signed SSL certificate? (y/n): y
Generating self signed SSL certificate.
Generating a RSA private key
........................++++
..................++++
writing new private key to '/bitwarden/ssl/self/69.87.216.49/private.key'
-----
Generating key for IdentityServer.
Generating a RSA private key
.........++++
.......................++++
writing new private key to 'identity.key'
-----
!!!!!!!!!! WARNING !!!!!!!!!!
You are using an untrusted SSL certificate. This certificate will not be
trusted by Bitwarden client applications. You must add this certificate to
the trusted store on each device or else you will receive errors when trying
to connect to your installation.
Building nginx config.
Building docker environment files.
Building docker environment override files.
Building FIDO U2F app id.
Building docker-compose.yml.
Installation complete
If you need to make additional configuration changes, you can modify
the settings in `./bwdata/config.yml` and then run:
`./bitwarden.sh rebuild` or `./bitwarden.sh update`
Next steps, run:
`./bitwarden.sh start`
インストールが完了したら、次のコマンドでBitwardenサービスを開始します。
./bitwarden.sh start
ステップ5.BitwardenWebインターフェイスへのアクセス。
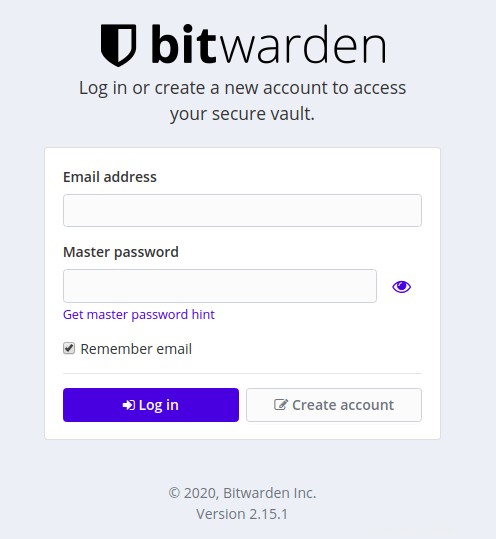
これで、URL http://your-server-ipを使用してBitwardenのWebインターフェイスにアクセスできます。 。 Bitwardenログイン画面が表示されます:
おめでとうございます!Bitwardenが正常にインストールされました。Ubuntu20.04FocalFossaにBitwardenPassword Managerをインストールするためにこのチュートリアルを使用していただき、ありがとうございます。追加のヘルプや役立つ情報については、Bitwardenの公式Webサイトを確認することをお勧めします。 。