MySQL は、レコードと情報を保存および取得するためにWebアプリケーションスタックで一般的に使用されるオープンソースのデータベース管理システムです。
MySQLは、 MariaDB まで、Linuxオペレーティングシステムの主要なデータベースアプリケーションでした。 、MySQLのフォークが登場しました。 MySQL 最初に開発されたのはMYSQLABで、現在はOracleCorporationが所有しています。
このガイドでは、MySQL8をUbuntu18.04にインストールする手順を説明します。
MySQL8.0の新機能
- MySQLにトランザクションデータディクショナリが組み込まれるようになりました
- 役割、特権のコレクションをサポートします。
- パスワード履歴を保存します
- デフォルトの文字セットがlatin1からutf8mb4に変更されました。
- InnoDBとJSONの機能強化
- より優れたリソース管理
- MySQLコンポーネントアーキテクチャを使用するようにエラーログが書き直されました
- MySQLレプリケーションの機能強化
Ubuntu18.04にMySQL8.0をインストールする
ご存知のとおり、ライセンスの問題により、MySQLサーバーはベースオペレーティングシステムイメージまたはOSリポジトリを介して配布されなくなりました。
最初のステップとして、システムにMySQL公式リポジトリを設定します。
wget https://dev.mysql.com/get/mysql-apt-config_0.8.10-1_all.deb
dpkgを使用してリポジトリパッケージをインストールします コマンド。
sudo dpkg -i mysql-apt-config_0.8.10-1_all.deb
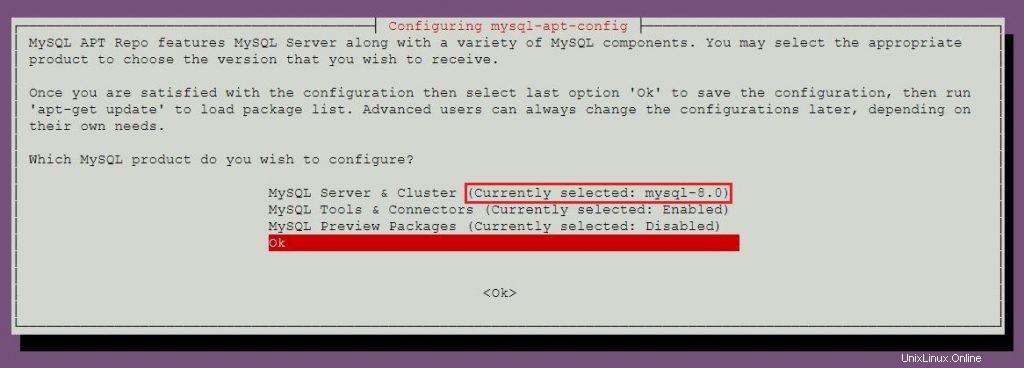
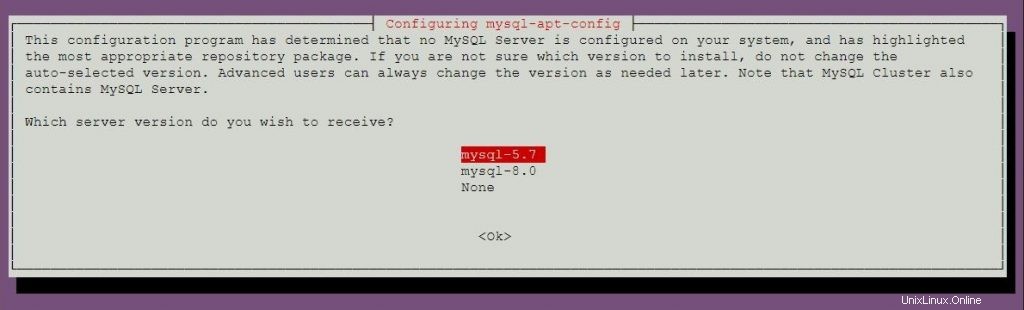
MYSQLインストーラーは、MySQLリポジトリーを選択するように促します。選択に基づいて、インストーラーは、適切なバージョンのMySQLを受信するようにシステム上のリポジトリーを構成します。
ここでは、MySQL 8.0を選択します これがデフォルトです。次に、[OK]を選択し、Enterキーを押します。
MySQL 5.7をインストールするには、MySQL 5.7リポジトリの選択について詳しく知るために、MySQL5.7のインストールセクションに進んでください。
apt-get updateを使用してリポジトリインデックスを更新します コマンド。
sudo apt-get update
aptを使用します MySQLの最新の安定バージョンをインストールするコマンド 。
sudo apt-get -y install mysql-server
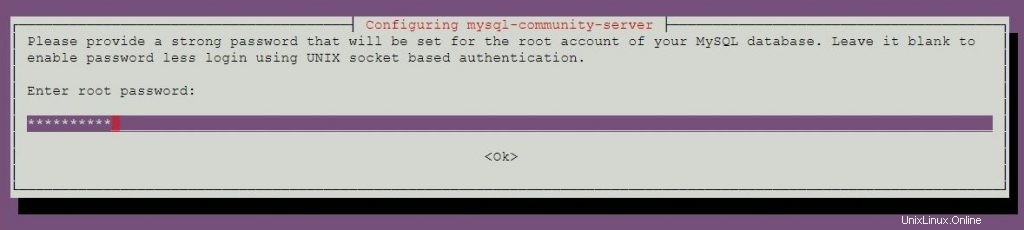
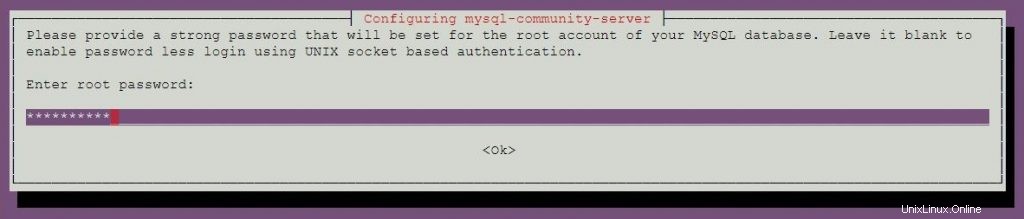
パッケージインストーラーは、MySQLルートパスワードを設定するように要求します。
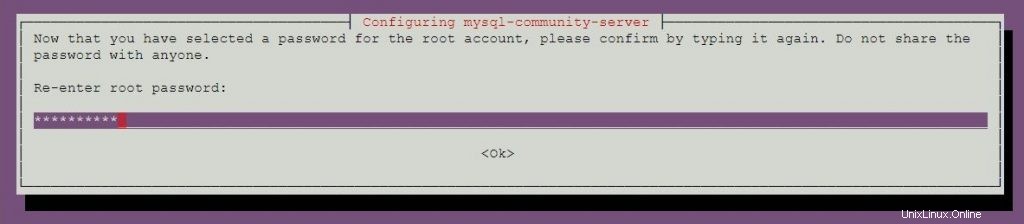
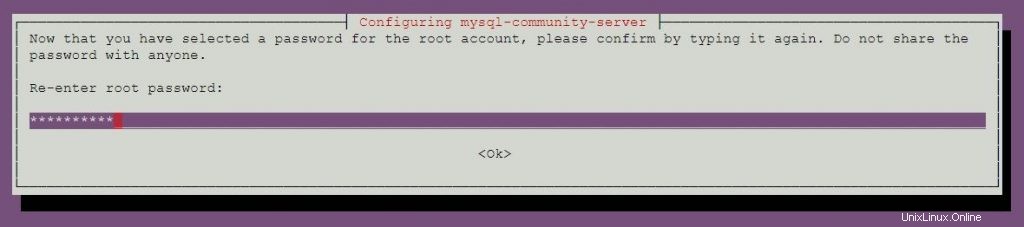
パスワードを再入力してください。
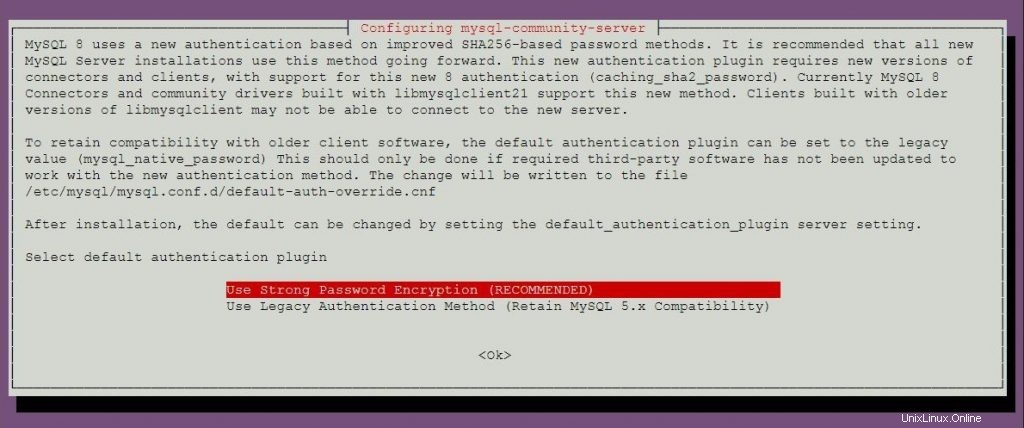
MySQL 8.0は、改善されたSHA256パスワード方式に基づく新しい認証を使用します。このオプションを選択すると、古いクライアントがサーバーに接続できない場合があります。 default-authentication-plugin = mysql_native_passwordを設定することで、いつでもデフォルトの認証を変更できます。 構成ファイル内。
デフォルトの認証プラグインを選択します。
Ubuntu18.04にMySQL5.7をインストールします
次に、システムにMySQL公式リポジトリを設定します。
wget https://dev.mysql.com/get/mysql-apt-config_0.8.10-1_all.deb
dpkgを使用してリポジトリパッケージをインストールします コマンド。
sudo dpkg -i mysql-apt-config_0.8.10-1_all.deb
または
システムにすでにMySQLリポジトリパッケージがあり、システムにMySQL5.7をインストールする場合。
sudo dpkg-reconfigure mysql-apt-config
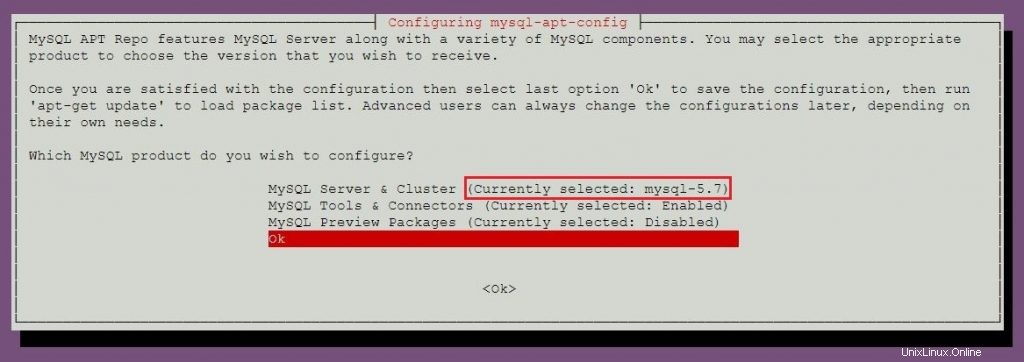
MySQLパッケージインストーラは、MySQLリポジトリを選択するように求めます。選択に基づいて、インストーラーは適切なバージョンのMySQLを受け取るようにリポジトリーを構成します。
このウィンドウでMySQLのバージョンを変更するには、Enterキーを押します。

mysql-5.7を選択します 次にEnterキーを押します。
[OK]を選択し、Enterキーを押します。
aptコマンドを使用してリポジトリインデックスを更新します。
sudo apt-get update
以下のコマンドを実行して、MySQL5.7をマシンにインストールします。
sudo apt-get -y install mysql-server
パッケージインストーラーは、MySQLルートパスワードを設定するように要求します。
パスワードを再入力してください。
MySQLサーバーを起動します
MySQLのインストール後、次のコマンドを使用してMySQLサーバーを起動できます。
sudo systemctl start mysql
システムの起動時にMySQLサーバーを有効にします。
sudo systemctl enable mysql
次のコマンドを使用して、MySQLサーバーサービスが開始されていることを確認します。
sudo systemctl status mysql
出力:
● mysql.service - MySQL Community Server
   Loaded: loaded (/lib/systemd/system/mysql.service; enabled; vendor preset: enabled)
   Active: active (running) since Mon 2018-05-14 11:15:52 UTC; 27min ago
 Main PID: 3269 (mysqld)
    Tasks: 27 (limit: 1997)
   CGroup: /system.slice/mysql.service
           └─3269 /usr/sbin/mysqld --daemonize --pid-file=/var/run/mysqld/mysqld.pid

May 14 11:15:51 mysqlub18 systemd[1]: Starting MySQL Community Server...
May 14 11:15:52 mysqlub18 systemd[1]: Started MySQL Community Server.
安全なMySQLサーバー
インストール後の最初のステップとして、このMySQLインスタンスをより安全にするために、パッケージに付属のMySQLセキュアスクリプトを実行する必要があります。
sudo mysql_secure_installation
このコマンドにはMySQLルートパスワードが必要です。
Securing the MySQL server deployment.

Enter password for user root: <-- Enter MySQL root password

VALIDATE PASSWORD PLUGIN can be used to test passwords
and improve security. It checks the strength of password
and allows the users to set only those passwords which are
secure enough. Would you like to setup VALIDATE PASSWORD plugin?

Press y|Y for Yes, any other key for No: n <-- N for not to validate the password
Using existing password for root.
Change the password for root ? ((Press y|Y for Yes, any other key for No) : no <-- No, as we have already set root password

 ... skipping.
By default, a MySQL installation has an anonymous user,
allowing anyone to log into MySQL without having to have
a user account created for them. This is intended only for
testing, and to make the installation go a bit smoother.
You should remove them before moving into a production
environment.

Remove anonymous users? (Press y|Y for Yes, any other key for No) : y <-- Remove anonymous users
Success.


Normally, root should only be allowed to connect from
'localhost'. This ensures that someone cannot guess at
the root password from the network.

Disallow root login remotely? (Press y|Y for Yes, any other key for No) : y <-- Disallow root login
Success.

By default, MySQL comes with a database named 'test' that
anyone can access. This is also intended only for testing,
and should be removed before moving into a production
environment.


Remove test database and access to it? (Press y|Y for Yes, any other key for No) : y <-- Remove test database
 - Dropping test database...
Success.

 - Removing privileges on test database...
Success.

Reloading the privilege tables will ensure that all changes
made so far will take effect immediately.

Reload privilege tables now? (Press y|Y for Yes, any other key for No) : y <-- Reload privilege table
Success.

All done!
MySQLサーバーの操作
MySQLのインストール時に設定したユーザーrootとパスワードを使用してMySQLサーバーにログインします。
mysql -u root -p
MySQL 8.0:
Enter password:
Welcome to the MySQL monitor.  Commands end with ; or \g.
Your MySQL connection id is 8
Server version: 8.0.11 MySQL Community Server - GPL

Copyright (c) 2000, 2018, Oracle and/or its affiliates. All rights reserved.

Oracle is a registered trademark of Oracle Corporation and/or its
affiliates. Other names may be trademarks of their respective
owners.

Type 'help;' or '\h' for help. Type '\c' to clear the current input statement.

mysql>
MySQL 5.7:
Enter password:
Welcome to the MySQL monitor.  Commands end with ; or \g.
Your MySQL connection id is 4
Server version: 5.7.21 MySQL Community Server (GPL)

Copyright (c) 2000, 2018, Oracle and/or its affiliates. All rights reserved.

Oracle is a registered trademark of Oracle Corporation and/or its
affiliates. Other names may be trademarks of their respective
owners.

Type 'help;' or '\h' for help. Type '\c' to clear the current input statement.

mysql>
以上です。