Ploneは、Zopeアプリケーションサーバー上に構築された無料のオープンソースコンテンツ管理システムです。 Python言語で書かれていますが、大量のHTML、JavaScript、CSSも含まれています。 ploneを使用して、あらゆる種類のWebサイト、ブログ、およびWebショップを構築できます。 Ploneは、Linux、Mac OS X、Windows、BSD、Solarisなどの複数のオペレーティングシステムをサポートしています。シンプルで使いやすく、セットアップ、保守、変更も簡単です。 Ploneは、マルチサイト管理、柔軟なワークフロー、エンタープライズ統合、産業強度セキュリティ、検索機能、多言語サポートなど、多くの機能を提供します。
このチュートリアルでは、Ubuntu18.04サーバーにPloneをインストールする方法を学びます。
- システムにインストールされているUbuntu18.04サーバー。
- sudo権限を持つroot以外のユーザー。
開始する前に、システムを最新バージョンに更新する必要があります。これを行うには、次のコマンドを実行します。
sudo apt-get update -y
sudo apt-get upgrade -y
次に、必要な依存関係をシステムにインストールする必要があります。次のコマンドですべてをインストールできます:
sudo apt-get install build-essential gcc libjpeg-dev wget readline-common libssl-dev libxml2-dev libxslt1-dev python2.7 python-dev python-btrees -y
インストールが完了したら、次の手順に進むことができます。
まず、Ploneをhttps://launchpad.net/ploneから/tmpディレクトリにダウンロードする必要があります。次のコマンドでダウンロードすることもできます:
cd /tmp
wget https://launchpad.net/plone/5.1/5.1.4/+download/Plone-5.1.4-UnifiedInstaller-r1.tgz
ダウンロードが完了したら、次のコマンドを使用してダウンロードしたファイルを抽出します。
tar -xvzf Plone-5.1.4-UnifiedInstaller-r1.tgz
次に、次のコマンドを使用して、抽出したディレクトリを/optにコピーします。
sudo cp -r Plone-5.1.4-UnifiedInstaller-r1 /opt/plone
次に、ディレクトリを/ opt / ploneに変更し、次のコマンドを使用してインストールを開始します。
cd /opt/plone
sudo ./install.sh standalone --target=/opt/plone --password=password --with-python=/usr/bin/python2.7
インストールが正常に完了すると、次の出力が表示されます。
#####################################################################

######################  Installation Complete  ######################

Plone successfully installed at /opt/plone
See /opt/plone/zinstance/README.html
for startup instructions.

Use the account information below to log into the Zope Management Interface
The account has full 'Manager' privileges.

  Username: admin
  Password: password

This account is created when the object database is initialized. If you change
the password later (which you should!), you'll need to use the new password.

Use this account only to create Plone sites and initial users. Do not use it
for routine login or maintenance.- If you need help, ask in IRC channel #plone on irc.freenode.net. - The live support channel also exists at http://plone.org/chat - You can also ask for help on https://community.plone.org - Submit feedback and report errors at https://github.com/plone/Products.CMFPlone/issues (For install problems, https://github.com/plone/Installers-UnifiedInstaller/issues)
次に、次のコマンドでPloneサービスを開始します:
sudo /opt/plone/zinstance/bin/plonectl start
出力:
instance: . .
daemon process started, pid=22438
次のコマンドでPloneのステータスを確認することもできます:
sudo /opt/plone/zinstance/bin/plonectl status
出力:
instance: program running; pid=22438
これでPloneが稼働し、Webブラウザからアクセスできるようになりました。
ウェブブラウザを開き、URL http:// your-server-ip:8080を入力します。私の場合はhttp://192.168.1.100:8080の場合、次のページにリダイレクトされます:
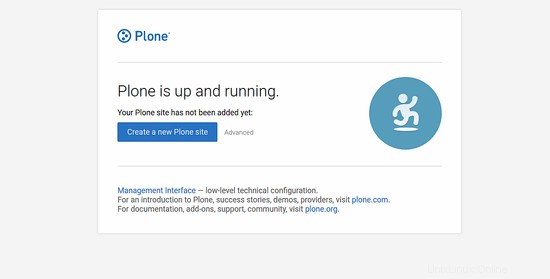
次に、新しいPloneサイトを作成するをクリックします ボタン。次のページが表示されます:

次に、管理者のユーザー名とパスワードを入力します(ユーザー名: admin 、パスワード:パスワード )、[サインイン]ボタンをクリックします 。次のページが表示されます:
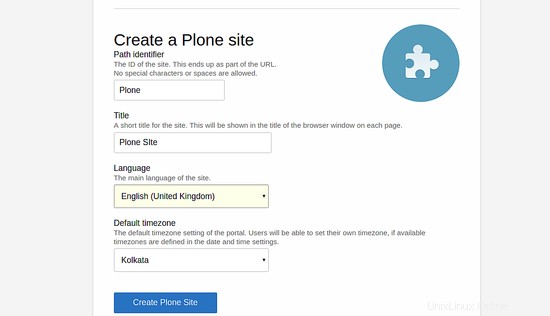
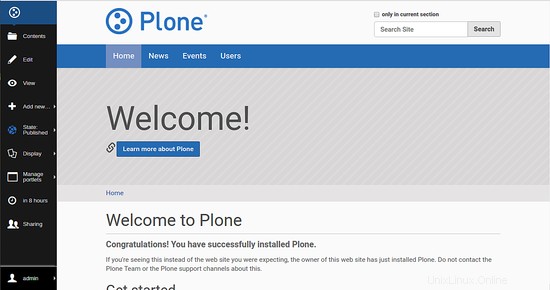
次に、必要なすべての情報を入力して、PloneSiteの作成をクリックします。 ボタン。次のページにPloneダッシュボードが表示されます: