Splunkは、Webインターフェイスを介してマシンで生成されたビッグデータを検索、監視、分析するために使用できる強力なログデータベースです。これは、データの分析、調査、検索に非常に便利なツールです。 Splunkを使用すると、アプリケーション、ウェブサーバー、データベース、サーバープラットフォーム、クラウドネットワークなどから、大量のデータストリームをリアルタイムで簡単にインデックス作成、検索、収集、視覚化できます。
Splunkが構成されています 3つの主要コンポーネントから:
- Splunk Forwarder:ログの収集に使用されます。
- Splunkインデクサー:データの解析とインデックス作成に使用されます。
- Splunk Search Head:検索、分析、レポート用のウェブインターフェースを提供します。
このチュートリアルでは、Ubuntu 18.04 LTS(Bionic Beaver)サーバーにSplunkをインストールする方法を学習します。
- システムに対してUbuntu18.04を実行しているサーバー。
- sudo権限を持つroot以外のユーザー。
Splunkは、Windows、Linux、FreeBSD、OSX、Solaris、AIXなどの幅広いオペレーティングシステムをサポートしています。 Splunkの最新バージョンは、公式Webサイトからダウンロードするか、次のコマンドを使用できます。
wget https://download.splunk.com/products/splunk/releases/7.1.1/linux/splunk-7.1.1-8f0ead9ec3db-linux-2.6-amd64.deb
ダウンロードが完了したら、次のコマンドを使用してダウンロードしたファイルをインストールします。
sudo dpkg -i splunk-7.1.1-8f0ead9ec3db-linux-2.6-amd64.deb
インストールが正常に完了すると、次の出力が表示されます。
(Reading database ... 218552 files and directories currently installed.)
Preparing to unpack splunk-7.1.1-8f0ead9ec3db-linux-2.6-amd64.deb ...
Unpacking splunk (7.1.1) over (7.1.1) ...
Setting up splunk (7.1.1) ...
complete
次に、起動時にSplunkサービスを開始できるようにする必要があります。これを行うには、次のコマンドを実行します。
sudo /opt/splunk/bin/splunk enable boot-start
ここでは、使用許諾契約に同意し、以下のように管理者パスワードを提供する必要があります。
Splunk Software License Agreement 04.24.2018

Do you agree with this license? [y/n]: y

This appears to be your first time running this version of Splunk.

An Admin password must be set before installation proceeds.
Password must contain at least:
   * 8 total printable ASCII character(s).
Please enter a new password:
Please confirm new password:
Copying '/opt/splunk/etc/openldap/ldap.conf.default' to '/opt/splunk/etc/openldap/ldap.conf'.
Generating RSA private key, 2048 bit long modulus
..................+++
..............................................................................+++
e is 65537 (0x10001)
writing RSA key

Generating RSA private key, 2048 bit long modulus
.............+++
...................................+++
e is 65537 (0x10001)
writing RSA key

Moving '/opt/splunk/share/splunk/search_mrsparkle/modules.new' to '/opt/splunk/share/splunk/search_mrsparkle/modules'.
 Adding system startup for /etc/init.d/splunk ...
   /etc/rc0.d/K20splunk -> ../init.d/splunk
   /etc/rc1.d/K20splunk -> ../init.d/splunk
   /etc/rc6.d/K20splunk -> ../init.d/splunk
   /etc/rc2.d/S20splunk -> ../init.d/splunk
   /etc/rc3.d/S20splunk -> ../init.d/splunk
   /etc/rc4.d/S20splunk -> ../init.d/splunk
   /etc/rc5.d/S20splunk -> ../init.d/splunk
Init script installed at /etc/init.d/splunk.
Init script is configured to run at boot.
次に、次のコマンドを使用してSplunkサービスを開始します。
sudo service splunk start
次の出力が表示されます。
Starting splunk server daemon (splunkd)...
Generating a 2048 bit RSA private key
............+++
............................................................................................................................................+++
writing new private key to 'privKeySecure.pem'
-----
Signature ok
subject=/CN=Node3/O=SplunkUser
Getting CA Private Key
unable to write 'random state'
writing RSA key
Done


Waiting for web server at http://127.0.0.1:8000 to be available........ Done


If you get stuck, we're here to help.
Look for answers here: http://docs.splunk.com

The Splunk web interface is at http://Node3:8000
にあります
これで、Splunkサーバーが実行され、ポート8000でリッスンします。Webブラウザーを開き、URL http:// your-server-ip:8000を入力します。 、次のページにリダイレクトされます:
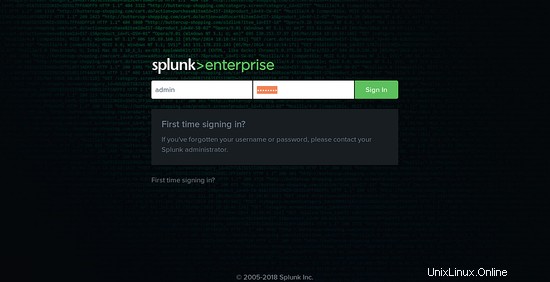
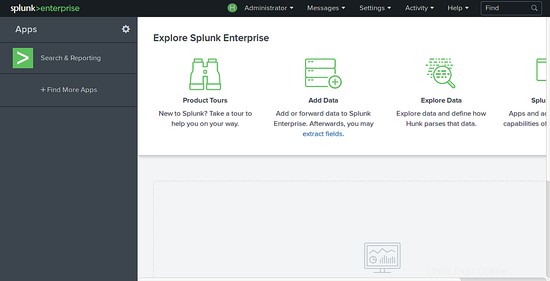
ここで、管理者のログイン資格情報を入力し、[サインイン]ボタンをクリックします。 、次の画面にSplunkダッシュボードが表示されます。
リンク
- SplunkWebサイト