CodeIgniterは、2006年にRick Ellisによって作成された、非常に小さなフットプリントの無料のオープンソースで強力なPHPフレームワークです。これは、フル機能のWebアプリケーションを作成するためのシンプルでエレガントなツールキットを必要とする開発者向けに特別に構築されています。軽量、Active Recordデータベースのサポート、画像操作ライブラリ、ヘルプのサポート、URIルーティング、Model-View-Controllerベースのシステムなど、多くの機能が付属しています。
このチュートリアルでは、Ubuntu 18.04 LTS(Bionic Beaver)サーバーにCodeIgniterをインストールする方法を学習します。
- Ubuntu18.04を実行しているサーバー。
- rootパスワードを持つ非rootユーザーがサーバーに設定されています。
ApacheとPHPをインストールする
CodeIgniterはApacheWebサーバー上で実行され、PHP言語で記述されているため、システムにApacheとPHPをインストールする必要があります。まず、次のコマンドを使用してApacheWebサーバーをインストールします。
sudo apt-get install apache2 -y
デフォルトでは、最新バージョンのPHPはUbuntu 18.04で利用できないため、そのためのリポジトリを追加する必要があります。次のコマンドでPHPリポジトリを追加できます:
sudo apt-get install python-software-properties -y
sudo add-apt-repository -y ppa:ondrej/php
リポジトリが更新されたら、次のコマンドを使用してPHPおよびその他のライブラリをインストールできます。
sudo apt-get install libapache2-mod-php7.1 php7.1-common php7.1-xml php7.1-zip php7.1-mysql unzip wget -y
次に、Apache Webサービスを開始し、起動時に開始できるようにします。
sudo systemctl start apache2
sudo systemctl enable apache2
次のコマンドを使用して、GitリポジトリからCodeIgniterの最新バージョンをダウンロードできます。
wget https://github.com/bcit-ci/CodeIgniter/archive/3.1.5.zip
ダウンロードが完了したら、次のコマンドを使用してダウンロードしたファイルを解凍します。
unzip 3.1.5.zip
抽出したディレクトリをApacheルートディレクトリにコピーし、次のコマンドを使用して適切な権限を付与します。
sudo cp -r CodeIgniter-3.1.5 /var/www/html/codeigniter
sudo chown -R www-data:www-data /var/www/html/codeigniter
sudo chmod -R 777 /var/www/html/codeigniter/
次に、CodeIgniterのApache仮想ホストディレクティブを作成します。
sudo nano /etc/apache2/sites-available/codeigniter.conf
次の行を追加します:
<VirtualHost *:80>
 ServerAdmin [email protected]
 DocumentRoot /var/www/html/codeigniter
 ServerName yourdomain.com
 <Directory /var/www/html/codeigniter/>
Options +FollowSymLinks
AllowOverride All
Order allow,deny
allow from all
 </Directory>
 ErrorLog /var/log/apache2/codeigniter-error_log
 CustomLog /var/log/apache2/codeigniter-access_log common
</VirtualHost>
ファイルを保存して閉じ、次のコマンドで仮想ホストファイルを有効にします。
sudo a2ensite codeigniter
最後に、apacheサービスを再起動して、すべての変更を適用します。
systemctl restart apache2
Webブラウザーを開き、URL http://yourdomain.comを入力すると、次のページに示すようにCodeIgniterダッシュボードにリダイレクトされます。
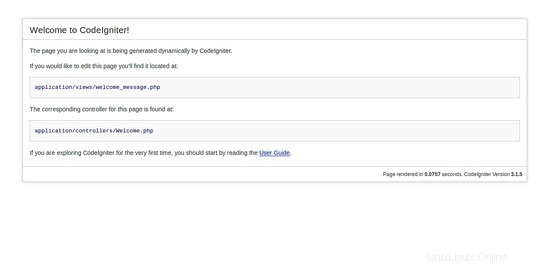
おめでとう!これで、CodeIgniterがUbuntu18.04LTSサーバーに正常にインストールされました。