Nagiosはオープンソースの監視ツールです。 Nagiosを使用すると、サーバーとネットワークがデータセンターにあるか中小企業組織にあるかにかかわらず、サーバーとネットワークを監視できます。
単一のダッシュボードでリモートサーバーとそのサービスを管理する機能を提供します。サーバーが問題を検出すると、ダッシュボードに警告が表示され、問題がさらに発生する前に問題を追跡できるようになります。したがって、ダウンタイムを減らすことができます。
Nagiosを使用すると、ディスク使用量、CPU負荷、現在のユーザー、合計プロセスなどのサービスを監視できます。次の手順では、NagiosCore4.4.5をCentos7にインストールします。
必要な依存関係をインストールする :
- Nagiosをインストールする前に、必要な依存関係をインストールする必要があります。 Apache、PHP、およびgcc、glibc、glibc-common、GDなどの一部のライブラリをyumを使用してインストールします。
yum install -y httpd httpd-tools php gcc glibc glibc-common gd gd-devel make net-snmp
Nagiosのユーザーとグループを作成する :
- パスワードとグループnagappを使用してユーザーNagiosを作成します。以下のコマンドを使用して、ユーザーとグループを追加します。
# useradd nagios
# groupadd nagapp - 次のコマンドを使用して、グループnagappにNagiosユーザーとapacheユーザーを追加します。
# usermod -G nagapp nagios

# usermod -G nagapp apache - 以下のコマンドを使用して、Nagiosプラグイン2.2.1でNagiosCore4.4.5をダウンロードします。
wget https://assets.nagios.com/downloads/nagioscore/releases/nagios-4.4.5.tar.gz
wget https://nagios-plugins.org/download/nagios-plugins-2.2.1.tar.gz - 両方のパッケージをtarで抽出します。
tar -xvf nagios-4.4.5.tar.gz

tar -xvf nagios-plugins-2.2.1.tar.gz
Nagiosの構成:
- Nagioxを構成するには、最初にcdコマンドを使用してNagiosディレクトリ内に移動します。
cd nagios-4.4.5/
- 以下のコマンドを実行して、Nagiosコア4.4.5を構成します
./configure --with-command-group=nagapp
すべてがうまくいけば、以下の出力が得られます。
出力:
Creating sample config files in sample-config/ ...


*** Configuration summary for nagios 4.4.5 2019-08-20 ***:

 General Options:
 -------------------------
        Nagios executable:  nagios
        Nagios user/group:  nagios,nagios
       Command user/group:  nagios,nagcmd
             Event Broker:  yes
        Install ${prefix}:  /usr/local/nagios
    Install ${includedir}:  /usr/local/nagios/include/nagios
                Lock file:  /run/nagios.lock
   Check result directory:  /usr/local/nagios/var/spool/checkresults
           Init directory:  /lib/systemd/system
  Apache conf.d directory:  /etc/httpd/conf.d
             Mail program:  /usr/sbin/sendmail
                  Host OS:  linux-gnu
          IOBroker Method:  epoll

 Web Interface Options:
 ------------------------
                 HTML URL:  http://localhost/nagios/
                  CGI URL:  http://localhost/nagios/cgi-bin/
 Traceroute (used by WAP):


Review the options above for accuracy.  If they look okay,
type 'make all' to compile the main program and CGIs.- makeallおよびmakeinstallコマンドを実行して、すべてのバイナリをコンパイルおよびインストールします。これにより、必要なライブラリがサーバーにインストールされます。
# make all
# make install - 以下のコマンドを使用して、Nagiosのinitスクリプトをインストールしましょう。
# make install-init
- 以下のコマンドを実行して、コマンドラインでNagiosを実行します。
# make install-commandmode
- 次のステップで、以下のコマンドを押してサンプルのNagiosファイルをインストールします。
# make install-config
Nagios構成のカスタマイズ:
- nagiosadminメールアラートを受信するメールアカウントを追加します。以下のコマンドでcontacts.cfgファイルを編集します。
# vi /usr/local/nagios/etc/objects/contacts.cfg
- 以下のコマンドを実行して、NagiosのWebインターフェイスをインストールします。
# make install-webconf
- nagiosadminのパスワードを作成します。このパスワードは、Webインターフェイスにアクセスするときに使用します。
# htpasswd -s -c /usr/local/nagios/etc/htpasswd.users nagiosadmin

New password:

Re-type new password:

Adding password for user nagiosadmin - Apacheサービスを再起動して、構成設定を有効にします。
# systemctl start httpd.service
Nagiosプラグインをコンパイルしてインストールします:
- すでにNagiosプラグインをダウンロードしています。そのディレクトリに移動し、以下のコマンドに従ってインストールします。
# cd /nagios-plugins-2.2.1
# ./configure --with-nagios-user=nagios --with-nagios-group=nagios - 次に、Nagios構成ファイルを確認します。セットアップが正常であれば、次の出力が表示されます。
# /usr/local/nagios/bin/nagios -v /usr/local/nagios/etc/nagios.cfg
出力:
Nagios Core 4.4.5
Copyright (c) 2009-present Nagios Core Development Team and Community Contributors
Copyright (c) 1999-2009 Ethan Galstad
Last Modified: 2019-08-20
License: GPL

Website: https://www.nagios.org
Reading configuration data...
   Read main config file okay...
   Read object config files okay...

Running pre-flight check on configuration data...

Checking objects...
	Checked 8 services.
	Checked 1 hosts.
	Checked 1 host groups.
	Checked 0 service groups.
	Checked 1 contacts.
	Checked 1 contact groups.
	Checked 24 commands.
	Checked 5 time periods.
	Checked 0 host escalations.
	Checked 0 service escalations.
Checking for circular paths...
	Checked 1 hosts
	Checked 0 service dependencies
	Checked 0 host dependencies
	Checked 5 timeperiods
Checking global event handlers...
Checking obsessive compulsive processor commands...
Checking misc settings...

Total Warnings: 0
Total Errors:   0

Things look okay - No serious problems were detected during the pre-flight check- 起動時にNagiosおよびapacheサービスを開始して有効にします。
# systemctl enable nagios

# systemctl enable httpd - 最後に、Nagiosサービスを再起動して、すべての設定を有効にします。
# systemctl enable nagios

# systemctl start nagios.service
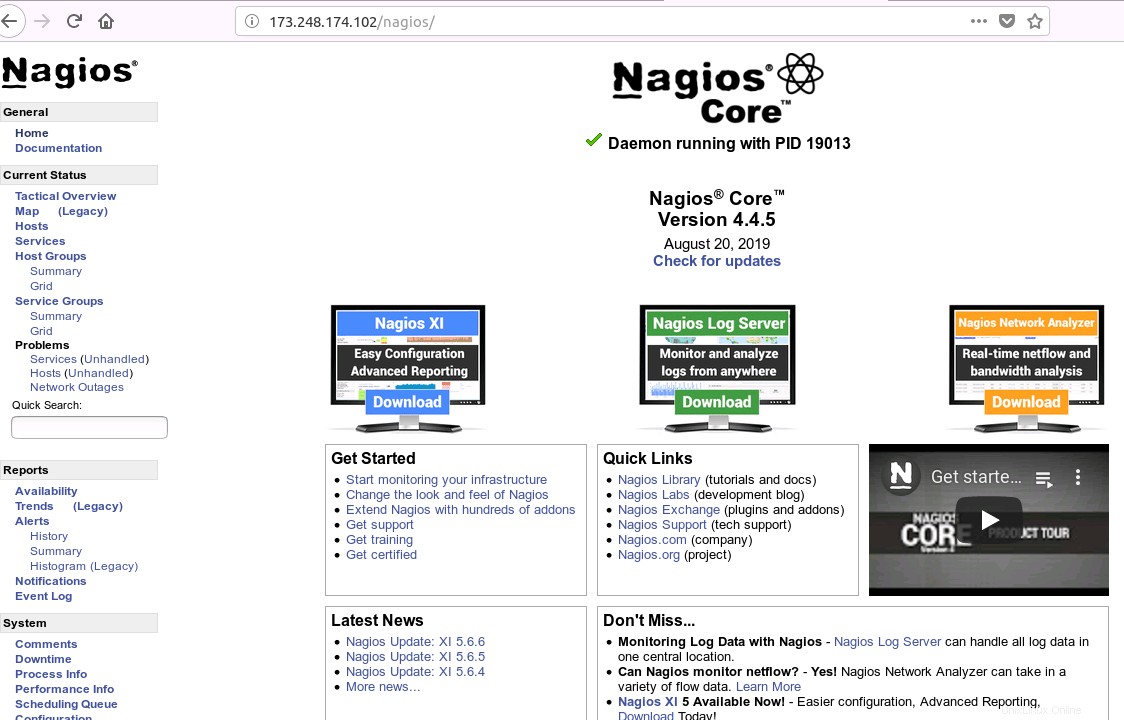
サーバーへのNagiosのインストールが完了しました。これで、http:// IPAddress / nagios
を使用してアクセスできます。