Lighttpdは、速度が重要な環境向けに設計された、無料のオープンソースの高性能Webサーバーです。軽量、安全、高速で、他のWebサーバーと比較してリソースをほとんど消費しません。 Lighttpdは、FastCGI、CGI、Output-Compression、Auth、およびURL-Rewritingもサポートしているため、完璧なWebサーバーになります。 Lighttpdは、単一のサーバーで最大10000の接続を並行して処理できます。
高速で効率的で安全なWebサーバーをお探しの場合は、Lighttpdが最適です。
このチュートリアルでは、Ubuntu18.04にPHPおよびPHP-FPMをサポートするlighttpdWebサーバーをインストールする方法を説明します。
前提条件
- Atlantic.Netクラウドプラットフォーム上の新しいUbuntu18.04VPS。
- サーバーに構成されている静的IPアドレス。
ステップ1–Atlantic.Netクラウドサーバーを作成する
まず、Atlantic.Netクラウドサーバーにログインします。 2GB以上のRAMを搭載したオペレーティングシステムとしてUbuntu18.04を選択して、新しいサーバーを作成します。 SSH経由でクラウドサーバーに接続し、ページの上部で強調表示されているクレデンシャルを使用してログインします。
Ubuntu 18.04サーバーにログインしたら、次のコマンドを実行して、ベースシステムを最新の利用可能なパッケージで更新します。
apt-get update -y
ステップ2–Lighttpdのインストール
apt-get install lighttpd -y
インストールが完了したら、次のコマンドでLighttpdのステータスを確認します。
systemctl status lighttpd
すべてがうまくいけば、次の出力が得られるはずです:
● lighttpd.service - Lighttpd Daemon
   Loaded: loaded (/lib/systemd/system/lighttpd.service; enabled; vendor preset: enabled)
   Active: active (running) since Sat 2019-05-25 09:18:47 UTC; 20s ago
 Main PID: 1860 (lighttpd)
    Tasks: 1 (limit: 1114)
   CGroup: /system.slice/lighttpd.service
           └─1860 /usr/sbin/lighttpd -D -f /etc/lighttpd/lighttpd.conf

May 25 09:18:47 ubuntu1804 systemd[1]: Starting Lighttpd Daemon...
May 25 09:18:47 ubuntu1804 systemd[1]: Started Lighttpd Daemon.
次のコマンドを使用して、サーバーにインストールされているlighttpdのバージョンを確認できます。
lighttpd -version
次の出力が表示されます。
lighttpd/1.4.45 (ssl) - a light and fast webserver
Build-Date: Feb  6 2018 12:41:51
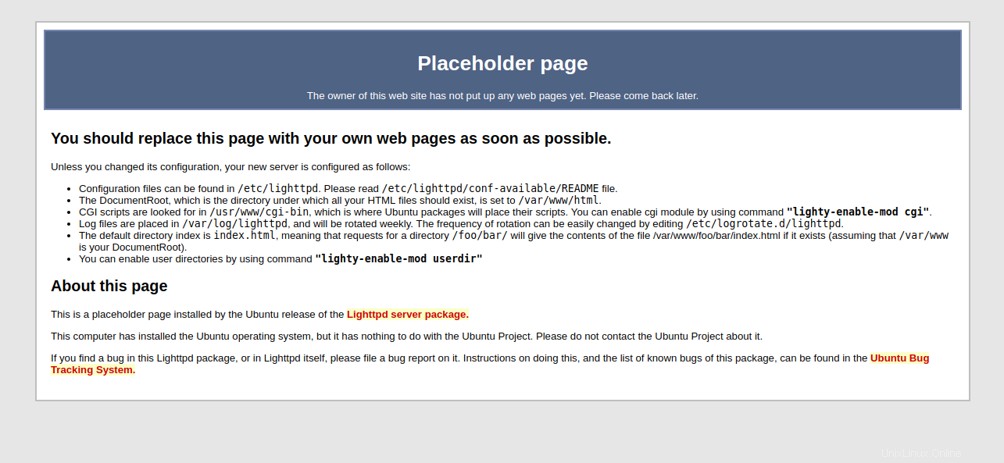
WebブラウザでURLhttp:// your-server-ipにアクセスして、Lighttpdを確認することもできます。次の画面にLighttpdのデフォルトページが表示されます。
Lighttpdのメイン設定ファイルは/etc/lighttpd/lighttpd.confにあります。
cat /etc/lighttpd/lighttpd.conf
出力:
server.modules = (
            "mod_access",
            "mod_alias",
            "mod_compress",
            "mod_redirect",
)

server.document-root        = "/var/www/html"
server.upload-dirs          = ( "/var/cache/lighttpd/uploads" )
server.errorlog             = "/var/log/lighttpd/error.log"
server.pid-file             = "/var/run/lighttpd.pid"
server.username             = "www-data"
server.groupname            = "www-data"
server.port                 = 80

index-file.names            = ( "index.php", "index.html", "index.lighttpd.html" )
url.access-deny             = ( "~", ".inc" )
static-file.exclude-extensions = ( ".php", ".pl", ".fcgi" )

compress.cache-dir          = "/var/cache/lighttpd/compress/"
compress.filetype           = ( "application/javascript", "text/css", "text/html", "text/plain" )

# default listening port for IPv6 falls back to the IPv4 port
## Use ipv6 if available
#include_shell "/usr/share/lighttpd/use-ipv6.pl " + server.port
include_shell "/usr/share/lighttpd/create-mime.assign.pl"
include_shell "/usr/share/lighttpd/include-conf-enabled.pl"
これは、デフォルトのドキュメントルート、ポート、およびインデックスファイルを変更し、要件に応じてモジュールを有効/無効にできるメインの構成ファイルです。
treeコマンドを使用して、すべての構成ファイルを表示することもできます。まず、次のコマンドを使用してツリーパッケージをインストールします。
apt-get install tree -y
インストールすると、以下に示すようにすべての構成ファイルを表示できます。
tree /etc/lighttpd/
次の出力が表示されます。
/etc/lighttpd/
├── conf-available
│   ├── 05-auth.conf
│   ├── 10-accesslog.conf
│   ├── 10-cgi.conf
│   ├── 10-dir-listing.conf
│   ├── 10-evasive.conf
│   ├── 10-evhost.conf
│   ├── 10-expire.conf
│   ├── 10-fastcgi.conf
│   ├── 10-flv-streaming.conf
│   ├── 10-no-www.conf
│   ├── 10-proxy.conf
│   ├── 10-rewrite.conf
│   ├── 10-rrdtool.conf
│   ├── 10-simple-vhost.conf
│   ├── 10-ssi.conf
│   ├── 10-ssl.conf
│   ├── 10-status.conf
│   ├── 10-userdir.conf
│   ├── 10-usertrack.conf
│   ├── 11-extforward.conf
│   ├── 15-fastcgi-php.conf
│   ├── 90-debian-doc.conf
│   └── README
├── conf-enabled
└── lighttpd.conf
終了したら、次のステップに進むことができます。
ステップ3–PHPおよびPHP-FPMサポートを有効にする
次のコマンドを実行するだけでインストールできます:
apt-get install php php-cgi php-fpm -y
インストールが完了すると、ApacheウェブサーバーもPHPとともに自動的にインストールされます。そのため、システムからApacheパッケージを削除する必要があります。
まず、次のコマンドでApacheサービスを停止します。
systemctl stop apache2
systemctl disable apache2
次に、次のコマンドを使用してApacheパッケージを削除します。
apt-get remove apache2 -y
次に、ポート 9000でFastCGIサーバーを実行するようにPHP-FPMを構成する必要があります。 。デフォルトでは、PHPはUNIXソケット/run/php/php7.2-fpm.sockでリッスンします 。ファイルを編集します/etc/php/7.2/fpm/pool.d/www.conf 以下に示すように:
nano /etc/php/7.2/fpm/pool.d/www.conf
次の行を見つけます:
listen = /run/php/php7.2-fpm.sock
そして、それを次の行に置き換えます:
listen = 127.0.0.1:9000
ファイルを保存してから、PHP-FPMサービスを再起動して変更を適用します。
systemctl restart php7.2-fpm
次に、Lighttpdで動作するようにPHPを設定する必要があります。 php.iniを編集することでそれを行うことができます ファイル:
nano /etc/php/7.2/fpm/php.ini
次の行を見つけてコメントを外します:
cgi.fix_pathinfo=1
終了したらファイルを保存します。
次に、ポート 9000でFastCGIサーバーを実行するようにPHP-FPMを構成します。 。これを行うには、ファイル 15-fastcgi-php.confを編集します。 :
nano /etc/lighttpd/conf-available/15-fastcgi-php.conf
次の行を見つけます:
"bin-path" => "/usr/bin/php-cgi",
"socket" => "/var/run/lighttpd/php.socket",
それらを次の行に置き換えます:
"host" => "127.0.0.1",
"port" => "9000",
ファイルを保存します。次に、次のコマンドを使用してFastCGIおよびFastCGI-PHPモジュールを有効にします。
lighty-enable-mod fastcgi
lighty-enable-mod fastcgi-php
次に、Lighttpdサービスをリロードして、変更を有効にします。
service lighttpd force-reload
ステップ4–Lighttpdのテスト
この時点で、LighttpdはPHPおよびPHP-FPMで動作するように設定されています。それをテストする時が来ました。
まず、サンプルの info.phpを作成します Lighttpdのデフォルトのドキュメントルートディレクトリにあるファイル:
nano /var/www/html/info.php
次の行を追加します:
<?php
phpinfo();
?>
ファイルを保存して閉じます。次に、 info.phpの所有権を変更します www-dataにファイルする :
chown www-data:www-data /var/www/html/info.php
次に、Webブラウザーを開き、URLhttp://your-server-ip/info.phpにアクセスします。次のページにリダイレクトされます:
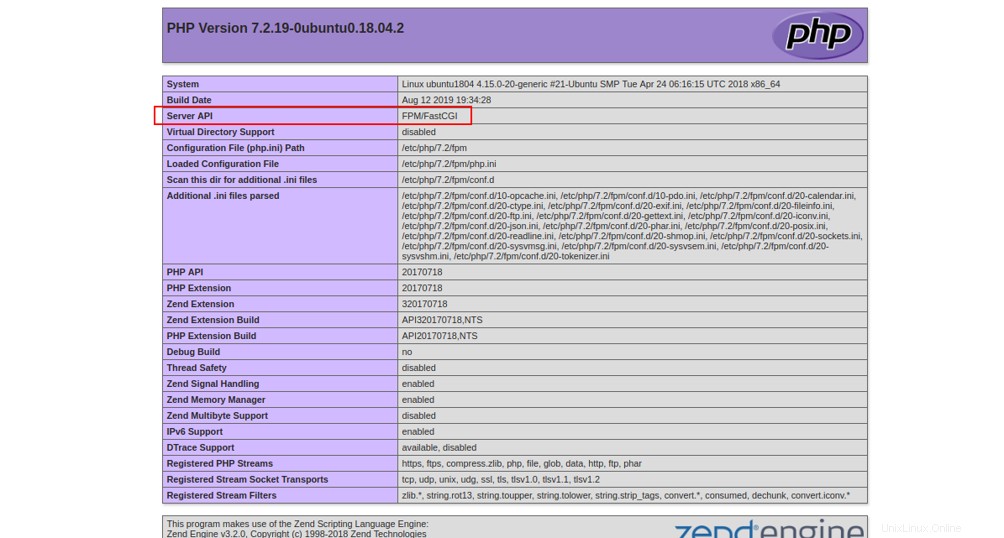
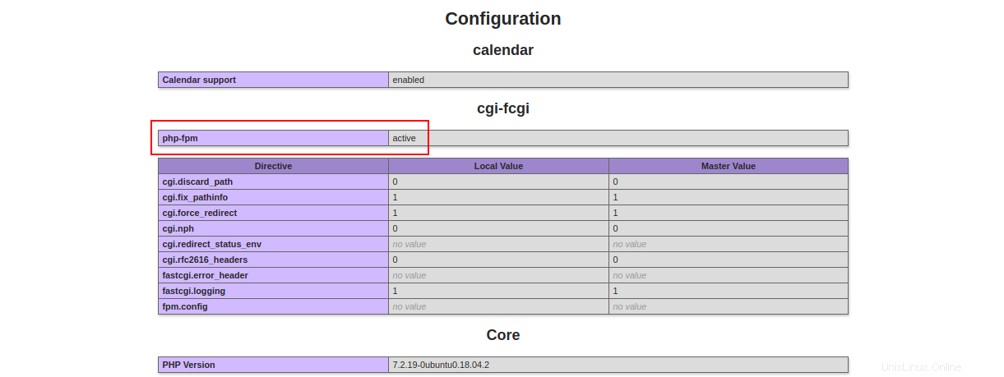
これは、PHPがLighttpdでうまく機能していることを意味します。
注 :テスト後にファイル/var/www/html/info.phpを削除することを忘れないでください。
rm -rf /var/www/html/info.php
結論
おめでとう!これで、Ubuntu18.04サーバーにLighttpdが正常にインストールおよび構成されました。 LighttpdとPHP-FPMを使用してPHPアプリケーションをデプロイするための十分な知識が得られたことを願っています。 Atlantic.NetのVPSホスティングプランで今すぐLighttpdを始めましょう。