この短いチュートリアルでは、VirtualBoxGuestAdditionsをRHEL7gnomeデスクトップにインストールする方法を示します。開始するには、仮想RHEL7システムを起動するだけです。まず、すべての前提条件をインストールします。これを行うには、ターミナルを開き、次のLinuxコマンドを入力します。
[root@rhel7 ~]# yum groupinstall 'Development Tools'
また、カーネル開発パッケージが必要になります:
[root@rhel7 ~]# yum install kernel-devel
インストール後、VirtualBoxメニューに移動します:Virtual box menu -> Devices -> Insert Guest Additions CD image 次の画像がポップアップ表示されます:
<中央> 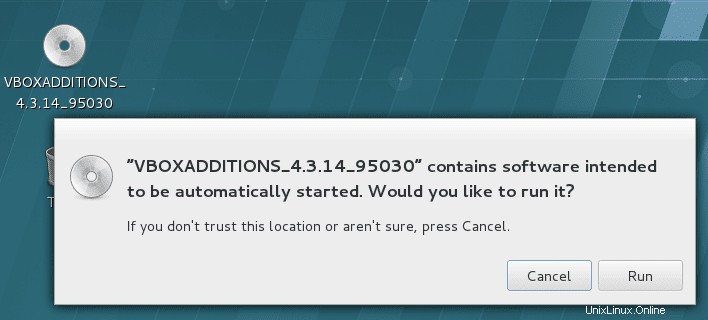
「RUN」を押すと、実際のVirtualboxGuest追加機能のインストールが開始されます。
Verifying archive integrity... All good.
Uncompressing VirtualBox 4.3.14 Guest Additions for Linux............
VirtualBox Guest Additions installer
Copying additional installer modules ...
Installing additional modules ...
Removing existing VirtualBox non-DKMS kernel modules       [  OK  ]
Building the VirtualBox Guest Additions kernel modules
Building the main Guest Additions module                   [  OK  ]
Building the shared folder support module                  [  OK  ]
Building the OpenGL support module                         [  OK  ]
Doing non-kernel setup of the Guest Additions              [  OK  ]
Starting the VirtualBox Guest Additions                    [  OK  ]
Installing the Window System drivers
Installing X.Org Server 1.15 modules                       [  OK  ]
Setting up the Window System to use the Guest Additions    [  OK  ]
You may need to restart the hal service and the Window System (or just restart
the guest system) to enable the Guest Additions.

Installing graphics libraries and desktop services componen[  OK  ]
システムを再起動して、VirtualboxGuestの追加を実行します。