Roundcubeは、Webブラウザベースのメールクライアントであり、Webメールとも呼ばれます。エンドユーザーがメールをチェックしたり、フォルダを作成および管理したり、名簿を使用してメールIDやその他の多くのウェブメール機能を検索したりできるGUI(グラフィカルユーザーインターフェイス)を提供します。
CentOS 7にroundcubeをインストールするには、以下がインストールする必要のある前提条件です。
- PHP
- データベース(MariaDBまたはMySQL)
- Webサーバー(Apache)
- 任意のMTA– Postfix、Sendmail、Qmail
私の場合、CentOS7にdovecotを使用してPostfixをすでにインストールしています
- ドメイン名=nsitmail.com
- ホスト名=tec.nsitmail.com
以下の手順に従って、Roundcubeの最新バージョンをインストールおよび構成します:
ステップ:1以下のコマンドを使用してPHP、データベース、およびApacheをインストールします:
[[email protected] ~]# yum install httpd php php-common php-json php-xml php-mbstring php-imap php-pear-DB php-mysql mysql mariadb-server
上記のパッケージリストをインストールしたら、PHPでタイムゾーンの値を設定します。
[email protected] ~]# vi /etc/php.ini
date.timezone = Asia/Kolkata
ファイルを保存して終了します
ステップ:2Roundcubeデータベースの作成と構成
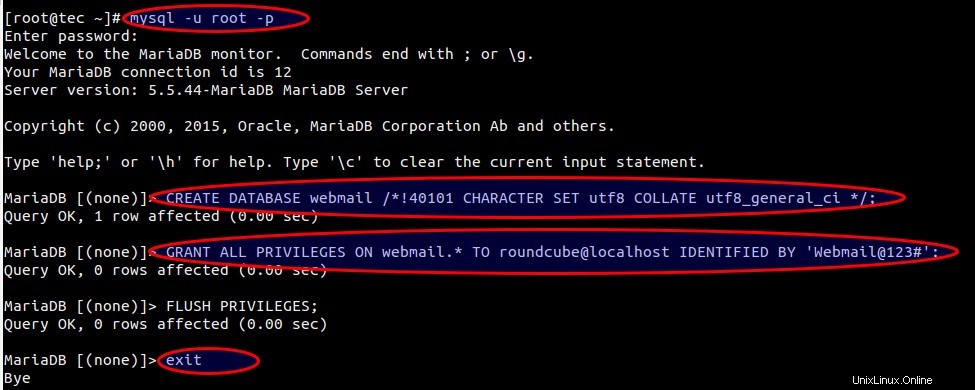
まず、Mariadbサーバーの初期設定とルートパスワードを設定しましょう:
[[email protected] ~]# systemctl start mariadb
[[email protected] ~]# systemctl enable mariadb
ln -s '/usr/lib/systemd/system/mariadb.service' '/etc/systemd/system/multi-user.target.wants/mariadb.service'
[[email protected] ~]#
[[email protected] ~]# mysql_secure_installation
上記のコマンド「mysql_secure_installation 」を使用すると、rootパスワードを設定し、匿名ユーザーを削除し、リモートrootログインを無効にして、テストデータベースを削除できます。
次に、Roundubeのデータベースを作成し、データベースへのすべてのアクセス許可を付与します
ステップ:3Roundcubeのtarファイルをダウンロード
Roundcube tarファイルの最新バージョンを公式サイト「https://roundcube.net/download/」からダウンロードするか、以下のwgetコマンドを使用できます。
[[email protected] ~]# wget http://nchc.dl.sourceforge.net/project/roundcubemail/roundcubemail/1.1.3/roundcubemail-1.1.3-complete.tar.gz
ダウンロードしたファイルをWebサーバーのドキュメントルートで解凍します。
[[email protected] ~]# tar -zxpvf roundcubemail-1.1.3-complete.tar.gz -C /var/www/html/
抽出したファイルの名前をRoundcubeに変更し、必要な権限を設定します
[[email protected] html]# mv roundcubemail-1.1.3 roundcube
[[email protected] html]# chown apache:apache roundcube
[[email protected] html]#
Apacheサービスを開始します
[[email protected] html]# systemctl start httpd
[[email protected] html]# systemctl enable httpd
ln -s '/usr/lib/systemd/system/httpd.service' '/etc/systemd/system/multi-user.target.wants/httpd.service'
[[email protected] html]#
ステップ:4Webブラウザインストーラを使用してRoundcubeのインストールを開始します。
Rouncubeのインストールを開始するには、Webブラウザで以下のURLにアクセスしてください
http://tec.nsitmail.com/roundcube/installer
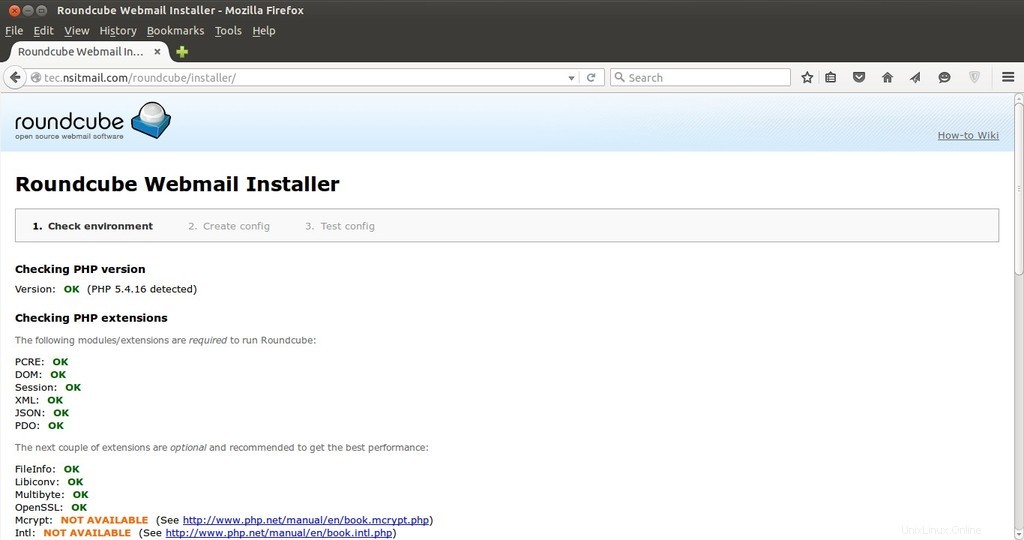
[次へ]をクリックします…
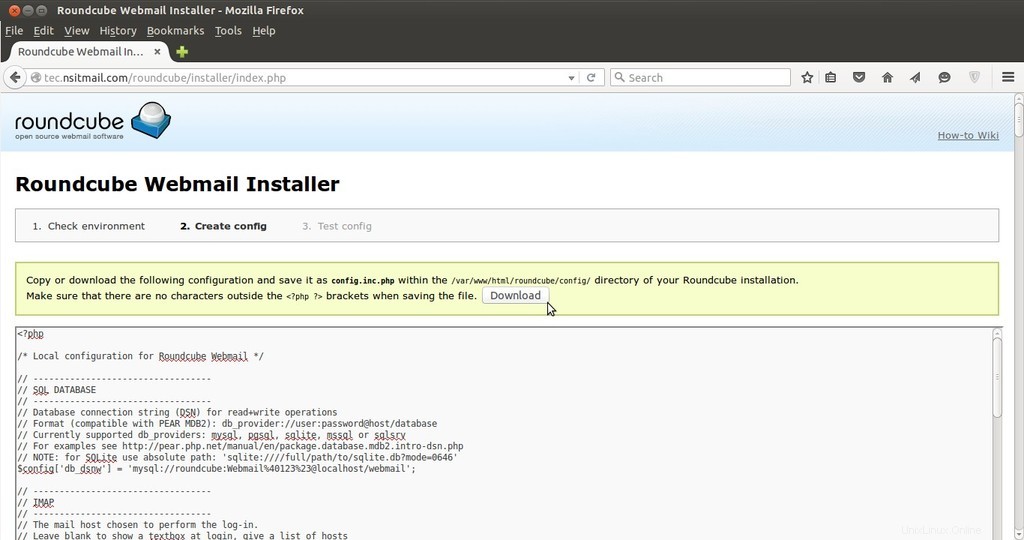
このステップでは、データベース、認証メカニズム、SMTPおよびIMAP設定を定義します。 [構成の作成]オプションをクリックすると、構成をコピーまたはダウンロードして、 config.inc.phpとして保存するように求められます。 / var / www / html / roundcube / config /内 Roundcubeインストールのディレクトリ。
私の場合、httpベースの認証メカニズムを使用しているので、Linuxボックスで1人のユーザーを作成し、 htpasswdを使用してそのパスワードを設定します。 コマンド。
[[email protected] ~]# htpasswd -c /home/linuxtechi/.htpasswd linuxtechi
New password:
Re-type new password:
Adding password for user linuxtechi
[[email protected] ~]#
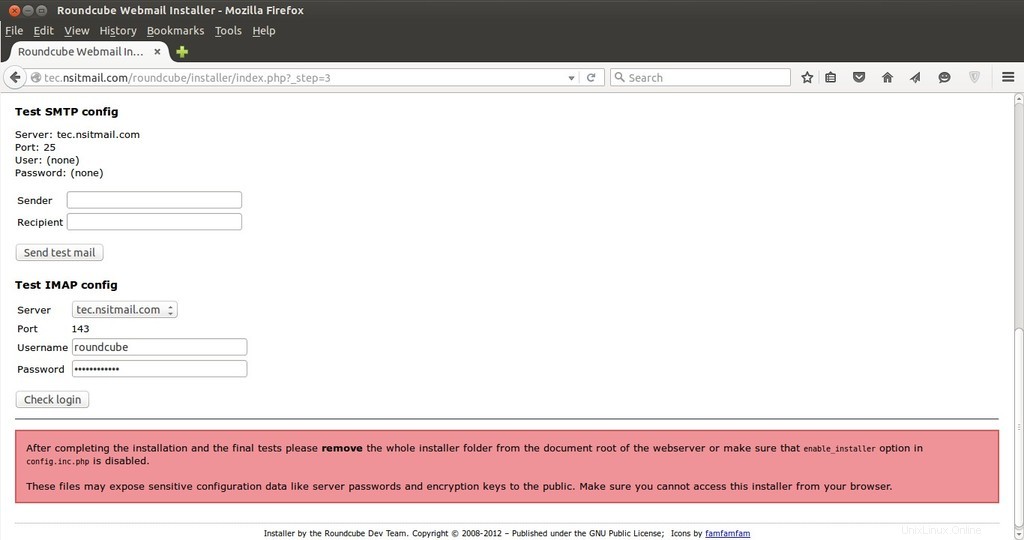
インストーラディレクトリを削除します Webサーバーのドキュメントルートから( / var / www / html / roundcube )
[[email protected] ~]# cd /var/www/html/roundcube/
[[email protected] roundcube]# rm -rf installer
[[email protected] roundcube]#
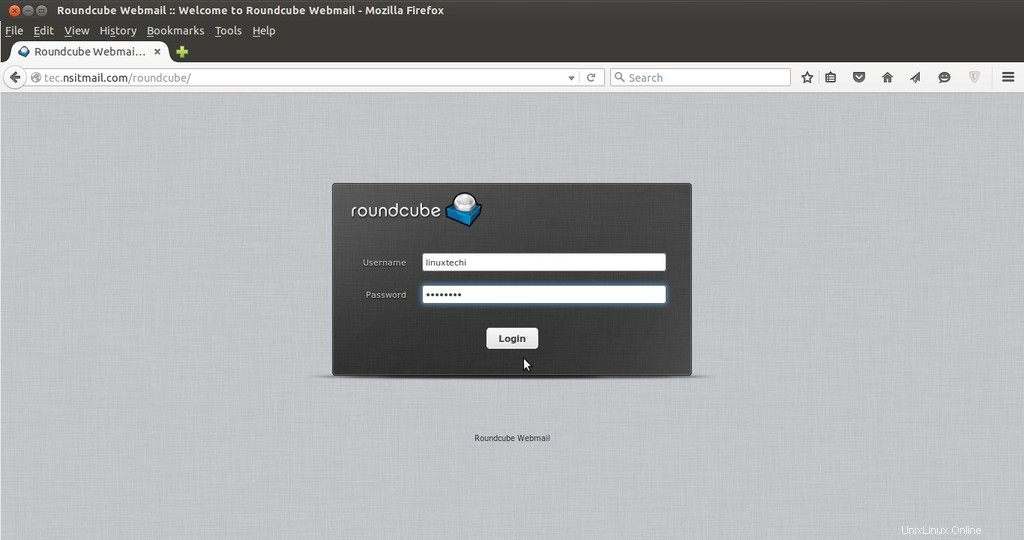
ステップ:5Roundcubeを使用してアカウントにアクセスします
ブラウザ「http://tec.nsitmail.com/roundcube/」でURLを開き、htpasswdコマンドを使用して設定した資格情報を使用します。
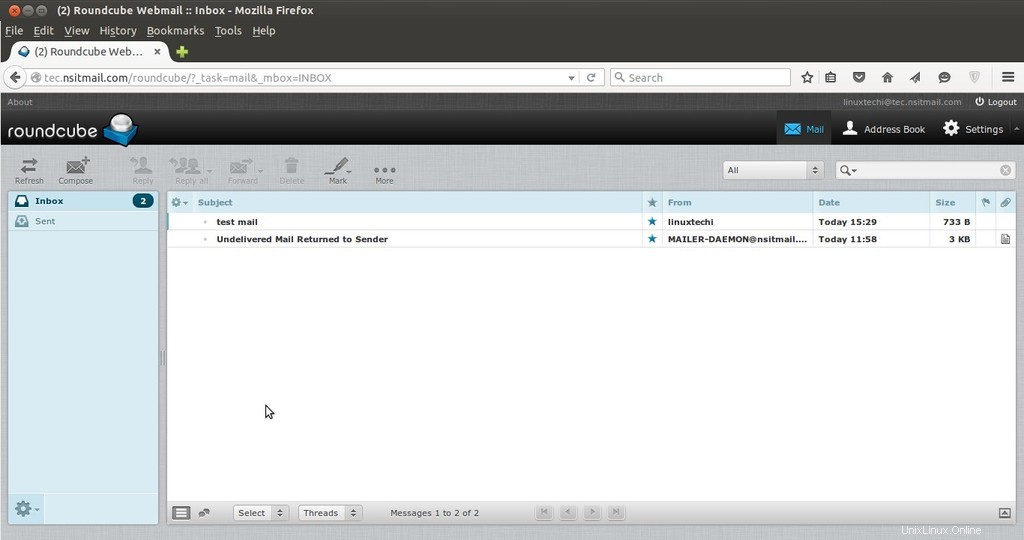
Roundcubeのインストールが完了しました。今すぐ探索して、お楽しみください。