Boltは、PHPに基づく無料のオープンソースの軽量でシンプルなコンテンツ管理システムです。使いやすさを考慮して設計されており、強力で動的なコンテンツWebサイトを簡単に作成できます。 Silexマイクロフレームワークに基づいて構築されており、最新のPHPシステムを探している人にとっては素晴らしい代替手段です。最新のオープンソースライブラリを使用して作成されており、最新のマークアップを使用してHTML5でサイトを構築するのに最適です。
このチュートリアルでは、Ubuntu20.04にNginxとLet'sEncryptSSLを使用してBoltCMSをインストールする方法を示します。
- Ubuntu20.04を実行しているサーバー。
- サーバーIPで指定された有効なドメイン名。
- ルートパスワードがサーバーに設定されます。
開始する前に、常に最新バージョンのパッケージでシステムを更新することをお勧めします。次のコマンドで更新できます:
apt-get update -y
すべてのパッケージが更新されたら、次のコマンドを実行して他の依存関係をインストールします。
apt-get install software-properties-common gnupg2 unzip git -y
すべての依存関係をインストールしたら、次の手順に進むことができます。
LEMPサーバーをインストールする
まず、次のコマンドを実行してNginxとMariaDBサーバーをインストールします。
apt-get install nginx mariadb-server -y
次に、サーバーにPHPバージョン7.2をインストールする必要があります。デフォルトでは、Ubuntu20.04にはPHPバージョン7.4が付属しています。そのため、システムにOndrejPHPリポジトリを追加する必要があります。
次のコマンドでPHPリポジトリを追加できます:
add-apt-repository ppa:ondrej/php
リポジトリが追加されたら、リポジトリを更新し、次のコマンドを使用してPHPおよびその他の必要な拡張機能をインストールします。
apt-get update -y
apt-get install php7.2 php7.2-cli php7.2-fpm php7.2-common php7.2-mbstring php7.2-zip php7.2-pgsql php7.2-sqlite3 php7.2-curl php7.2-gd php7.2-mysql php7.2-intl php7.2-json php7.2-opcache php7.2-xml -y
Once all the packages are installed, you can proceed to the next step.
次に、Boltのデータベースとユーザーを作成する必要があります。まず、次のコマンドを使用してMariaDBにログインします。
mysql
ログインしたら、次のコマンドを使用してデータベースとユーザーを作成します。
MariaDB [(none)]> CREATE DATABASE boltdb;
MariaDB [(none)]> CREATE USER 'bolt'@'localhost' IDENTIFIED BY 'password';
次に、次のコマンドを使用して、Boltデータベースにすべての権限を付与します。
MariaDB [(none)]> GRANT ALL ON boltdb.* TO 'bolt'@'localhost';
次に、特権をフラッシュし、次のコマンドを使用してMariaDBシェルを終了します。
MariaDB [(none)]> FLUSH PRIVILEGES;
MariaDB [(none)]> EXIT;
終了したら、次のステップに進むことができます。
まず、Gitリポジトリから最新バージョンのBoltCMSをダウンロードする必要があります。次のコマンドを実行して、Nginxルートディレクトリにダウンロードできます。
cd /var/www/html
git clone https://github.com/bolt/bolt.git
Boltがダウンロードされたら、ディレクトリをboltに変更し、サンプル構成ファイルをコピーします。
cd bolt
cp app/config/config.yml.dist app/config/config.yml
次に、config.ymlファイルを編集し、データベース設定を定義します。
nano app/config/config.yml
デフォルトのsqliteデータベース行を削除し、次の行を追加します。
database:
     driver: mysql
     username: bolt
     password: password
     databasename: boltdb
     host: localhost
     prefix: prefix_
終了したら、ファイルを保存して閉じます。
次に、Composerをシステムにインストールする必要があります。 Composerは、PHPの依存関係マネージャーです。次のコマンドでインストールできます:
wget -O composer-setup.php https://getcomposer.org/installer>
php composer-setup.php --install-dir=/usr/local/bin --filename=composer
Composerをインストールすると、次の出力が得られます。
All settings correct for using Composer
Downloading...

Composer (version 2.0.2) successfully installed to: /usr/local/bin/composer
Use it: php /usr/local/bin/composer
次に、次のコマンドを使用して、BoltCMSに必要なPHP依存関係をインストールします。
composer install
すべての依存関係がインストールされたら、太字のディレクトリの所有権と権限を変更します。
chown -R www-data:www-data /var/www/html/bolt
chmod -R 755 /var/www/html/bolt
終了したら、次のステップに進むことができます。
次に、BoltCMS用のNginx仮想ホスト構成ファイルを作成する必要があります。次のコマンドで作成できます:
nano /etc/nginx/sites-available/bolt.conf
次の行を追加します:
server {
   listen 80;
   root /var/www/html/bolt;
   index  index.php index.html index.htm;
   server_name  bolt.example.com;

   location / {
   try_files           $uri $uri/ /index.php?$query_string;
   }

location ~ [^/]\.php(/|$) {
   try_files            /index.php =404;
   fastcgi_split_path_info  ^(.+\.php)(/.+)$;
   fastcgi_index            index.php;
   fastcgi_pass             unix:/var/run/php/php7.2-fpm.sock;
   include                  fastcgi_params;
   fastcgi_param   PATH_INFO       $fastcgi_path_info;
   fastcgi_param SCRIPT_FILENAME $document_root$fastcgi_script_name;
   }

  location = /bolt {
   try_files                $uri /index.php?$query_string;

  }
  location ^~ /bolt/ {
   try_files                 $uri /index.php?$query_string;
  }

}
終了したらファイルを保存して閉じ、次のコマンドを使用してNginx仮想ホストファイルを有効にします。
ln -s /etc/nginx/sites-available/bolt.conf /etc/nginx/sites-enabled/bolt.conf
次に、次のコマンドを使用して、構成エラーがないかNginxを確認します。
nginx -t
次の出力が表示されます。
nginx: the configuration file /etc/nginx/nginx.conf syntax is ok
nginx: configuration file /etc/nginx/nginx.conf test is successful
最後に、Nginxサービスを再起動して、変更を適用します。
systemctl restart nginx
この時点で、NginxはBoltCMSにサービスを提供するように構成されています。これで、次のステップに進むことができます。
次に、Webブラウザーを開き、URL http://bolt.example.comを入力します。 。次のページにリダイレクトされます:
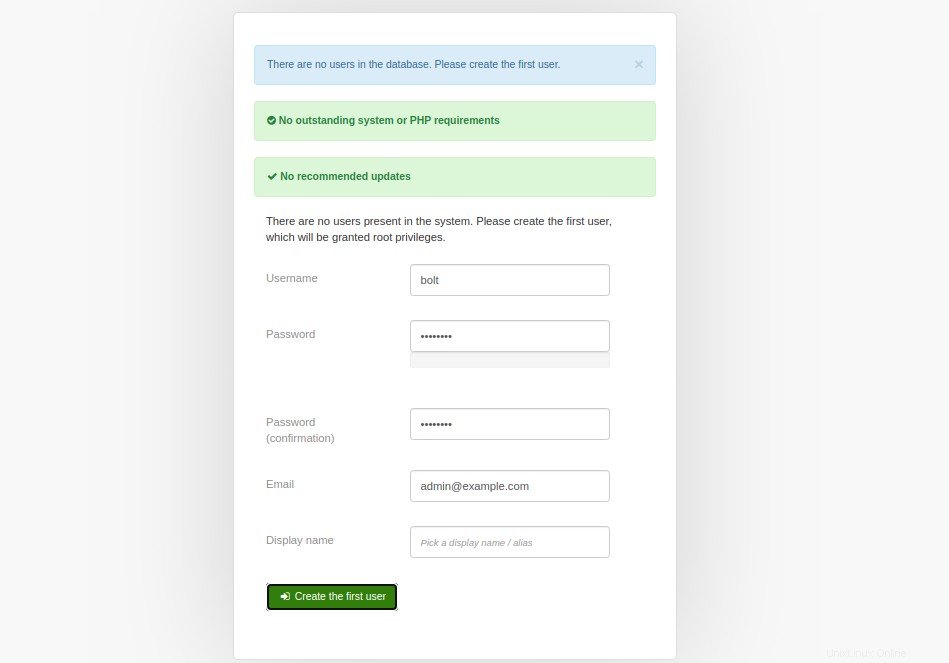
希望のユーザー名、パスワード、メールアドレスを入力し、最初のユーザーを作成をクリックします ボタン。次のページにBoltCMSダッシュボードが表示されます。
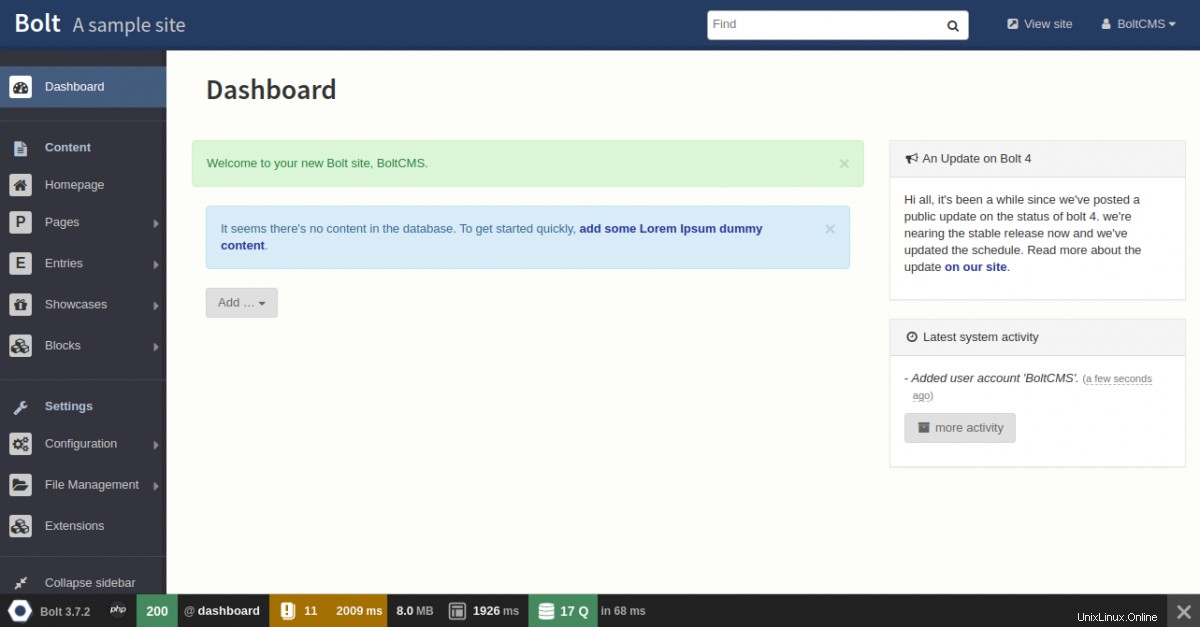
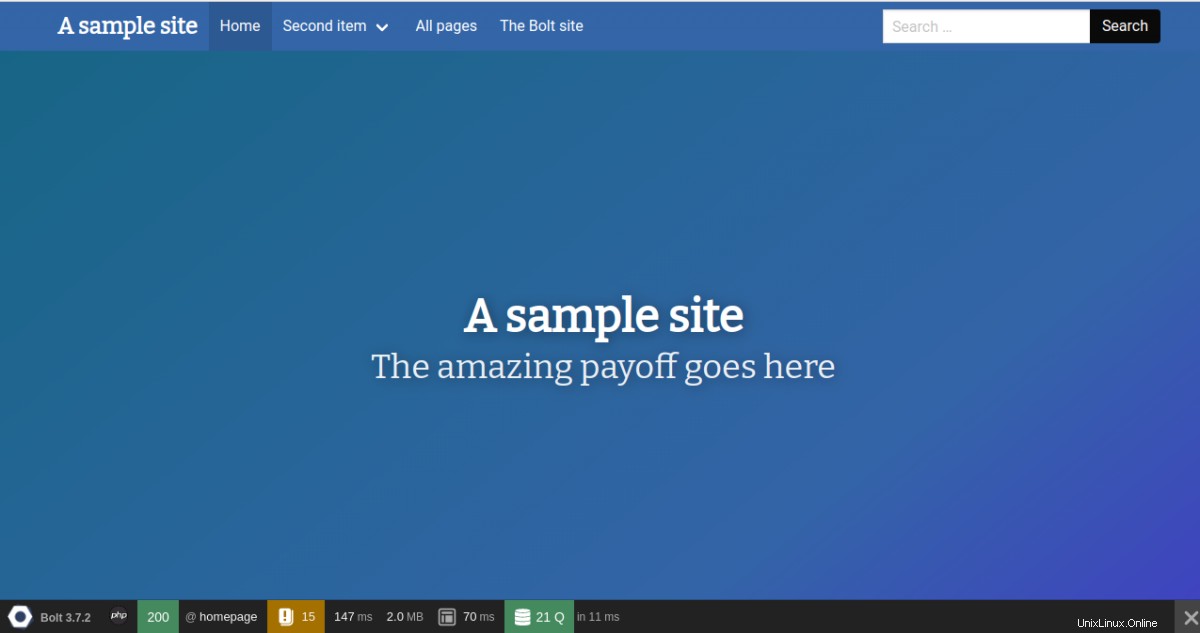
次に、表示をクリックします サイト ボタン。次のページにBoltCMSのシンプルなサイトページが表示されます。
SSLを暗号化してLet'sで安全なBoltCMS
Let'sEncryptSSLを使用してWebサイトを保護することは常に良い考えです。まず、次のコマンドを使用して、CertbotLet'sEncryptクライアントをサーバーにインストールします。
apt-get install python3-certbot-nginx -y
インストールしたら、次のコマンドを実行して、Let'sEncryptSSLでWebサイトを保護します。
certbot --nginx -d bolt.example.com
以下に示すように、有効なメールアドレスを入力し、利用規約に同意するよう求められます。
Saving debug log to /var/log/letsencrypt/letsencrypt.log
Plugins selected: Authenticator nginx, Installer nginx
Enter email address (used for urgent renewal and security notices) (Enter 'c' to
cancel): [email protected]

- - - - - - - - - - - - - - - - - - - - - - - - - - - - - - - - - - - - - - - -
Please read the Terms of Service at
https://letsencrypt.org/documents/LE-SA-v1.2-November-15-2017.pdf. You must
agree in order to register with the ACME server at
https://acme-v02.api.letsencrypt.org/directory
- - - - - - - - - - - - - - - - - - - - - - - - - - - - - - - - - - - - - - - -
(A)gree/(C)ancel: A

- - - - - - - - - - - - - - - - - - - - - - - - - - - - - - - - - - - - - - - -
Would you be willing to share your email address with the Electronic Frontier
Foundation, a founding partner of the Let's Encrypt project and the non-profit
organization that develops Certbot? We'd like to send you email about our work
encrypting the web, EFF news, campaigns, and ways to support digital freedom.
- - - - - - - - - - - - - - - - - - - - - - - - - - - - - - - - - - - - - - - -
(Y)es/(N)o: Y
Obtaining a new certificate
Performing the following challenges:
http-01 challenge for bolt.example.com
Waiting for verification...
Cleaning up challenges
Deploying Certificate to VirtualHost /etc/nginx/sites-enabled/bolt.conf
次に、以下に示すように、HTTPトラフィックをHTTPSにリダイレクトするかどうかを選択します。
- - - - - - - - - - - - - - - - - - - - - - - - - - - - - - - - - - - - - - - -
1: No redirect - Make no further changes to the webserver configuration.
2: Redirect - Make all requests redirect to secure HTTPS access. Choose this for
new sites, or if you're confident your site works on HTTPS. You can undo this
change by editing your web server's configuration.
- - - - - - - - - - - - - - - - - - - - - - - - - - - - - - - - - - - - - - - -
Select the appropriate number [1-2] then [enter] (press 'c' to cancel): 2
2と入力し、Enterキーを押してインストールを終了します。次の出力が表示されます。
Redirecting all traffic on port 80 to ssl in /etc/nginx/sites-enabled/bolt.conf

- - - - - - - - - - - - - - - - - - - - - - - - - - - - - - - - - - - - - - - -
Congratulations! You have successfully enabled https://bolt.example.com

You should test your configuration at:
https://www.ssllabs.com/ssltest/analyze.html?d=bolt.example.com
- - - - - - - - - - - - - - - - - - - - - - - - - - - - - - - - - - - - - - - -

IMPORTANT NOTES:
 - Congratulations! Your certificate and chain have been saved at:
   /etc/letsencrypt/live/bolt.example.com/fullchain.pem
   Your key file has been saved at:
   /etc/letsencrypt/live/bolt.example.com/privkey.pem
   Your cert will expire on 2020-10-30. To obtain a new or tweaked
   version of this certificate in the future, simply run certbot again
   with the "certonly" option. To non-interactively renew *all* of
   your certificates, run "certbot renew"
 - Your account credentials have been saved in your Certbot
   configuration directory at /etc/letsencrypt. You should make a
   secure backup of this folder now. This configuration directory will
   also contain certificates and private keys obtained by Certbot so
   making regular backups of this folder is ideal.
 - If you like Certbot, please consider supporting our work by:

   Donating to ISRG / Let's Encrypt:   https://letsencrypt.org/donate
   Donating to EFF:                    https://eff.org/donate-le

 - We were unable to subscribe you the EFF mailing list because your
   e-mail address appears to be invalid. You can try again later by
   visiting https://act.eff.org.
これで、BoltCMSWebサイトはLet'sEncryptSSLで保護されます。 URL https://bolt.example.comを使用して安全にアクセスできます
おめでとうございます!これで、Ubuntu20.04サーバーにNginxとLet'sEncryptSSLを使用してBoltCMSが正常にインストールされました。 Boltダッシュボードを使用して、独自のWebサイトを簡単に作成できるようになりました。ご不明な点がございましたら、お気軽にお問い合わせください。