Mattermostは、エンタープライズグレードのインスタントメッセージングプラットフォームであり、オープンソースのセルフホストSlackの代替手段です。 GolangとReactで記述されており、データベースバックエンドとしてMySQLまたはPostgreSQLを使用できます。 Mattermostは、チームのすべてのコミュニケーションを1か所にまとめ、ファイル共有、1対1およびグループメッセージング、カスタム絵文字、ビデオ通話などのさまざまな機能を提供します。
このチュートリアルでは、MattermostをUbuntu 18.04サーバーにインストールし、NginxをSSLリバースプロキシとして構成します。
前提条件#
このチュートリアルを続行する前に、次の前提条件を満たしていることを確認してください。
- sudo権限を持つユーザーとしてログインしています。
- サーバーのIPアドレスを指すドメイン名があります。この記事では、
example.comを使用します 。 - このガイドを確認しない場合は、Nginxがインストールされています。
- ドメインにSSL証明書がインストールされています。このガイドに従って、無料のLet’sEncryptSSL証明書をインストールできます。
MySQLデータベースの作成#
MattermostのデータベースとしてMySQLを使用します。サーバーにMySQLまたはMariaDBがインストールされていない場合は、次の手順に従ってインストールできます。
MySQLシェルにログインします:
mysql -u root次のコマンドを使用して、Mattermostインストール用の新しいデータベースとユーザーを作成します。
CREATE DATABASE mattermost;GRANT ALL ON mattermost.* TO mattermost@localhost IDENTIFIED BY 'P4ssvv0rD';
P4ssvv0rDよりも安全なパスワードを使用していることを確認してください 。 新しいシステムユーザーを作成する#
Mattermostインスタンスを実行する新しいユーザーとグループを作成します。ユーザーにmattermostという名前を付けます :
sudo useradd -U -M -d /opt/mattermost mattermostMattermostサーバーのインストール#
この記事を書いている時点で、Mattermostの最新の安定バージョンはバージョン5.1.0です。次のcurlコマンドを使用してアーカイブをダウンロードします。
sudo curl -L https://releases.mattermost.com/5.1.0/mattermost-5.1.0-linux-amd64.tar.gz -o /tmp/mattermost.tar.gz
ダウンロードが完了したら、アーカイブを抽出して/optに移動します ディレクトリ
sudo tar zxf /tmp/mattermost.tar.gz -C /optファイルのストレージディレクトリを作成します:
sudo mkdir -p /opt/mattermost/data
ディレクトリの所有権をmattermostに変更します ユーザー:
sudo chown -R mattermost: /opt/mattermost
/opt/mattermost/config/config.jsonを開きます ファイルの場合、データベースドライバをmysqlに設定します データベース情報を入力します:
"SqlSettings": {
    "DriverName": "mysql",
    "DataSource": "mattermost:P4ssvv0rD@tcp(localhost:3306)/mattermost?charset=utf8mb4,utf8&readTimeout=30s&writeTimeout=30s",
Mattermostインスタンスが期待どおりに機能することを確認するために、Mattermostサーバーをテストします。 /opt/mattermostに変更します ディレクトリを作成し、次のコマンドでサーバーを起動します。
cd /opt/mattermostsudo -u mattermost bin/mattermost
すべてが正常に機能すると、サーバーが起動し、出力は次のようになります:
{"level":"info","ts":1532546921.941638,"caller":"app/server.go:115","msg":"Starting Server..."}
{"level":"info","ts":1532546921.9421031,"caller":"app/server.go:154","msg":"Server is listening on [::]:8065"}
{"level":"info","ts":1532546921.9541554,"caller":"app/web_hub.go:75","msg":"Starting 2 websocket hubs"}
CTRL+CでMattermostサーバーを停止できるようになりました 次の手順に進みます。
Systemdユニットを作成する#
Mattermostインスタンスをサービスとして実行するために、mattermost.serviceを作成します。 /etc/systemd/system/内のユニットファイル ディレクトリ。
テキストエディタを開き、次のファイルを作成します。
/etc/systemd/system/mattermost.service[Unit]
Description=Mattermost
After=network.target
After=mysql.service
Requires=mysql.service
[Service]
Type=notify
ExecStart=/opt/mattermost/bin/mattermost
TimeoutStartSec=3600
Restart=always
RestartSec=10
WorkingDirectory=/opt/mattermost
User=mattermost
Group=mattermost
LimitNOFILE=49152
[Install]
WantedBy=mysql.service
新しいユニットファイルを作成したことをsystemdに通知し、次のコマンドでMattermostサービスを開始します。
sudo systemctl daemon-reloadsudo systemctl start mattermost
これで、次のコマンドでサービスステータスを確認できます:
sudo systemctl status mattermost● mattermost.service - Mattermost
Loaded: loaded (/etc/systemd/system/mattermost.service; disabled; ven
Active: active (running) since Wed 2018-07-25 18:39:05 UTC; 41s ago
Main PID: 3091 (mattermost)
Tasks: 18 (limit: 507)
CGroup: /system.slice/mattermost.service
├─3091 /opt/mattermost/bin/mattermost
エラーがない場合は、Mattermostサービスを起動時に自動的に開始できるようにします。
sudo systemctl enable mattermostNginxでリバースプロキシを設定する#
Ubuntu 18.04にNginxをインストールする方法と、Ubuntu 18.04ガイドでLet’s Encryptを使用してNginxを保護する方法に従った場合は、NginxがSSL証明書でインストールおよび構成されているはずです。
次に、Mattermostインスタンス用に新しいサーバーブロックを設定する必要があります。テキストエディタを開き、次のファイルを作成します。
/etc/nginx/conf.d/example.com.confproxy_cache_path /var/cache/nginx levels=1:2 keys_zone=mattermost_cache:10m max_size=3g inactive=120m use_temp_path=off;
upstream mattermost_backend {
server 127.0.0.1:8065;
}
server {
listen 80;
server_name example.com www.example.com;
include snippets/letsencrypt.conf;
return 301 https://example.com$request_uri;
}
server {
listen 443 ssl http2;
server_name www.example.com;
ssl_certificate /etc/letsencrypt/live/example.com/fullchain.pem;
ssl_certificate_key /etc/letsencrypt/live/example.com/privkey.pem;
ssl_trusted_certificate /etc/letsencrypt/live/example.com/chain.pem;
include snippets/ssl.conf;
return 301 https://example.com$request_uri;
}
server {
listen 443 ssl http2;
server_name example.com;
ssl_certificate /etc/letsencrypt/live/example.com/fullchain.pem;
ssl_certificate_key /etc/letsencrypt/live/example.com/privkey.pem;
ssl_trusted_certificate /etc/letsencrypt/live/example.com/chain.pem;
include snippets/ssl.conf;
access_log /var/log/nginx/example.com-access.log;
error_log /var/log/nginx/example.com-error.log;
location ~ /api/v[0-9]+/(users/)?websocket$ {
proxy_set_header Upgrade $http_upgrade;
proxy_set_header Connection "upgrade";
client_max_body_size 50M;
proxy_set_header Host $http_host;
proxy_set_header X-Real-IP $remote_addr;
proxy_set_header X-Forwarded-For $proxy_add_x_forwarded_for;
proxy_set_header X-Forwarded-Proto $scheme;
proxy_set_header X-Frame-Options SAMEORIGIN;
proxy_buffers 256 16k;
proxy_buffer_size 16k;
proxy_read_timeout 600s;
proxy_pass http://mattermost_backend;
}
location / {
proxy_http_version 1.1;
client_max_body_size 50M;
proxy_set_header Connection "";
proxy_set_header Host $http_host;
proxy_set_header X-Real-IP $remote_addr;
proxy_set_header X-Forwarded-For $proxy_add_x_forwarded_for;
proxy_set_header X-Forwarded-Proto $scheme;
proxy_set_header X-Frame-Options SAMEORIGIN;
proxy_buffers 256 16k;
proxy_buffer_size 16k;
proxy_read_timeout 600s;
proxy_cache mattermost_cache;
proxy_cache_revalidate on;
proxy_cache_min_uses 2;
proxy_cache_use_stale timeout;
proxy_cache_lock on;
proxy_pass http://mattermost_backend;
}
}
変更を有効にするには、Nginxサービスをリロードします:
sudo systemctl reload nginxブラウザを開き、ドメインを入力すると、sugnupページにリダイレクトされます。
メールアドレスを入力し、ユーザー名とパスワードを選択して、Create Accountをクリックします ボタンをクリックして最初のアカウントを作成します。
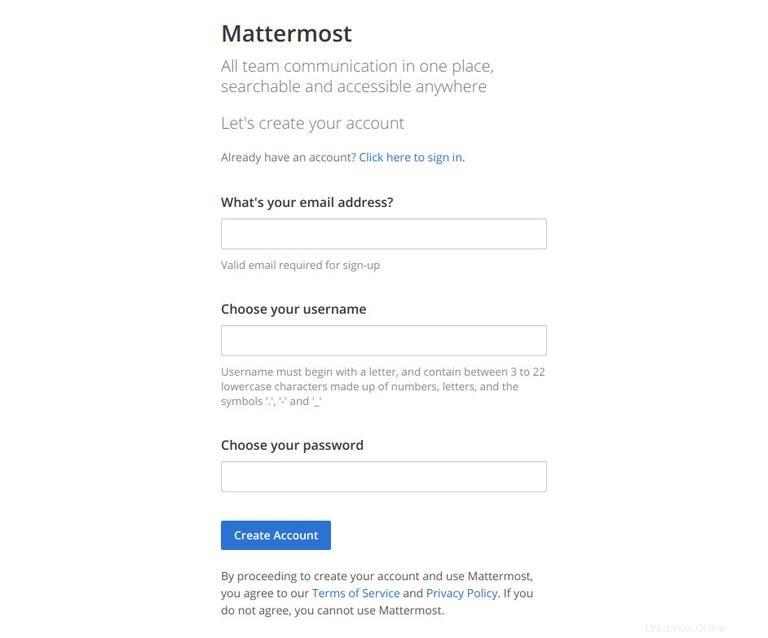
システムで最初に作成されたユーザーには、管理者権限があります。
次のステップでは、構成ウィザードで新しいチームを作成するように求められます。
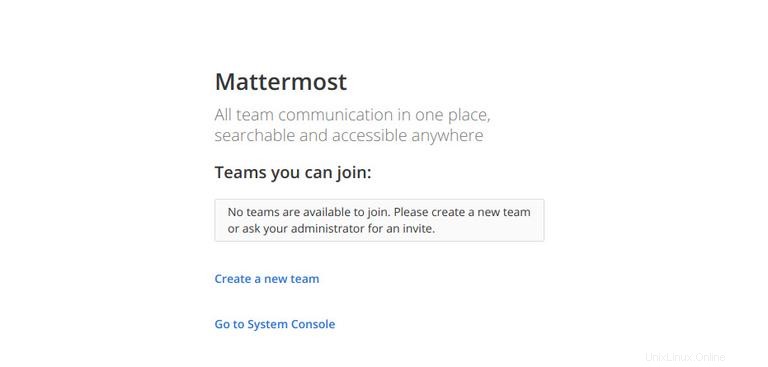
Create a new teamをクリックします リンクをクリックし、最初のチームを入力して、Nextをクリックします ボタン。
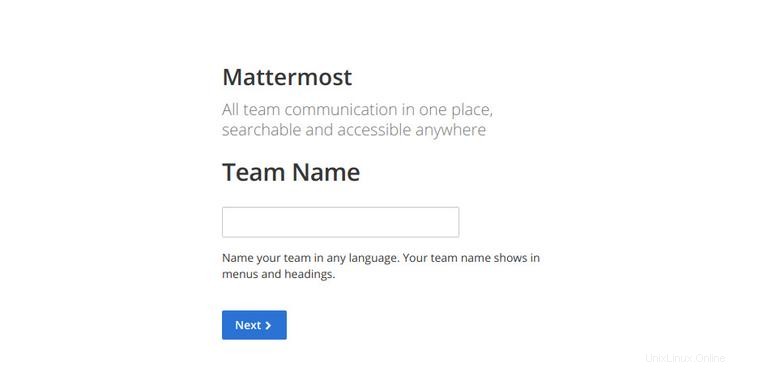
次のステップでは、新しいチームのWebアドレスを選択するように求められます。
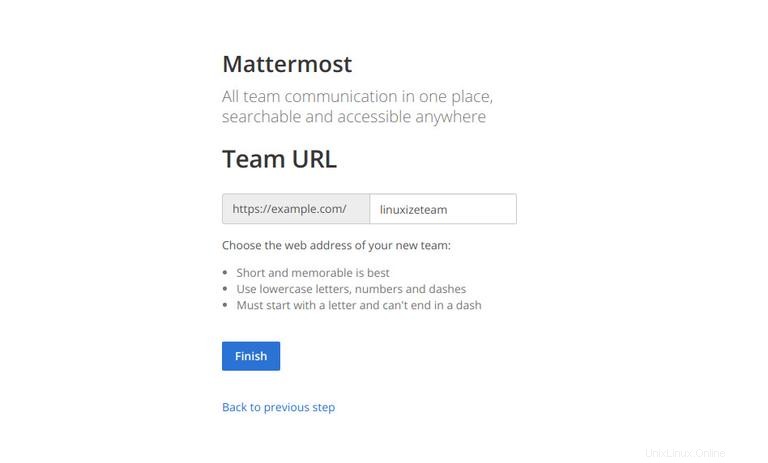
Finishをクリックします ボタンをクリックすると、Mattermostダッシュボードにリダイレクトされ、管理者としてログインします。
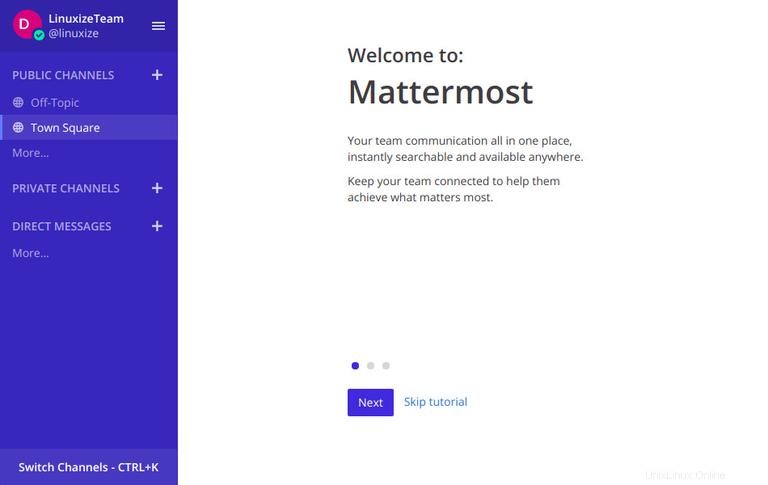
ナビゲーションパネルの上部にあるユーザー名をクリックしてシステムコンソールを開き、開いた新しいメニューでSystem Consoleをクリックします。 リンク。
[設定][一般]→[構成]に移動して、サイトのURLを設定します。

電子メール通知を有効にするには、[通知]→[電子メール]に移動し、Enable Email Notificationsを変更します falseからの値 trueに SMTPパラメータを入力します。
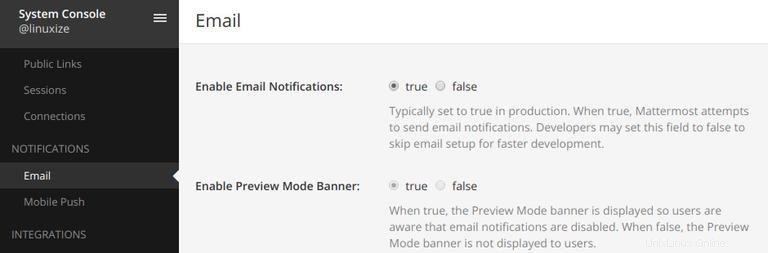
SendinBlue、SendGrid、Amazon SES、Mandrill、Mailgun、Mailjet、Postmarkなどの一般的なトランザクションメールサービスを使用するか、このチュートリアルに従って独自のメールサーバーを設定できます。
最後に、変更を有効にするためにMattermostサービスを再起動する必要があります:
sudo systemctl restart mattermost