このチュートリアルでは、CentOS8にISPConfigをインストールします。
ISPConfigは、Linux用のオープンソース管理パネルです。それはユーザーフレンドリーなウェブインターフェースを持っています。 ISPConfigを使用すると、ユーザーは自分のWebサイト、電子メールアドレス、FTPアカウント、DNSレコード、データベース、およびシェルアカウントを管理できます。
管理者、リセラー、クライアント、および電子メールユーザーは、ISPConfigへのユーザーアクセスの4つの異なるレベルです。ユーザーレベルごとに異なる種類のアドレスがあります。
まず、SElinuxをパーミッシブモードに設定します。
nano /etc/selinux/config次の図に示すように、モードを有効から許可に変更します。
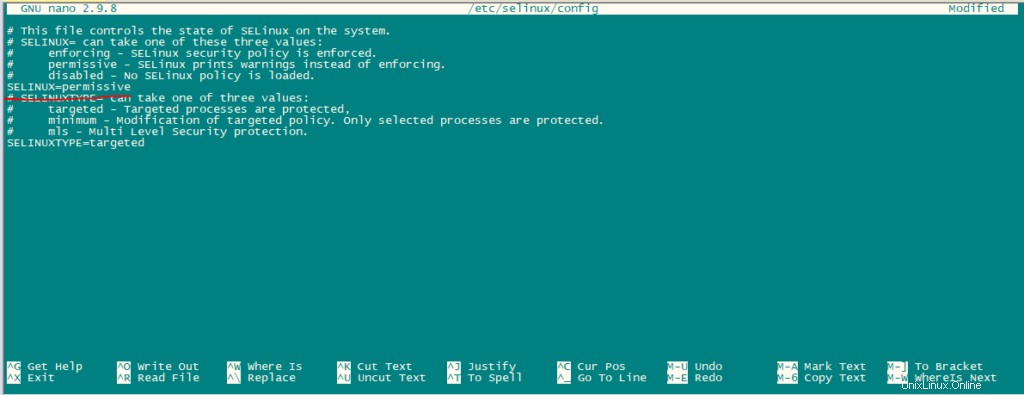
次に、システムを再起動します。
reboot追加のリポジトリを有効にする:
まず、ソフトウェアパッケージのGPGキーをインポートします。
rpm --import /etc/pki/rpm-gpg/RPM-GPG-KEY*Epelリポジトリを有効にします。
dnf -y install epel-release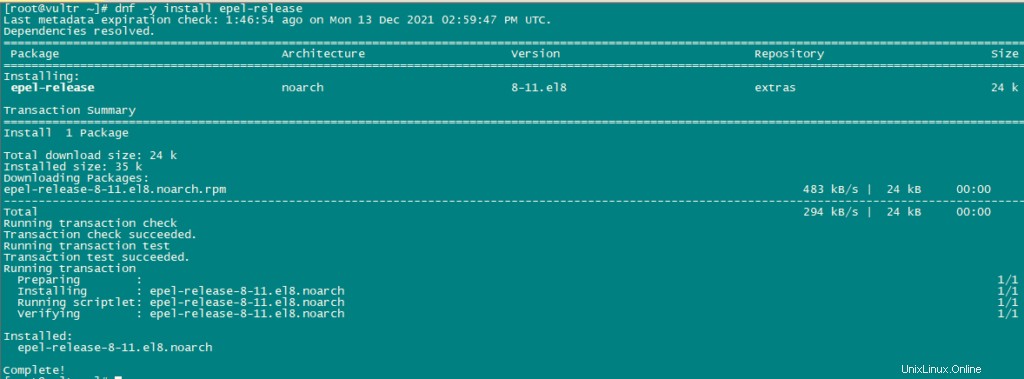
次に、動力工具をアクティブにします。
dnf config-manager --set-enabled powertools次のコマンドを使用して更新します:
dnf -y update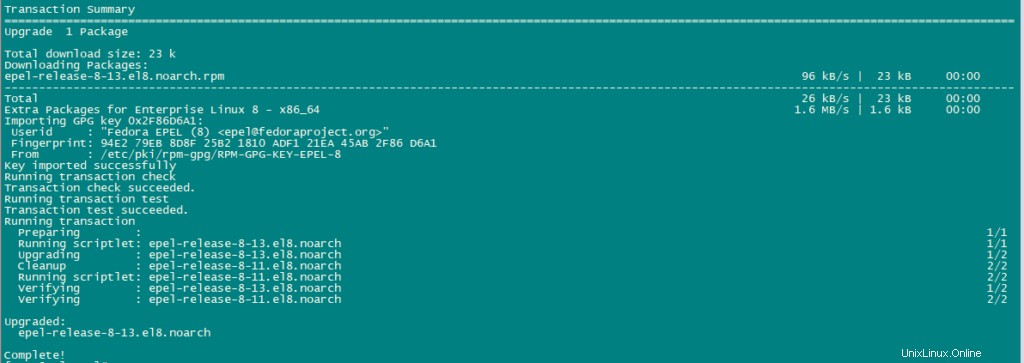
追加のパッケージをいくつかインストールします。
dnf -y groupinstall 'Development Tools'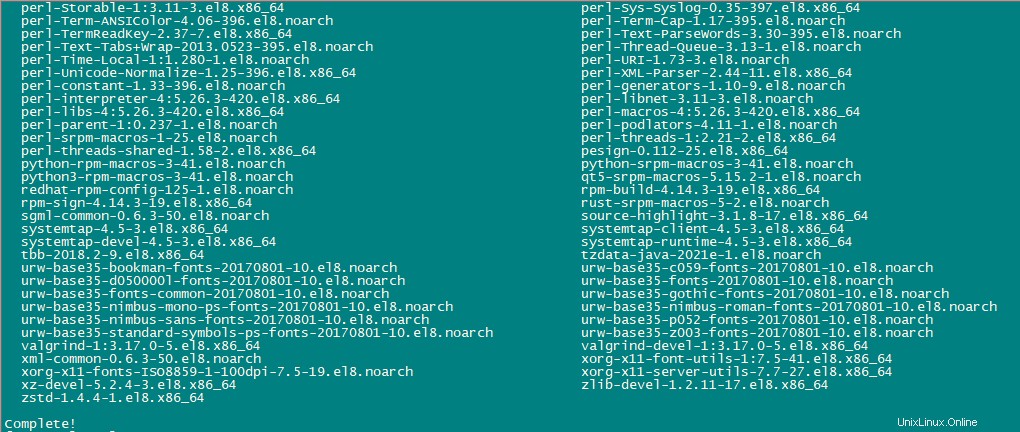
新しいバージョンのPHPを入手するには、Remiリポジトリを有効にする必要があります。
dnf install http://rpms.remirepo.net/enterprise/remi-release-8.rpm
dnf -y install yum-utils
dnf -y module reset php
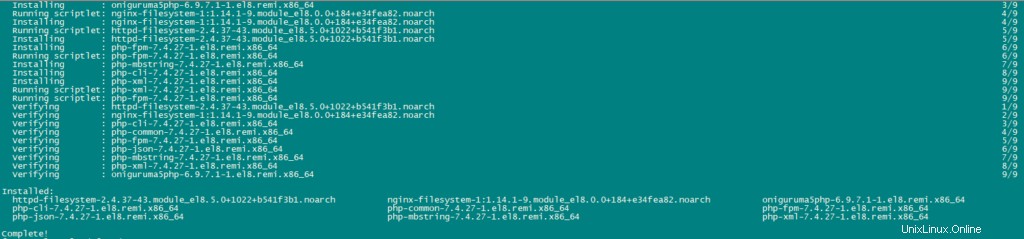
dnf -y module install php:remi-7.4
dnf update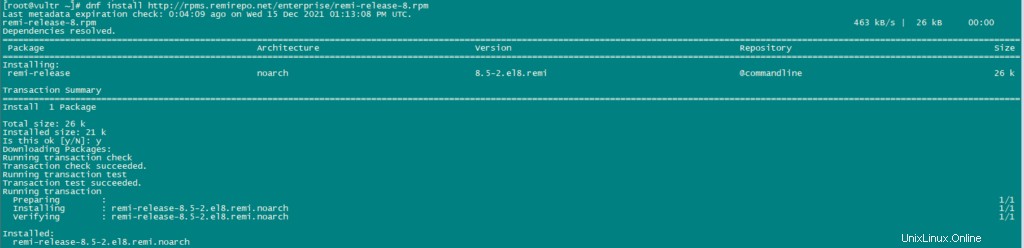
次のコマンドを使用して、必要なパッケージをインストールします。
dnf -y install httpd mod_ssl mariadb-server php php-mysqlnd php-mbstring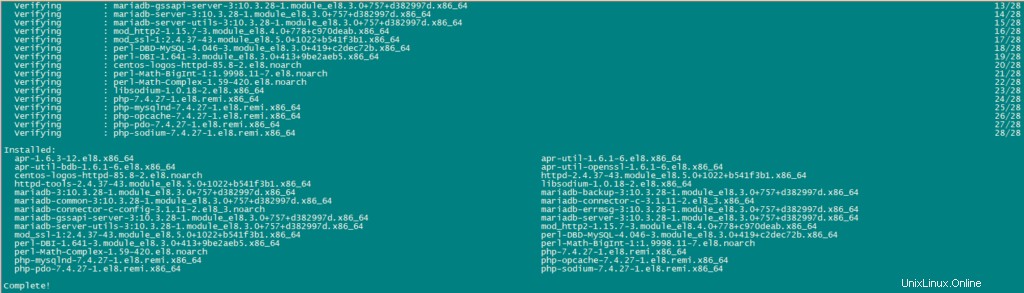
セキュリティのために、次のコマンドを使用して、ApacheのHTTP_PROXYヘッダーをグローバルに無効にします。
echo "RequestHeader unset Proxy early" >> /etc/httpd/conf/httpd.confhttpdサービスを再起動して、構成の変更を適用します。
systemctl restart httpd
次に、PhpMyAdminをインストールします。
cd /tmp
wget https://files.phpmyadmin.net/phpMyAdmin/5.0.2/phpMyAdmin-5.0.2-all-languages.tar.gz
tar xzvf phpMyAdmin-5.0.2-all-languages.tar.gz
mkdir /usr/share/phpmyadmin
mv phpMyAdmin-5.0.2-all-languages/* /usr/share/phpmyadmin/
mkdir /usr/share/phpmyadmin/tmp
chown -R apache:apache /usr/share/phpmyadmin
chmod 777 /usr/share/phpmyadmin/tmp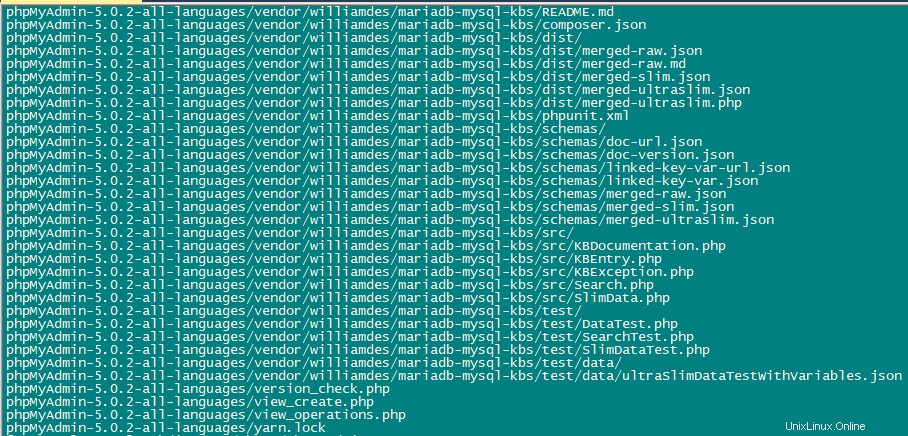
Dovecotのインストール–CentOS8にISPConfigをインストールします
次のコマンドを使用してdovecotをインストールします。
dnf -y install dovecot dovecot-mysql dovecot-pigeonhole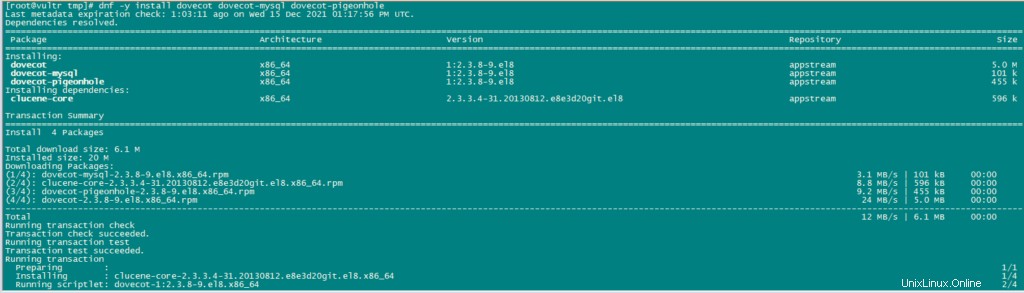
空の構成ファイルを作成し、メインの構成ファイルとのシンボリックリンクを作成します。
touch /etc/dovecot/dovecot-sql.conf
ln -s /etc/dovecot/dovecot-sql.conf /etc/dovecot-sql.conf
ln -s /etc/dovecot/dovecot.conf /etc/dovecot.conf
次に、Dovecotを有効にして、自動的に起動を開始できるようにします。また、サービスを開始します。
systemctl enable dovecot
systemctl start dovecot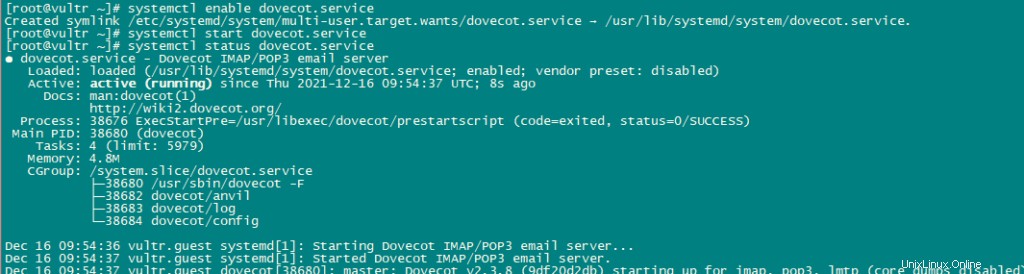
Postfixのインストール:
次のコマンドを使用してpostfixをインストールします:
dnf -y install postfix postfix-mysql
次に、TLS/SSLと送信ポートをpostfixで開きます。
nano /etc/postfix/master.cfmaster.cfファイルを編集すると、次のようになります。
submission inet n - n - - smtpd
 -o syslog_name=postfix/submission
 -o smtpd_tls_security_level=encrypt
 -o smtpd_sasl_auth_enable=yes
 -o smtpd_client_restrictions=permit_sasl_authenticated,reject
# -o smtpd_reject_unlisted_recipient=no
# -o smtpd_client_restrictions=$mua_client_restrictions
# -o smtpd_helo_restrictions=$mua_helo_restrictions
# -o smtpd_sender_restrictions=$mua_sender_restrictions
# -o smtpd_recipient_restrictions=
# -o smtpd_relay_restrictions=permit_sasl_authenticated,reject
# -o milter_macro_daemon_name=ORIGINATING
smtps inet n - n - - smtpd
 -o syslog_name=postfix/smtps
 -o smtpd_tls_wrappermode=yes
 -o smtpd_sasl_auth_enable=yes
 -o smtpd_client_restrictions=permit_sasl_authenticated,reject
# -o smtpd_reject_unlisted_recipient=no
# -o smtpd_client_restrictions=$mua_client_restrictions
# -o smtpd_helo_restrictions=$mua_helo_restrictions
# -o smtpd_sender_restrictions=$mua_sender_restrictions
# -o smtpd_recipient_restrictions=
# -o smtpd_relay_restrictions=permit_sasl_authenticated,reject
# -o milter_macro_daemon_name=ORIGINATING
行を変更しただけでは、ファイル内のコンテンツは削除されません。上記の行を変更するだけです。
Postfixとmariadbサービスを有効にして開始します。
systemctl enable mariadb.service
systemctl start mariadb.service
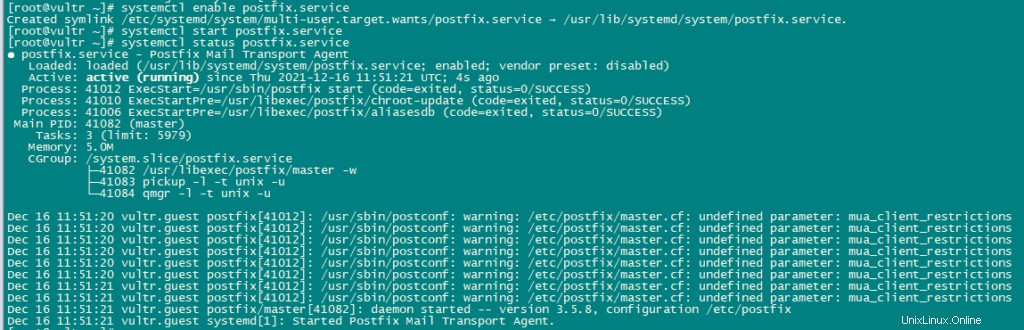
systemctl enable postfix.service
systemctl restart postfix.service
Getmailのインストール:
次のコマンドを使用してgetmailをインストールします。
dnf install python2
cd /tmp
wget http://pyropus.ca/software/getmail/old-versions/getmail-5.14.tar.gz
tar xvfz getmail-5.14.tar.gz
cd getmail-5.14
python2 setup.py build
python2 setup.py install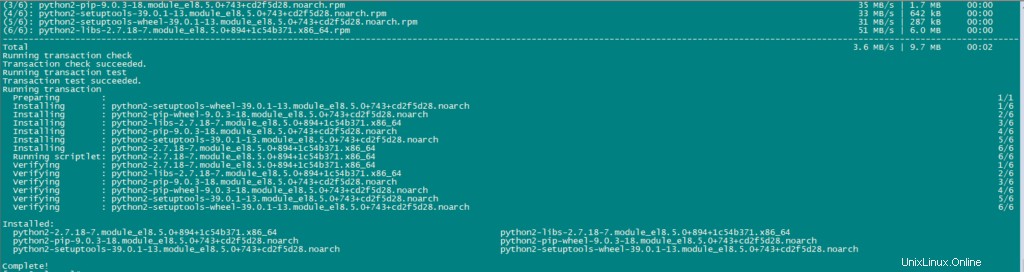

次に、MYSQLパスワードを設定し、phpMyAdminを構成します。
mariadbの構成には、次のコマンドを使用します。
mysql_secure_installationすべての構成を次のように設定します:
NOTE: RUNNING ALL PARTS OF THIS SCRIPT IS RECOMMENDED FOR ALL MariaDB
      SERVERS IN PRODUCTION USE!  PLEASE READ EACH STEP CAREFULLY!

In order to log into MariaDB to secure it, we'll need the current
password for the root user.  If you've just installed MariaDB, and
you haven't set the root password yet, the password will be blank,
so you should just press enter here.

Enter current password for root (enter for none):
OK, successfully used password, moving on...

Setting the root password ensures that nobody can log into the MariaDB
root user without the proper authorisation.

Set root password? [Y/n] y
New password:
Re-enter new password:
Password updated successfully!
Reloading privilege tables..
 ... Success!


By default, a MariaDB installation has an anonymous user, allowing anyone
to log into MariaDB without having to have a user account created for
them.  This is intended only for testing, and to make the installation
go a bit smoother.  You should remove them before moving into a
production environment.

Remove anonymous users? [Y/n] y
 ... Success!

Normally, root should only be allowed to connect from 'localhost'.  This
ensures that someone cannot guess at the root password from the network.

Disallow root login remotely? [Y/n] y
 ... Success!

By default, MariaDB comes with a database named 'test' that anyone can
access.  This is also intended only for testing, and should be removed
before moving into a production environment.

Remove test database and access to it? [Y/n] y
 - Dropping test database...
 ... Success!
 - Removing privileges on test database...
 ... Success!

Reloading the privilege tables will ensure that all changes made so far
will take effect immediately.

Reload privilege tables now? [Y/n] y
 ... Success!

Cleaning up...

All done!  If you've completed all of the above steps, your MariaDB
installation should now be secure.

Thanks for using MariaDB!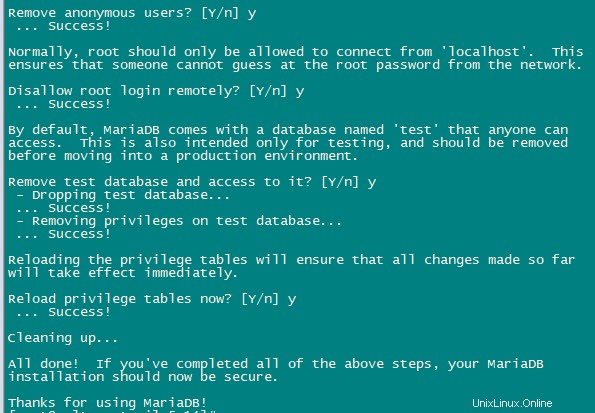
次に、phpmyadminを構成します。
nano /etc/httpd/conf.d/phpmyadmin.confファイルに次の行を追加します。
# phpMyAdmin - Web based MySQL browser written in php
#
# Allows only localhost by default
#
# But allowing phpMyAdmin to anyone other than localhost should be considered
# dangerous unless properly secured by SSL

Alias /phpMyAdmin /usr/share/phpmyadmin
Alias /phpmyadmin /usr/share/phpmyadmin

<Directory /usr/share/phpmyadmin/>
   <IfModule mod_authz_core.c>
     # Apache 2.4
  #  <RequireAny>
     #  Require ip 127.0.0.1
     #  Require ip ::1
  #  </RequireAny>
   </IfModule>
   <IfModule !mod_authz_core.c>
     # Apache 2.2
     Order Deny,Allow
     Deny from All
     Allow from 127.0.0.1
     Allow from ::1
   </IfModule>
</Directory>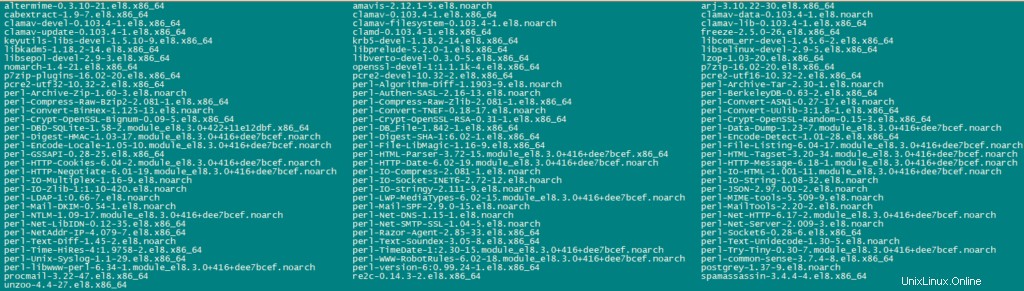
次に、phpMyAdminの認証をcookieからhttpに変更します。
cp -pf /usr/share/phpmyadmin/config.sample.inc.php /usr/share/phpmyadmin/config.inc.php
nano /usr/share/phpmyadmin/config.inc.php
次の行を変更します:
$cfg['Servers'][$i]['auth_type'] = 'http';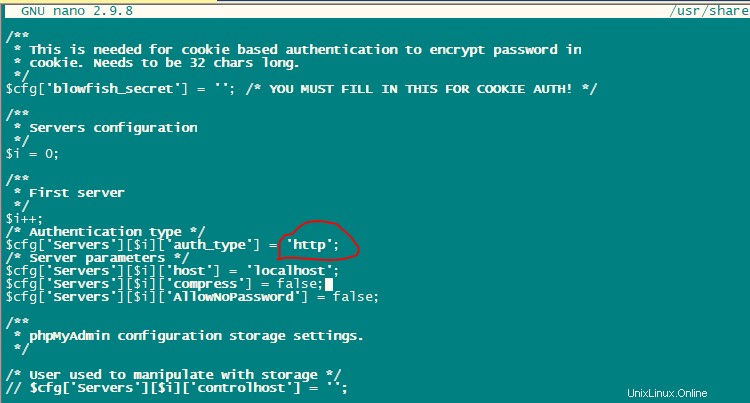
Apacheサービスを有効にして開始します。
systemctl enable httpd
systemctl restart httpd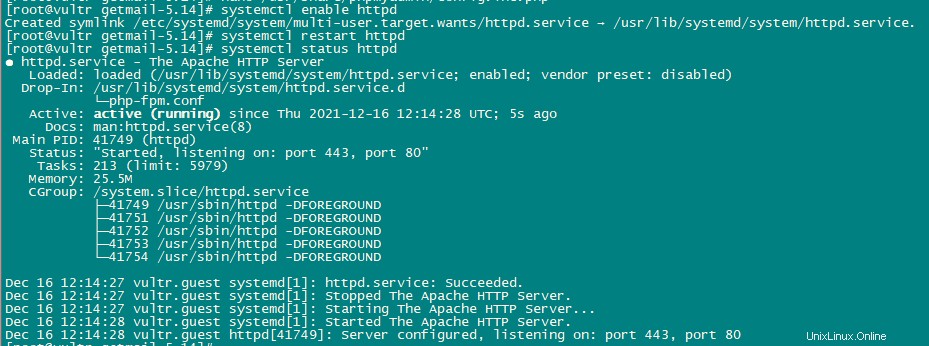
Amavisd-new、SpamAssassin、ClamAV、Postgreyをインストールします:
次のコマンドを使用して、amavisd-new、SpamAssassin、およびClamAVをインストールします。
dnf -y install amavisd-new spamassassin clamav-server clamav-data clamav-update clamav-filesystem clamav clamav-scanner-systemd clamav-devel clamav-lib clamav-server-systemd unzip bzip2 perl-DBD-mysql postgrey re2c次に、これらのサービスを有効にして開始します。
sa-update
freshclam
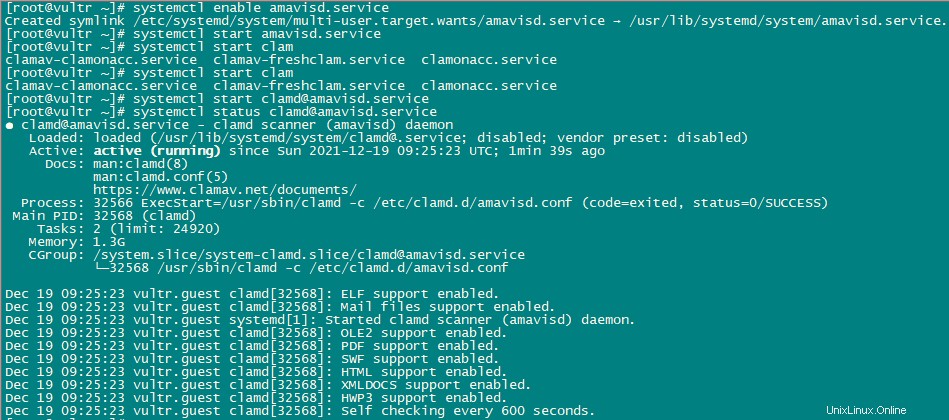
systemctl enable amavisd.service
systemctl start amavisd.service
systemctl start clamd@amavisd.service
systemctl enable postgrey.service
systemctl start postgrey.service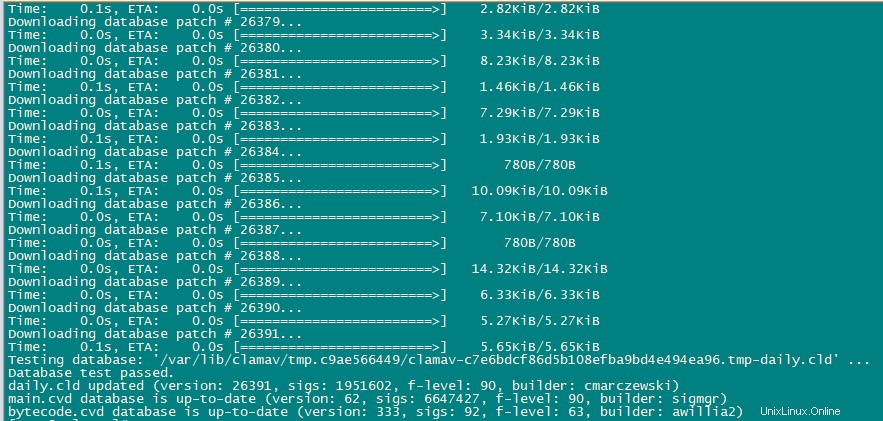
次に、postgreyサービスを構成します。
nano /etc/sysconfig/postgrey

Change the following line

POSTGREY_TYPE="--unix=/var/spool/postfix/postgrey/socket"

to

POSTGREY_TYPE="--inet=10023"
ファイルを保存して終了し、postgreyサービスを再起動します。
systemctl restart postgrey.service次に、Amivisdを構成します。
nano /etc/clamd.d/amavisd.conf

change the following line

LocalSocket /run/clamd.amavisd/clamd.sock

to

LocalSocket /var/spool/amavisd/clamd.sock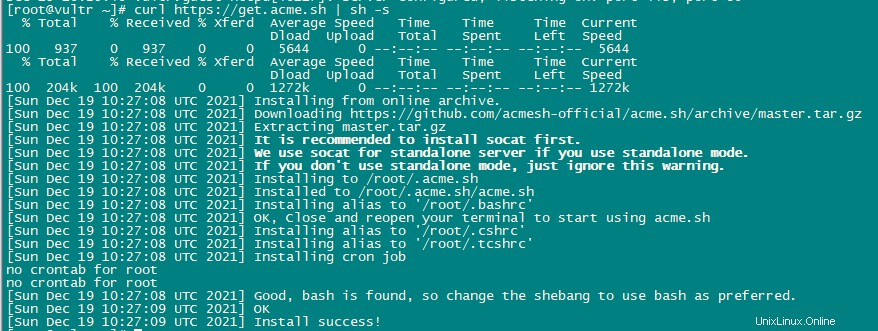
ファイルを保存して終了し、clamAVサービスを再起動します。
systemctl restart clamd@amavisd.service
systemctl status clamd@amavisd.service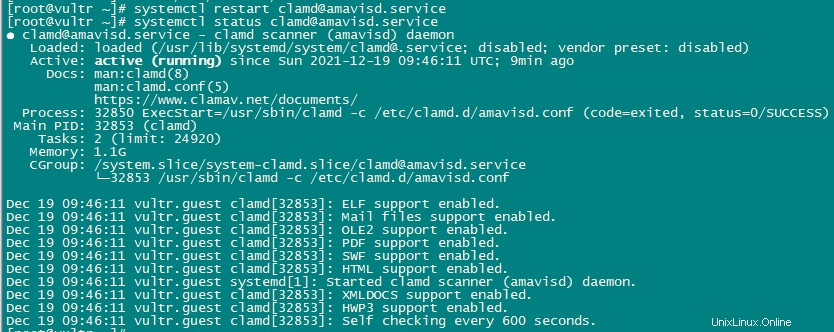
次に、systemctlを使用して開始および停止できるように、freshclamをサービスとして作成します。これを機能させるには、パス/usr/lib/systemd/system/freshclam.serviceを持つファイルを作成する必要があります。
nano /usr/lib/systemd/system/freshclam.service次のコンテンツをファイルに追加します:
[Unit]
Description = ClamAV Scanner
After = network.target

[Service]
Type = forking
# if you want to scan more than one in a day change the number 1 with your desired number in below line.
ExecStart = /usr/bin/freshclam -d -c 1
Restart = on-failure
PrivateTmp =true

[Install]
WantedBy=multi-user.target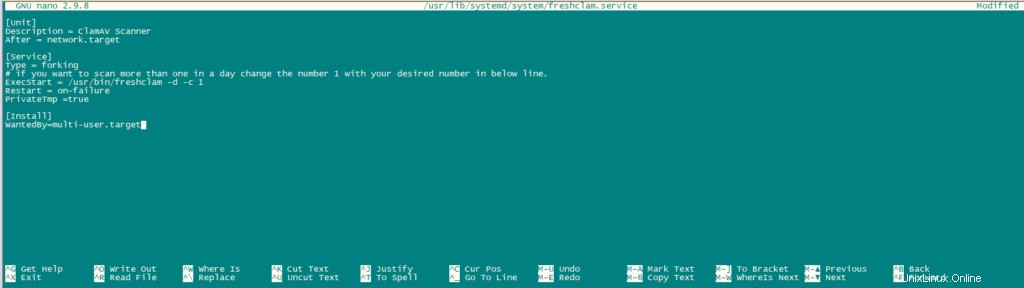
ファイルを保存して終了します。
次に、サービスを有効にして開始します。
systemctl enable freshclam.service
systemctl start freshclam.service
systemctl status freshclam.service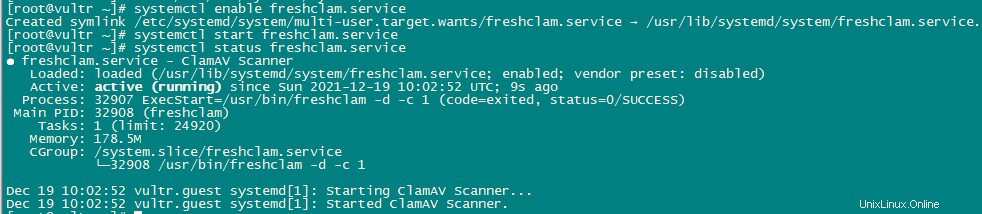
mod_php、mod_fcgi / PHP、PHP-FPMを使用してApacheをインストールします:
ISPConfig 3を使用すると、Webサイトごとにmod_php、mod_fcgi / PHP、cgi / PHP、およびPHP-FPMを使用できます。
次のコマンドを使用して、mod_php、mod_fcgid、およびPHPを使用してApache2をインストールします。
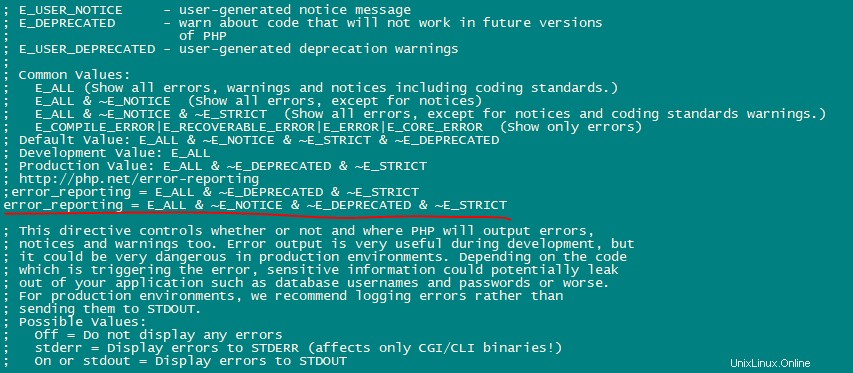
dnf -y install php php-devel php-gd php-imap php-ldap php-mysql php-odbc php-pear php-xml php-xmlrpc php-pecl-apc php-mbstring php-mcrypt php-snmp php-soap php-tidy curl curl-devel perl-libwww-perl ImageMagick libxml2 libxml2-devel mod_fcgid php-cli httpd-devel php-fpm php-intl php-imagick php-pspell wget次に、php.iniファイルを構成します。
nano /etc/php.ini通知が表示されないようにエラーレポートを変更し、タイムゾーンを設定して、「 cgi.fix_pathinfo =1」という行のコメントを解除します。 「。


httpdとPHP-FPMを有効にして、サービスが起動時に開始し、PHP-FPMサービスを開始できるようにします。
systemctl start php-fpm.service
systemctl enable php-fpm.service
systemctl status php-fpm.service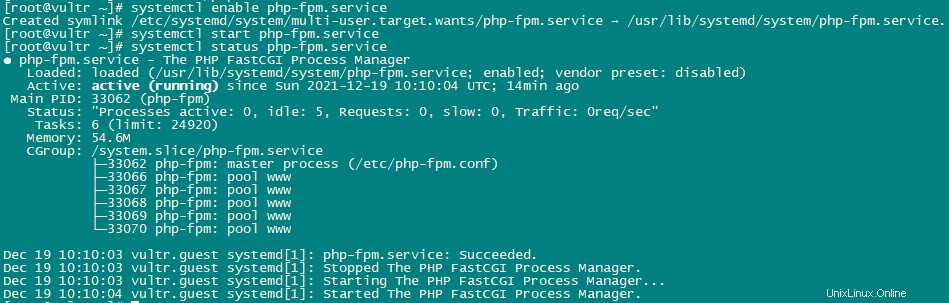
次に、Apacheサービスを有効にして再起動します。
systemctl enable httpd.service
systemctl restart httpd.service
systemctl status httpd.service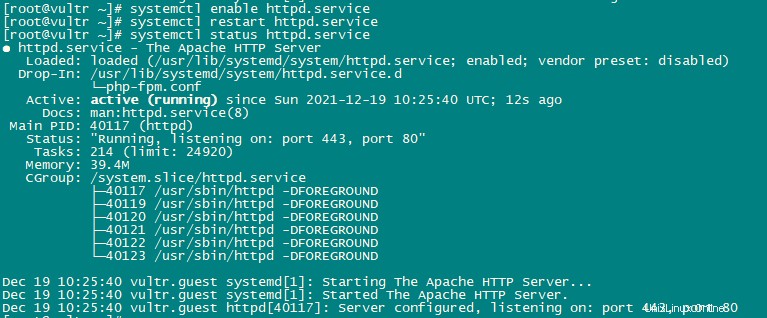
次に、Let'sEncryptのサポートを追加します。 ISPConfigは、acme.shをLet’sEncryptクライアントとして使用します。次のコマンドを使用してacme.shをインストールします。
curl https://get.acme.sh | sh -smod_pythonのインストール:
mod_pythonはapacheのモジュールです。 RPMとしては利用できないため、ソースからコンパイルする必要があります。まず、Python開発ファイルをインストールしてから、現在のバージョンのmod_pythontar.gzファイルをダウンロードします。
dnf -y install python3-devel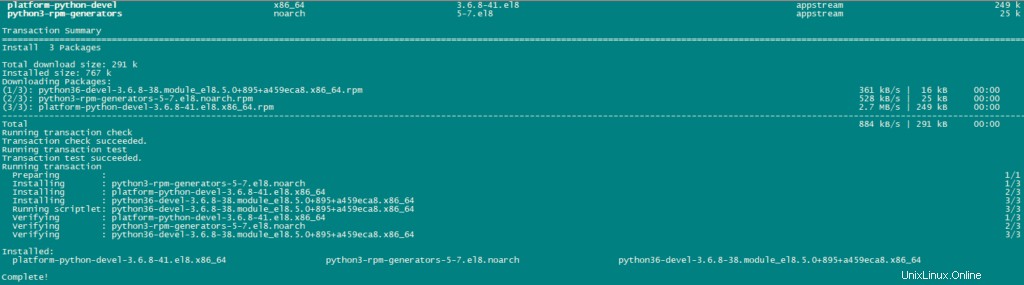
cd /usr/local/src/
wget http://dist.modpython.org/dist/mod_python-3.5.0.tgz
tar xfz mod_python-3.5.0.tgz
cd mod_python-3.5.0
次に、mod_pythonを構成してコンパイルします。
./configure --with-python=/usr/bin/python3
make
コンパイルされたモジュールにエラーがあり、「 version =」というエラーでインストールが失敗します。致命的:gitリポジトリ(または親ディレクトリ)ではありません:.git 「。このエラーを解決するには、このsedコマンドを実行します(コマンドは1行です!)。
sed -e 's/(git describe --always)/(git describe --always 2>\/dev\/null)/g' -e 's/`git describe --always`/`git describe --always 2>\/dev\/null`/g' -i $( find . -type f -name Makefile\* -o -name version.sh )次に、次のコマンドを使用してモジュールをインストールします。
make install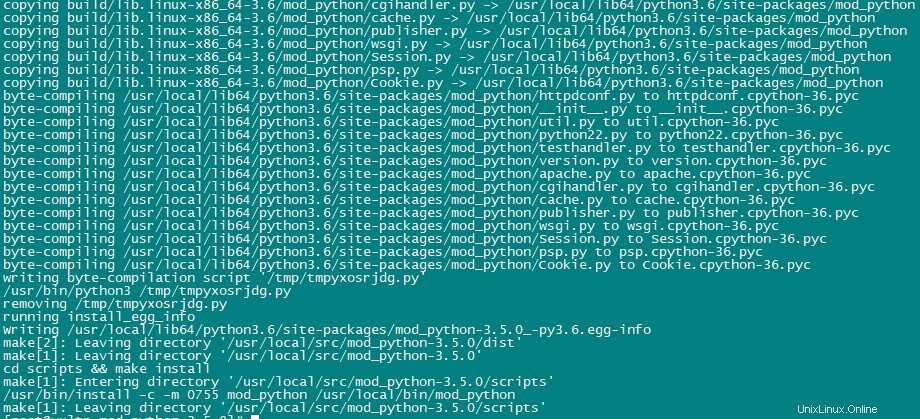
次のコマンドを使用して、Apacheでモジュールを有効にします。
echo 'LoadModule python_module modules/mod_python.so' > /etc/httpd/conf.modules.d/10-python.conf
systemctl restart httpd.service
systemctl status httpd.service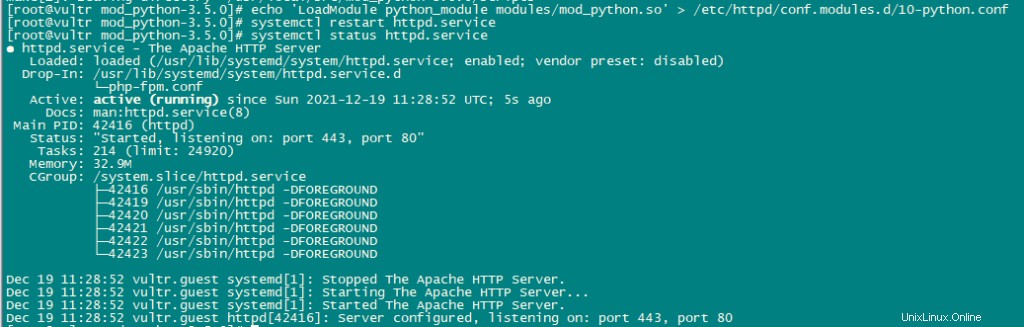
PureFTPdをインストールします:
PureFTPdは、次のコマンドを使用してインストールできます。
dnf -y install pure-ftpd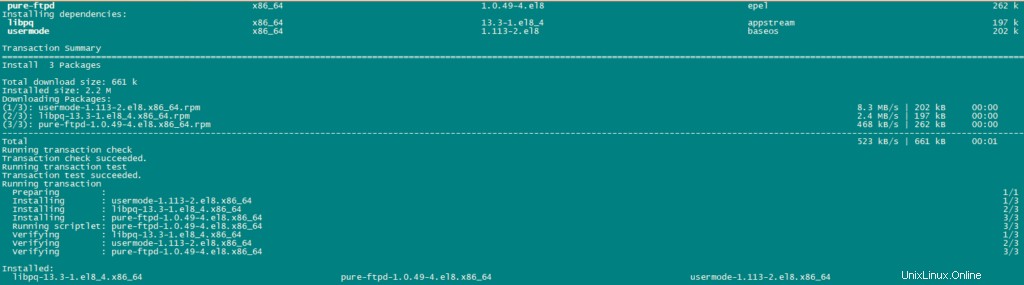
PureFTPdサービスを有効にして開始します。
systemctl enable pure-ftpd.service
systemctl start pure-ftpd.service
systemctl status pure-ftpd.service
次に、FTPおよびTLSセッションを許可するようにPureFTPdを構成します。 FTPは、すべてのパスワードとデータがクリアテキストで転送されるため、非常に安全でないプロトコルです。 TLSを使用することで、通信全体を暗号化できるため、FTPの安全性が大幅に向上します。
TLSにはOpenSSLが必要です。 OpenSSLをインストールするには、次のコマンドを使用します。
dnf install openssl/etc/pure-ftpd/pure-ftpd.confを開きます TLSを有効にします。
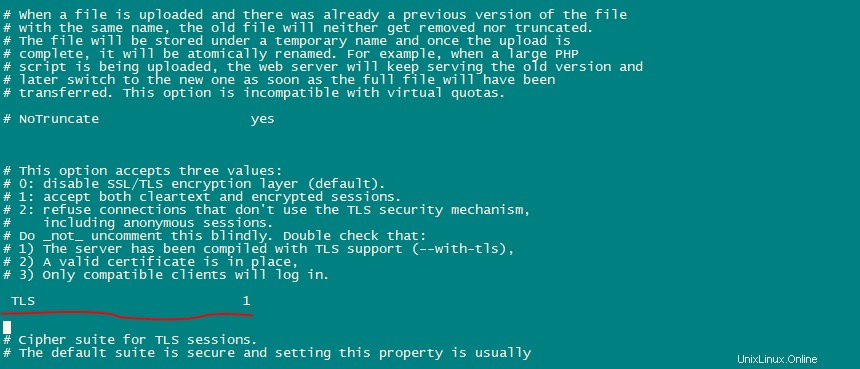
nano /etc/pure-ftpd/pure-ftpd.confFTPおよびTLSセッションを許可し、 TLSを設定します 1へ TLS行の前の#を削除します。 TLSを有効にすることを強くお勧めします。
TLSを使用するには、SSL証明書を作成する必要があります。 / etc / ssl / private /で作成します したがって、最初にそのディレクトリを停止します:
mkdir -p /etc/ssl/private/次に、次のコマンドを使用してSSL証明書を生成します。
openssl req -x509 -nodes -days 7300 -newkey rsa:2048 -keyout /etc/ssl/private/pure-ftpd.pem -out /etc/ssl/private/pure-ftpd.pem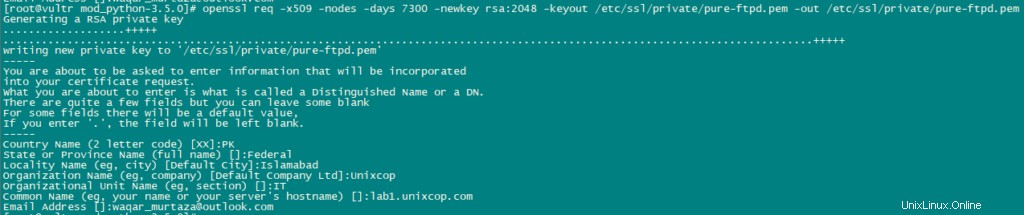
SSL証明書の権限を変更します:
chmod 600 /etc/ssl/private/pure-ftpd.pem次に、次のコマンドを使用してDHParamファイルを作成します。
openssl dhparam -out /etc/ssl/private/pure-ftpd-dhparams.pem 2048
PureFTPdサービスを再起動して、すべての構成を適用します。
systemctl restart pure-ftpd.service
systemctl status pure-ftpd.service
BINDのインストール:
次のコマンドを使用してBINDをインストールします。
dnf -y install bind bind-utils haveged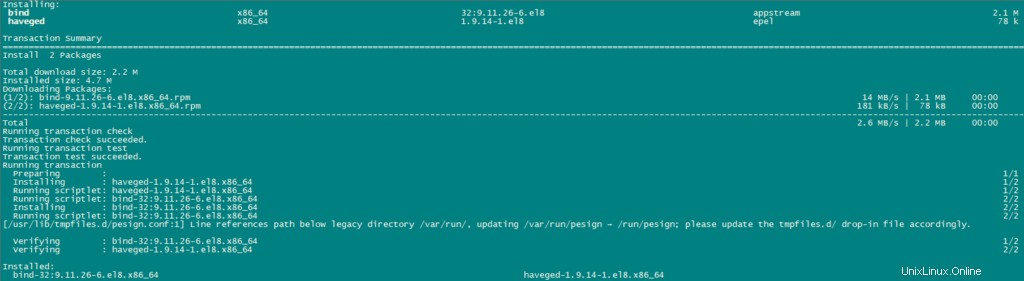
したがって、必要に応じてBINDを構成します。既存の構成ファイルのバックアップを取り、次のように新しい構成ファイルを作成します。
cp /etc/named.conf /etc/named.conf_bak
cat /dev/null > /etc/named.conf
nano /etc/named.conf
構成ファイルに次の行を追加します。
//
// named.conf
//
// Provided by Red Hat bind package to configure the ISC BIND named(8) DNS
// server as a caching only nameserver (as a localhost DNS resolver only).
//
// See /usr/share/doc/bind*/sample/ for example named configuration files.
//
options {
        listen-on port 53 { any; };
        listen-on-v6 port 53 { any; };
        directory       "/var/named";
        dump-file       "https://1118798822.rsc.cdn77.org/var/named/data/cache_dump.db";
        statistics-file "https://1118798822.rsc.cdn77.org/var/named/data/named_stats.txt";
        memstatistics-file "https://1118798822.rsc.cdn77.org/var/named/data/named_mem_stats.txt";
        allow-query     { any; };
				allow-recursion {"none";};
        recursion no;
};
logging {
        channel default_debug {
                file "data/named.run";
                severity dynamic;
        };
};
zone "." IN {
        type hint;
        file "named.ca";
};
include "https://1118798822.rsc.cdn77.org/etc/named.conf.local";
ファイルを保存して終了します。
ファイル/etc/named.conf.localを作成します /etc/named.confの最後に含まれています 「/etc/named.conf.local 」は、ISPConfigでDNSゾーンを作成すると、後でISPConfigによって入力されます。
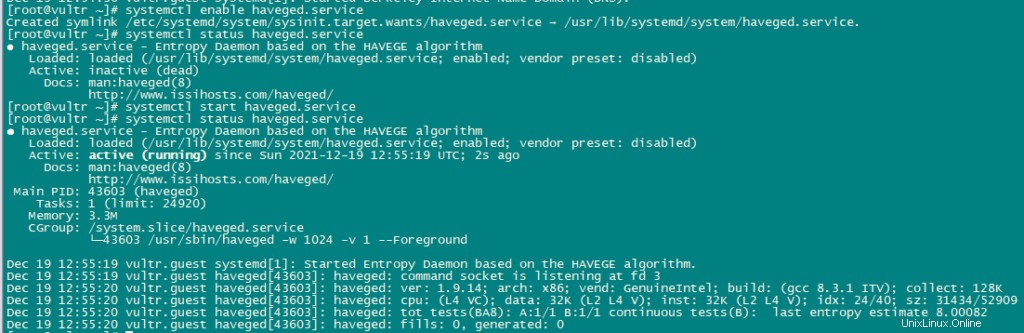
touch /etc/named.conf.localBINDとhavegeを有効にして開始します。
systemctl enable named.service
systemctl start named.service

systemctl status named.service
systemctl enable haveged.service
systemctl start haveged.service
systemctl status haveged.service
AWStatsをインストールします:
AWStatsはWeb統計アプリケーションです。次のコマンドを使用してAWStatsをインストールします:
dnf -y install awstats perl-DateTime-Format-HTTP perl-DateTime-Format-Builder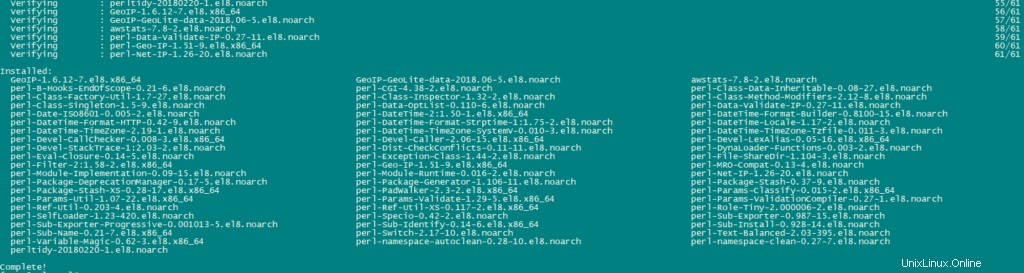
Jailkitのインストール:
Jailkitを使用してSSHユーザーとcronジョブをchrootします。次のようにインストールできます:
ln -s /usr/bin/python2 /usr/bin/python
cd /tmp
wget http://olivier.sessink.nl/jailkit/jailkit-2.21.tar.gz
tar xvfz jailkit-2.21.tar.gz
cd jailkit-2.21
./configure
make
make install
cd ..
rm -rf jailkit-2.21*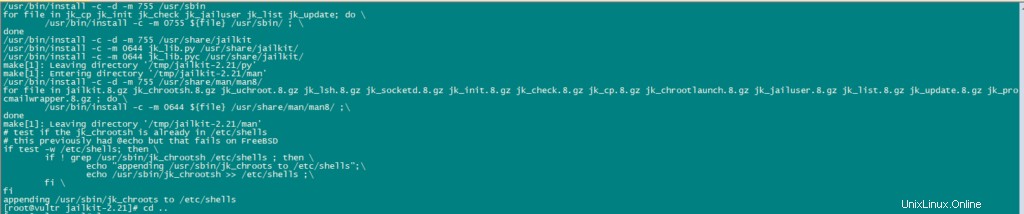
Fail2Banのインストール:
Fail2Banはオプションですが、ISPConfigモニターがログを表示しようとするため、推奨されます。
次のコマンドを使用して、Fail2Banをインストールします。
dnf -y install iptables-services fail2ban fail2ban-systemd
systemctl stop firewalld.service
systemctl mask firewalld.service
systemctl disable firewalld.service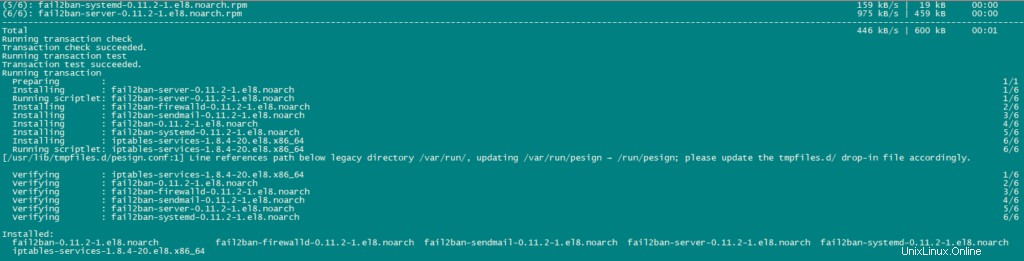
次に、/ etc / fail2ban / jail.localファイルを作成し、ssh、email、およびftpサービスの監視を有効にします。
nano /etc/fail2ban/jail.localファイルに次の行を追加します。
[sshd]
enabled = true
action = iptables[name=sshd, port=ssh, protocol=tcp]

[pure-ftpd]
enabled = true
action = iptables[name=FTP, port=ftp, protocol=tcp]
maxretry = 3

[dovecot]
enabled = true
action = iptables-multiport[name=dovecot, port="pop3,pop3s,imap,imaps", protocol=tcp]
maxretry = 5

[postfix-sasl]
enabled = true
action = iptables-multiport[name=postfix-sasl, port="smtp,smtps,submission", protocol=tcp]
maxretry = 3
Fail2Banサービスを有効にして開始します。
systemctl enable fail2ban.service
systemctl start fail2ban.service
systemctl status fail2ban.service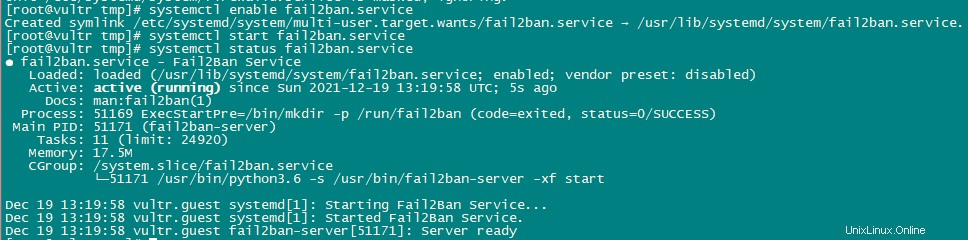
rkhunterのインストール:
次のコマンドを使用してrkhunterをインストールします。
dnf -y install rkhunter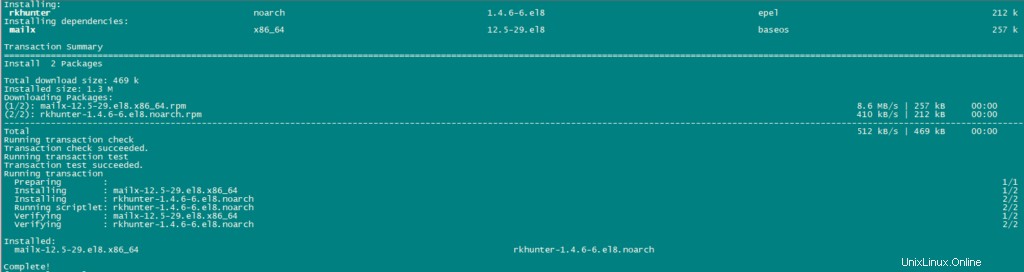
Mailmanのインストール:
サーバー上でMailmanを使用してメーリングリストを管理する場合は、ここでmailmanをインストールしてください。 MailmanはISPConfigでサポートされているため、後でISPConfigを使用して新しいメーリングリストを作成できます。
dnf -y install mailman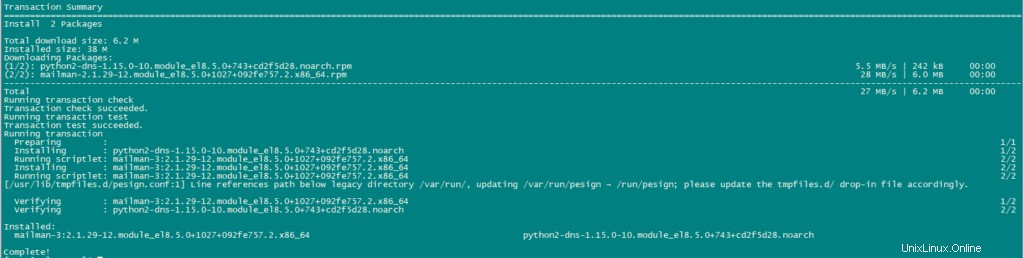
mailmanを開始する前に、mailmanというメーリングリストを作成してください。
touch /var/lib/mailman/data/aliases
postmap /var/lib/mailman/data/aliases
/usr/lib/mailman/bin/newlist mailman
ln -s /usr/lib/mailman/mail/mailman /usr/bin/mailman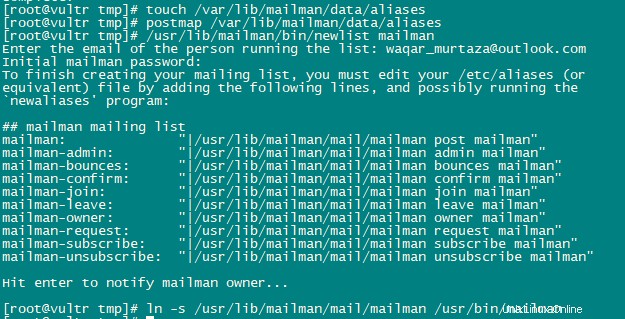
次のコマンドを使用してエイリアスを開きます。
nano /etc/aliasesファイルに次の行を追加します。
mailman:              "|/usr/lib/mailman/mail/mailman post mailman"
mailman-admin:        "|/usr/lib/mailman/mail/mailman admin mailman"
mailman-bounces:      "|/usr/lib/mailman/mail/mailman bounces mailman"
mailman-confirm:      "|/usr/lib/mailman/mail/mailman confirm mailman"
mailman-join:         "|/usr/lib/mailman/mail/mailman join mailman"
mailman-leave:        "|/usr/lib/mailman/mail/mailman leave mailman"
mailman-owner:        "|/usr/lib/mailman/mail/mailman owner mailman"
mailman-request:      "|/usr/lib/mailman/mail/mailman request mailman"
mailman-subscribe:    "|/usr/lib/mailman/mail/mailman subscribe mailman"
mailman-unsubscribe:  "|/usr/lib/mailman/mail/mailman unsubscribe mailman"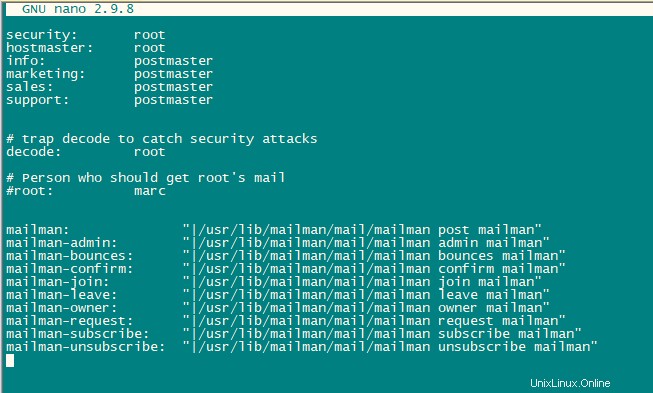
次のコマンドを実行して、新しく追加された構成を適用します。
newaliasesPostfixを再起動します。
systemctl restart postfix.serviceApachemailman構成ファイルを構成します。
nano /etc/httpd/conf.d/mailman.confScriptAlias / cgi-bin / mailman / / usr / lib / mailman / cgi-bin /という行を追加します。 。コメントアウトAlias/ pipermail / / var / lib / mailman / archives / public / Alias / pipermail / var / lib / mailman / archives / public /という行を追加します 。
ファイルを編集すると、次のようになります。
#
#  httpd configuration settings for use with mailman.
#

ScriptAlias /mailman/ /usr/lib/mailman/cgi-bin/
ScriptAlias /cgi-bin/mailman/ /usr/lib/mailman/cgi-bin/
<Directory /usr/lib/mailman/cgi-bin/>
    AllowOverride None
    Options ExecCGI
    Require all granted
</Directory>


#Alias /pipermail/ /var/lib/mailman/archives/public/
Alias /pipermail /var/lib/mailman/archives/public/
<Directory /var/lib/mailman/archives/public>
    Options MultiViews FollowSymLinks
    AllowOverride None
    Require all granted
    AddDefaultCharset Off
</Directory>

# Uncomment the following line, replacing www.example.com with your server's
# name, to redirect queries to /mailman to the listinfo page (recommended).

# RedirectMatch ^/mailman[/]*$ http://www.example.com/mailman/listinfo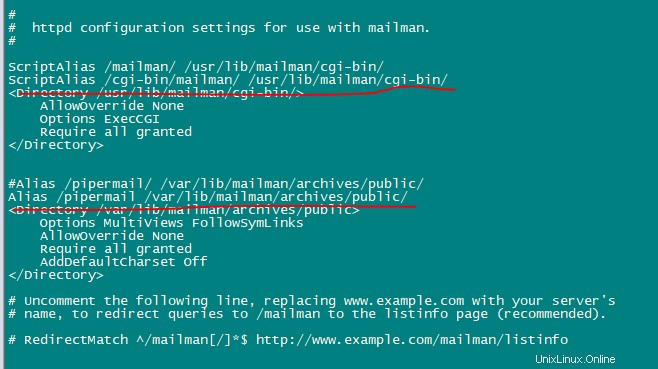
Apacheサービスを再起動して構成を適用します。
systemctl restart httpd.serviceMailmanサービスを有効にして開始します。
systemctl enable mailman.service
systemctl start mailman.service
systemctl status mailman.service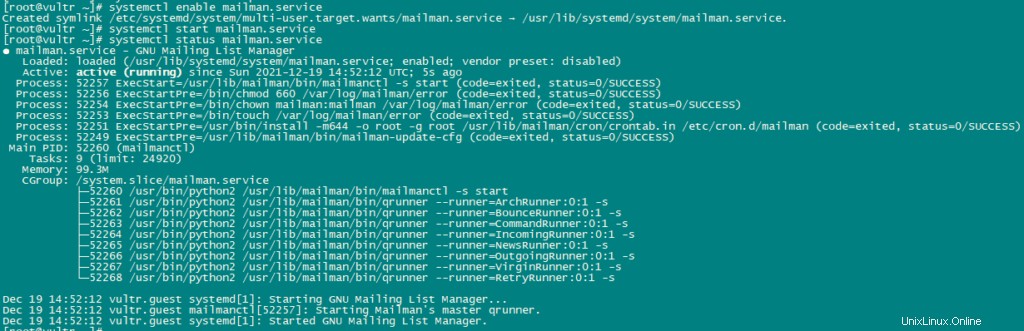
ISPConfig 3をインストールした後、次のようにMailmanを使用できます。
すべてのApachevhostにエイリアス/cgi-bin/ mailmanを使用できます(Mailmanにアクセスするすべてのvhostに対してsuExecとCGIを無効にする必要があることに注意してください)。つまり、リストのMailman管理インターフェイスにアクセスできます。 http:/// cgi-bin / mailman / admin /にあり、メーリングリストのユーザー向けのWebページはhttp:/// cgi-bin / mailman /listinfo/にあります。
http:/// pipermail /の下に、メーリングリストのアーカイブがあります。
Roundcubeウェブメールをインストールする:
wgetを使用してRoundcubeWebメールをダウンロードし、インストールします。
cd /tmp
wget https://github.com/roundcube/roundcubemail/releases/download/1.4.3/roundcubemail-1.4.3-complete.tar.gz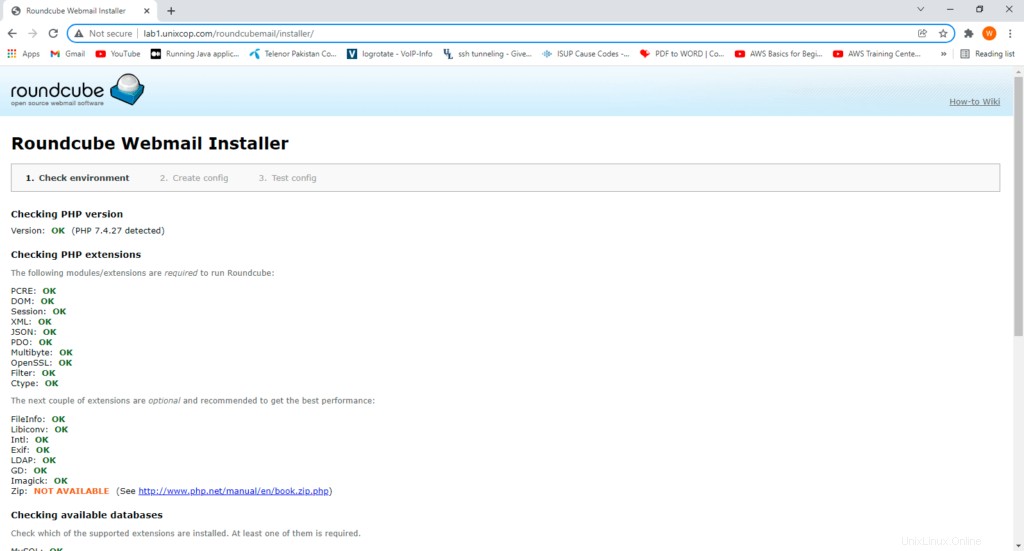
tar.gzファイルを解凍し、RoundCubeソースを/ usr / share/roundcubemailに移動します。
tar xfz roundcubemail-1.4.3-complete.tar.gz
mkdir /usr/share/roundcubemail
mv /tmp/roundcubemail-1.4.3/* /usr/share/roundcubemail/
chown -R root:root /usr/share/roundcubemail
chown apache /usr/share/roundcubemail/temp
chown apache /usr/share/roundcubemail/logs
Roundcube構成ファイルを作成します。
nano /etc/httpd/conf.d/roundcubemail.confファイルに次の行を追加します。
#
# Round Cube Webmail is a browser-based multilingual IMAP client
#

Alias /roundcubemail /usr/share/roundcubemail
Alias /webmail /usr/share/roundcubemail

# Define who can access the Webmail
# You can enlarge permissions once configured

<Directory /usr/share/roundcubemail/>
        Options none
        AllowOverride Limit
        Require all granted
</Directory>

# Define who can access the installer
# keep this secured once configured

<Directory /usr/share/roundcubemail/installer>
        Options none
        AllowOverride Limit
        Require all granted
</Directory>


# Those directories should not be viewed by Web clients.
<Directory /usr/share/roundcubemail/bin/>
    Order Allow,Deny
    Deny from all
</Directory>
<Directory /usr/share/roundcubemail/plugins/enigma/home/>
    Order Allow,Deny
    Deny from all
</Directory>
Apacheを再起動します。
systemctl restart httpd.serviceRoundCubeメール用のデータベースが必要です。次のように作成します。
mysql -u root -p次のクエリを使用してデータベースを作成します。
CREATE DATABASE roundcubedb;
CREATE USER roundcubeuser@localhost IDENTIFIED BY 'roundcubepassword';
GRANT ALL PRIVILEGES on roundcubedb.* to roundcubeuser@localhost ;
FLUSH PRIVILEGES;
exit
次に、ブラウザのhttp:// YOUR_IPAddress / roundcubemail / installer /
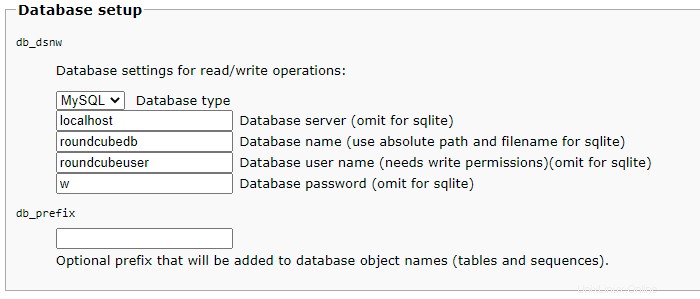
にRoundCubeをインストールします。 次に、config.inc.phpファイルを作成します。
nano /usr/share/roundcubemail/config/config.inc.phpその中に次の行を追加します:
<?php

/* Local configuration for Roundcube Webmail */

// ----------------------------------
// SQL DATABASE
// ----------------------------------
// Database connection string (DSN) for read+write operations
// Format (compatible with PEAR MDB2): db_provider://user:password@host/database
// Currently supported db_providers: mysql, pgsql, sqlite, mssql, sqlsrv, oracle
// For examples see http://pear.php.net/manual/en/package.database.mdb2.intro-dsn.php
// NOTE: for SQLite use absolute path (Linux): 'sqlite:////full/path/to/sqlite.db?mode=0646'
// or (Windows): 'sqlite:///C:/full/path/to/sqlite.db'
$config['db_dsnw'] = 'mysql://roundcubeuser:roundcubepassword@localhost/roundcubedb';

// ----------------------------------
// IMAP
// ----------------------------------
// The IMAP host chosen to perform the log-in.
// Leave blank to show a textbox at login, give a list of hosts
// to display a pulldown menu or set one host as string.
// To use SSL/TLS connection, enter hostname with prefix ssl:// or tls://
// Supported replacement variables:
// %n - hostname ($_SERVER['SERVER_NAME'])
// %t - hostname without the first part
// %d - domain (http hostname $_SERVER['HTTP_HOST'] without the first part)
// %s - domain name after the '@' from e-mail address provided at login screen
// For example %n = mail.domain.tld, %t = domain.tld
// WARNING: After hostname change update of mail_host column in users table is
// required to match old user data records with the new host.
$config['default_host'] = 'localhost';
$config['smtp_server'] = 'localhost';
$config['smtp_port'] = 25;

// provide an URL where a user can get support for this Roundcube installation
// PLEASE DO NOT LINK TO THE ROUNDCUBE.NET WEBSITE HERE!
$config['support_url'] = '';

// This key is used for encrypting purposes, like storing of imap password
// in the session. For historical reasons it's called DES_key, but it's used
// with any configured cipher_method (see below).
$config['des_key'] = 'pb0UucO0eqjgvhrqYlFTBVjE';

// ----------------------------------
// PLUGINS
// ----------------------------------
// List of active plugins (in plugins/ directory)
$config['plugins'] = array();

// Set the spell checking engine. Possible values:
// - 'googie' - the default (also used for connecting to Nox Spell Server, see 'spellcheck_uri' setting)
// - 'pspell' - requires the PHP Pspell module and aspell installed
// - 'enchant' - requires the PHP Enchant module
// - 'atd' - install your own After the Deadline server or check with the people at http://www.afterthedeadline.com before using their API
// Since Google shut down their public spell checking service, the default settings
// connect to http://spell.roundcube.net which is a hosted service provided by Roundcube.
// You can connect to any other googie-compliant service by setting 'spellcheck_uri' accordingly.
$config['spellcheck_engine'] = 'pspell';
$config['enable_installer'] = true;
Now click Next in the web browser:
Then press continue and you will enter a new page where It will give you the configurations. Just copy these configurations and paste on config.php.ini file.

then initailize database.
Now, Open config file.
nano /usr/share/roundcubemail/config/config.inc.php

change the line:

$config['enable_installer'] = true;

to

$config['enable_installer'] = false;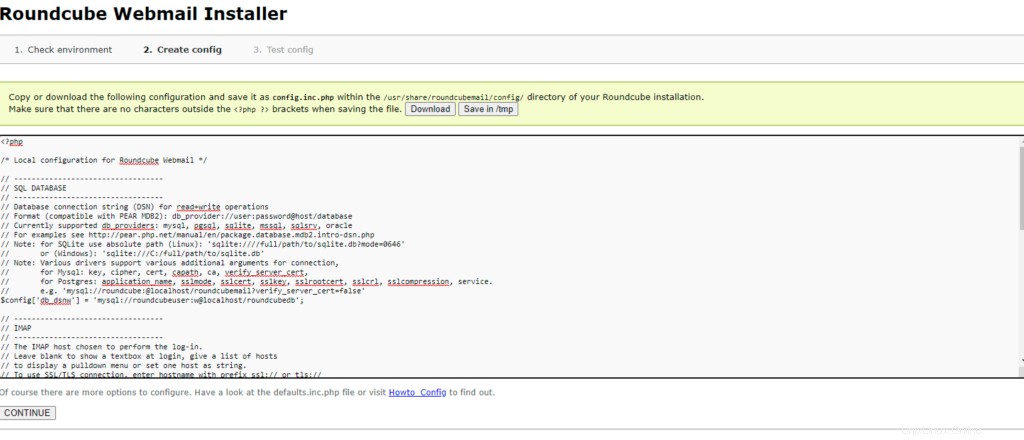
Roundcube is available now under the aliases /webmail and /roundcubemail on your server:
http://YOUR_IPAddress/webmail
The RoundCube login is the email address and password of an email account that you create later in ISPConfig.
Install ISPConfig on CentOS 8
The ISPConfig installer will configure all services like Postfix, Dovecot, etc. for you.
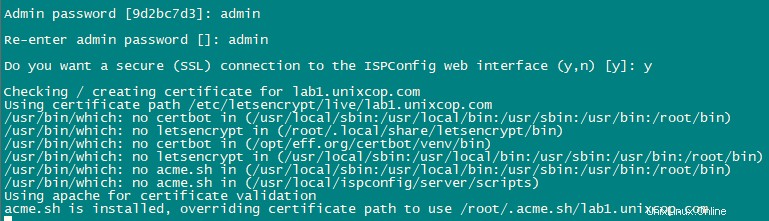
You also have the possibility to let the installer create an SSL vhost for the ISPConfig control panel
so that ISPConfig can be accessed using https:// instead of http://. To achieve this, just press ENTER when you see this question:
Do you want a secure (SSL) connection to the ISPConfig web interface (y,n) [y]:.
To install ISPConfig 3.2 nightly build, use the following commands:
cd /tmp
wget -O ispconfig.tar.gz https://www.ispconfig.org/downloads/ISPConfig-3-stable.tar.gz
tar xfz ispconfig.tar.gz
cd ispconfig3*/install/
The next step is to run:
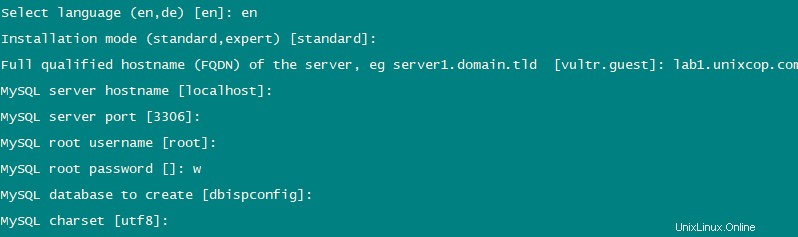
php -q install.php
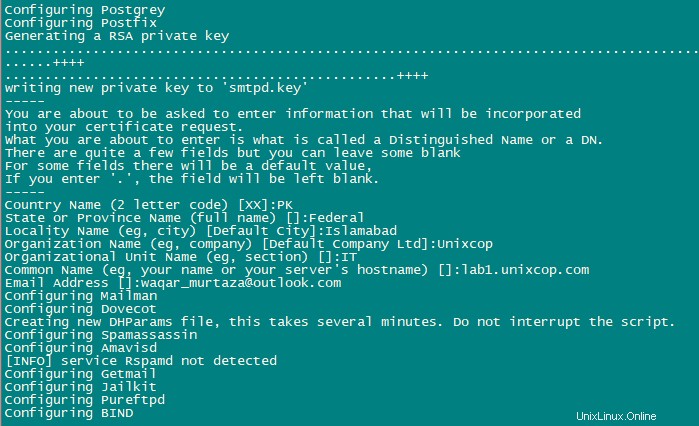
This will start the ISPConfig 3 installer. The installer will configure all services like Postfix, Dovecot, etc. for you.
Hit Enter if the value in bracket is what you want you set otherwise enter your desired value and press Enter.
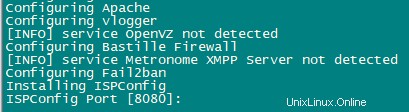
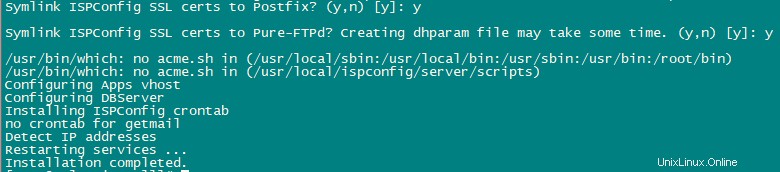
Installation is now complete.
Afterwards you can access ISPConfig 3 using https://YOUR-IPAddress:8080.
Login with admin as Username and Password. You should change the default password after first login.
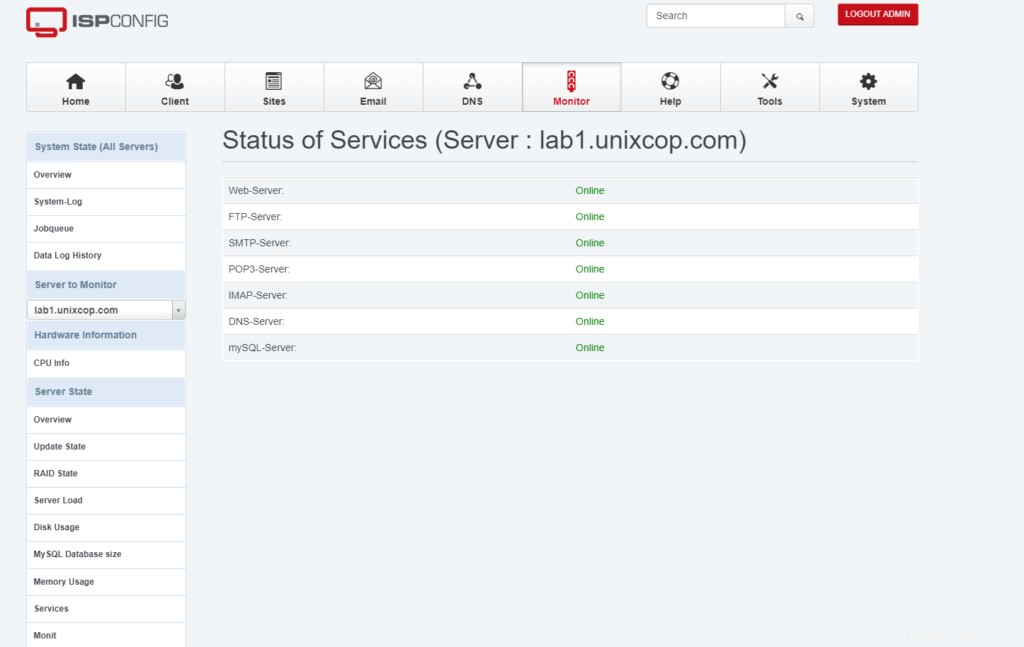
Now you can use ISPConfig as per your need.