ここでは、CentOS 8 /RHEL8でVCSVeritasCluster Server(新しい名前InfoScale)3ノードクラスターを高可用性サーバー用に段階的に構成する方法について説明します。すでにVCSをインストールしています。veritasclusterserverのインストール方法にアクセスしてください
https://unixcop.com/install-veritas-cluster-server-on-centos-8-rhel-8-step-by-step/
次に、VCSClusterを構成します。
構成を開始
すでにVeritasClusterサーバーソフトウェアがインストールされているので、linux3であるsystem1にログインし、コマンドを実行します。
/opt/VRTS/install/installsfha -configureまたは
/opt/VRTS/install/installsfcfsha -configure
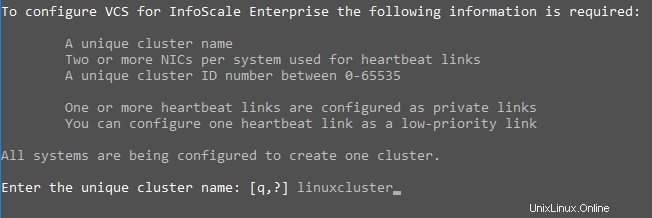
必要なクラスター構成情報を追加します。一意のクラスター名「linuxcluster」を使用しています。
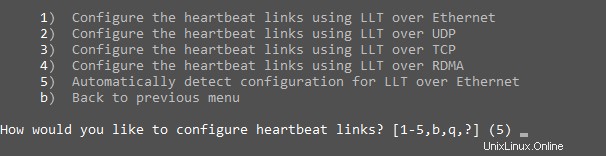
ハートビートを自動的に構成するためのオプション5を使用すると、すべてのシステムでハートビートリンクが構成されます。ハートビートを手動で構成する場合は、オプション1を選択する必要があります。
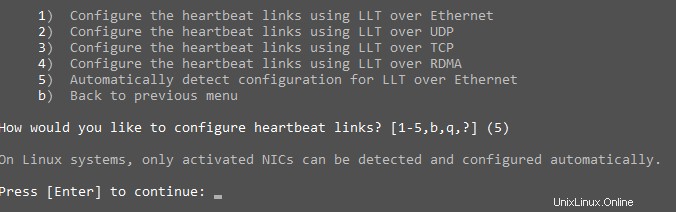
オプション5を入力すると、Linuxシステムでは、NICが自動的にアクティブ化されます。
次に、「Enter」を押して、デフォルトのクラスタIDを選択します。 。または、0〜65535の異なる一意のクラスタIDを使用できます。

「Enter」を押します クラスタIDチェックを実行します。
クラスタIDが同じである場合、クラスタを構成できません。エラーが表示されます。

「Enter」を押します 続行します。

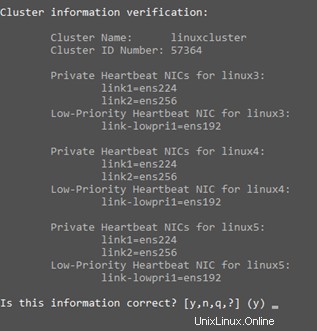
クラスタ情報を確認し、オプション「y」を選択します。すべてのノードにプライベートハートビートNICが構成されており、インターフェイスを使用してクラスター情報を確認できます
「y」を選択して仮想IPを構成します。

「ens192」を選択します 仮想IPNICとして。

選択オプション「y」を使用して、「ens192」がすべてのシステムで使用されるパブリックNICであることを確認します。 ens192パブリックNICを選択することにより、すべてのノードで構成されます。

仮想IPアドレスを構成します。 IP ’10.84.162.40’を使用しています。

適切なネットマスクを入力します。

仮想IPアドレスの構成を確認します。

クラスターをセキュアモードで構成しないでください。

デフォルトのクレデンシャルを受け入れます。

クラスタに別のユーザーを追加しないでください。

1)SMTPサーバーを追加しないでください。
2)SNMPサーバーを構成しないでください。
3)グローバルクラスターオプションを構成しないでください。
選択オプション「y」でInfoScaleEnterpriseプロセスを停止します。

構成後クラスター開始

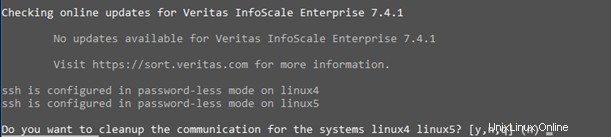
オプション「n」を選択してコミュニケーションをクリーンアップしないでください。
オプション「n」を選択して概要ファイルを表示しないでください。

終わり! VCSの構成が完了しました。
構成が完了したら。 veritasダウンロードサイトにアクセス
https://www.veritas.com/support/en_US/downloads
Veritas Cluster Manager –Javaコンソールをダウンロードしてください そして、VCSjavaコンソールにアクセスするためにインストールします。
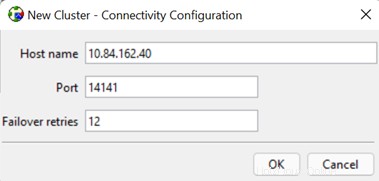
クラスタの仮想IPアドレスを入力してください
終わり!これで、CentOS8でVCSを構成する方法を知っています。