Nagiosは、Windows、Linux、ルーター、およびその他のネットワークデバイスで実行されるサービスとアプリケーションを監視するのに役立つ無料のオープンソース監視ツールです。
Nagiosグラフィカルインターフェイスを使用すると、基本的なサービス(FTP、HTTP、SSHなど)と属性(システム負荷、メモリ、CPU使用率など)を監視できます。
この投稿では、CentOS 8 / RHEL 8にNagiosをインストールする方法と、Nagiosプラグインを使用してアプリケーションサービスを監視する方法について説明します。
前提条件
Nagiosには、Webサーバー(httpd)、PHP、コンパイラー、開発ライブラリーが必要です。
1つのコマンドですべてのパッケージをインストールします。
yum -y install httpd php gcc glibc glibc-common wget perl gd gd-devel unzip zip tar
Webインターフェイスを介して外部コマンドを実行できるようにするためのユーザーとグループを作成します。ユーザーとapacheユーザーを追加して、作成したグループの一部にします。
useradd nagios
groupadd nagcmd
usermod -a -G nagcmd nagios
usermod -a -G nagcmd apache
Nagiosをインストールする
ターミナルを使用して、公式サイトからNagiosCoreをダウンロードします。
cd /tmp/
wget https://assets.nagios.com/downloads/nagioscore/releases/nagios-4.4.5.tar.gz
tar -zxvf nagios-4.4.5.tar.gz
cd /tmp/nagios-4.4.5/
Nagiosコアをコンパイルしてシステムにインストールします。
./configure --with-nagios-group=nagios --with-command-group=nagcmd
make all
make install
make install-init
make install-config
make install-commandmode
NagiosWebインターフェースのインストール
次のコマンドを使用して、NagiosWebインターフェイスをインストールします。
make install-webconf
Nagios Webインターフェイスのユーザーアカウント(nagiosadmin)を作成します。このユーザーに設定したパスワードを覚えておいてください。後で必要になります。
htpasswd -c /usr/local/nagios/etc/htpasswd.users nagiosadmin
ApacheWebサーバーを再起動します。
systemctl restart httpd
systemctl enable httpd
Nagiosを構成する
Nagiosは、構成ファイルを/ usr / local / nagios/etcディレクトリに配置します。デフォルトの構成はNagiosで問題なく機能するはずです。
先に進む前に、変更を1つだけ行います。
/usr/local/nagios/etc/objects/contacts.cfg構成ファイルを編集し、nagiosadmin連絡先定義に関連付けられている電子メールアドレスを自分の電子メールアドレスに変更して、アラートを受信します。
vi /usr/local/nagios/etc/objects/contacts.cfg
通知を受け取るには、メールアドレスフィールドを置き換えてください。
define contact {

    contact_name            nagiosadmin             ; Short name of user
    use                     generic-contact         ; Inherit default values from generic-contact template (defined above)
    alias                   Nagios Admin            ; Full name of user
    email                   admin@itzgeek.com ; <<***** CHANGE THIS TO YOUR EMAIL ADDRESS ******
}
Nagiosプラグインをインストールする
Nagiosプラグインを/tmpディレクトリにダウンロードして解凍します。
cd /tmp
wget https://nagios-plugins.org/download/nagios-plugins-2.2.1.tar.gz
tar -zxvf nagios-plugins-2.2.1.tar.gz
cd /tmp/nagios-plugins-2.2.1/
Nagiosプラグインをコンパイルしてインストールします。
./configure --with-nagios-user=nagios --with-nagios-group=nagios
make
make install
Nagiosを起動
サンプルのNagios構成ファイルを確認します。
/usr/local/nagios/bin/nagios -v /usr/local/nagios/etc/nagios.cfg
出力:
Nagios Core 4.4.5
Copyright (c) 2009-present Nagios Core Development Team and Community Contributors
Copyright (c) 1999-2009 Ethan Galstad
Last Modified: 2019-08-20
License: GPL

Website: https://www.nagios.org
Reading configuration data...
   Read main config file okay...
   Read object config files okay...

Running pre-flight check on configuration data...

Checking objects...
        Checked 8 services.
        Checked 1 hosts.
        Checked 1 host groups.
        Checked 0 service groups.
        Checked 1 contacts.
        Checked 1 contact groups.
        Checked 24 commands.
        Checked 5 time periods.
        Checked 0 host escalations.
        Checked 0 service escalations.
Checking for circular paths...
        Checked 1 hosts
        Checked 0 service dependencies
        Checked 0 host dependencies
        Checked 5 timeperiods
Checking global event handlers...
Checking obsessive compulsive processor commands...
Checking misc settings...

Total Warnings: 0
Total Errors:   0

Things look okay - No serious problems were detected during the pre-flight check
エラーがない場合は、Nagiosサービスを開始します。
systemctl start nagios
システムの起動時にNagiosを有効にします。
systemctl enable nagios
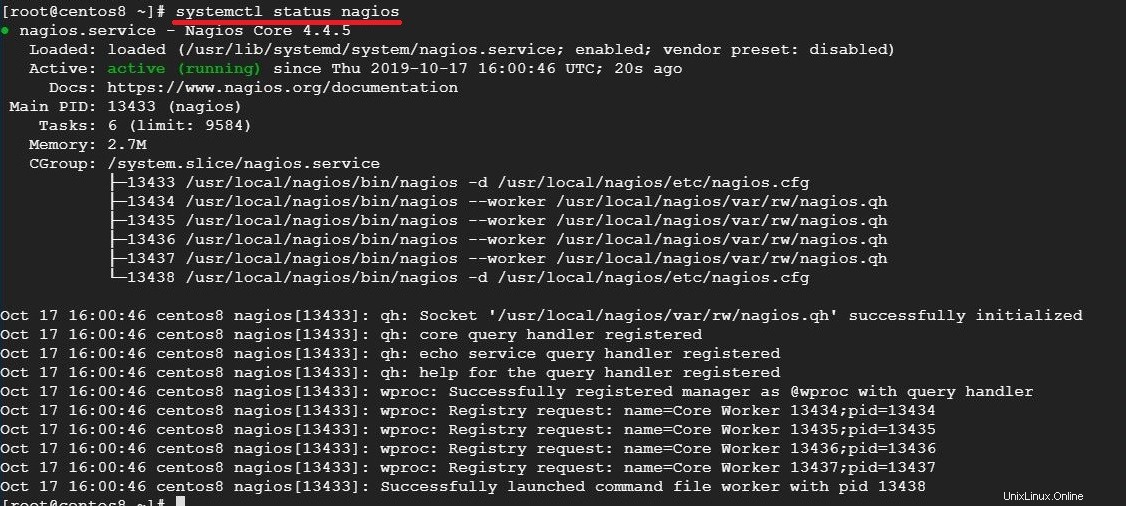
以下のコマンドでNagiosのサービスステータスを確認してください。
systemctl status nagios
SELinux
SELinuxが強制モードになっているかどうかを確認します。
getenforce
SELinuxモードをPermissiveまたはdisableに変更します。
setenforce 0
このSELinuxモードを永続的にするには、/ etc / selinux / configを変更して、システムを再起動します。
ファイアウォール
ファイアウォールルールを作成して、ファイアウォールを介したWebサーバーアクセスを許可します。
firewall-cmd --permanent --add-service=http
firewall-cmd --reload
NagiosWebインターフェースへのアクセス
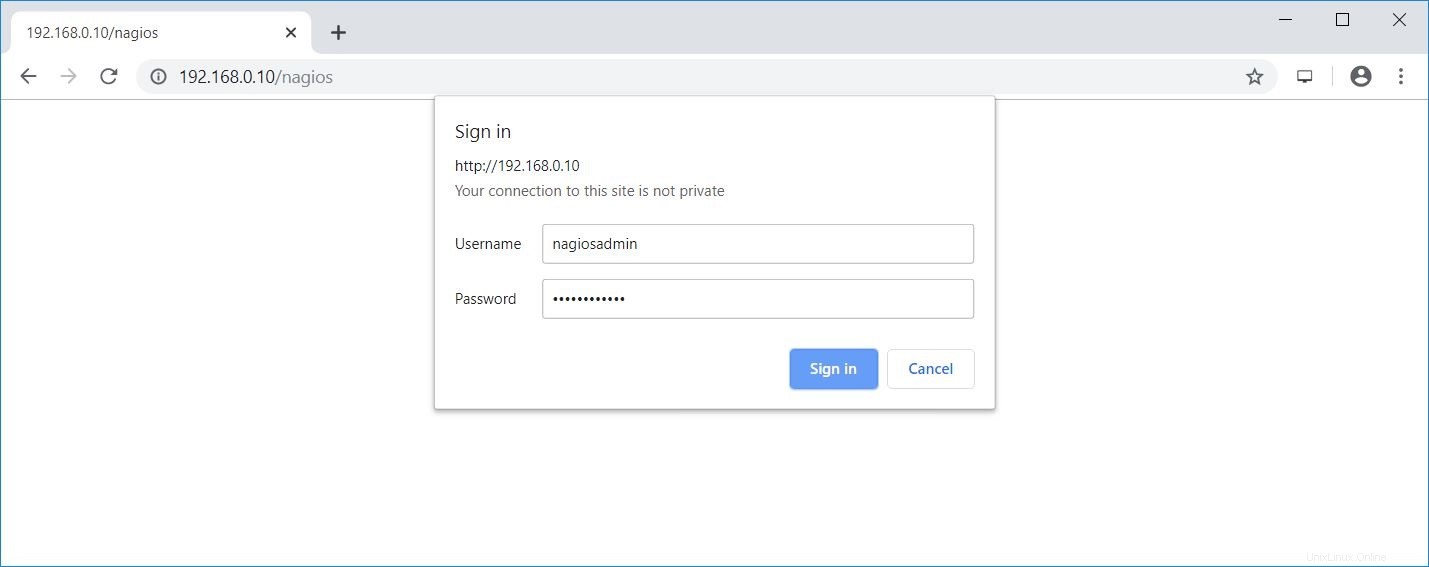
以下のURLを使用してNagiosWebインターフェースにアクセスします。
http:// ip-add-re-ss / nagios /Nagios Webインターフェースにアクセスするには、前に指定したユーザー名(nagiosadmin)とパスワードを使用する必要があります。
Nagiosコンソールは次のようになります。
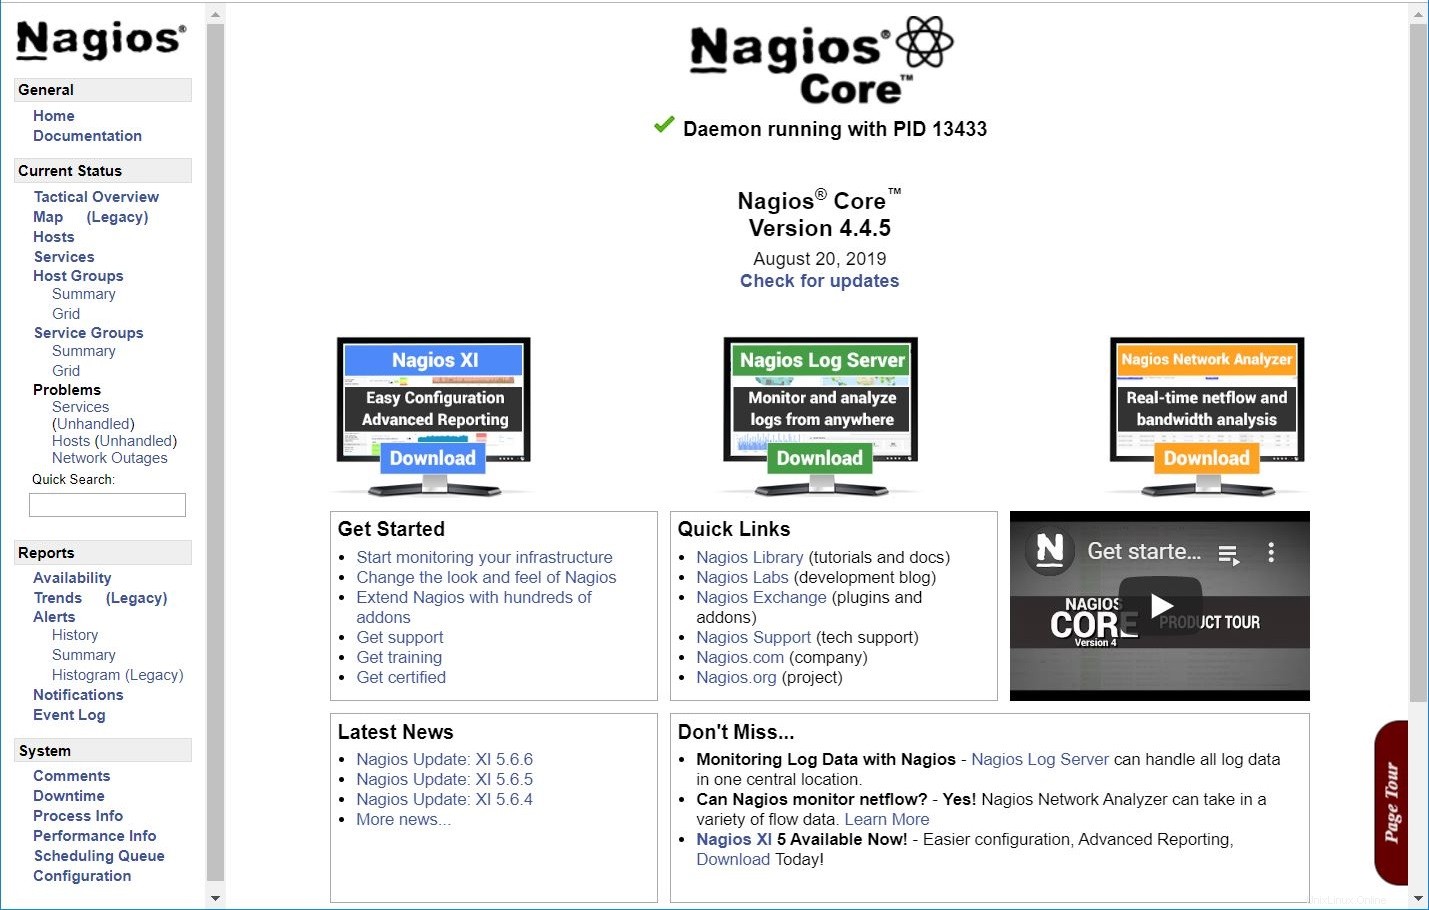
Nagios Webインターフェースにログインした後、左側のペインで[ホスト]をクリックして、Nagiosによって監視されているシステムのリストを表示します。
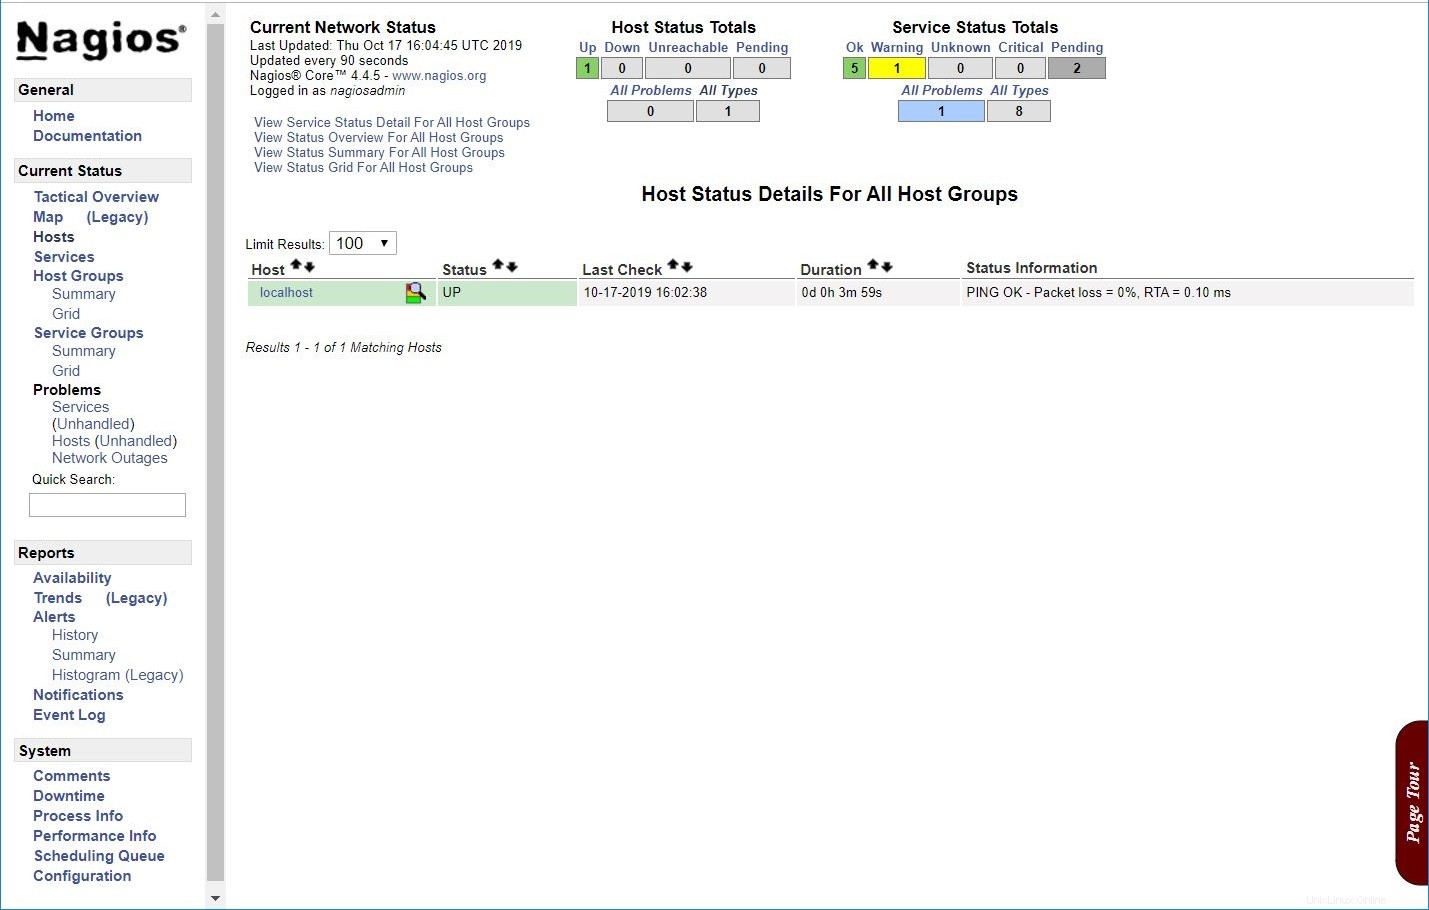
Nagiosにホストを追加していないため、ローカルホスト自体を監視するだけです。
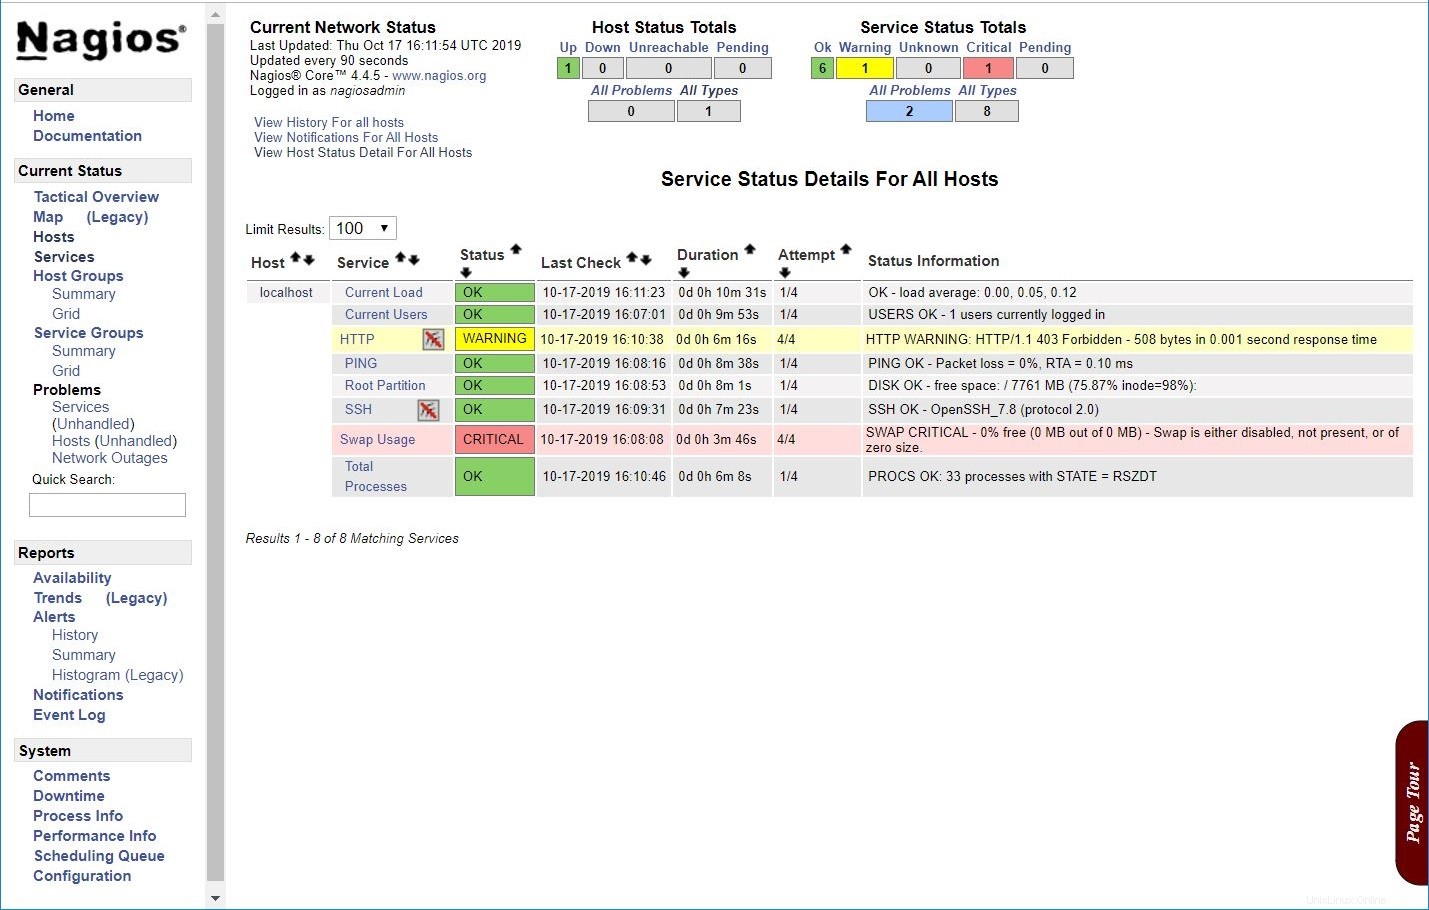
左側のペインで[サービス]をクリックして、Nagiosで監視されているサービスのステータスを確認します。
結論
この投稿では、CentOS 8 / RHEL 8にNagiosをインストールする方法を学び、Nagiosプラグインを使用してサービスを監視するようにNagiosを構成しました。この時点で、Nagiosはサーバー自体を監視しています。 NRPEアドオンを備えたNagiosを使用してリモートLinuxシステムを監視することもできます。